If you’ve ever wanted to bake sourdough bread, the first step is to get a sourdough starter. This beginner guide will show you exactly how to make a starter from scratch using just flour and water, how to feed it so it becomes active and reliable, and how to maintain it so you can bake whenever you’re ready. I’m sharing the exact steps I took as a beginner to see sourdough starter success!
SOURDOUGH STARTER At A Glance
Prep
10 min
FEED
5 min/day
Total
5-6 days
MAKES
3/4 cup (200g)
Container
Wide Mouth Jar
Ingredients: Flour and water, that’s it!

When I first started learning sourdough, the starter was the part that felt the most uncertain. It just sat there in a jar, and I kept wondering, Is this working? Did I do something wrong? There’s no instant feedback like there is with most recipes. But once I understood that I was simply feeding a living culture and giving it time to grow, everything became much clearer.
What is a Sourdough Starter?
A sourdough starter is a mixture of flour and water that has captured wild yeast and beneficial bacteria from the environment.
Over time, this mixture begins to:
• bubble
• rise and fall
• develop a tangy aroma
That activity is what allows sourdough bread to rise without commercial yeast.
Once established, a starter can be kept alive for years with regular feeding. And even without regular feeding, it can survive so long as it is kept refrigerated or dehydrated.
I remember the first time mine actually doubled in size… it felt like something had finally clicked. Up until that point, it just looked like weird paste in a jar. Then one day it was clearly alive and doing something, and I felt triumphant!
Why Make Your Own Starter?
Making your own sourdough starter is a simple way to bring old-fashioned baking back into your kitchen. A starter is just flour and water that captures wild yeast and good bacteria from YOUR environment, creating a living culture you can use to make bread, rolls, pancakes, biscuits, and more.
Having a sourdough starter opens up a world of new baking recipes, sure, but there’s actually more to it than that. The natural fermentation process can make grains easier to digest for some people (it helps both of us!) by reducing the phytic acid found in grains. This wild yeast transforms everyday recipes into more nutritious meals that can support gut health, reduce bloating, increase nutrient absorption, and control blood sugar. You can even make a sourdough pizza crust so you can enjoy a slice of pizza that’s better for you!
Plus, once you have a healthy starter going, you can keep it alive for years with just flour, water, and a little care. This makes me feel much more self reliant, as I don’t have to keep commercial yeast in my pantry.
I also love using sourdough starter because it adds wonderful flavor to my foods: a little tangy, a little rich, and much more interesting than plain dough. It helps me create foods with a beautiful texture and depth of flavor.
What You Need to Make a Starter
You don’t need anything complicated to begin. You probably have everything you need already, in fact.
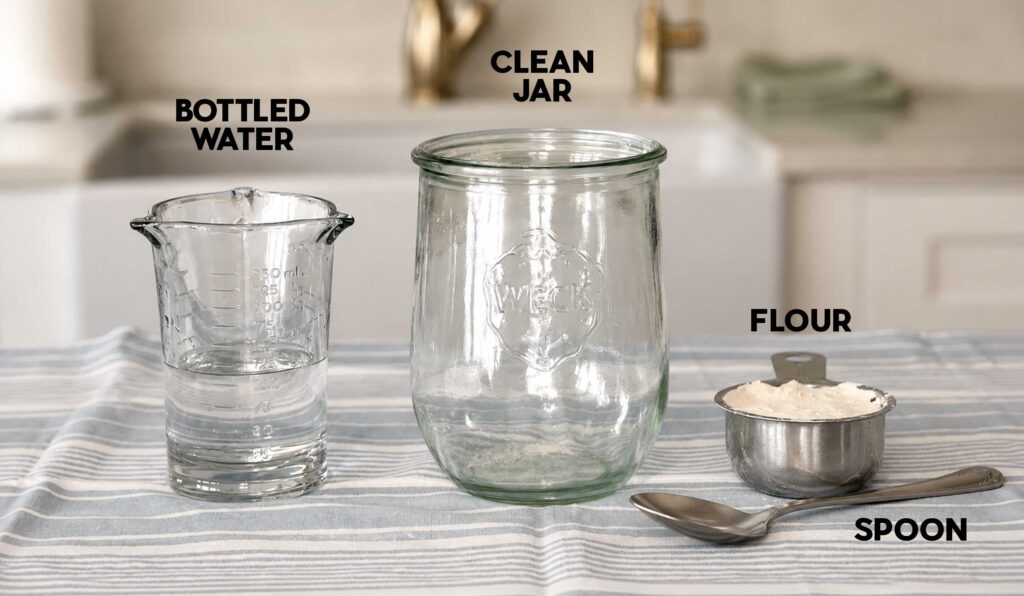
- flour (all-purpose, whole wheat, rye, or a mix)
- filtered water (avoid tap water, which can have chlorine in it that slows down the process)
- a clean jar or other non-metal container (I recommend one with wide mouth or opening about 1 quart or 1 liter)
- a spoon or knife
- a way to loosely cover your starter as it grows, such as a towel
MEASURING Tip

A digital kitchen scale makes the sourdough baking process much simpler, but it’s not strictly necessary and I didn’t use it when I was developing my first starter. If you don’t have one yet, just know that eventually you probably will want one for your sourdough baking, as it will much easier to add the right amount of ingredients and be successful.
When I started, I used what I already had in my kitchen. No special jars, no special tools. That made it feel much more approachable. Whole wheat or rye flour can help speed things up in the beginning, but even that isn’t required (and I did not use it in the beginning).
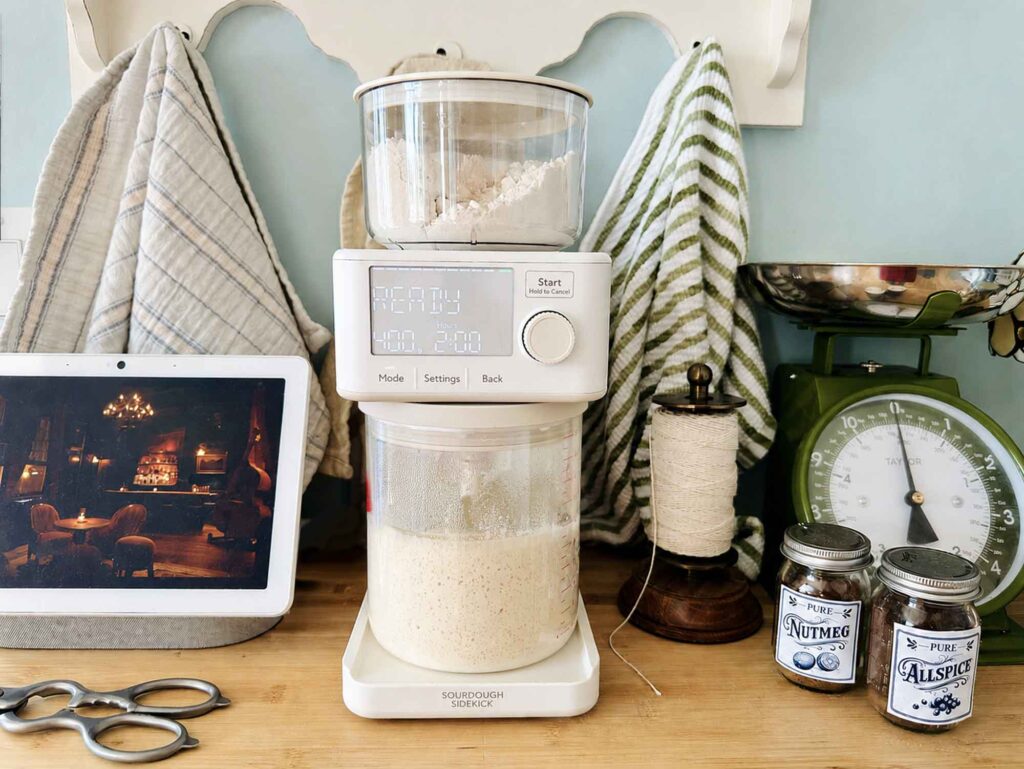
Now, if the starter itself seems like the main struggle for sourdough baking, I might have a solution. I recently bought a new device called the Sourdough Sidekick to help me maintain my starter, but it can also create a new one from scratch … and all you have to do is fill it with flour and water, and it does the rest. Here is my Sidekick in action in my kitchen, with a fresh batch of starter it had ready and waiting for me so I could bake on a Saturday morning when I had time.
But you don’t NEED a device to make a sourdough starter, and I’ll show you exactly how to do it yourself.
How to Make a Sourdough Starter From Scratch
This process usually takes about 5–7 days, though it can vary depending on temperature and flour.
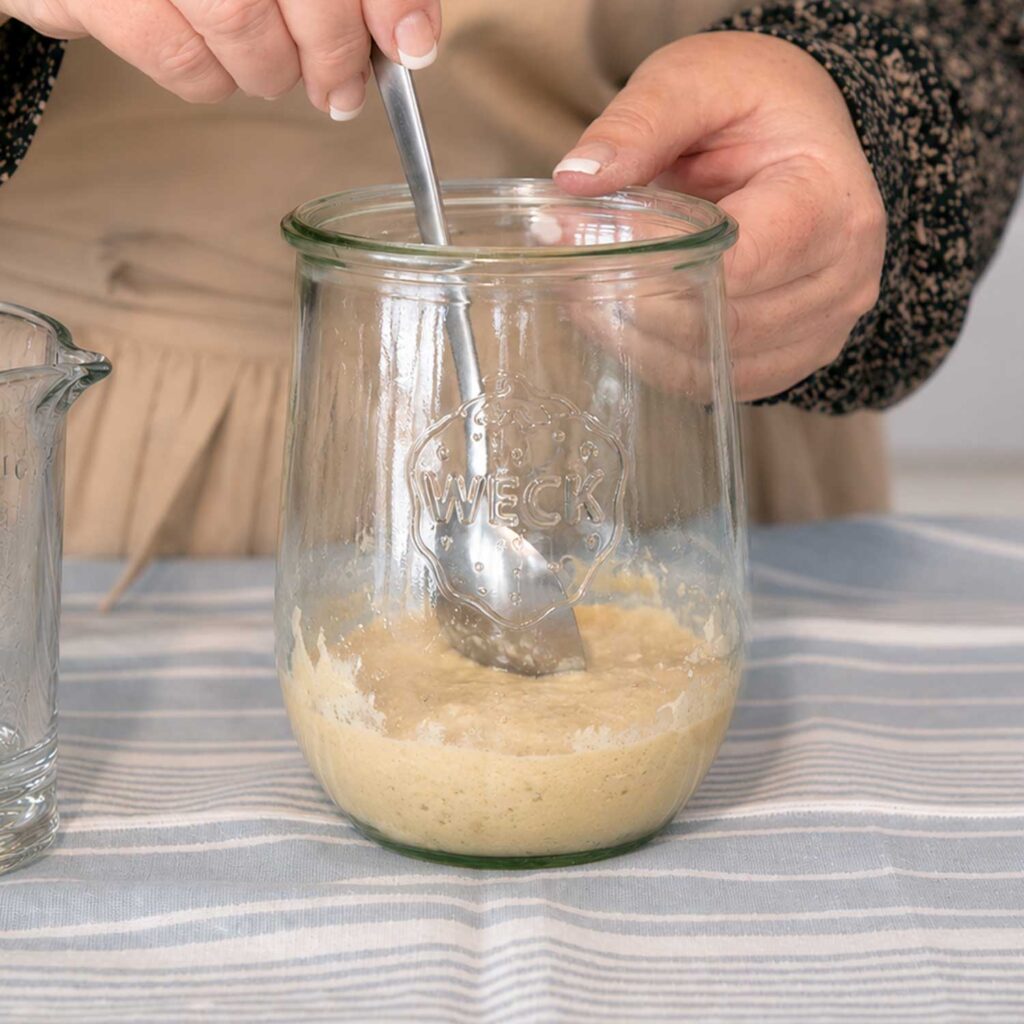
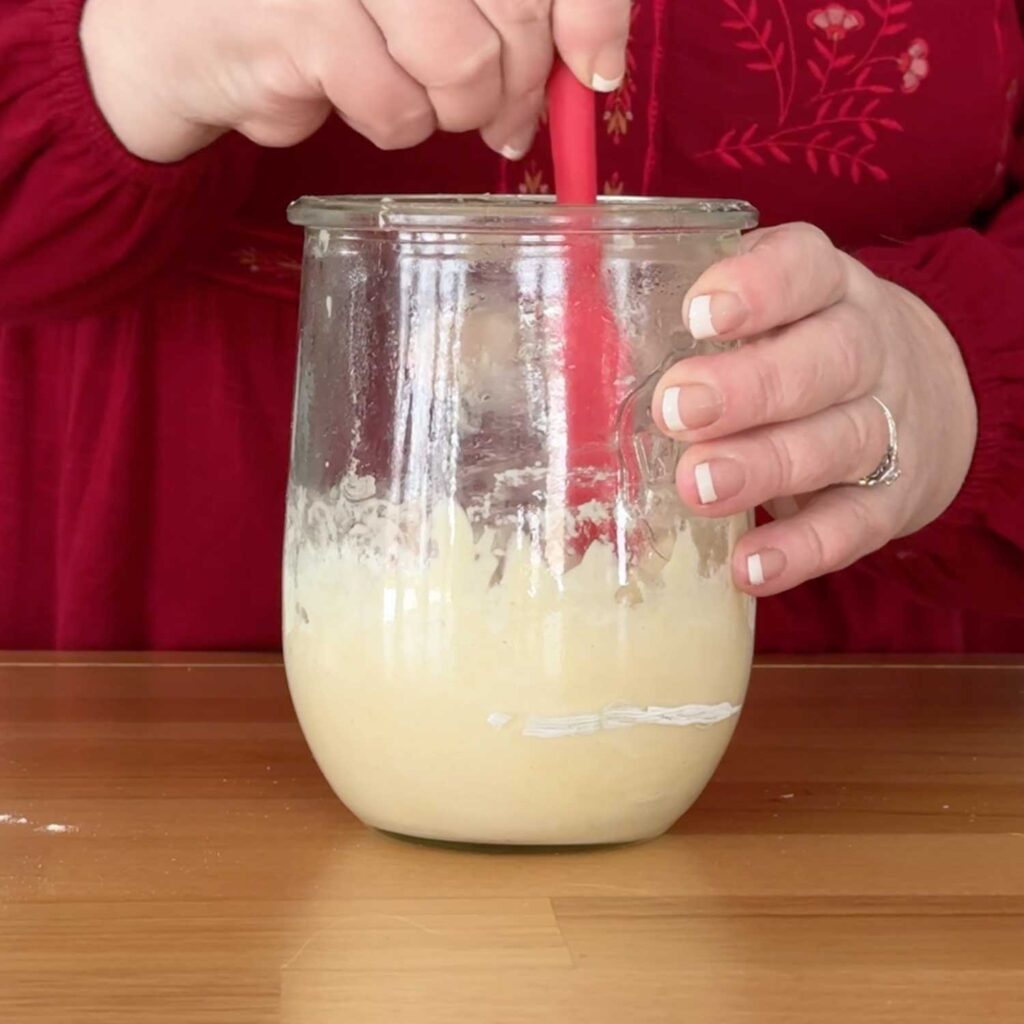
Day 1: Mix
Mix:
• 50 g flour (about ⅓ cup + 1 tablespoon)
• 50 g filtered water (3 tablespoons + 1 teaspoon) at room temperature
Stir until smooth and cover loosely with a towel, cloth, or an unsealed/askew jar lid so the carbon dioxide produced can escape, Leave at room temperature for 24 hours.
At this stage, it won’t look like much. That’s normal.
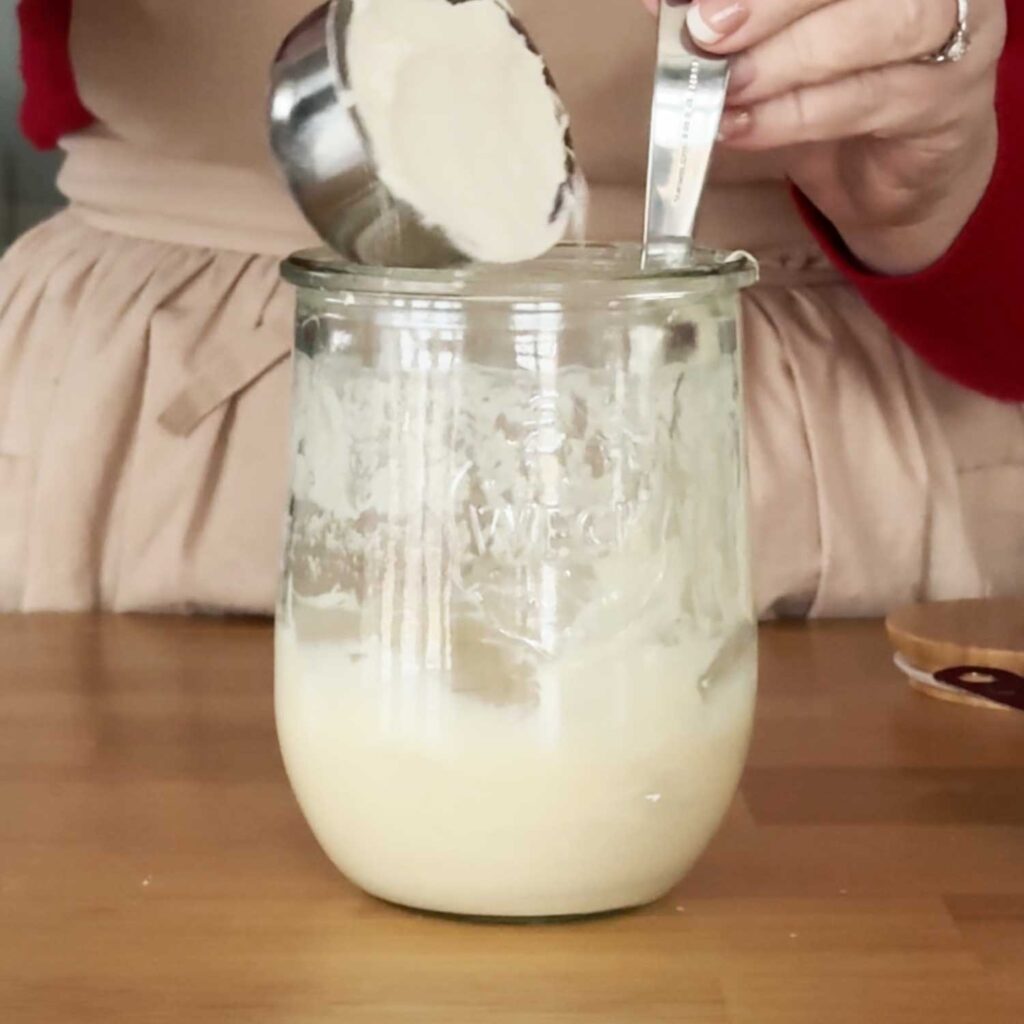
Day 2: Feed
You may see a few bubbles, or none at all. Discard half, then “feed” your starter with 50g flour and 50g room-temperature water. Stir well, scrape down the sides, and loosely cover again.
At this point, it’s helpful to mark the level of your starter so you can see if it rises and falls. Use a chalk marker or a rubber band.
CLEANING UP STARTER

Never put your sourdough discard down your kitchen sink drain, as that can damage your plumbing when the flour and water turns into a cement-like substance. Instead, wipe spoons and knifes clean immediately with a paper towel or let them dry and scrape the residue off directly into your compost. Soak bowls and jars in COLD water and dump them outside (starter is a natural fertilizer and plants love it). Don’t use hot water, which will make it gluey.
Day 3: Feed Again
Discard half and feed again with 50g flour and 50g water. Stir, mark the level, and cover loosely.
This is usually the stage where people start to doubt the process … I know I did. Some days mine looked active, and other days it didn’t seem to be doing anything at all. Don’t worry.
Days 4-6: Keep Feeding
Repeat daily: discard half, feed with 50g flour and 50g water, stir, mark the level, and loosely cover.
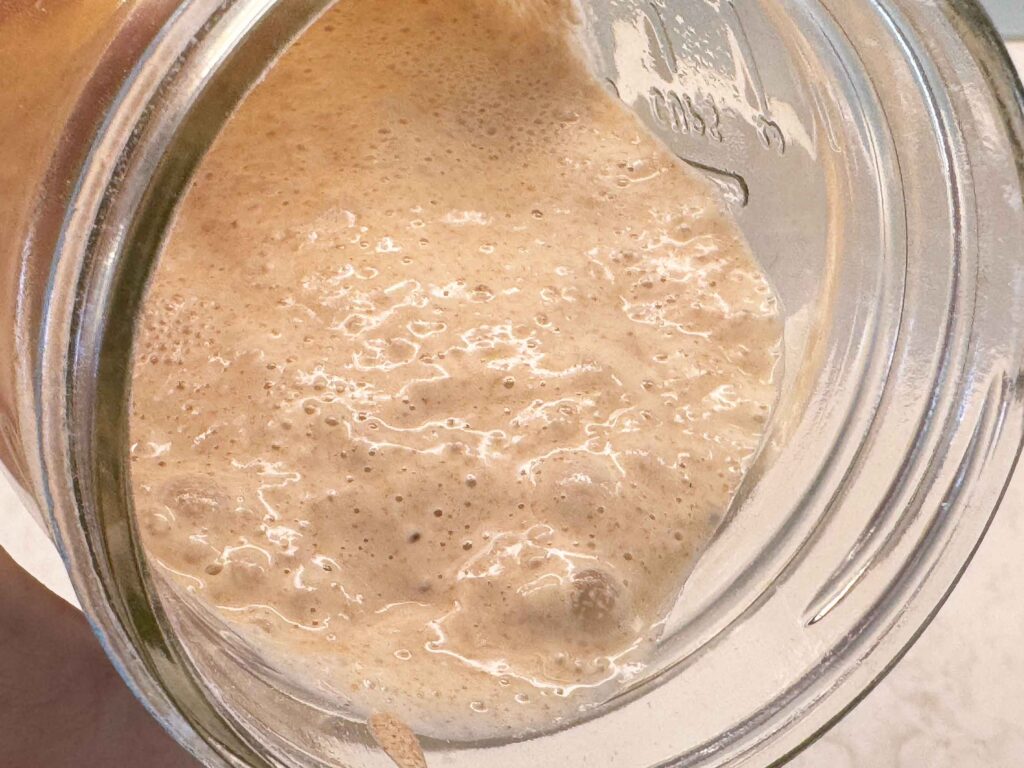
Bubbles should increase now, and the starter may begin to rise and fall.
WHERE TO PUT DISCARD
In the first few days, while your starter is still brand new and getting established, it’s best to throw the discard away or compost it because the yeast and good bacteria are not strong enough yet. I recommend you get some large paper cups to hold your discard as you remove it from your starter. Later on, you can make fun things with the discard, like sourdough cinnamon rolls and sourdough biscuits!
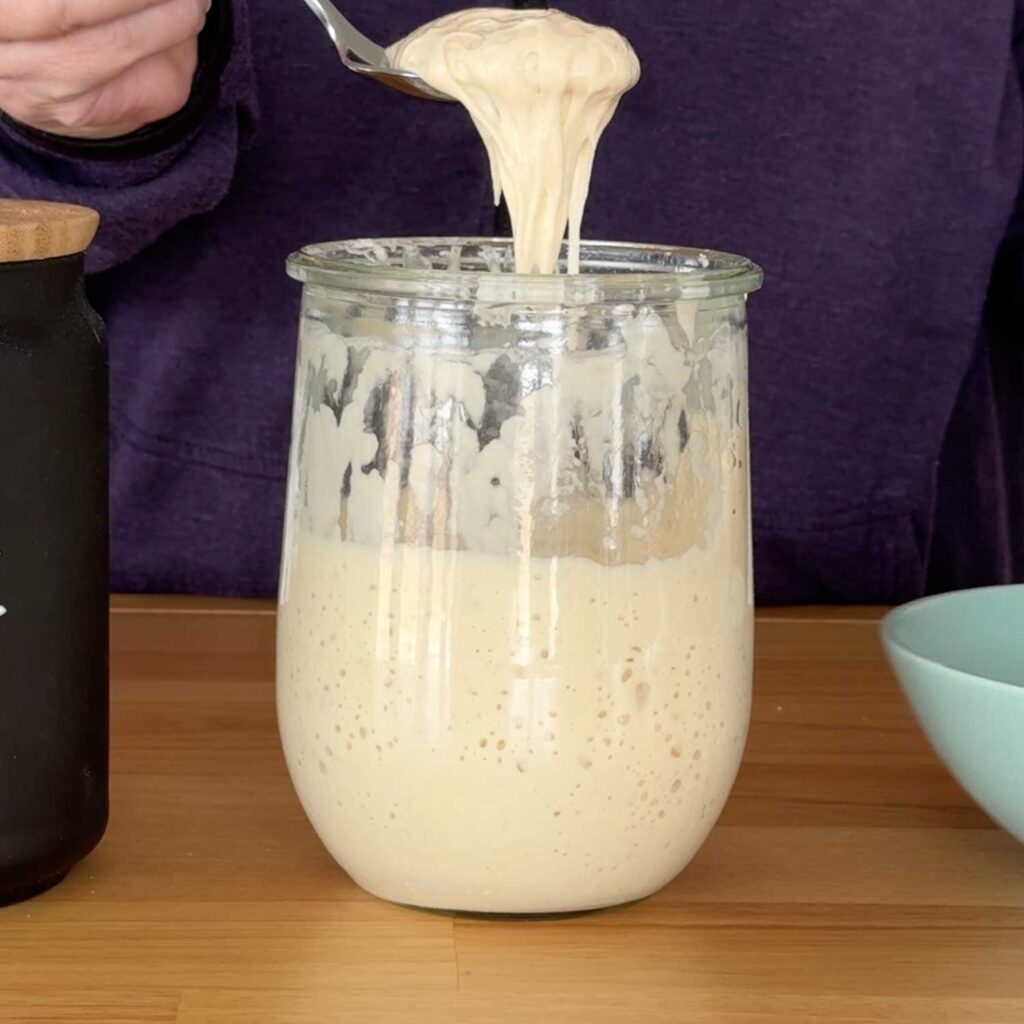
Days 6–7: Ready!
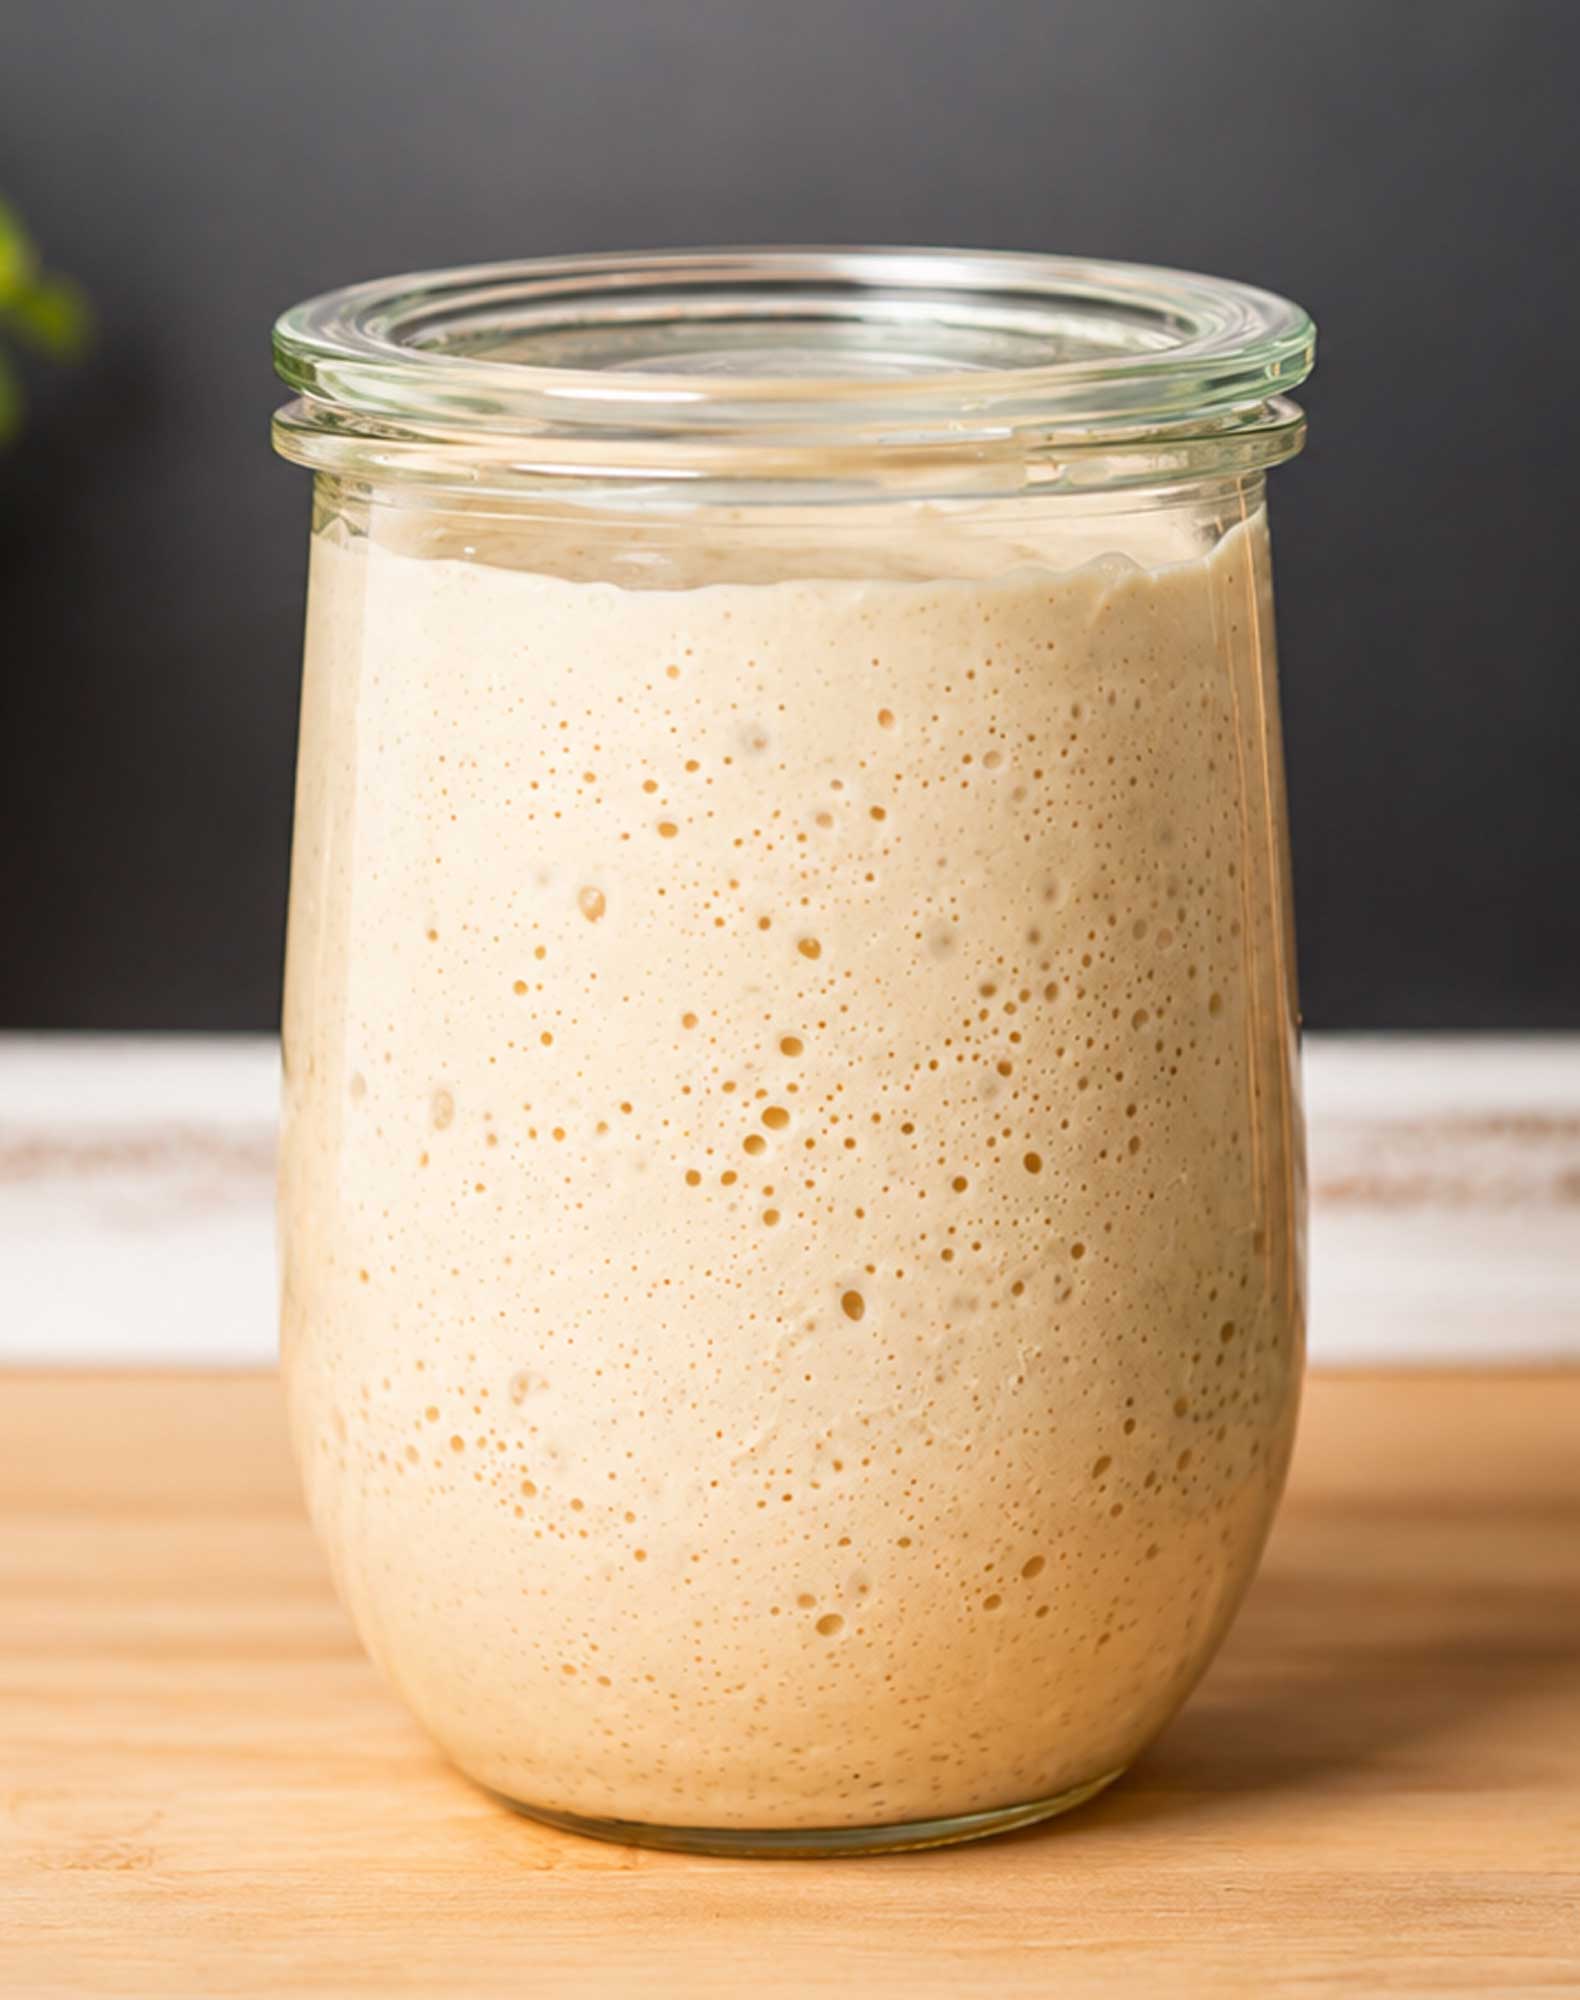
Your starter is ready when it:
- doubles in size after feeding
- looks bubbly and airy
- has a pleasant tangy smell
- passes the float test (a small spoonful of starter will float in a cup of water)

This is the turning point. Once it starts rising reliably, it becomes something you can actually use.
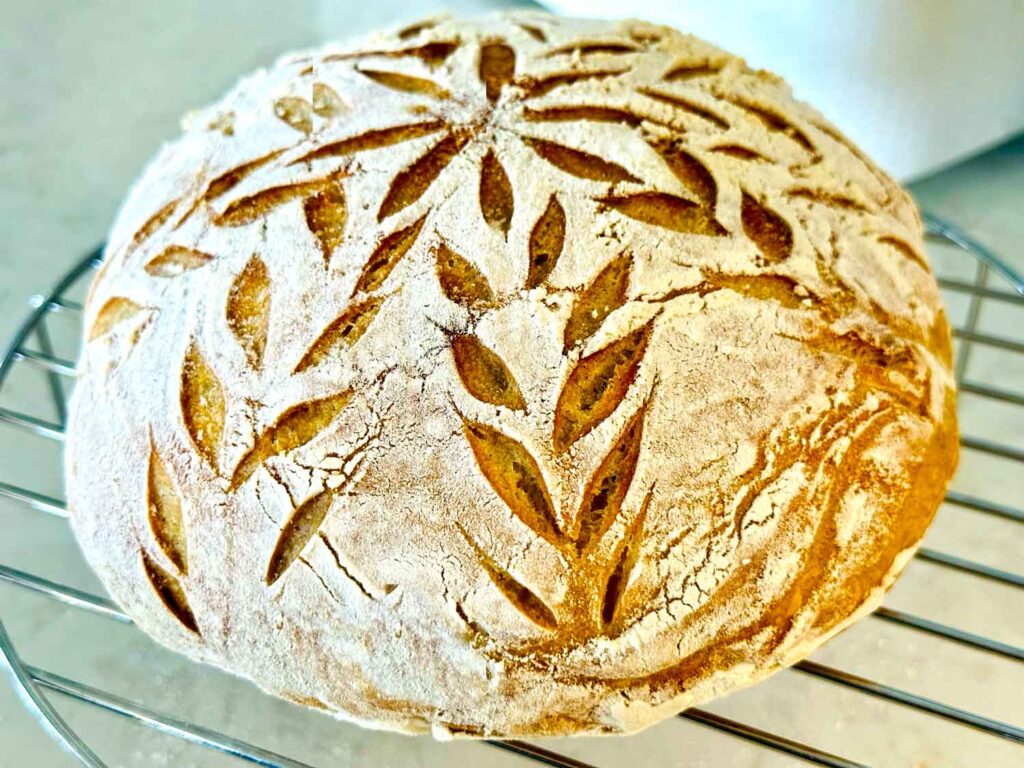
You’re now ready to bake it with it! I recommend trying an easy sourdough focaccia or sourdough bread for beginners first, and I have a whole guide to help you make it!
HOW TO GET OTHER STARTERS

If all this seems like too much, or you’ve tried this without success, there’s a shortcut you can take: get a living starter from someone else and feed it instead of making your own. A living starter is a small portion of an established starter that you can feed and use instead of starting from scratch. I tried this, too, and it worked really well! Here’s the living starter I used, which comes with directions on what to do to get it up to speed in your own kitchen.

Want to Save This Recipe?
Enter your email below and we’ll send it straight to your inbox! Plus you’ll get new recipes each week!
Sourdough Starter Recipe
Equipment
- 1 clean jar or other container (at least 1 quart or one liter in size)
- measuring cups or digital scale
- 1 spoon
- 1 towel or cloth (to cover your jar)
- 1 rubber band or chalk marker (optional, to mark your mixture level)
Ingredients
- 50 g flour (all purpose, whole wheat, or rye)
- 50 g bottled water (avoid any water that could have chlorine in it, like tap water)
Instructions
- Mix flour and water in a jar until smooth.
- Cover loosely and leave at room temperature. Mark your mixture line with a rubber band or chalk marker so you know what level you began at.
- Each day, discard half and feed with equal parts flour and water.
- Repeat daily until the starter is bubbly and doubles in size after feeding.
Video
How to Feed a Sourdough Starter
Feeding your starter simply means giving it fresh flour and water so the yeast stays active.
A common feeding ratio is:
1:1:1 by weight
Example:
- 50 g starter
- 50 g flour
- 50 g water (bottled for best results)

NO SCALE?

If you don’t have a scale and need to do it by volume, use 1 part starter and 1 part water to two parts flour.
For example, 1/4 cup starter, 1/4 cup water, and 1/2 cup flour. The texture should be like a thick pancake batter. If it seems very runny, add 1–2 extra tablespoons of flour. If it seems stiff and dry, add a tiny splash of water.
There are plenty of people who don’t even measure for their feedings and just eyeball it, too. But in the beginning, when you’re learning, it’s more helpful to measure.
Stir well and let it sit at room temperature.
When I started, I worried a lot about exact measurements. Over time, I realized the starter is more flexible than it seems. Consistency matters more than perfection.
How Often Should You Feed It?
That depends on how you store it.
If kept at room temperature
Feed once per day
If stored in the refrigerator
Feed once per week
I prefer storing mine in the refrigerator most of the time. It turns sourdough into something that fits into my routine instead of something I have to keep up with every day.
How to Tell If Your Starter Is Healthy
A healthy starter should:
• double in size within a few hours of feeding
• have visible bubbles
• smell slightly tangy (not unpleasant)
This was one of the biggest mindset shifts for me: learning to look at the starter instead of just following a schedule. Once you recognize these signs, you stop second-guessing everything.
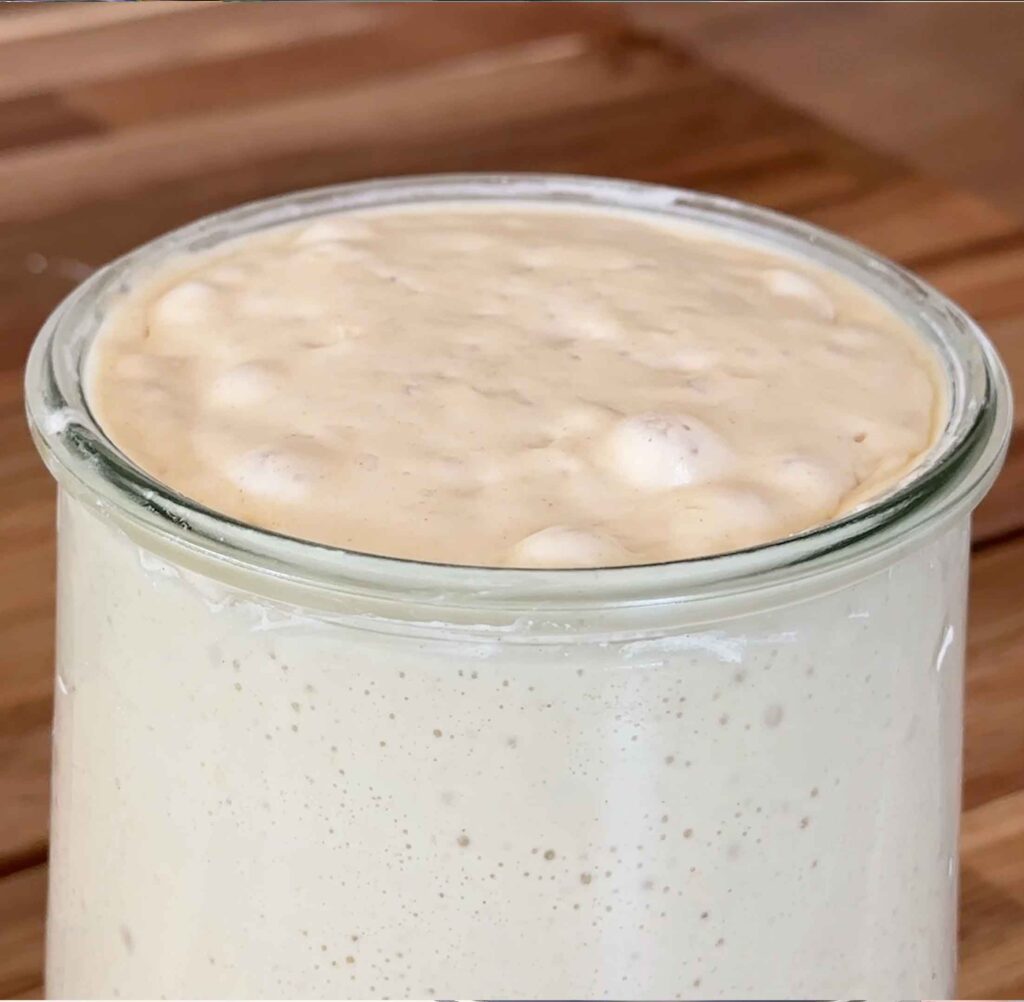
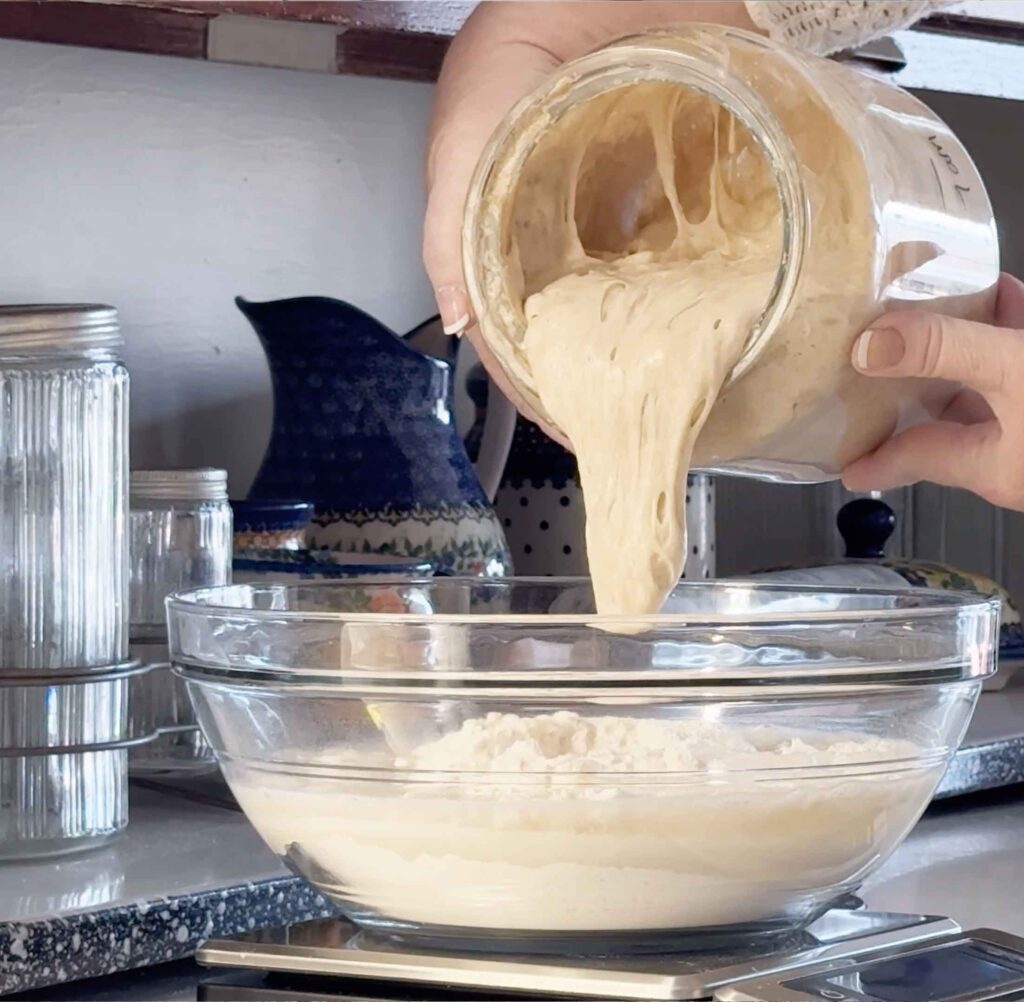
When to Use Your Starter
The best time to use your sourdough starter is when it is at its peak activity, which means after it has been fed, has fully risen, and has just levelled off at the top. This is when the yeast is most active and capable of giving your sourdough bread dough a strong rise. In my experience, this usually happens about 4–8 hours after feeding, but it can be as long as 12 hours or more depending on the temperature of your kitchen. You’ll know it’s ready when it has doubled in size, looks bubbly and airy, has a slightly domed surface. One simple way to check is the float test: drop a small spoonful of starter into a bowl of water … if it floats, it’s filled with enough air to help your dough rise. Just be aware that it may be okay even if it doesn’t float.
If you wait too long and it begins to fall, it can still be used, but it won’t be quite as strong. Learning to catch the starter at this stage made a noticeable difference in how well my bread rose.
Why Rye Flour Can Help
Rye flour contains more natural nutrients and microorganisms than many other flours. These help feed the yeast and bacteria in your starter, often making it more active and easier to establish.
When mine feels sluggish, or comes from the refrigerator, adding a little rye flour makes a noticeable difference. It’s not required, but it can give your starter a helpful boost.
Common Starter Problems
No bubbles after several days
Your kitchen may be too cool. Move the starter to a warmer spot, like near your stove. I noticed mine became much more active when I stopped leaving it near the window.
Starter smells unpleasant
This can happen early on. Continue feeding regularly, as it usually corrects itself.
Starter gets a hard crust on it
Totally normal. I just remove it before I use it again.
Starter isn’t rising well
It may need more time or more frequent feedings. Just letting it develop at its own pace was one of the hardest things for me.
What to Do With Discard
Each time you feed your starter, you remove a portion to keep the size manageable.
That “discard” can be used in:
- sourdough cinnamon rolls
- pancakes
- waffles
- crackers
- biscuits
I like keeping a small container of discard in the refrigerator so it doesn’t feel wasteful. It turns into an easy ingredient instead of something you’re throwing away.
Storage and Maintenance
Once your starter is established, you can choose a routine that fits your schedule.
Frequent baking
Keep it on the counter and feed daily
Occasional baking
Store in the refrigerator and feed weekly
For me, this is what made sourdough sustainable. It stopped being something I had to think about constantly and became something I could return to when I wanted to bake. My schedule now is to get it out of the refrigerator once a week, feed it twice, use it to make 2-3 batches of dough, then put it back into the refrigerator until the following week.
Jennifer’s Notes from the Maker Farm Kitchen
Starting a sourdough starter is less about precision and more about consistency. You’re creating the conditions for something to grow, and that takes a little time.
For me, the biggest shift was realizing I didn’t need to control every part of the process. Once I let it develop naturally and paid attention to what it was doing, it became much easier and much more enjoyable.
And once you have a healthy starter, it opens the door to something really satisfying: baking your own bread from the simplest possible ingredients, over and over again.
And when your starter is ready, use my beginner-friendly recipe to make some bread!
Did you make this?
Please let me know what you think! I thrive on your feedback, and it encourages me to keep going and also to improve as I go along. YOU are why I do all of this! Leave me a comment — I read every one!
")
")
")
Meet Jennifer
Jennifer cooks and experiments in the kitchen at Maker Farm, where she focuses on simple pantry cooking, homemade staples, and practical recipes that make everyday meals easier. Over the years she has tested many ways to make cooking simpler and more dependable, and shares the methods that work best in her own kitchen, occasionally showing them on her Heart to Home at Maker Farm vlog.
During the pandemic, I tried sourdough and never really could get it to work. I appreciate your comments and directions so much! I think I’m ready to try it again. You are amazing and I love reading about your adventures on the farm.
I hope you will try again! There’s definitely a learning curve, but once you get over it, it’s really fantastic. I just made the dough for two more loaves today for the week, and it was a very smooth and simple process. It feels REALLY good to be able to do this!! Please keep me updated on it!
Wow, your directions make Starter look doable! I plan to start today, thank you!
So happy to hear this, Pat! I hope you try and report back, or ask questions if you get stuck. Remember to use bottled water — it does make a difference.