There’s something magical about making your own maple syrup. I’m talking about the kind of magic that happens when you take something as simple as tree sap, clear as water, barely sweet, and transform it into golden syrup that tastes like springtime and comfort all at once. We did exactly that last year, and I want to walk you through the whole process so you can try it, too.
You don’t need fancy equipment or acres of maple trees. You just need one maple tree, a little patience, and the willingness to try something that might feel unfamiliar at first but becomes surprisingly straightforward once you begin. If you’ve ever wondered how maple syrup is actually made, or if you’ve thought about tapping your own trees but weren’t sure where to start, this guide is for you.

Why Make Your Own Maple Syrup?
Let me be honest: making maple syrup takes time. It’s not a quick day-long project. But here’s what you get in return: pure, unprocessed sweetness that you made yourself, using what’s already growing on your land or in your neighborhood. There’s no list of mysterious ingredients, no questions about where it came from or how it was handled. Just sap, heat, and a little bit of care.
Homemade maple syrup tastes different, too. It’s richer, more nuanced, with flavor notes that shift depending on when you collected the sap. Early season syrup is light and delicate. Later in the season, it becomes darker and more robust. Both are delicious, and both carry the story of the tree they came from.
Beyond taste, there’s a special satisfaction in knowing you created something valuable from scratch. It’s the kind of accomplishment that feels grounding, that reminds you what’s possible when you pay attention to the rhythms of the season and trust the process.
When to Tap Maple Trees
Timing is everything when it comes to collecting sap. You’re looking for that sweet spot in early spring when nights still dip below freezing but daytime temperatures climb above it, usually somewhere between 32 and 45 degrees Fahrenheit. This freeze-thaw cycle is what gets the sap flowing.
For us last year in southeast Michigan, that window opened in March. The snow was still melting, mornings were crisp, and by afternoon you could feel the earth starting to wake up. That’s when we headed out to the trees.
All trees produce sap, which is essentially the nutrient-rich liquid that moves through the tree and keeps it alive. But maple trees have a higher sugar content than most, which makes them ideal for syrup. Sugar maples are the gold standard, but you can also tap red maples, silver maples, and other varieties. They’ll all work, some just taste a bit different or require more boiling time.
Identifying Sugar Maple Trees
If you’re not sure whether you have maple trees on your property, here’s how to spot them. In warmer months, look for leaves shaped like the one on the Canadian flag, which is a five-pointed with smooth edges and deep notches. That’s your sugar maple.

In winter, when the leaves are gone, check the bark. Sugar maples have grayish-brown bark with rough, vertical ridges that give the trunk texture. Another clue: maple branches grow in opposite directions from each other, not alternating like some other trees. Once you know what to look for, they’re easier to spot than you’d think.

Another way you can tell a sugar maple from another maple is by its branches, which have a distinctive opposite branching pattern where the twigs and branches grow directly across from one another. Also, look for the small, sharp, dark brown, triangularly-shaped buds which I think look like little party hats.

We were thrilled to discover we had a bunch of sugar maples right here on our farm. It felt like finding something valuable that had been waiting all along for us.
What You Need to Get Started
The good news is that tapping trees doesn’t require a lot of specialized gear. We started with a simple maple sugaring kit that included a drill bit, a few taps (also called spiles), some buckets, and lids to keep debris out. You can find kits like this online pretty easily, and they’re not expensive.

Here’s what you’ll need:
- A drill with a bit specifically made for tapping (usually 5/16 or 7/16 inch)
- Taps or spiles to insert into the tree
- Food-safe buckets or bags to collect the sap
- Lids or covers to keep rain, bugs, and leaves out
- A way to transport and store the sap once collected
That’s really it to get started. You can always upgrade later if you get more serious about it, but this basic setup works beautifully.
How We Tapped Our First Maple Tree
On a sunny March morning when the temperature was comfortably above freezing, we headed out with our drill and supplies. The first step is finding a healthy tree that’s at least 10 to 12 inches in diameter. Smaller trees aren’t mature enough to tap without stressing them.
We picked a spot on the tree about waist-high, on the south side if possible since that’s where the sun warms the trunk first. Then we drilled a hole at a slight upward angle—just about two inches deep. You don’t need to go deeper than that.
As soon as we pulled the drill bit out, sap started to appear. Just a drop at first, then a slow, steady drip. It was one of those moments that feels a little bit like witnessing something you’re not supposed to see—the inner workings of a tree, revealed.
We gently tapped the spile into the hole with a hammer until it was snug, then hung the bucket on the hook. And just like that, the sap started collecting. One clear drop at a time, falling into the bucket with a soft, rhythmic plink.
It worked!
Collecting and Storing Our Sap
After about 24 hours, our bucket was full. Sap looks like plain water—completely clear, odorless, and only faintly sweet if you taste it. You’d never guess it would become syrup.
We brought the buckets inside and filtered the sap through a fine mesh strainer or cheesecloth to remove any bits of bark or debris. Then we stored it in clean, food-safe containers. Sap is perishable, so if you’re not ready to boil it right away, keep it cold—either in the fridge or outside if the weather’s still chilly. You can store it for about a week before it starts to spoil.
Over the course of the season, we collected about 40 gallons of sap from our trees. That might sound like a lot, but here’s the reality: it takes roughly 40 gallons of sap to make just one gallon of syrup. The sap is mostly water, so you’re boiling off a huge amount of liquid to concentrate that sweetness.
Boiling Sap Into Maple Syrup
This is where the real work begins, but it’s also where the magic happens. Boiling sap is a slow, steady process that requires patience more than skill. You’re essentially evaporating water until what’s left is pure, concentrated maple syrup.
We started by pouring the sap into a large pot on our stove and turning the heat to medium-high. You can also do this outside over a fire, which is actually traditional and keeps all that steam out of your kitchen. If you go that route, a big roasting pan works really well.
The sap will start to bubble and then boil. And it will boil for hours. Seriously—hours. We’re talking about reducing 40 gallons down to one, so you can imagine how long that takes. Plan to stay nearby, keep an eye on the pot, and add more sap as the level goes down.
Your kitchen (or yard) will fill with a sweet, woodsy steam. It smells incredible, like a forest in spring mixed with caramel and warmth. But be prepared: that steam can make everything a little sticky, so crack a window if you’re doing this indoors. We didn’t really have that much of an issue as we kept our stove’s overhead exhaust fan running.
Homemade Maple Syrup
Equipment
- 1 large pot or roasting pan
- 1 digital thermometer
- 1 fine mesh strainer
- 1 sterilized glass jars for bottling
Ingredients
- 1 gallon maple tree sap
Instructions
- Step 1. Filter the SapFilter the collected sap through a fine mesh strainer to remove debris. Store sap in clean, food-safe containers in a cold place (refrigerator or outdoors if cold) if not boiling immediately. Sap can be stored for about a week.
- Step 2. Boil the SapPour the filtered sap into a large pot or roasting pan. Place the pot on a heat source (stove or outdoor fire) and bring to a boil over medium-high heat. Turn your overhead exhaust on, if you have one. Continuously boil the sap, adding more sap as the level reduces, to evaporate the water. This process will take many hours. Important: Keep a close eye on the pot to prevent boil-overs; reduce heat, line the pot rim with oil, or place a wooden spoon across the top of the pan if it threatens to boil over.
- Step 3: Monitor Temperature for Syrup ReadinessAs the sap reduces, monitor the temperature with a digital thermometer. The syrup is ready when it reaches 7°F above the boiling point of water (approximately 219°F or 104°C for most elevations). You can also check if syrup is ready by using a hydrometer or a refractometer, which measures the sugar density. We tried both, and honestly, the hydrometer gave us the most reliable results.When the syrup is done, remove the pot from the heat immediately once this temperature is reached to prevent over-thickening or crystallization.
- 5. Filter and Bottle the SyrupWhile the syrup is still hot, filter it through several layers of cheesecloth or a specialized syrup filter to remove any sediment or "sugar sand."Pour the hot, filtered syrup into sterilized glass jars, filling them almost to the top.Seal the jars tightly with lids. The hot syrup will create a vacuum seal as it cools, making it shelf-stable.
Video
How to Know When Syrup Is Ready
Here’s where precision matters. Maple syrup is ready when it reaches a temperature of 7 degrees Fahrenheit above the boiling point of water. Boiling point varies depending on your elevation, but for most people, that means heating the syrup to around 219 degrees Fahrenheit (or 104 degrees Celsius).
We used a digital thermometer to monitor the temperature closely. You can also use a hydrometer or a refractometer, which measures the sugar density. We tried both, and honestly, the hydrometer gave us the most reliable results.
Once the syrup hits that target temperature, it’s done. Don’t keep boiling past that point, or you’ll end up with syrup that’s too thick or even crystallized. Remove it from the heat right away.
Filtering and Bottling Your Syrup
Even after boiling, your syrup might have a little sediment or sugar sand in it—tiny mineral particles that settle out during cooking. It’s harmless, but filtering makes the syrup clearer and more appealing.
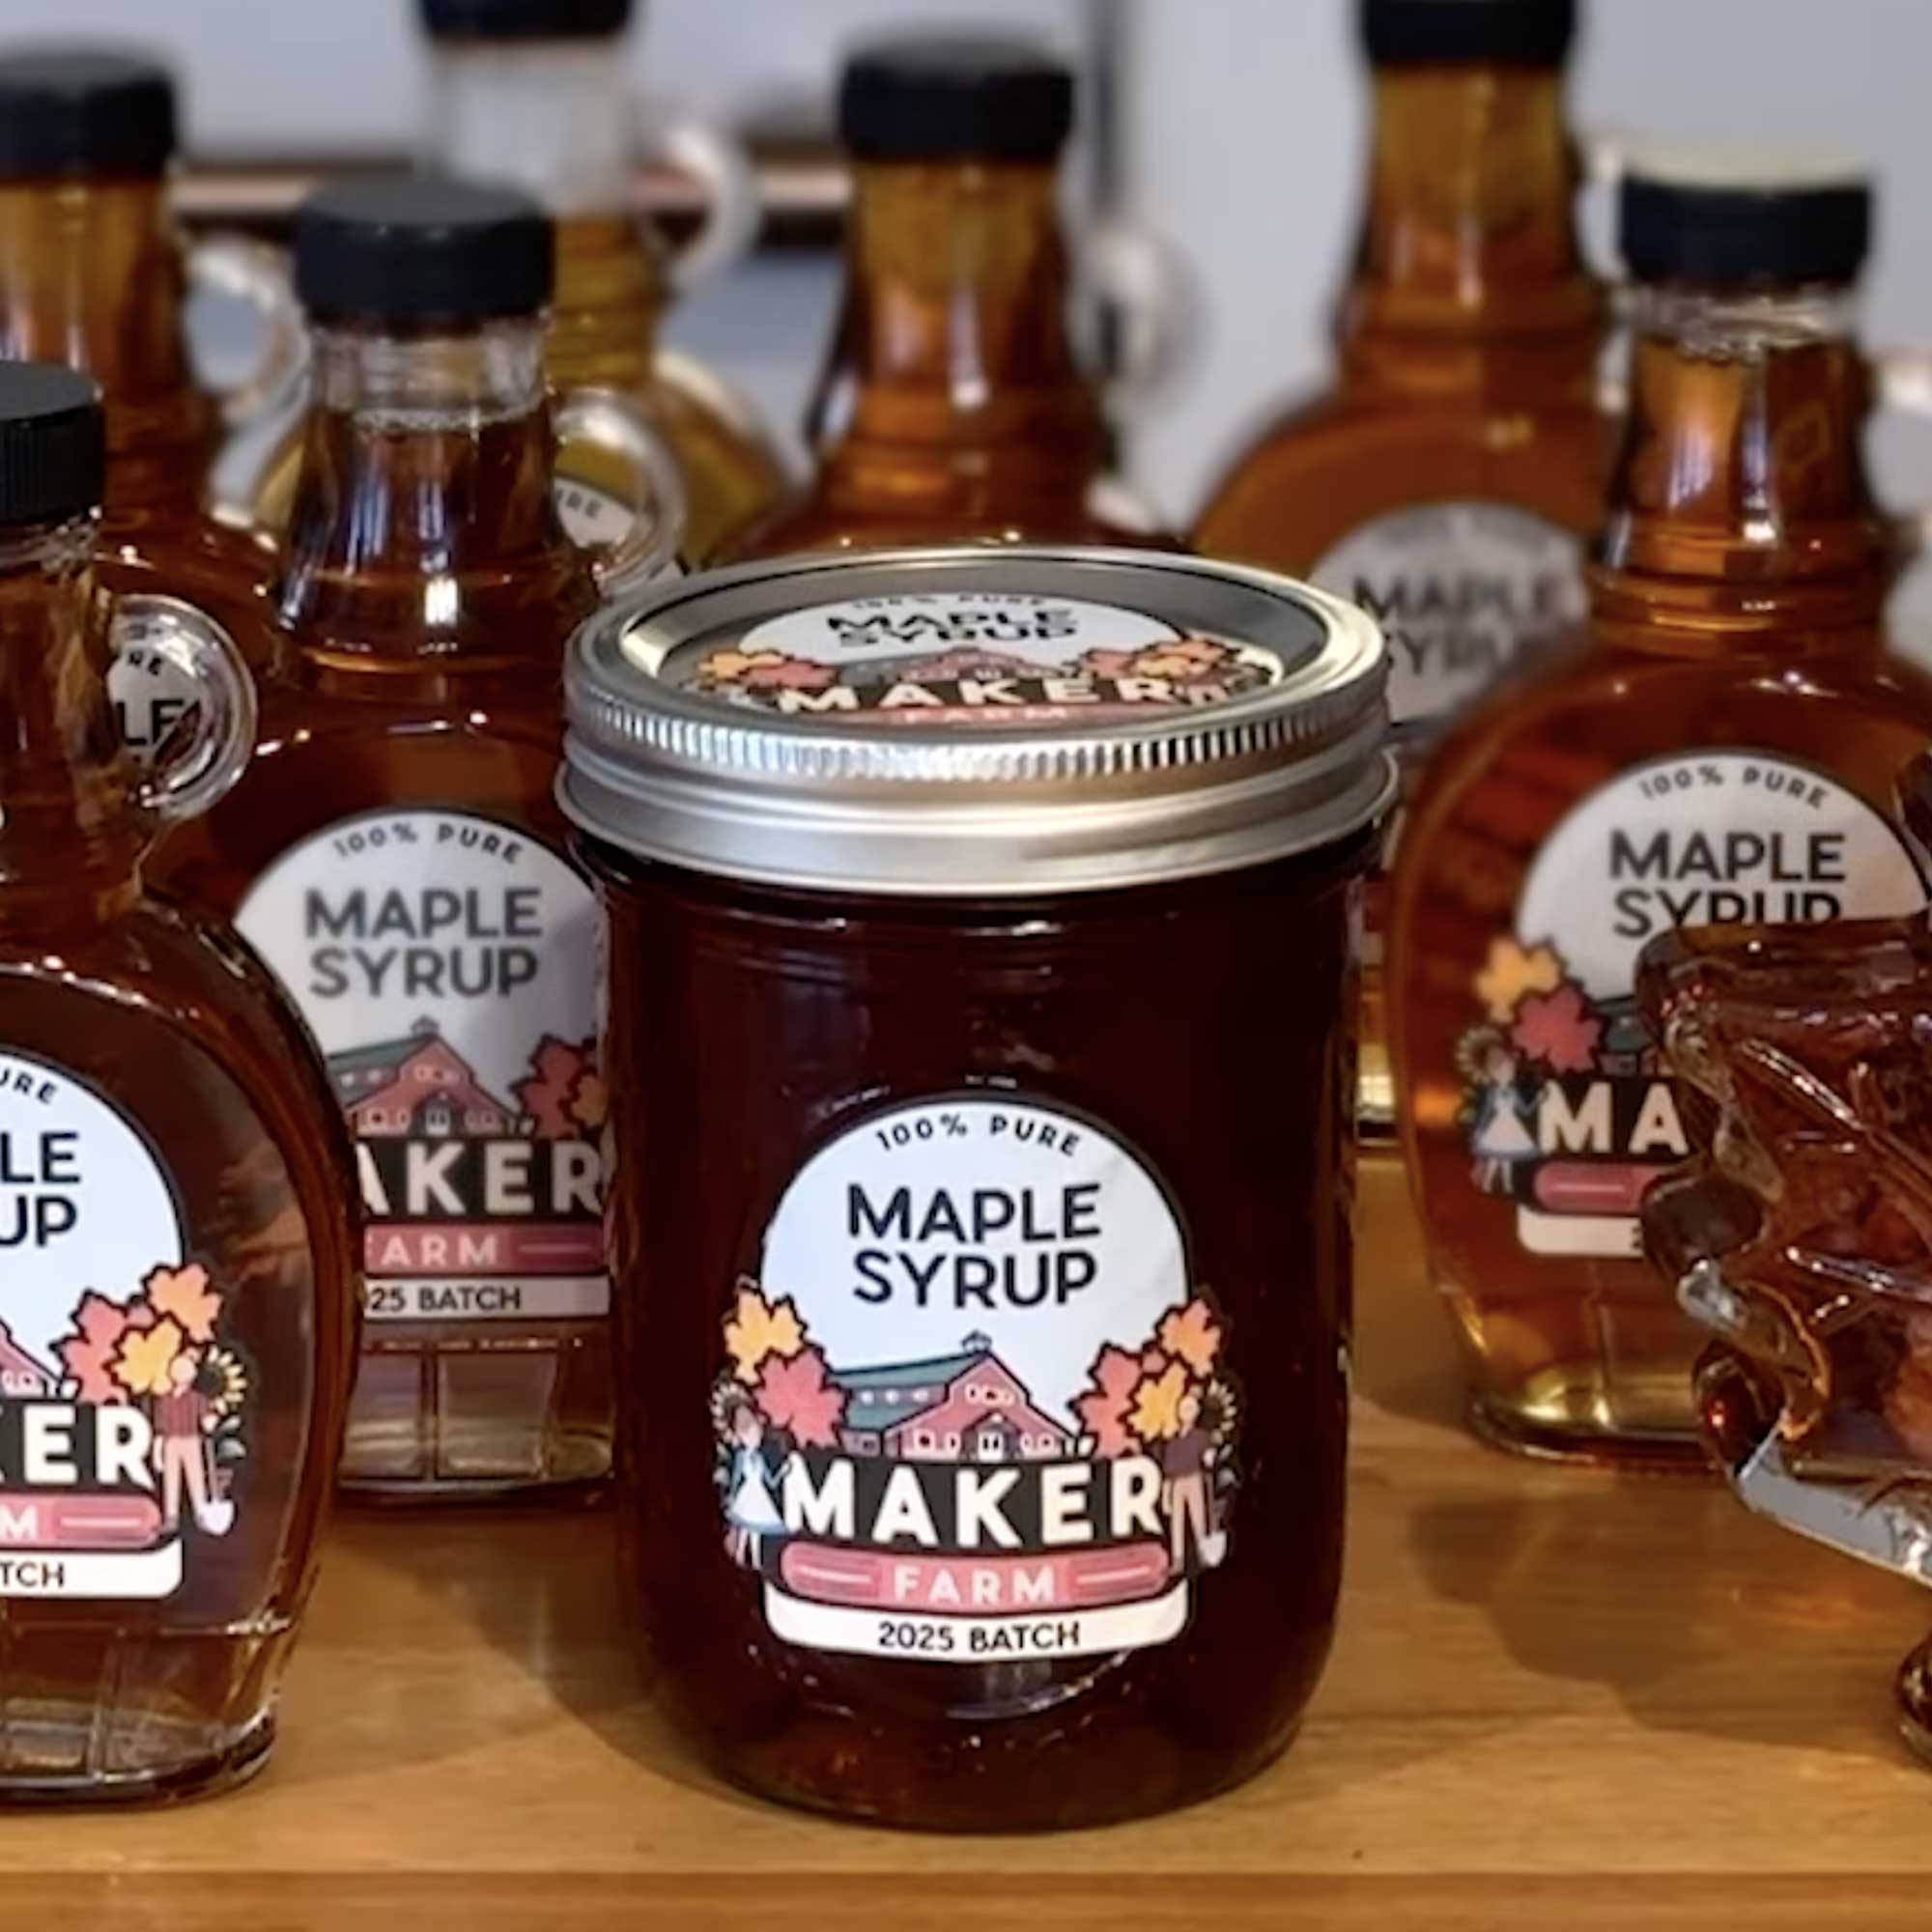
We filtered our syrup through a few layers of cheesecloth or a specialized syrup filter while it was still hot. Then we poured it into sterilized glass jars, filling them almost to the top and sealing them tightly. If the jars are hot and you seal them while the syrup is hot, they’ll create a vacuum seal that keeps the syrup shelf-stable.
The color of your syrup will change throughout the season. Early sap produces light amber syrup with a delicate, mild flavor. As the season progresses and temperatures warm up, the sap gets darker and the syrup becomes richer and more robust. Both are delicious—they just offer different experiences.
How Much Syrup Will You Get?
This year, our 40 gallons of sap gave us just about one gallon of finished syrup. That’s typical. The exact ratio depends on the sugar content of your sap, which varies by tree, location, and weather conditions, but you can generally expect somewhere between 35 to 50 gallons of sap per gallon of syrup.
One gallon might not sound like much after all that work, but here’s the thing: it’s pure, it’s yours, and it tastes better than anything you’ll find in a store. Plus, once you’ve done it once, the process becomes familiar and you can scale up in future years if you want to.
Storing Maple Syrup
Sealed jars of maple syrup can be stored at room temperature in a cool, dark place for about a year. Once you open a jar, keep it in the refrigerator where it’ll last several months.
If you notice any mold forming on the surface, don’t panic. You can actually skim it off, reheat the syrup to a boil, and it’s fine to use. But if the syrup smells off or fermented, it’s best to toss it.
For long-term storage, you can also freeze maple syrup. It won’t freeze solid because of the sugar content, but it’ll keep indefinitely in the freezer.
All of our jars of maple syrup stored really well, without any mold, and we’ve been enjoying them all year long.
Using Your Homemade Maple Syrup
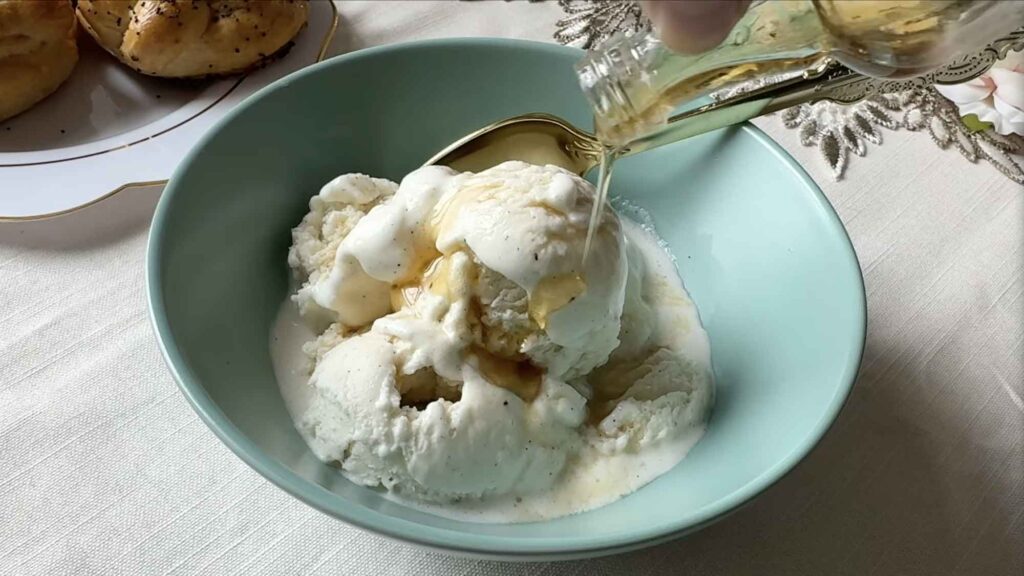
Now comes the fun part: actually enjoying what you made. Homemade maple syrup is incredibly versatile. Yes, it’s perfect on pancakes and waffles, but it’s also wonderful stirred into oatmeal, drizzled over yogurt, used in salad dressings, or baked into desserts. I used it on my snow cream recently… that was the best.
You can use it to sweeten coffee or tea (I like to add it to my homemade coffee creamer), glaze roasted vegetables, or add depth to marinades and sauces. Because it’s pure maple with no additives, the flavor shines through in whatever you make.
There’s something really special about knowing exactly where your food came from and having a hand in creating it yourself. Every time you pour that syrup, you’re reminded of the tree, the season, the slow hours of boiling, and the transformation that happened along the way.
Another fun thing to do is turn your maple syrup into maple sugar!
Tips and Troubleshooting
A few things we learned along the way that might help you:
Don’t tap trees that are too small. A tree should be at least 10 inches in diameter, and you should only put one tap per tree until it reaches about 20 inches.
Check your buckets daily. Sap flows fastest on warm, sunny days after a cold night, and buckets can fill up quickly.
Boil outside if you can. The amount of steam produced is significant, and it can cause moisture problems indoors.
Keep a close eye on your pot toward the end of boiling. Once the sap becomes syrup, it can go from perfect to burnt surprisingly fast.
Clean your equipment well. Sap residue can harbor bacteria, so rinse everything thoroughly between uses.
Label your jars with the date. It’s helpful to know when you made each batch, especially if you notice flavor differences throughout the season.

Is It Worth It?
I’ll be honest with you here… making maple syrup is not the most efficient use of time if your only goal is having syrup in the cupboard. You can buy a gallon for much less effort.
But that’s not really the point, is it? The value is in the doing, in the learning, in the connection to place and season. It’s in the pride of making something with your own hands and the stories you’ll tell every time you share it.
If you have maple trees and a little curiosity, I’d encourage you to give it a try. Start small, just one or two taps, one batch of syrup. See how it feels. Notice what you learn. Pay attention to the quiet satisfaction that comes from creating something sweet and real from what’s already growing around you.
You might find, like we did, that it becomes something you look forward to each spring, a ritual, a practice, a way of marking the transition from winter into the warmer months ahead. We are SO excited to tap our trees again this year and we’ve been talking about it for months. We’re hoping to level up our game a bit!
Besides, if you do this, you’ll have syrup that tastes like home, because it is.
Frequently Asked Questions About Making Maple Syrup
Can I tap trees in my backyard?
Absolutely. As long as you have a mature maple tree and permission to tap it (if it’s not on your property), you can make syrup anywhere. Urban and suburban maple trees work just as well as rural ones.
Will tapping hurt the tree?
Not if done properly. A healthy tree can easily heal a small tap hole, and the amount of sap you take is minimal compared to what the tree produces. Just don’t over-tap, and give trees a year or two of rest between tapping if possible.
What if I don’t have a sugar maple?
Other maples work, too … red maple, silver maple, and even box elder. You might need to boil a bit longer since the sugar content can be lower, but you’ll still get syrup.
Can I stop boiling and come back to it later?
Yes. You can refrigerate partially boiled sap and continue the next day. Just bring it back to a boil and keep going until it reaches syrup consistency.
How do I know if my sap has gone bad?
Fresh sap should be clear and nearly tasteless. If it looks cloudy, smells sour, or tastes off, it’s started to spoil and shouldn’t be used.
Do I need a special stove or setup?
Not necessarily. A regular kitchen stove works fine for small batches. If you’re processing larger amounts, an outdoor setup with a propane burner or wood fire makes more sense and keeps the steam outside. This year, we ordered a wood-fired evaporator and we’re excited to try it!
Final Thoughts
Making maple syrup from scratch is one of those experiences that stays with you. It’s simple in concept but rich in detail, and every step teaches you something about patience, observation, and transformation.
You start with something that barely tastes sweet and, through nothing more than heat and time, create something golden and delicious. It’s a reminder that good things often take longer than we expect, and that there’s real value in seeing a process through from beginning to end.
If you’ve been curious about tapping trees or making your own syrup, I hope this guide gives you the confidence to try. Start small, stay curious, and enjoy the journey as much as the destination. The trees are waiting, and spring will come around again before you know it. When it does, maybe you’ll be ready to collect that first bucket of sap and see where it takes you.
")


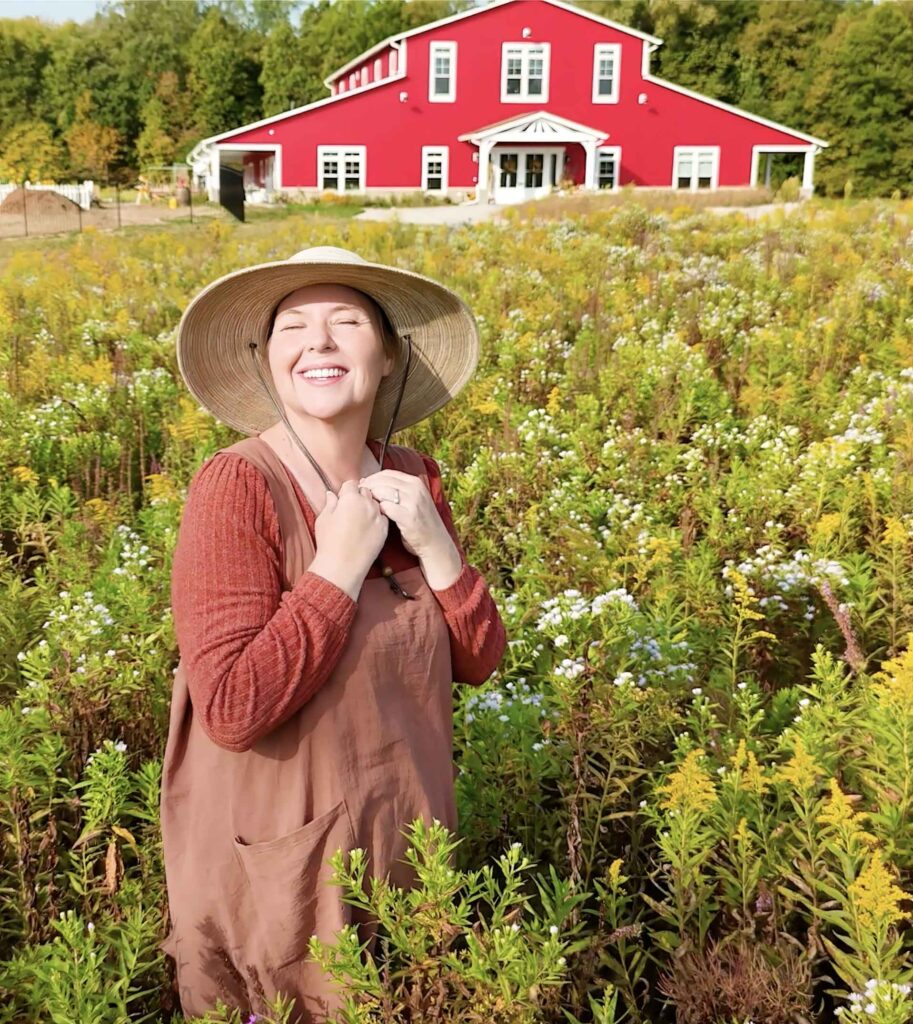
Meet Jennifer
Jennifer cooks and experiments in the kitchen at Maker Farm, where she focuses on simple pantry cooking, homemade staples, and practical recipes that make everyday meals easier. Over the years she has tested many ways to make cooking simpler and more dependable, and shares the methods that work best in her own kitchen, occasionally showing them on her Heart to Home at Maker Farm vlog.