

Warm pumpkin spice, big melty puddles of chocolate, and a little crunch from walnuts, all from a vintage, well-tested card from my mom’s recipe box. This is the BEST pumpkin chocolate chip muffin, and tastes like a warm hug from your mom on a sunny autumn day.
Pumpkin Chocolate Chip Muffins At A Glance
Prep
15 min
Bake
20 min
COOL
10 min
MAKES
12 muffins
Pan
Standard 12-cup muffin pan, greased
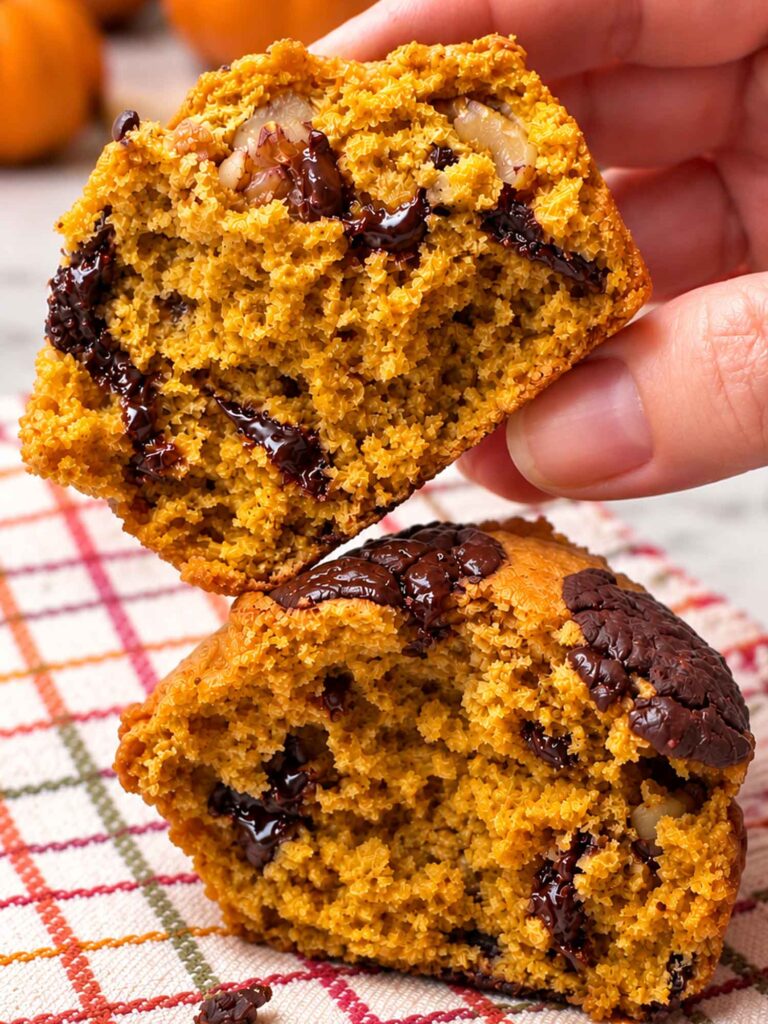
The BEST Pumpkin Chocolate Chip Muffins I Grew Up With

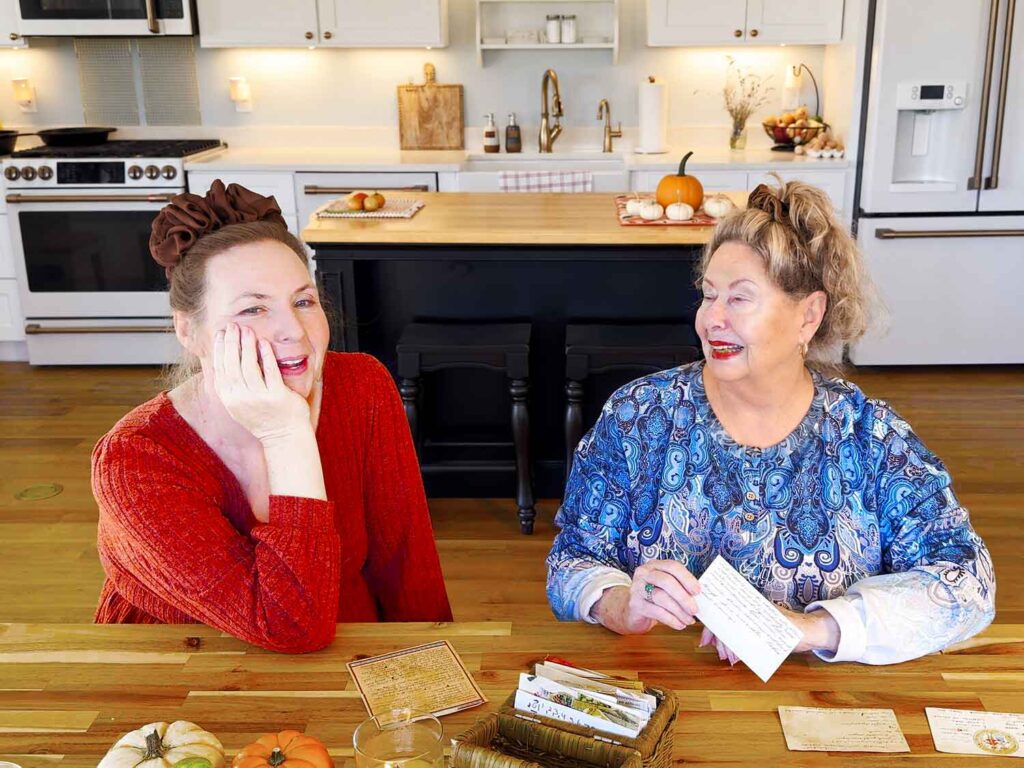
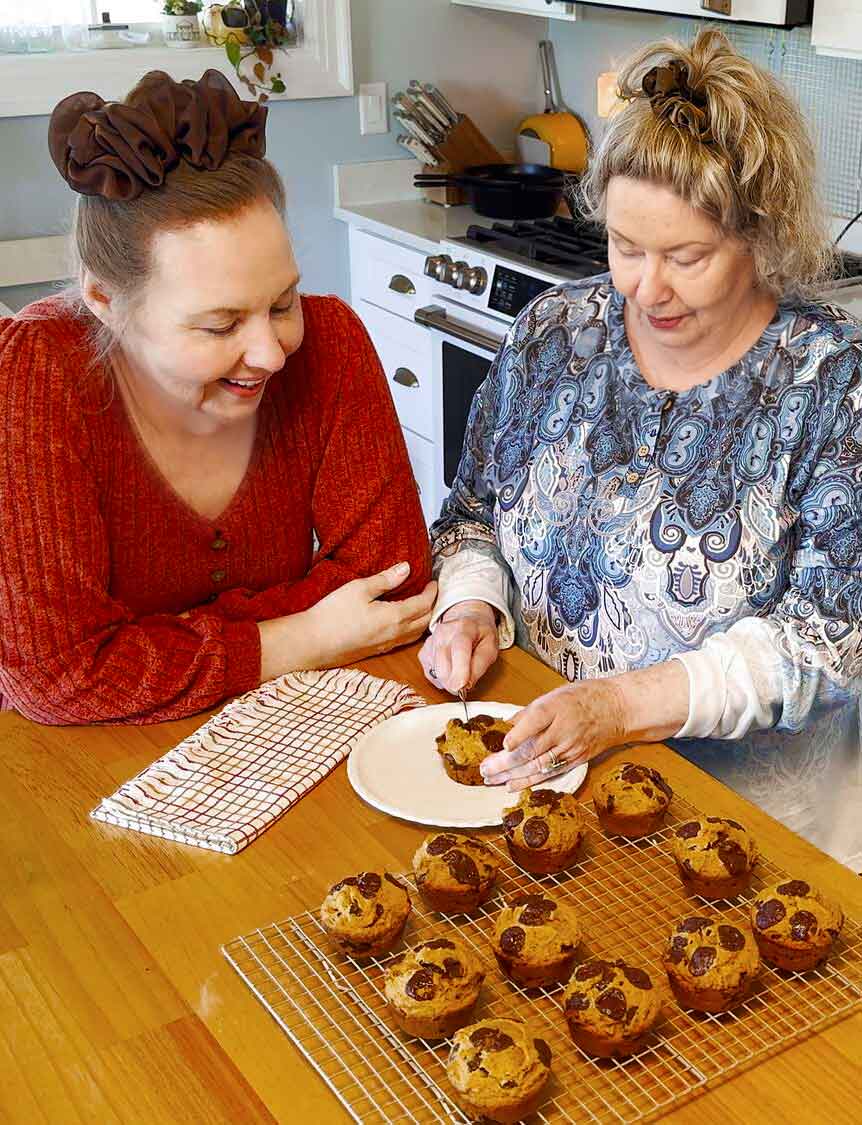
My mom has been making these pumpkin muffins since I was a kid. And I’ve been asking her for the recipe all year. If you saw my pumpkin bread recipe, you know I’ve been waiting. But she came over with her recipe box this fall… and I now have these delicious muffins to make myself and share with you!
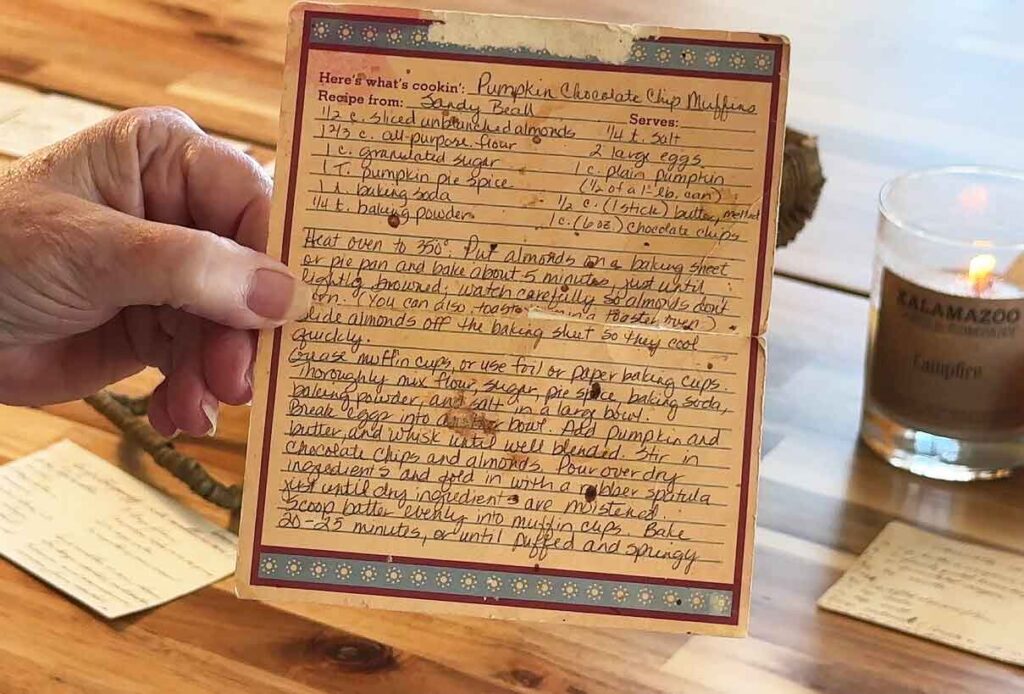
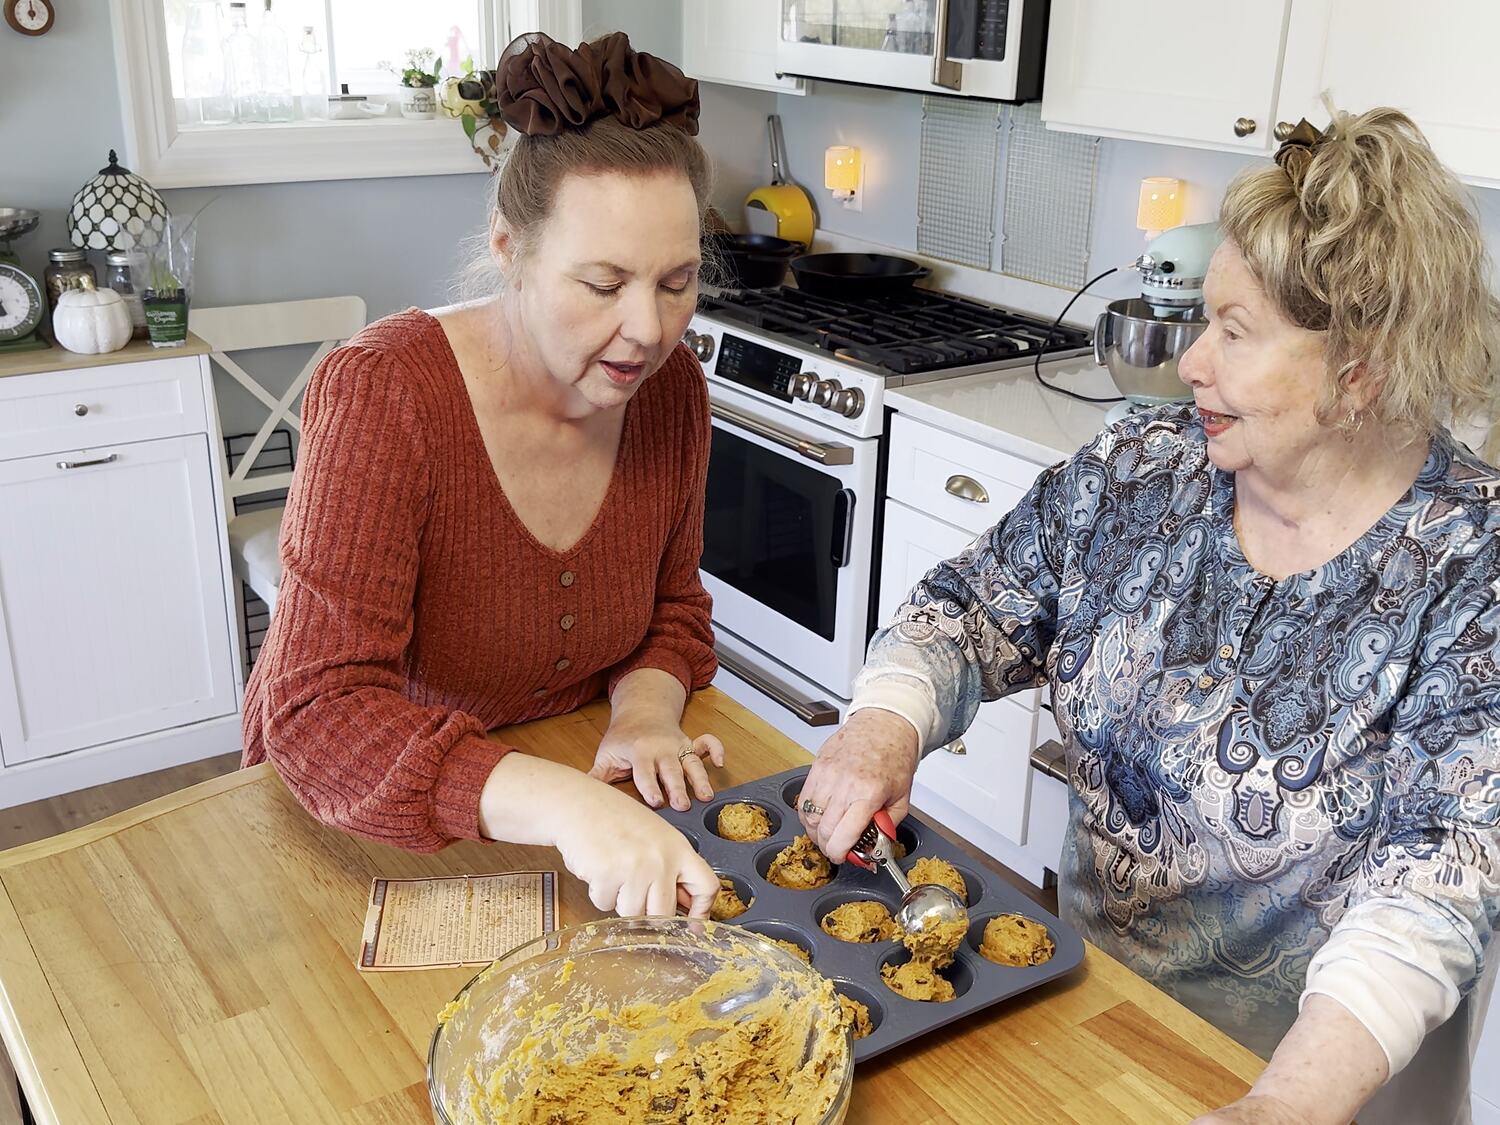
We made them together in my kitchen, with the card propped up on the counter between us. Halfway through, Mom changed her own recipe. She said she uses half brown sugar and half white sugar instead of all white… so that’s what we did, and that’s how I’ve written it below. Like all vintage recipes, what was written down, and what was actually used or done, were not always the same. That’s why I loved that we made these together, and I learned directly from her, and am passing it on to you.
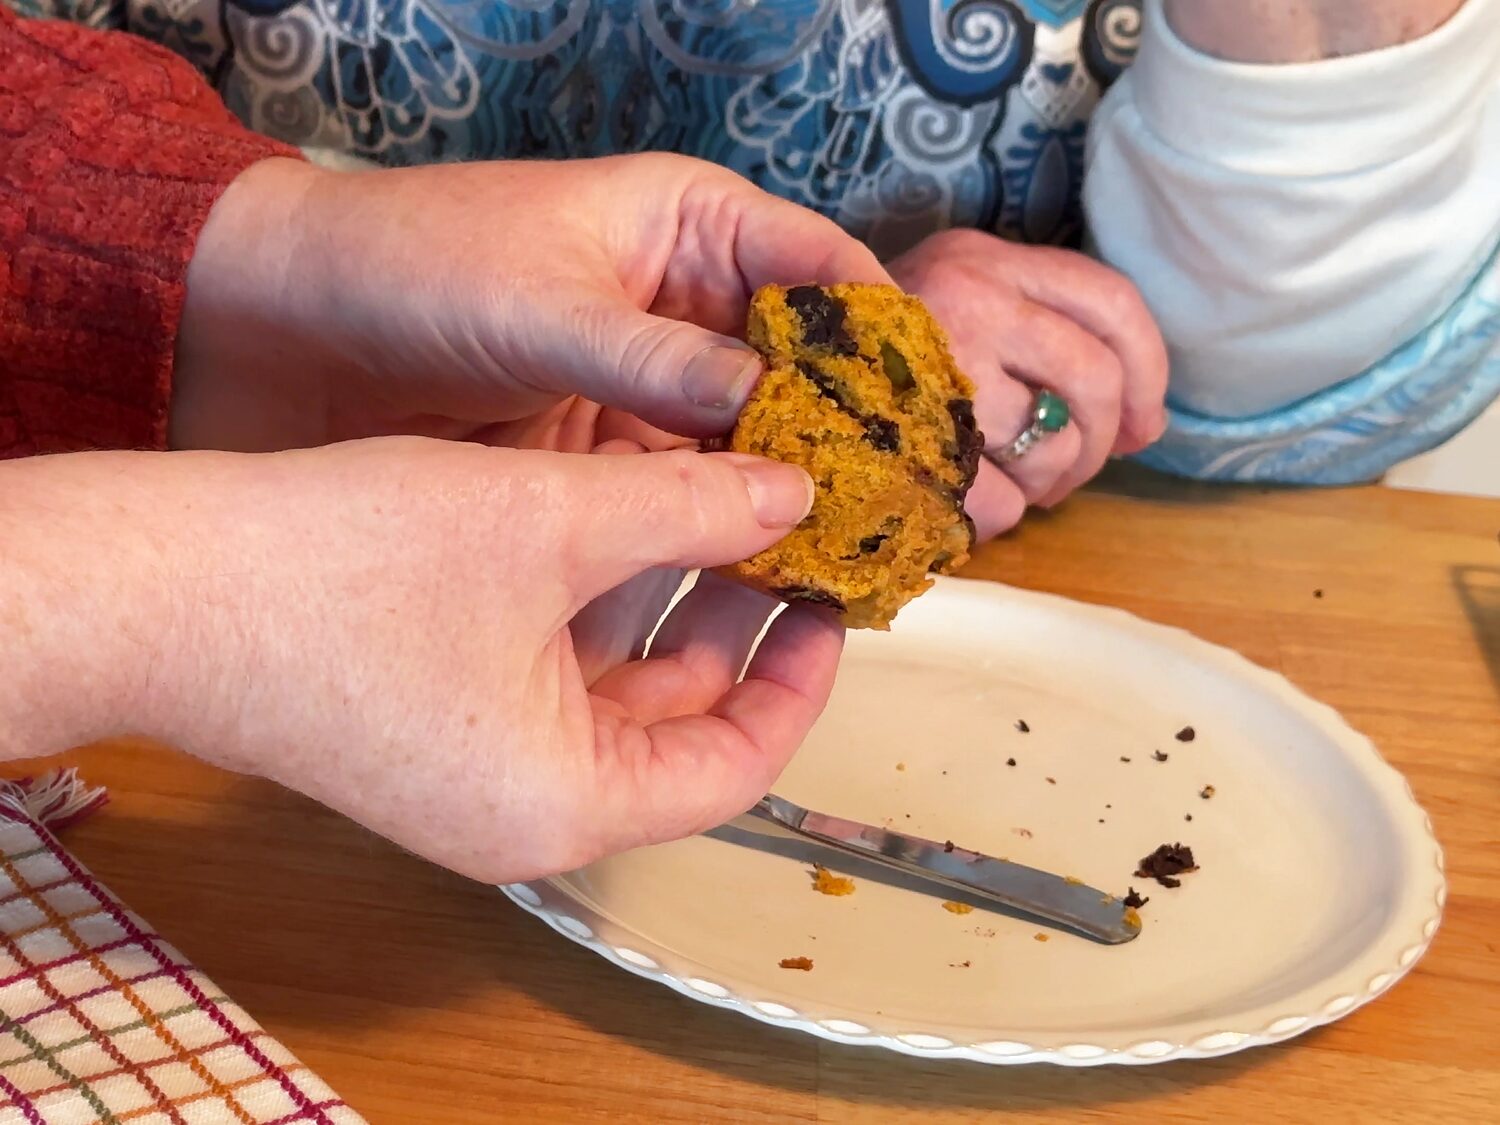
And these are wonderful! These are a classic muffin, moist and tender but with a little structure to them, not soft and cakey like my pumpkin bread.
Let’s dig in!

What Makes These Different from Other Pumpkin Chocolate Chip Muffins?
Most of the popular pumpkin chocolate chip muffins online are light, oil-based, and pretty light on the spice, with about a teaspoon of cinnamon and a sprinkle of chips in cups filled two-thirds full. Um, no thank you. What’s the point if it’s barely there? Mom’s are a whole different muffin.
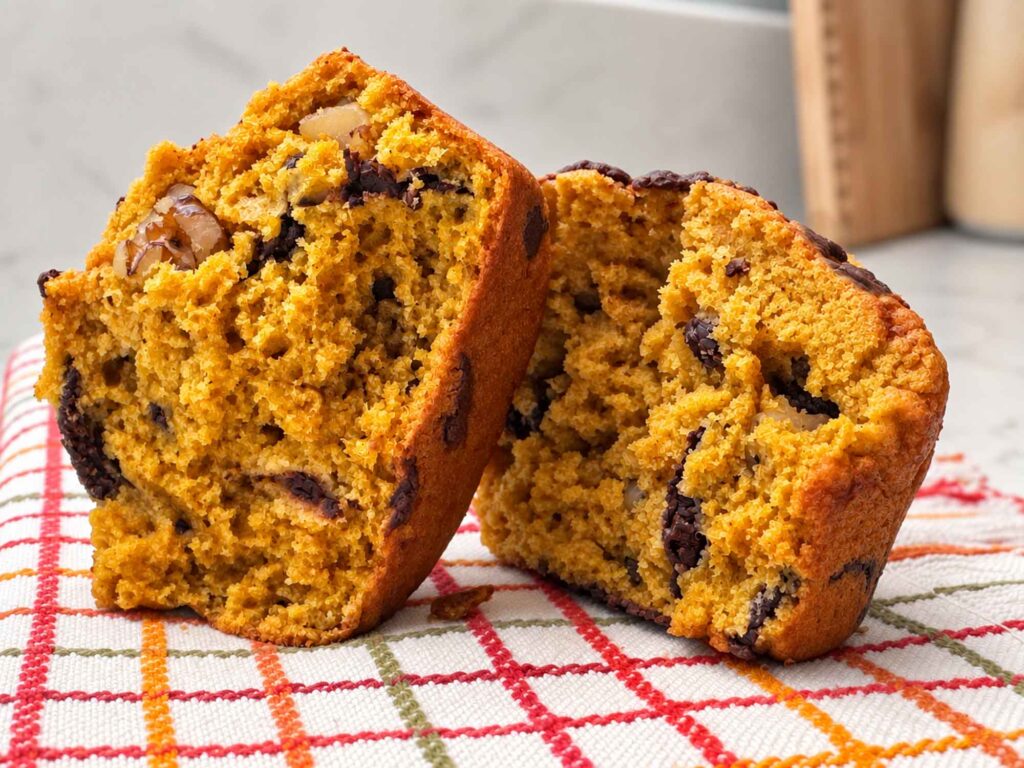
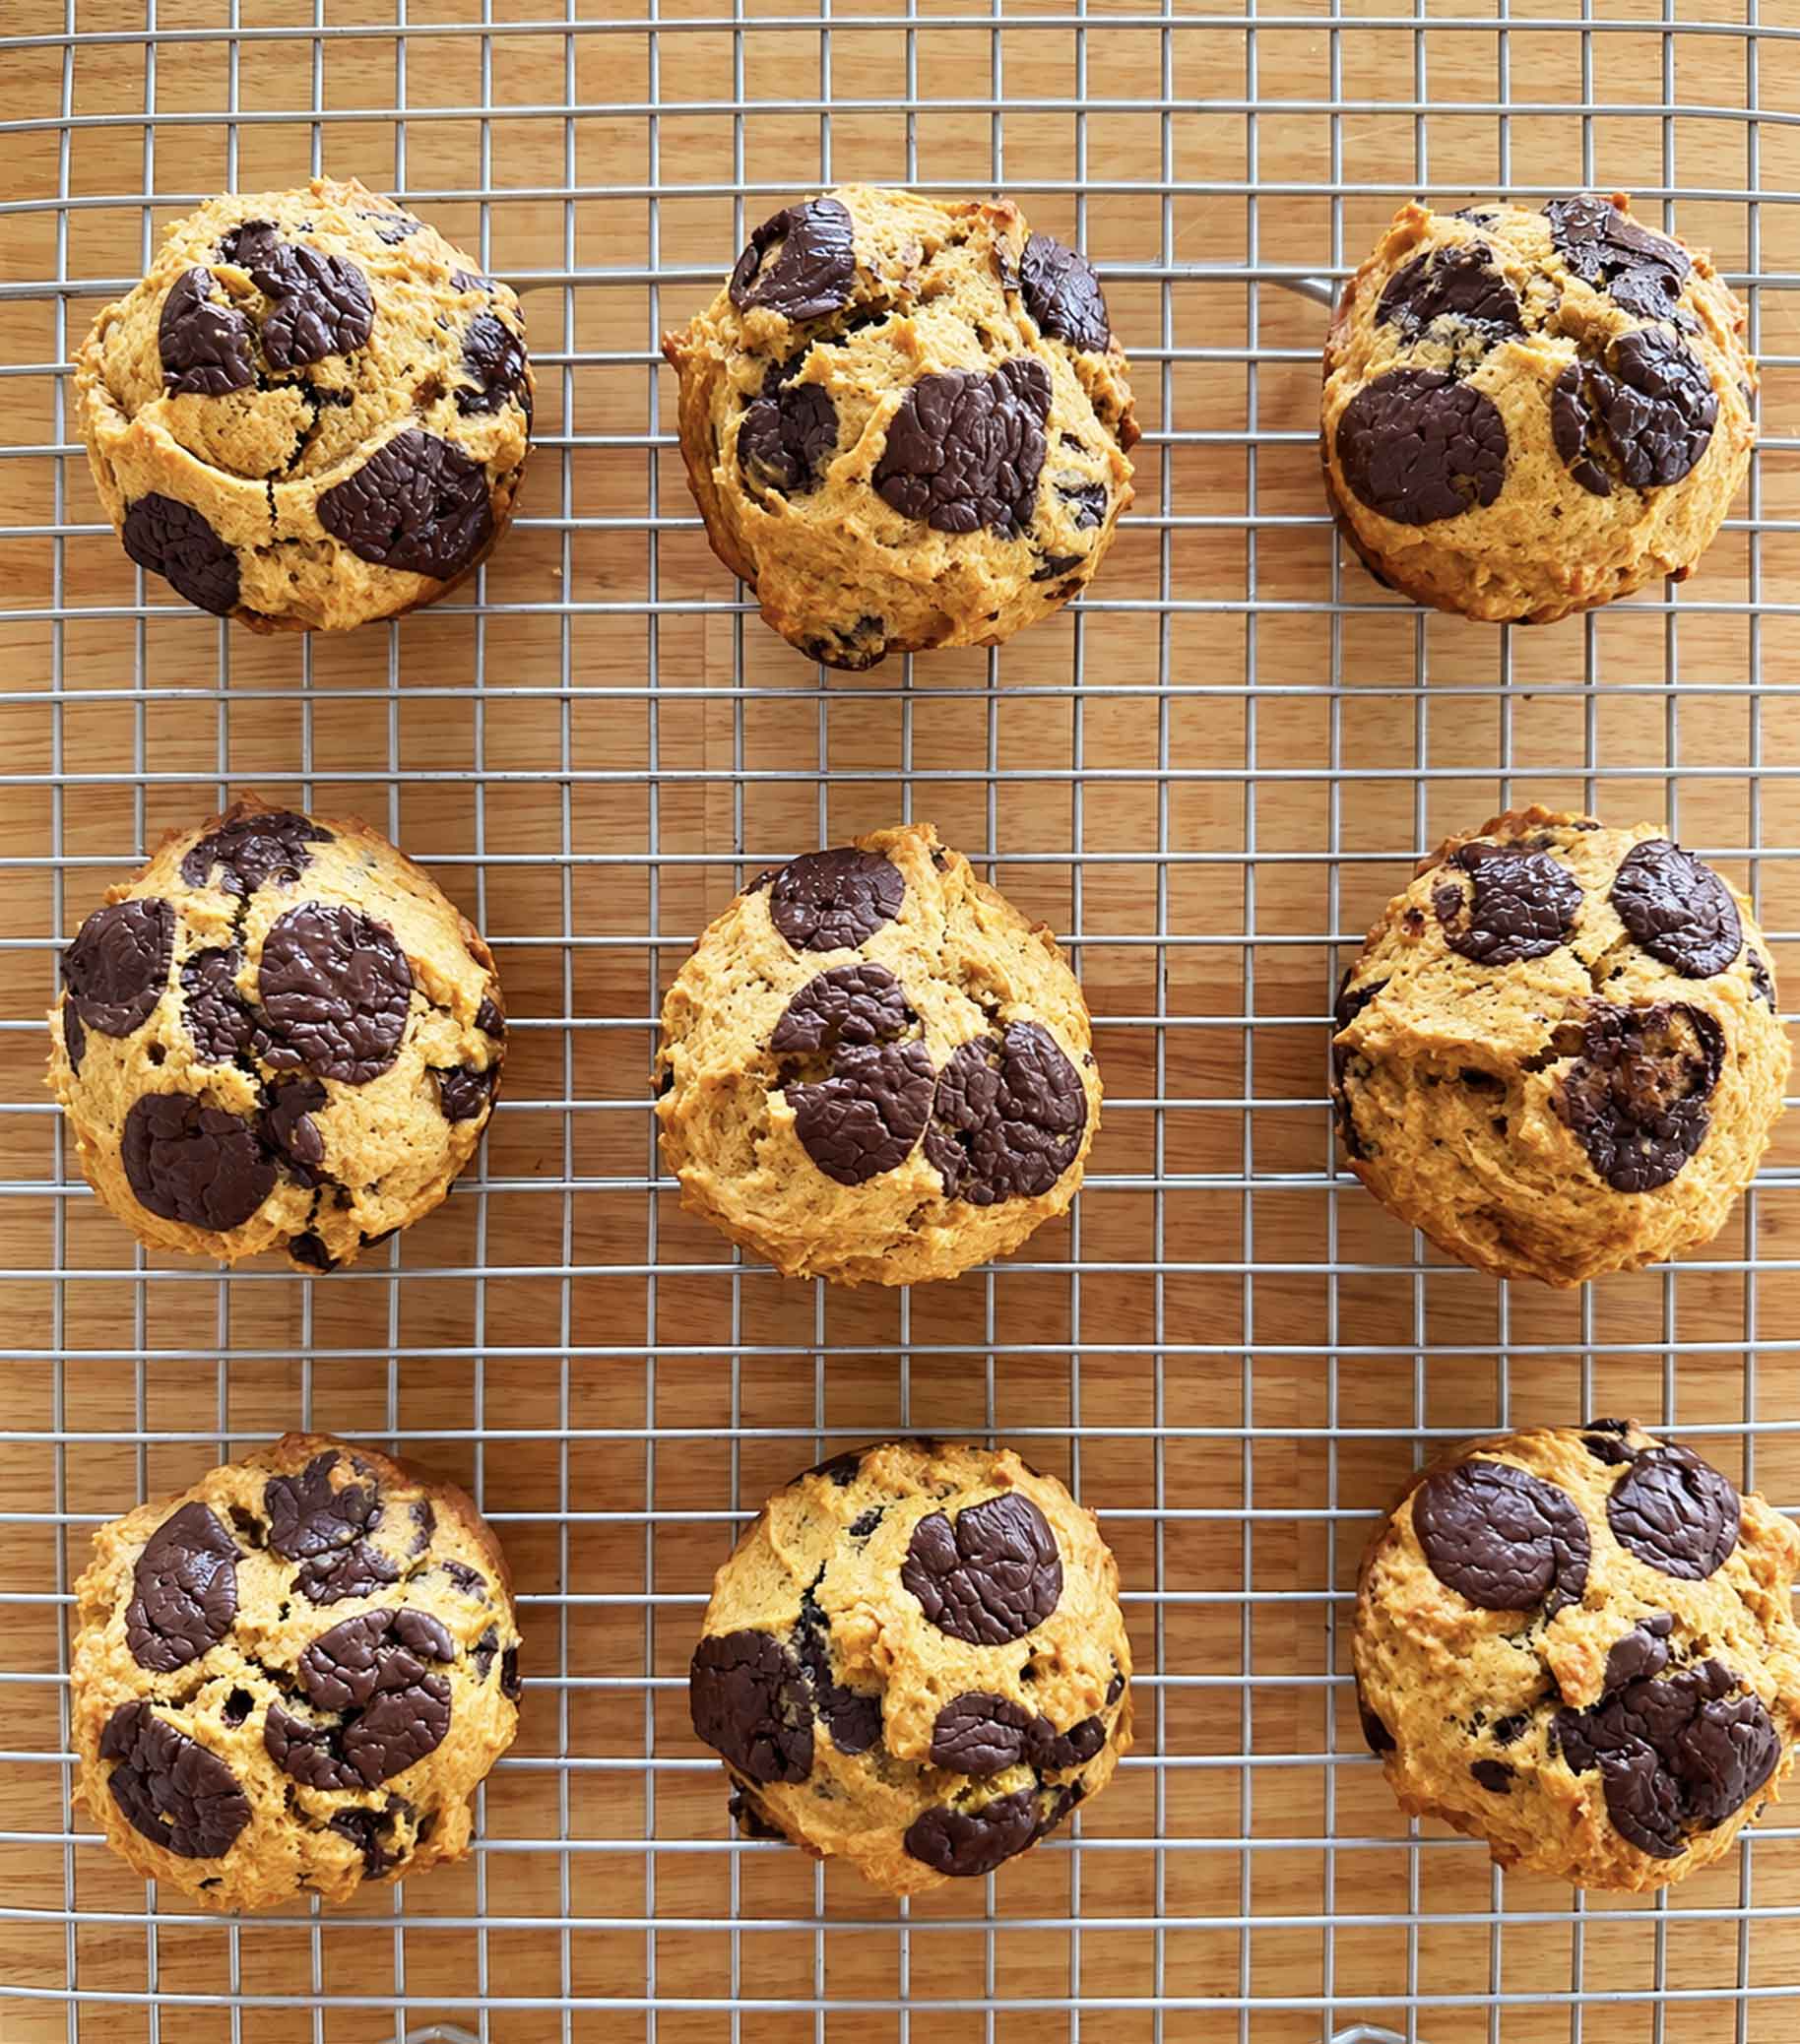
A full tablespoon of pumpkin pie spice means you actually TASTE the warm fall flavors. There’s a full cup of chocolate plus more pressed on top, chopped walnuts for crunch, and half brown sugar for a little molasses warmth. Butter gives them that classic bakery flavor and a tender crumb with some structure to it, and the thick batter gets heaped right over the rim so they bake up big and tall. If you want a pumpkin muffin that’s full-flavor, and not shy with the spice and chocolate, this is the one.
Tips and Notes Before You Start
- Half brown sugar, half white. This adds a little molasses depth that plays really nicely with the pumpkin.
- Go nuts, if you want. You can use walnuts, toasted almonds (the vintage recipe suggestion), or no nuts at all. The muffins work every way.
- The batter is thick, closer to a soft cookie dough than a pourable batter. That’s normal, so don’t thin it.
- Fill the cups all the way and press a few extra chocolate pieces on top. That’s how you get tall, bakery-style tops.

Want to Save This Recipe?
Enter your email below and we’ll send it straight to your inbox! Plus you’ll get new recipes each week!
What You Need for Pumpkin Chocolate Chip Muffins
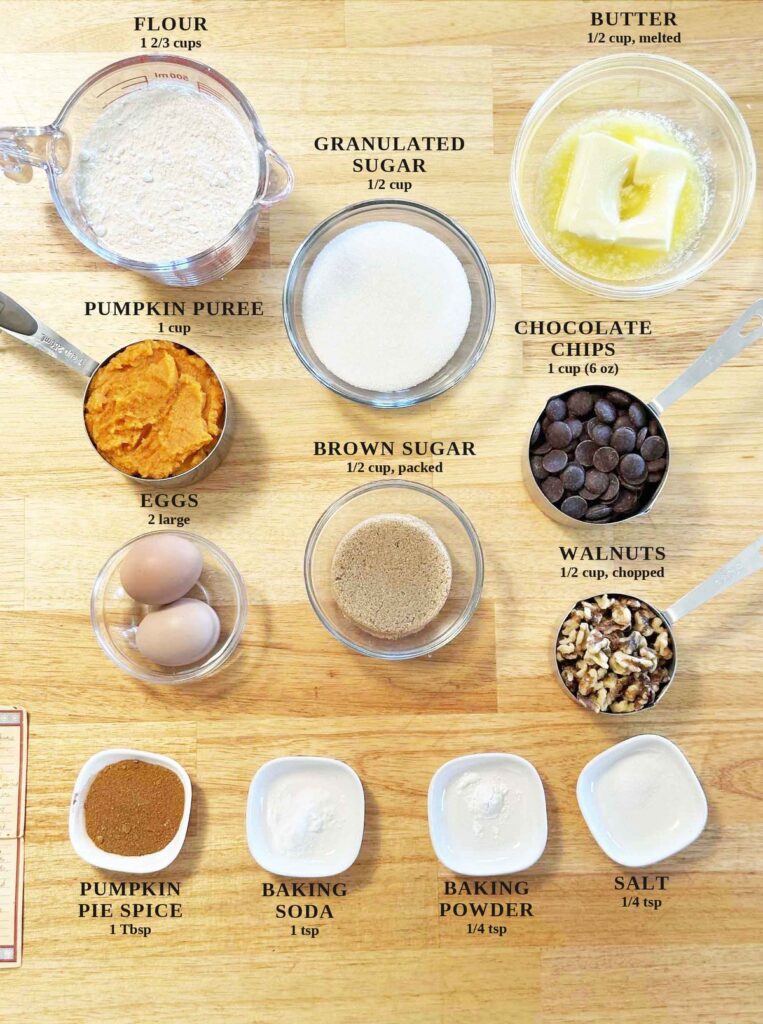
Pumpkin: Be sure to use plain canned pumpkin puree, not pumpkin pie filling. Pie filling already has sugar and spices in it, so your muffins would come out too sweet and over-spiced. One cup is about half of a standard 15-ounce can.
Chocolate: We used big dark chocolate discs, which is why the tops have those wide, glossy puddles. Regular chocolate chips work exactly the same way. Mini chips spread the chocolate more evenly through each bite, if that’s what you like. You do you.
Butter: The card says melted. Ours still had a few soft chunks floating in it when it went into the bowl, per my mom’s suggestion while cooking, and it whisked in just fine, so don’t worry about getting it perfectly liquid. Just let it cool for a minute so it doesn’t scramble the eggs.
Flour: Spoon it into your measuring cup and level it off. Scooping straight from the bag packs it down, and extra flour is one of the easiest ways to end up with a dry muffin. If you’re worried about using too much, measure out exactly 200 grams for one batch of muffins.
How to Make Pumpkin Chocolate Chip Muffins
Step 1: Whisk the dry ingredients
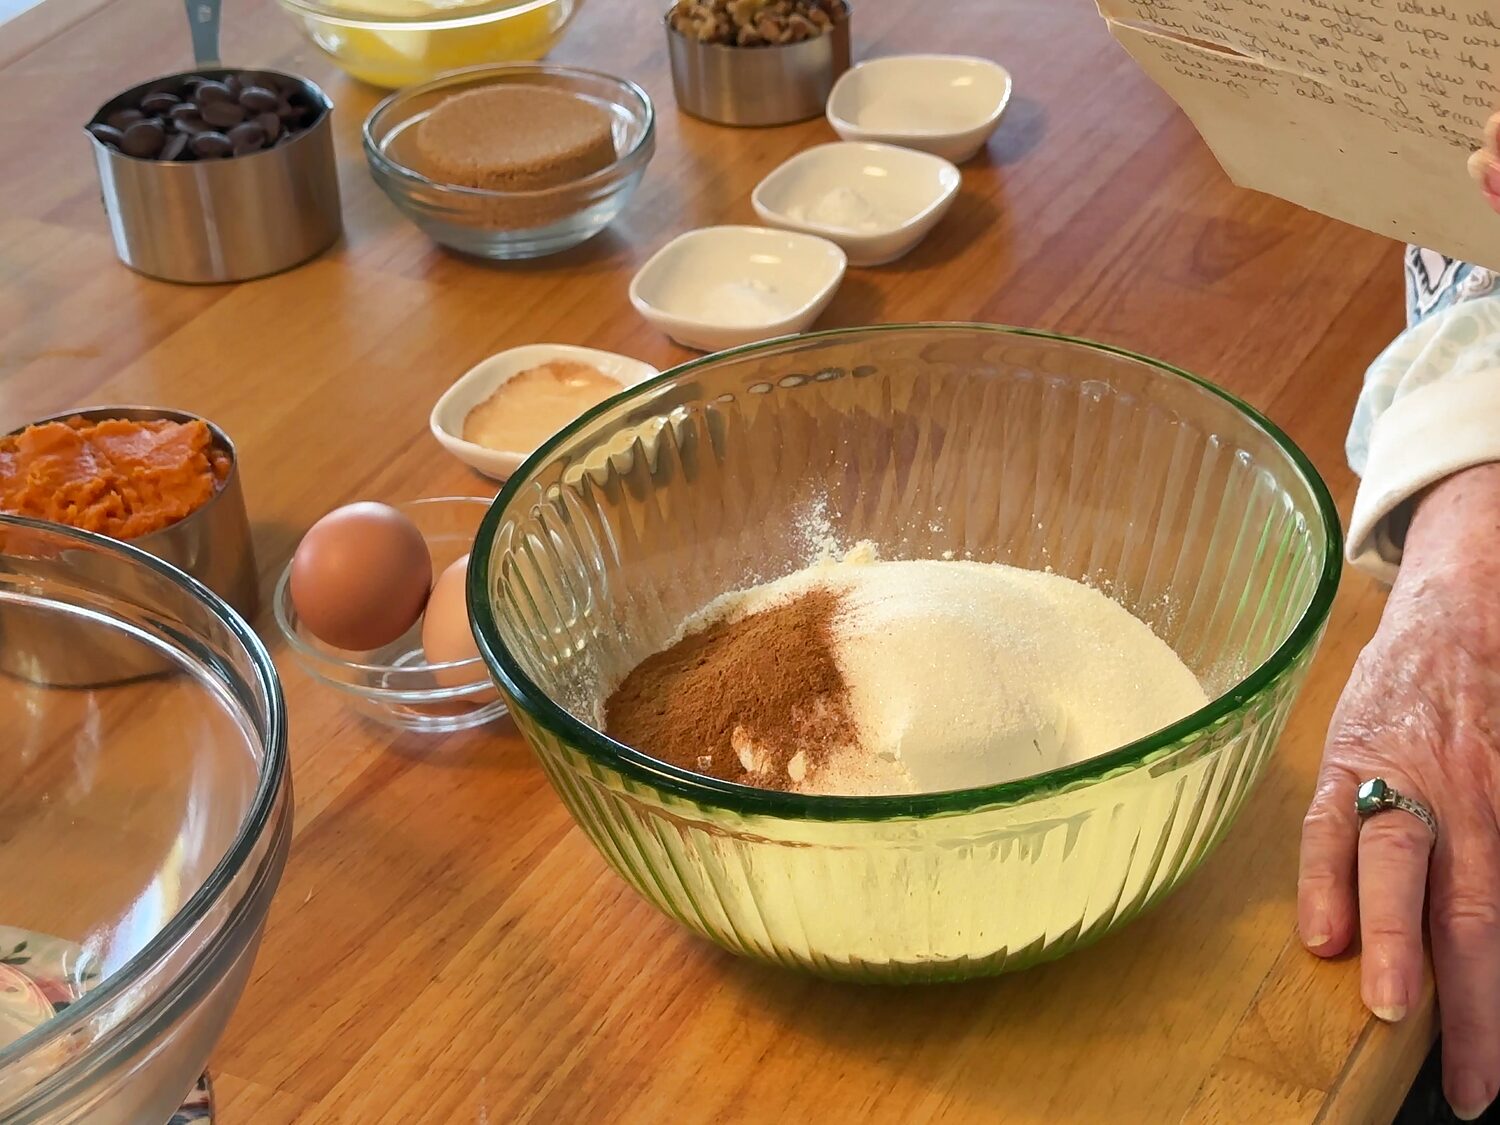
In a large bowl, whisk together the flour, both sugars, pumpkin pie spice, baking soda, baking powder, and salt. Mom’s card says to mix these “thoroughly,” and she’s right. This helps because the baking soda needs to be spread all the way through the flour, or you can end up with a bitter little pocket in one muffin and a flat one next to it. Break up any brown sugar lumps with your fingers as you go.
Step 2: Whisk the eggs, pumpkin, and butter
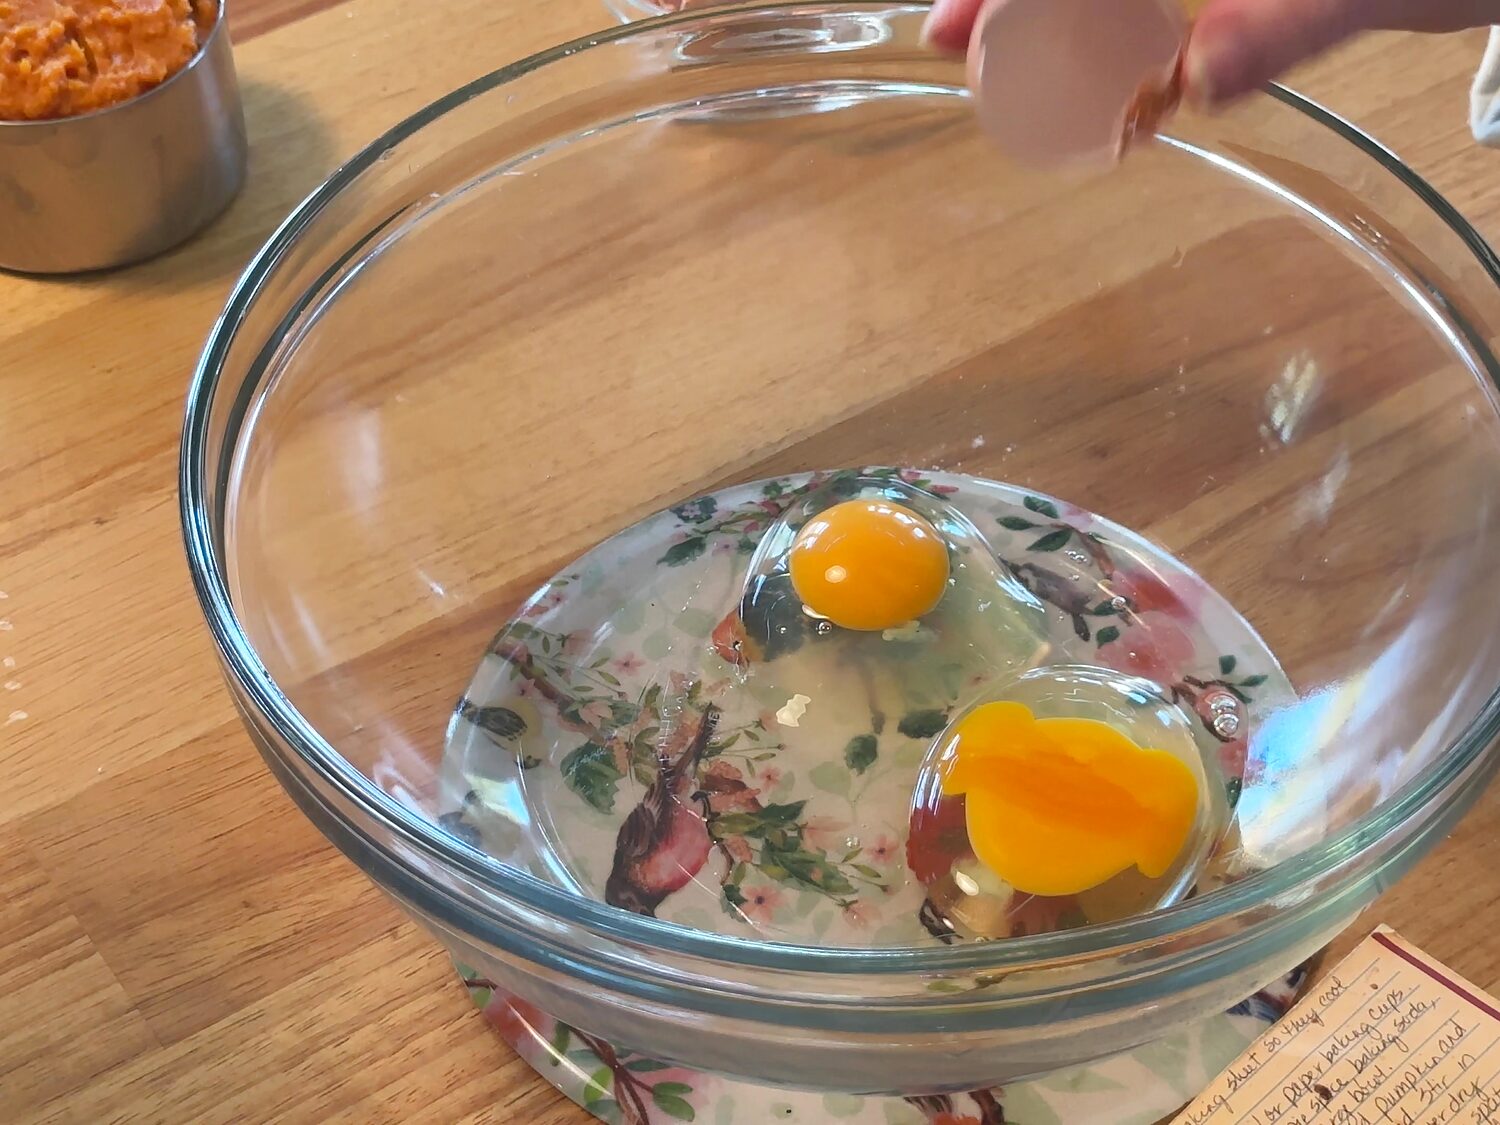
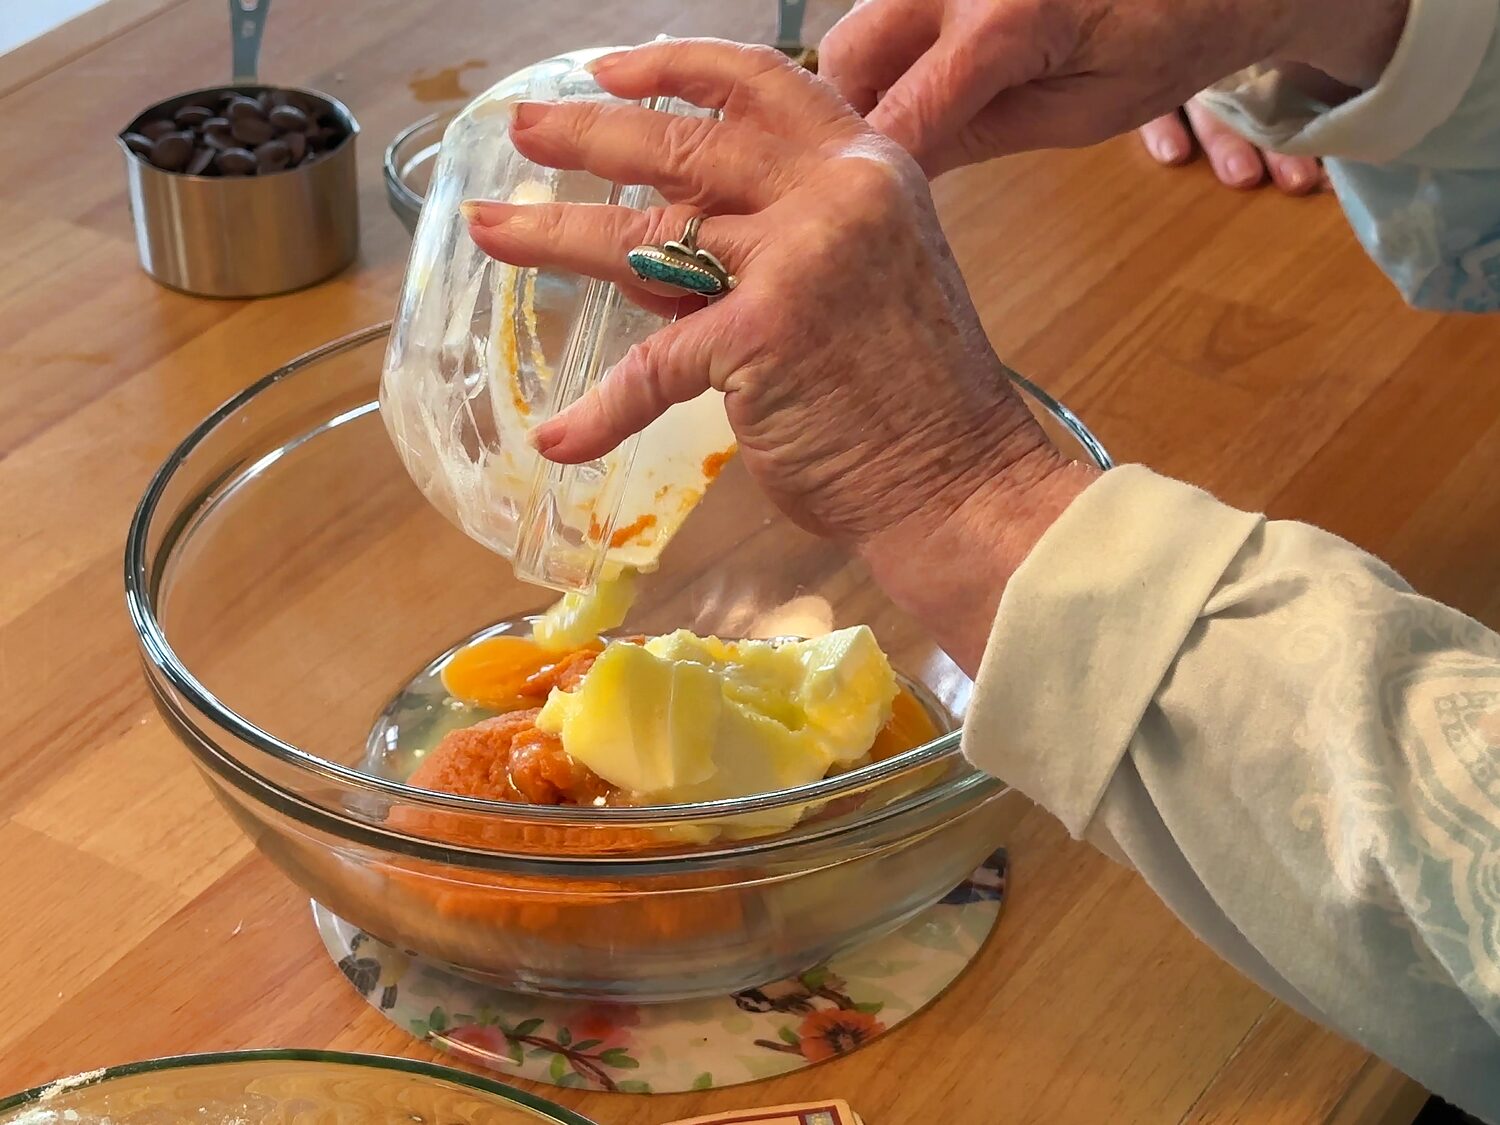
Crack the eggs into a second bowl, then add the pumpkin and the melted butter and whisk until it’s smooth and evenly orange. It’ll look a little streaky at first from the butter… just keep whisking for another 20 seconds or so and it comes together.
Step 3: Stir in the chocolate and walnuts
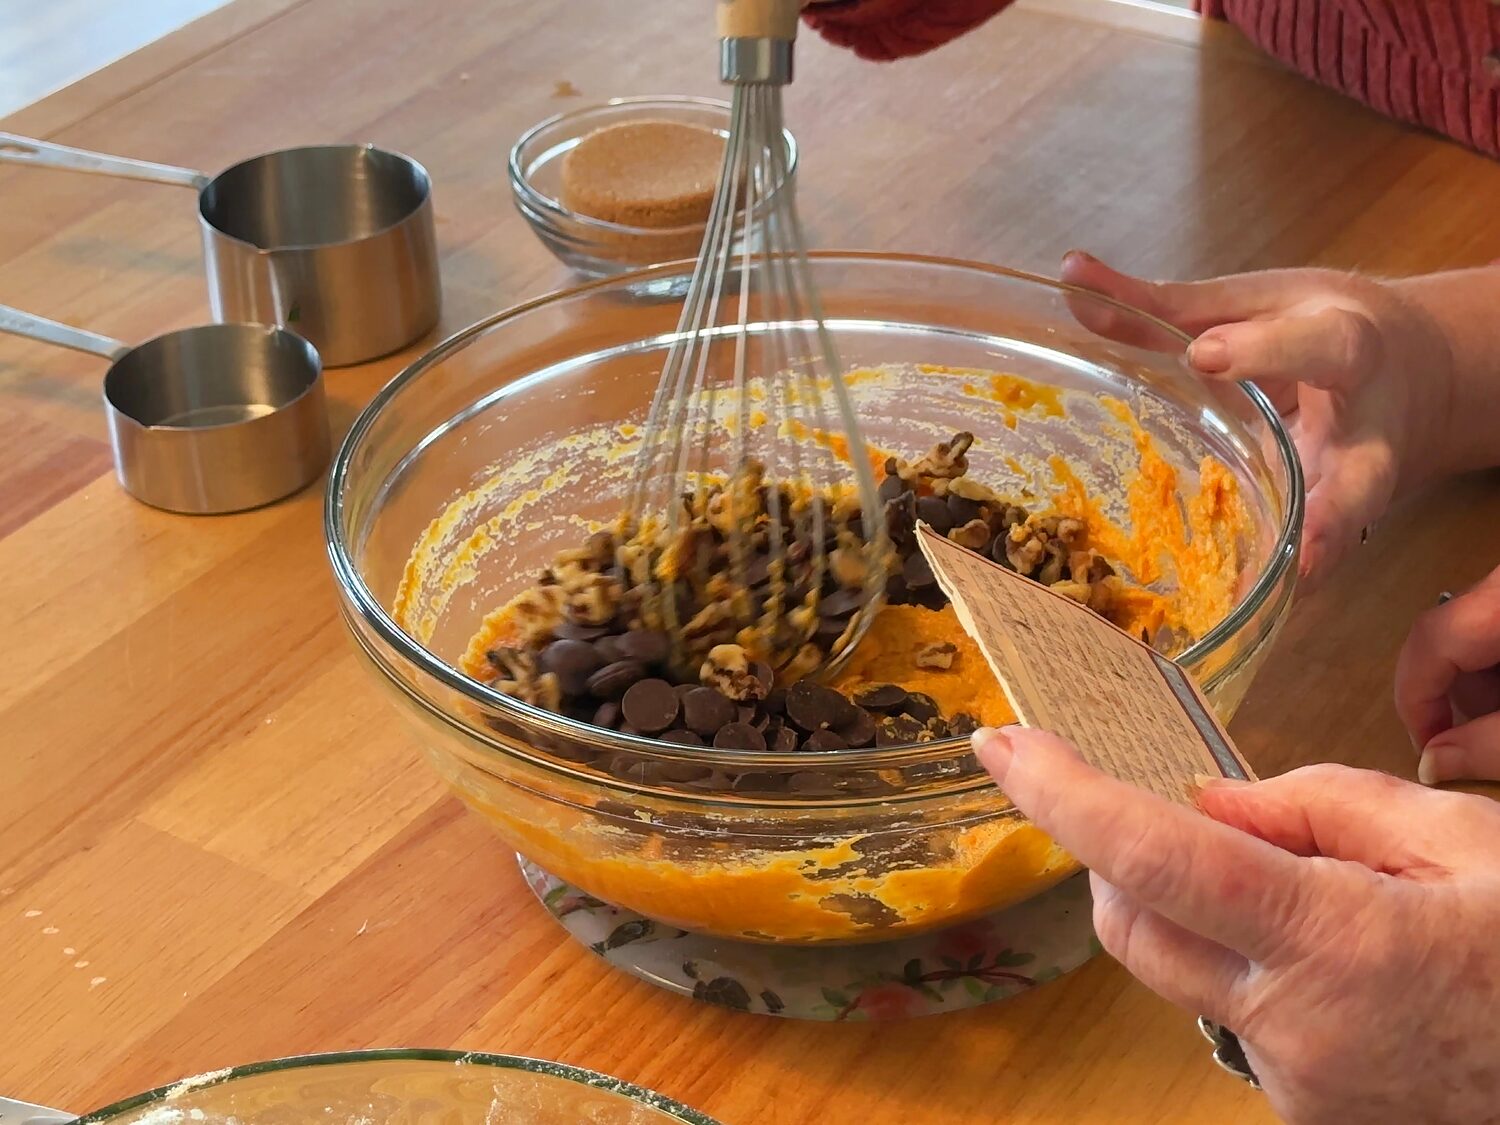
Here’s the step on Mom’s card that surprised me a little: the chocolate and nuts go into the wet bowl, before the flour. Set aside a small handful of chocolate for the tops first. The reason this works so well is that everything gets coated and spread out now, so once the flour goes in, you only need a few folds to finish. Less stirring at the end means a more tender muffin.
Step 4: Fold the dry ingredients in, just until moistened
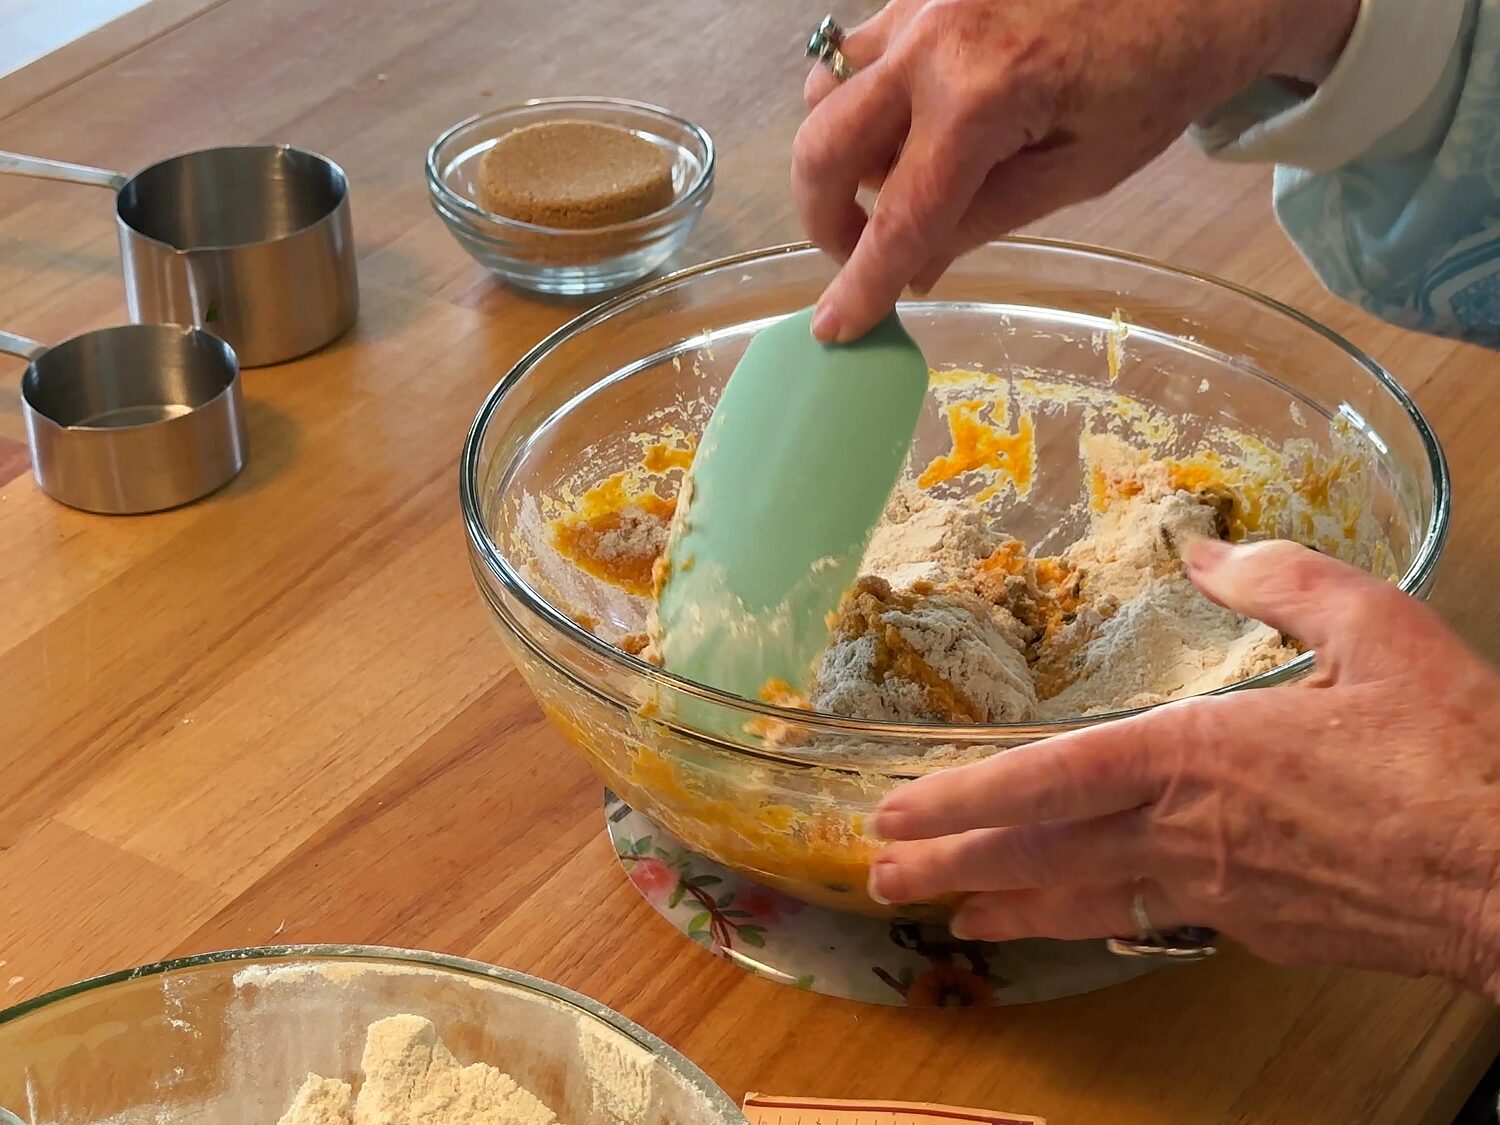
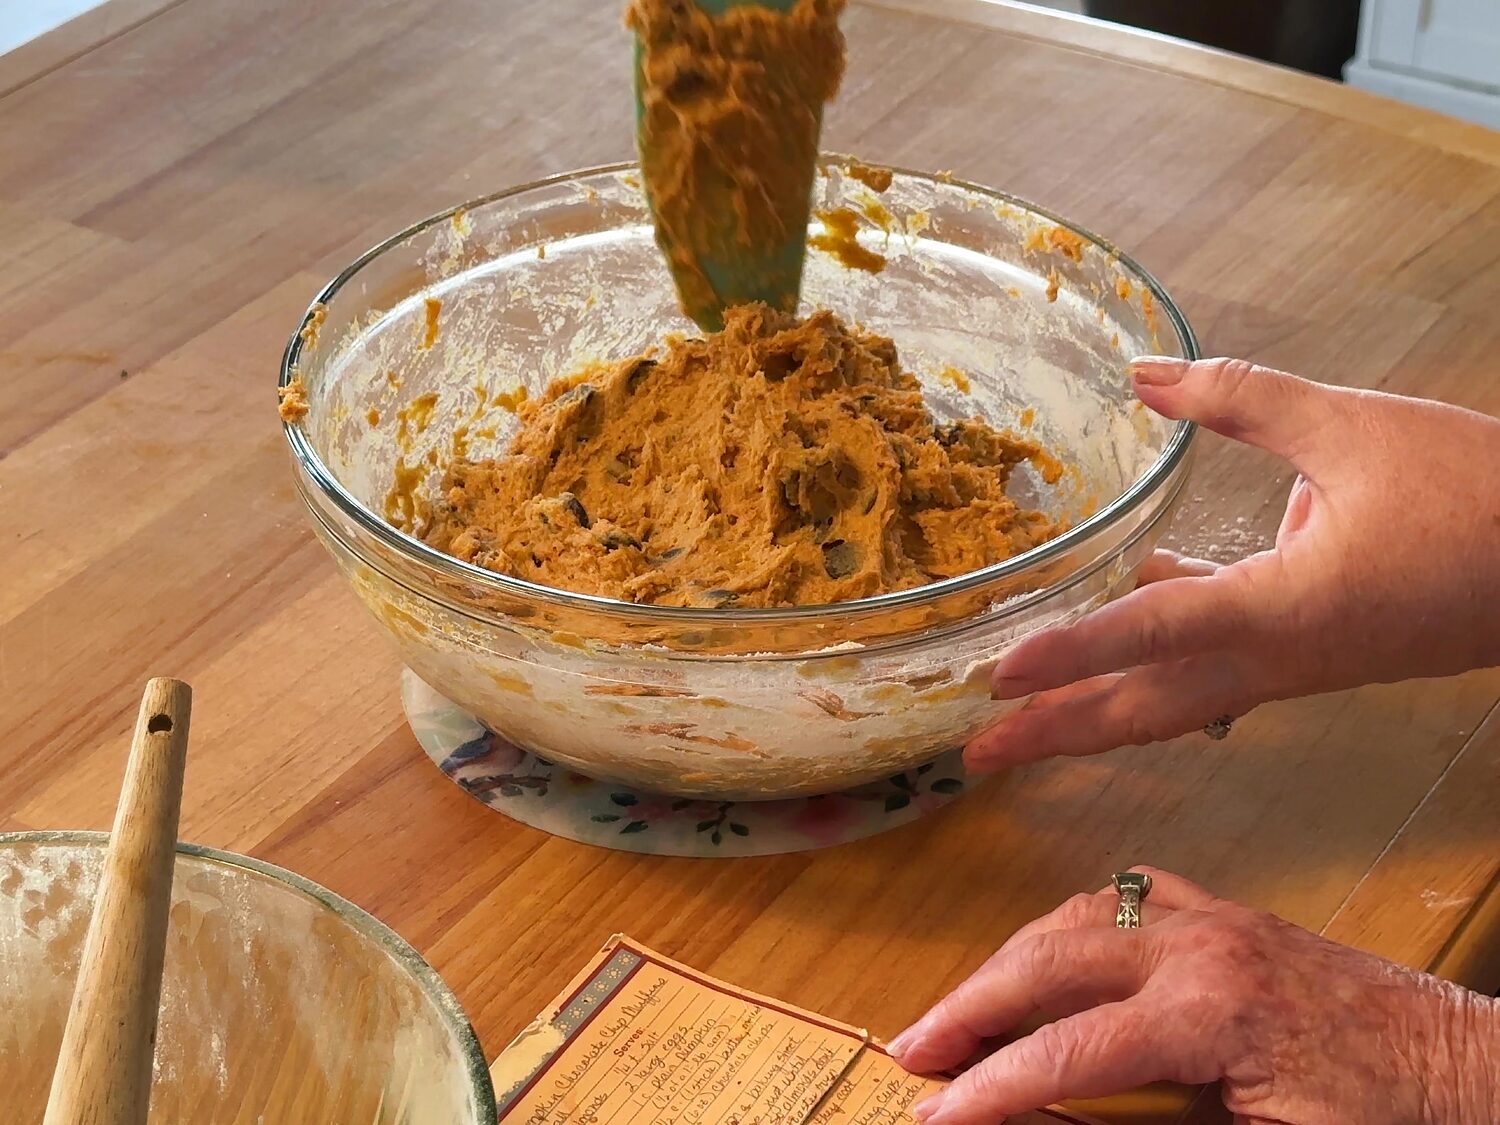
Combine the two bowls and fold with a rubber spatula. We tipped the dry mixture into the wet bowl a little at a time, and Mom’s card says to pour the wet over the dry instead. Either way works, so do whatever’s easier for you. One common mistake is stirring until the batter looks smooth. Stop as soon as you don’t see dry flour anymore. A lumpy, thick batter is exactly right here; overmixing is what makes muffins tough and gives them tunnels inside.
Step 5: Fill the muffin cups to the top
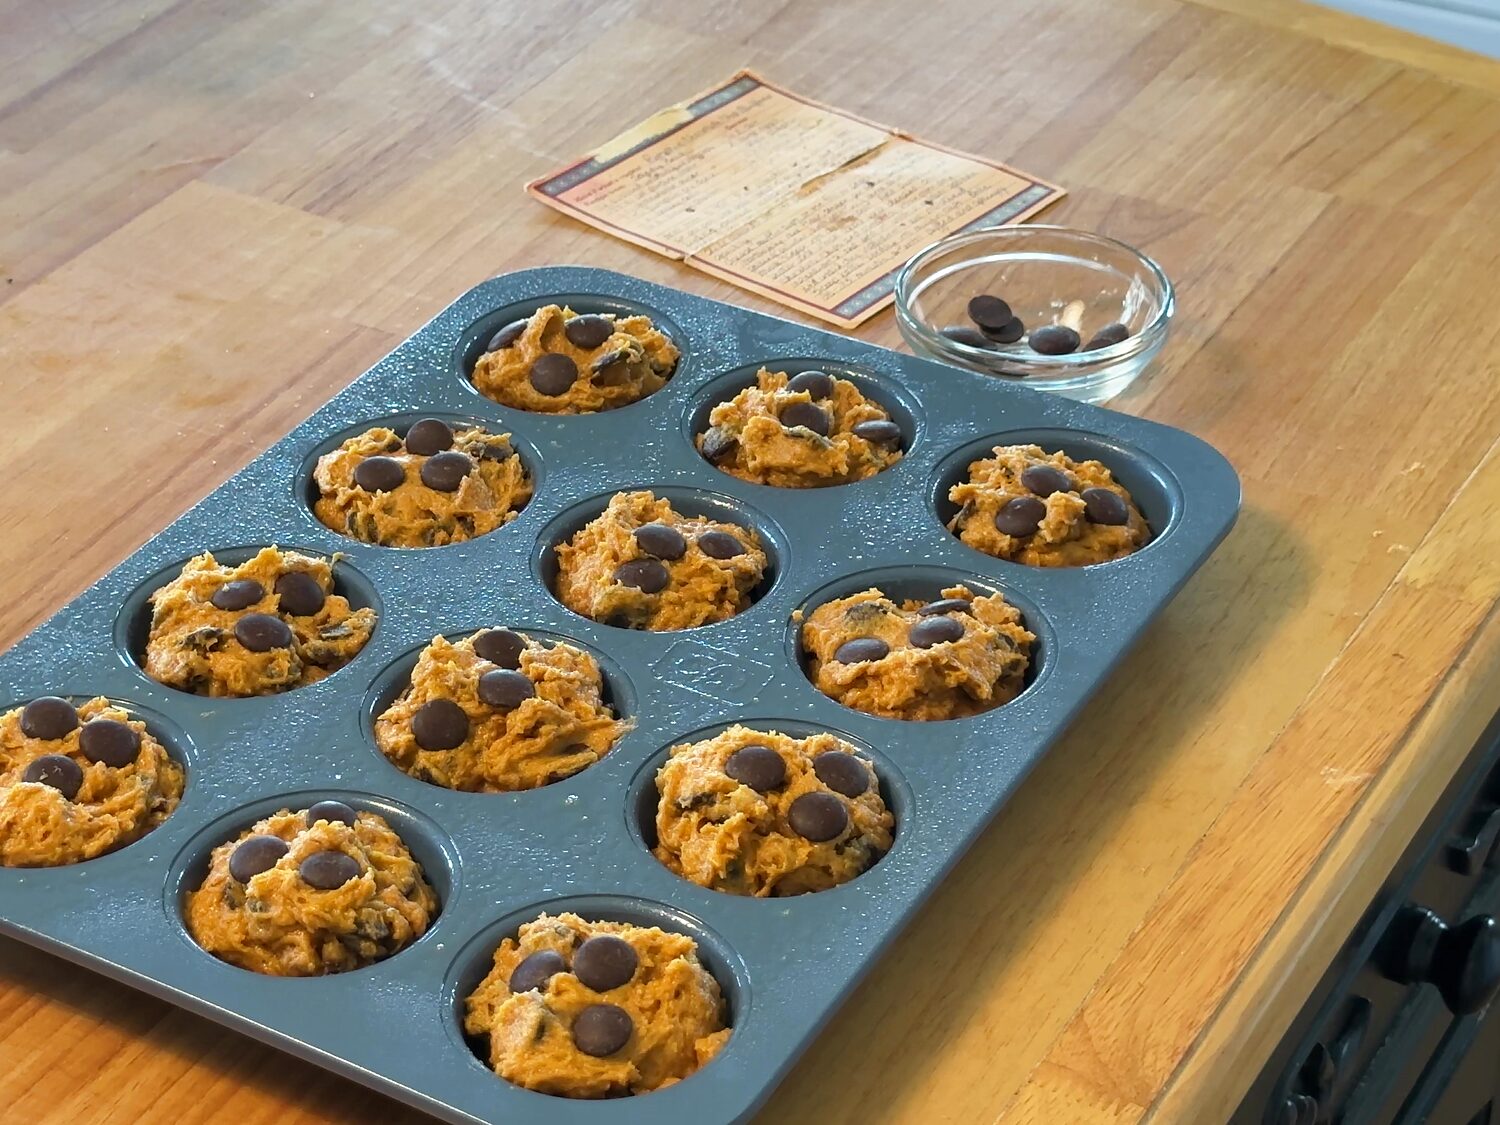
Grease a standard 12-cup muffin pan (or use paper or foil liners, which Mom’s card says is fine too). Divide the batter evenly between all 12 cups. A spring-loaded scoop makes this so much easier, and it’s okay to top off the shorter ones with a spoon at the end. The cups will look really full, with the batter mounded right up over the rim. That’s what you want. A thick batter like this one doesn’t spread much, so a full cup bakes up into a tall, domed top.
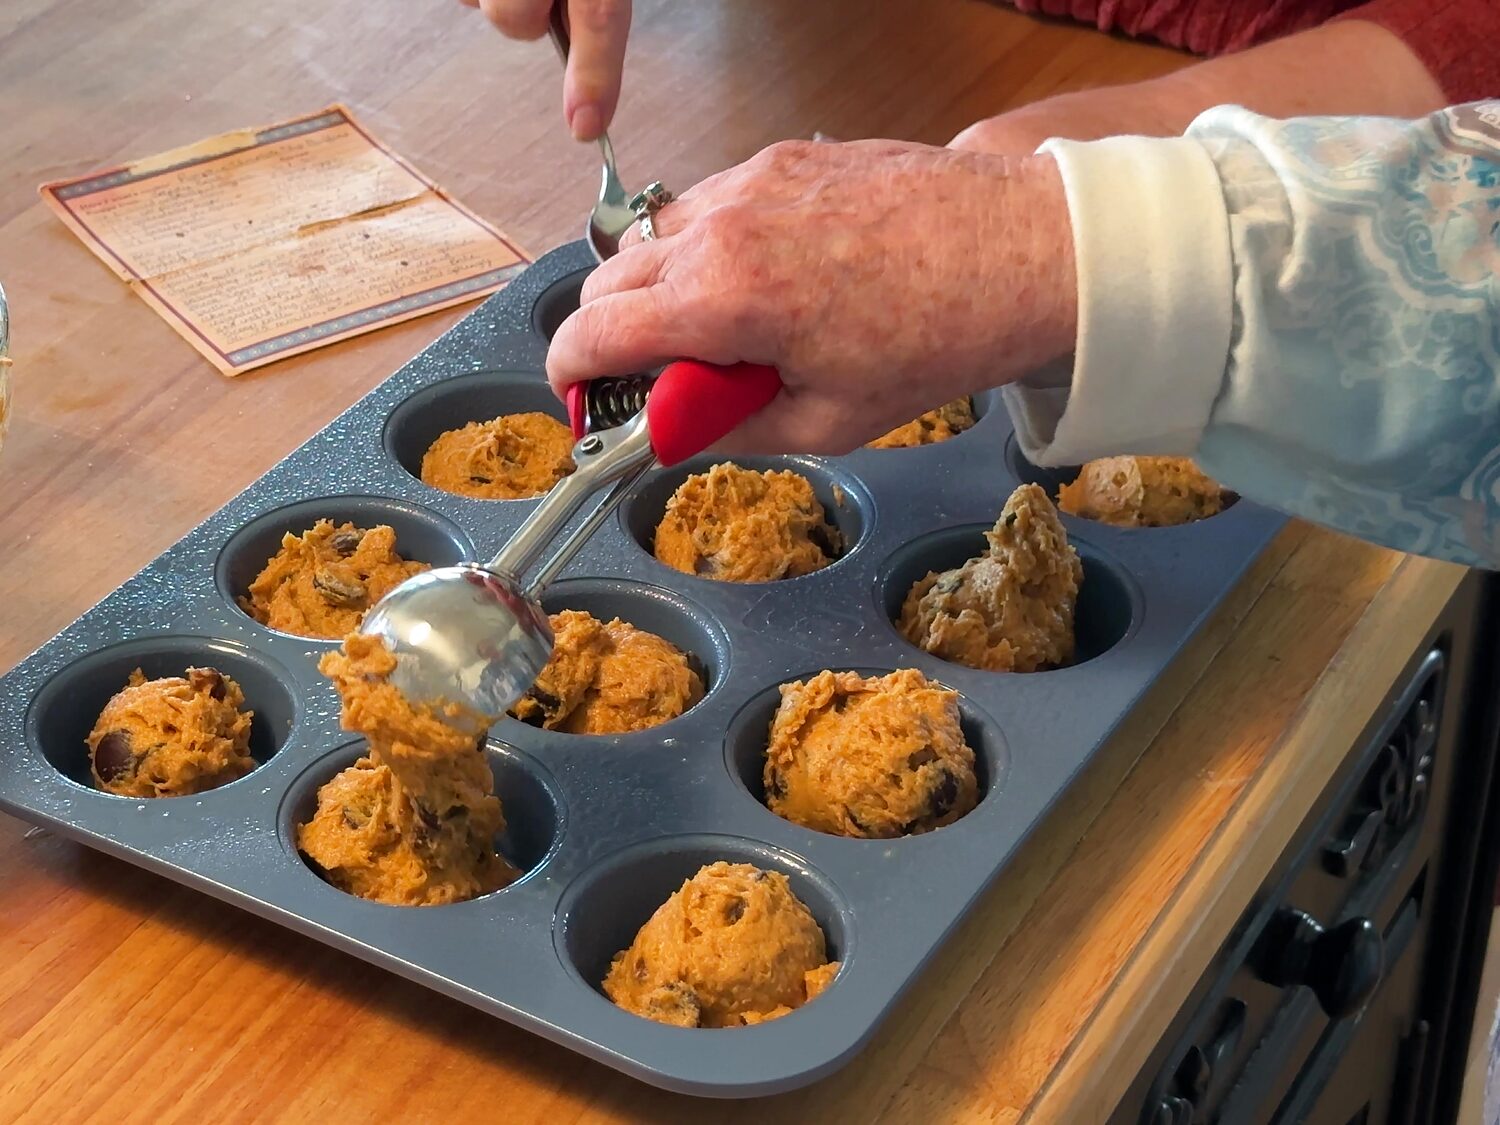
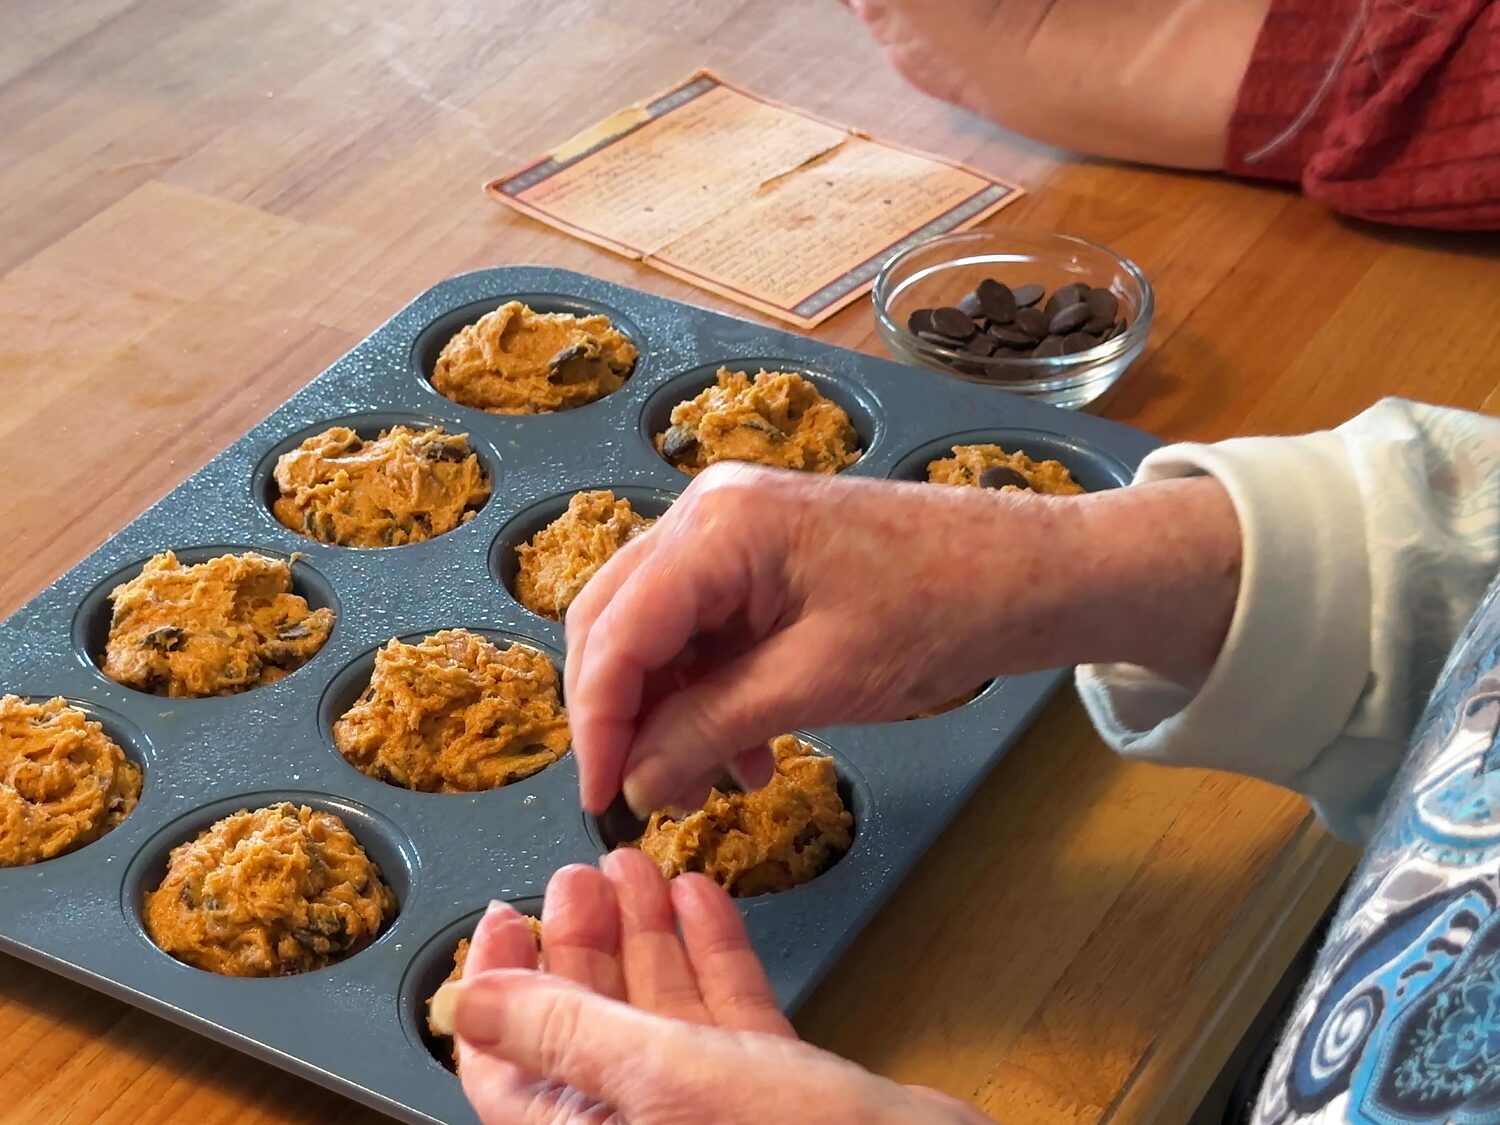
Now press those reserved chocolate pieces gently into the tops. It’s a tiny step, and it’s what gives you those glossy chocolate puddles on top instead of chocolate that’s hidden inside.
Step 6: Bake for about 20 minutes
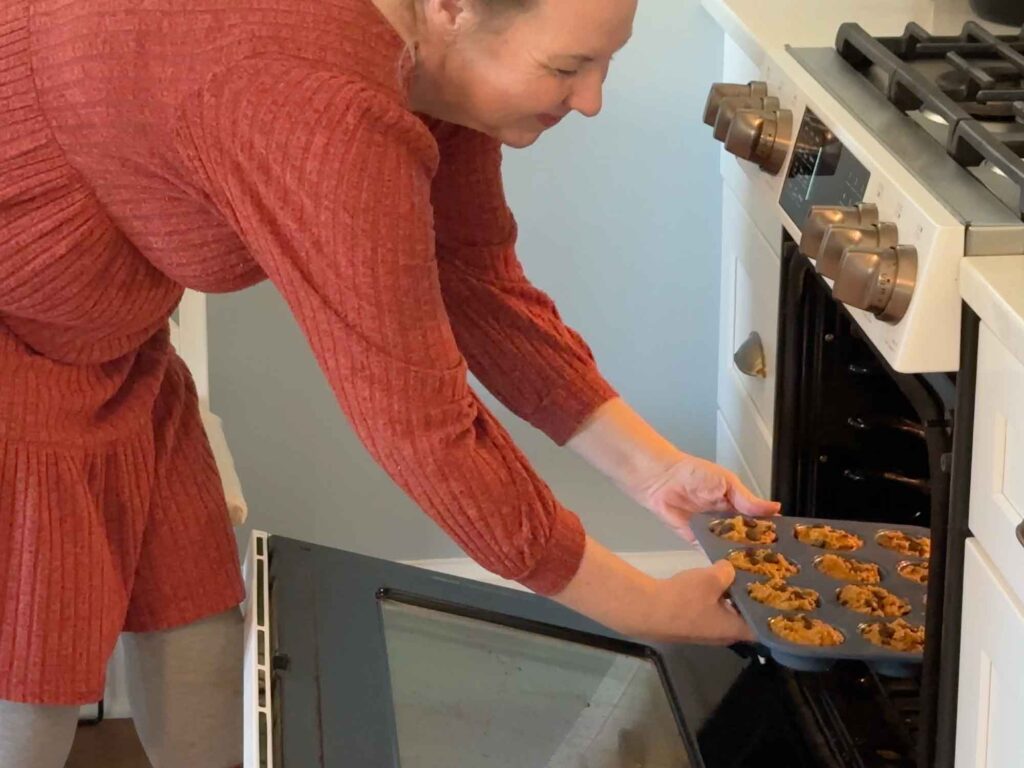
Ours took exactly 20 minutes at 350°F. Mom’s card gives a range of 20 to 25 minutes and says “until puffed and springy,” which is a great test: press the top of one gently, and it should spring back. You can also slide a toothpick into the center of a muffin. Be careful not to read melted chocolate as raw batter… if you hit a chocolate pocket, just try a different spot. Moist crumbs are fine; wet batter means another couple of minutes.
Step 7: Cool, then loosen them from the pan
Let the muffins sit in the pan for a few minutes so they firm up a little, then run a butter knife around the edge of each one and lift it out onto a wire rack. Mom did all twelve this way and every single one came out in one piece. Leaving them in the hot pan too long lets steam build up underneath, which can make the bottoms soggy.
Pumpkin Chocolate Chip Muffin FAQs
Can I use almonds like the original recipe, or skip the nuts?
Either one. Mom’s card calls for 1/2 cup sliced unblanched almonds, toasted on a baking sheet at 350°F for about 5 minutes, just until lightly browned. Slide them off the hot pan right away so they cool quickly and don’t keep toasting. If you’d rather skip nuts, just leave them out; you don’t need to replace them with anything.
How do I store and freeze pumpkin muffins?
Once they’re completely cool, keep them in an airtight container at room temperature for up to 3 days. To freeze, wrap them individually or put them in a freezer bag for up to 3 months, then thaw on the counter or warm one in the microwave for 15 to 20 seconds.
Pumpkin Chocolate Chip Muffins Recipe
Equipment
- standard 12-cup muffin pan
- 2 mixing bowls
- whisk
- Rubber spatula
- muffin scoop (optional)
- wire rack
Ingredients
Dry
- 1 2/3 cups all-purpose flour (200 grams)
- 1/2 cup granulated sugar
- 1/2 cup brown sugar , packed
- 1 tablespoon pumpkin pie spice
- 1 teaspoon baking soda
- 1/4 teaspoon baking powder
- 1/4 teaspoon salt
Wet
- 2 large eggs
- 1 cup pumpkin puree (about half a 15-ounce can)
- 1/2 cup butter (1 stick), melted and cooled slightly
- 1 cup chocolate chips (6 ounces), plus a small handful for the tops
- 1/2 cup chopped walnuts
Instructions
- Heat the oven to 350°F. Grease a standard 12-cup muffin pan, or line it with paper or foil liners.
- In a large bowl, thoroughly whisk together the flour, granulated sugar, brown sugar, pumpkin pie spice, baking soda, baking powder, and salt, breaking up any brown sugar lumps.
- In a second bowl, whisk the eggs, pumpkin, and melted butter until smooth and well blended.
- Set aside a small handful of chocolate for the tops. Stir the rest of the chocolate and the walnuts into the pumpkin mixture.
- Combine the wet and dry mixtures and fold with a rubber spatula just until no dry flour remains. The batter will be thick and lumpy; don’t overmix.
- Divide the batter evenly among the 12 cups. They will be full, mounded over the rims. Gently press the reserved chocolate into the tops.
- Bake for 20 minutes (up to 25 if needed), until the muffins are puffed and spring back when gently pressed, and a toothpick in the center comes out with moist crumbs but no wet batter.
- Cool in the pan for a few minutes, run a butter knife around each muffin, and lift them onto a wire rack to finish cooling.
Nutrition
Notes
- Storage: Store completely cooled muffins in an airtight container at room temperature for up to 3 days.
- Freezing: Freeze individually wrapped or in a freezer bag for up to 3 months. Thaw on the counter.
- Reheating: Warm a muffin in the microwave for 15 to 20 seconds to soften the chocolate again.
- Almonds instead of walnuts: Use 1/2 cup sliced unblanched almonds, toasted at 350°F for about 5 minutes until lightly browned, as on the original card.
- For a softer, cakier crumb: Replace half the butter with a neutral oil (like avocado).
How to Trust This Recipe
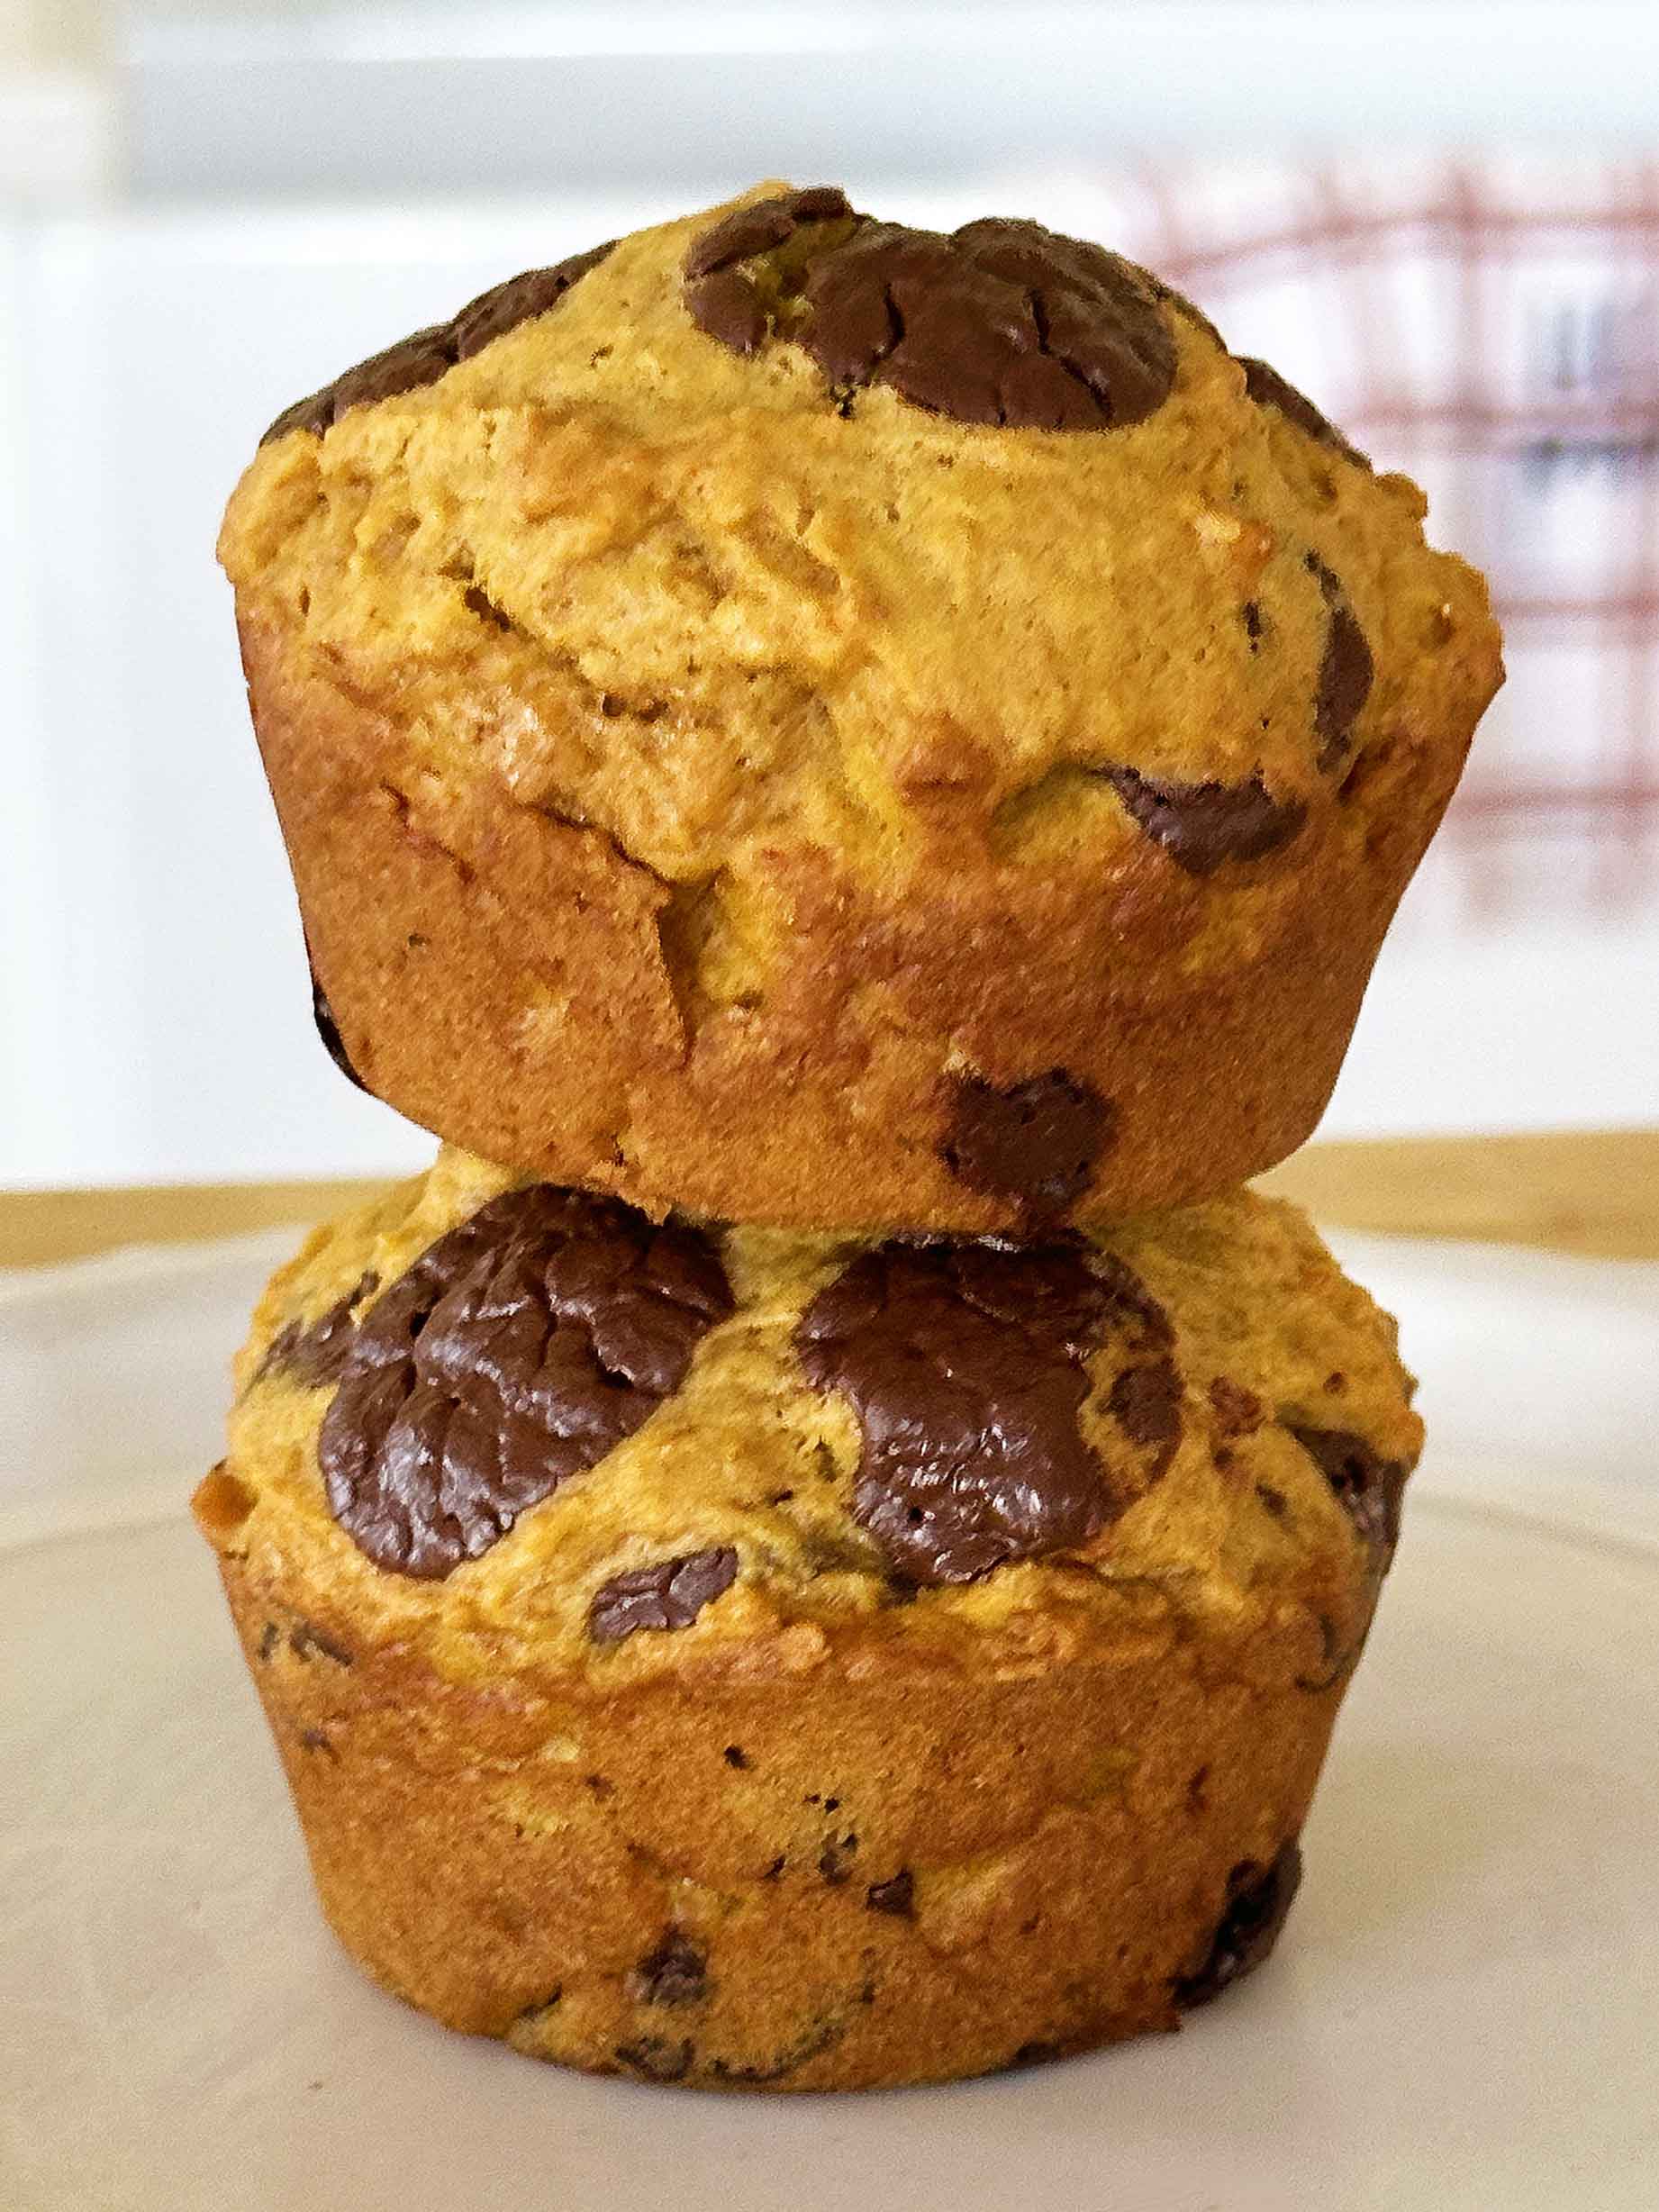
I suspect you don’t need convincing with all of these photos of my mom and me making these muffins, but just in case (since it is so hard to know what is real and not real these days), here is a photo I took of the muffins the day after we made them (no judgment on how only half were left!).
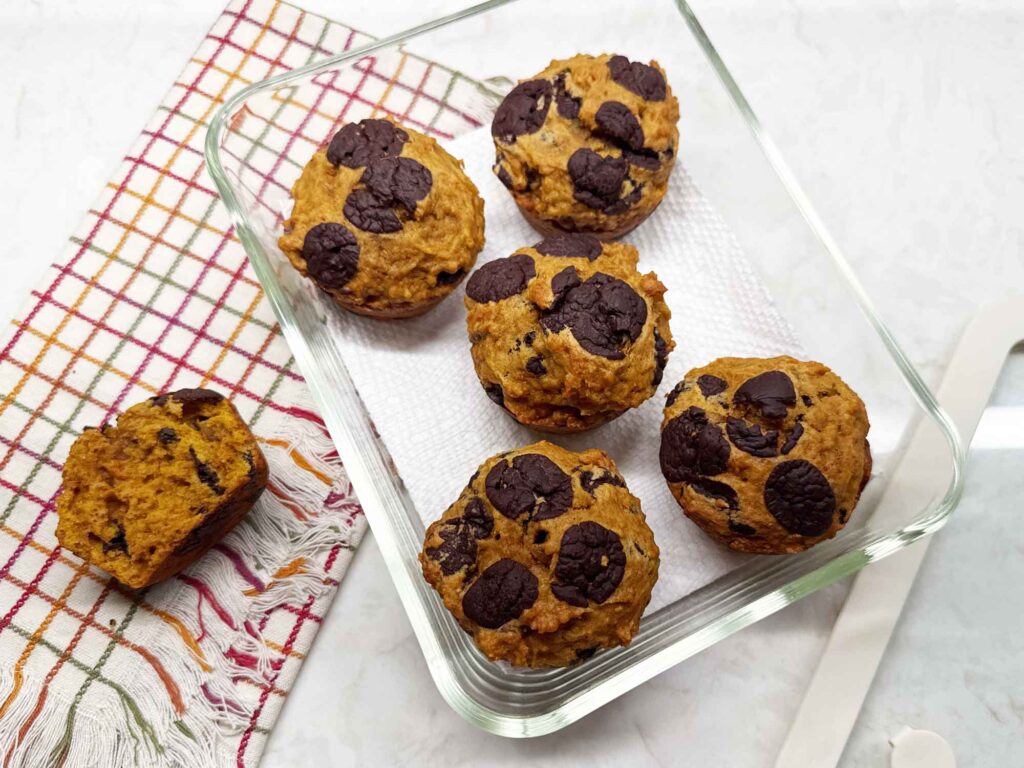
The above photo was taken with ProofMode, which attaches Content Credentials (the C2PA standard) to the image, so anyone can check that it’s a real photo taken by my iPhone on my farm. You can download the proof files here and learn how to verify them.
If you’ve still got half a can of pumpkin in the fridge after making these muffins, my award-winning baked pumpkin doughnuts are a great way to use it up. Or make my pumpkin turkey chili, which is a big fall favorite on our farm. And I’ve got a few more cards from Mom’s recipe box waiting for us, too.
Happy baking!
Love,
Jennifer
Tried this recipe?
Tap the stars in the recipe card to leave a quick rating. Your rating helps other home cooks know this recipe works in a real kitchen, not just mine.
And as a thank-you for your feedback, you will receive a free printable copy of my Maker Home Companion Cookbook, featuring my most popular recipes, each one formatted on a SINGLE, easy-to-use page, a perfect kitchen companion for easy meal prep. Click here to learn more about this cookbook and how you can get your copy!


Meet Jennifer
Jennifer cooks and experiments in the kitchen at Maker Farm, where she focuses on simple pantry cooking, homemade staples, and practical recipes that make everyday meals easier. Over the years she has tested many ways to make cooking simpler and more dependable, and shares the methods that work best in her own kitchen, occasionally showing them on her Heart to Home at Maker Farm vlog.
Delicious, I’ll be making these again!