I’ve made a lot of blackberry jam over the years, and this is the method I keep coming back to. It works with both fresh-picked berries and store-bought berries, and I’ll show you how to get a proper set without pectin so the jam tastes like real fruit, not sugar gel. With just three ingredients and less than 30 minutes, this easy blackberry jam recipe is simple enough for beginners and flavorful enough to make again and again.
JENNIFER’S NOTE

I adore fresh blackberries in season, and turning them into jam is how I hold onto their flavor and fragrance a little longer.
Blackberries have enough natural pectin to set into jam on their own, and the lemon juice helps bring that texture together. The result is a jam that tastes distinctly of fruit, not candy-sweet spread, with a soft texture that’s easy to spoon or spread, all from a single pot and a short cook time.
Love the ease and the simple ingredients.
I made the seedless and it tastes great !!!!
Ginnie
Seeds or Seedless?
This really comes down to how you like your jam to feel when you eat it.
If you’ve ever had blackberry jam, you already know the seeds are noticeable. Some people don’t mind them at all. Others find them distracting or even unpleasant. Neither is wrong, but it does change the experience.
Keep the Seeds If You Want:
- A more traditional, rustic jam
- A slightly thicker, more natural set (seeds contain pectin)
- The highest yield from your berries (no straining loss)
- A faster, simpler process
A seeded jam version feels a little more rustic, with a texture that makes it unmistakably homemade.
Go Seedless If You Prefer:
- A smooth, spreadable texture (closer to store-bought)
- Something easier to use in desserts or fillings
- No crunch or distraction when eating
Seedless blackberry jelly is especially nice if you’re using it in cakes, thumbprint cookies, or anything where texture matters.
So… Which Should You Choose?
If this is your first time making blackberry jam, I’d suggest leaving the seeds in. It’s easier, quicker, and gives you a good baseline.
If you already know you don’t enjoy the seeds, or you want something smoother for baking, then it’s worth the extra step to remove them for a seedless jam.
Either way, you’ll get a jam with more blackberry flavor and a fresher texture than the shelf-stable kind found in a grocery store.

Want to Save This Recipe?
Enter your email below and we’ll send it straight to your inbox! Plus you’ll get new recipes each week!
Blackberry Jam Recipe Without Pectin
Equipment
- 1 large saucepan
- 1 fine mesh strainer (if you're going seedless)
- 1 pint-size clean jar
Ingredients
- 4 cups fresh blackberries (about 1½–2 lbs)
- 1½ – 2 cups granulated sugar (adjust to taste)
- 1 tablespoon lemon juice (from a bottle, or fresh lemon juice)
Instructions
Prepare the Berries
Rinse the blackberries gently and remove any stems or debris.
Soften the fruit.
Add the berries to a saucepan (do not add any water) and cook over medium heat for 5–7 minutes, stirring occasionally, until they break down and release their juices.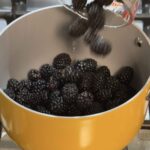
Choose your texture
For seeded jam (skip straining): Lightly mash the berries with a spoon or potato masher to your desired texture, then proceed to Step 4.For seedless jam (smooth texture): Press the cooked berries through a fine mesh sieve or food mill to remove seeds. Discard the seeds and return the smooth puree to the pan.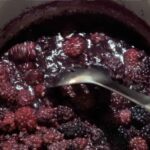
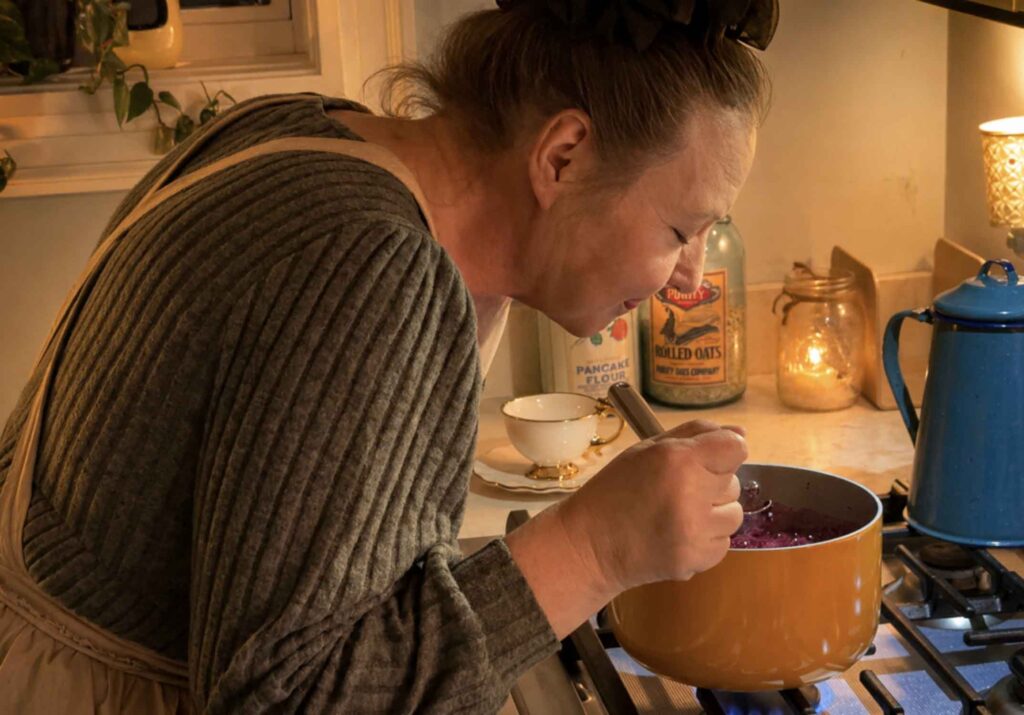
Add sugar and lemon
Stir in the sugar and lemon juice. Cook over medium heat to a rolling boil, stirring frequently, until the mixture begins to thicken in about 15–25 minutes. Watch closely so it doesn't boil over and make a big mess.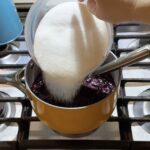
Check for Set
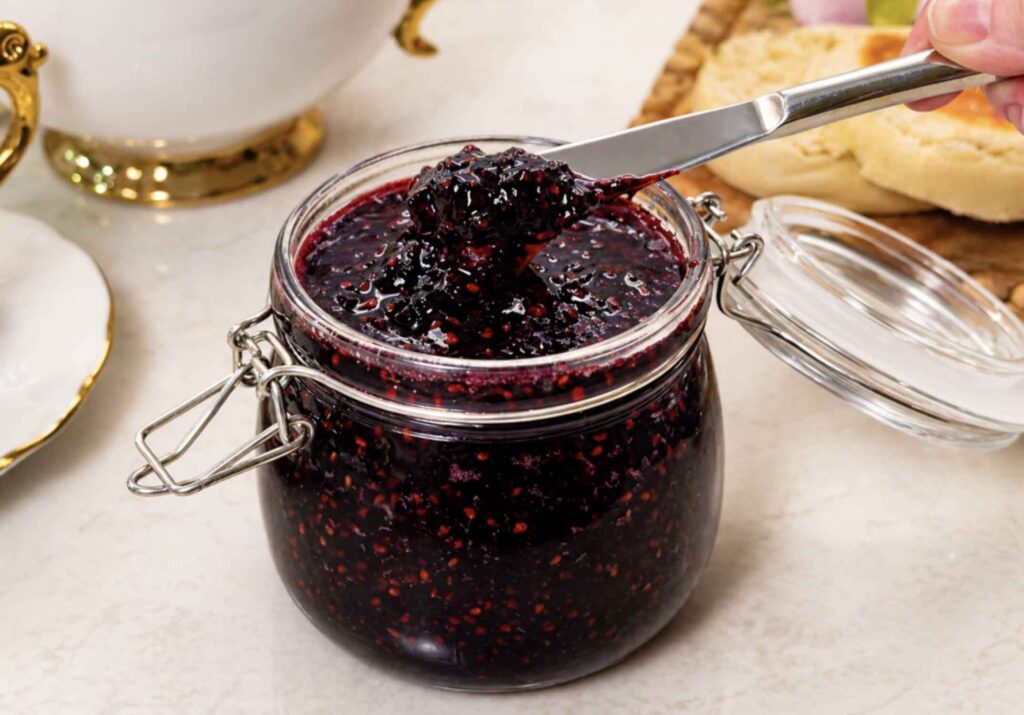
You’re looking for a jam consistency, not syrup. The easiest way to test if you reached the gel stage with the back of a large spoon dipped into the jam — if it slides off in a sheet rather than drips in little drops, it's ready. You can also test with a small plate put in the freezer beforehand: drop a spoonful of jam on the cold plate, and wait 30 seconds, then push it with your finger If it wrinkles slightly and holds shape, it’s ready. If not, cook a few minutes longer.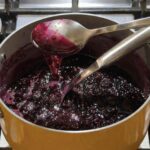
Skim & Finish
Skim off excess foam if needed (optional, mostly cosmetic). Taste and adjust: Add more sugar if too tart. Or add a touch more lemon juice if too sweet.
Jar It
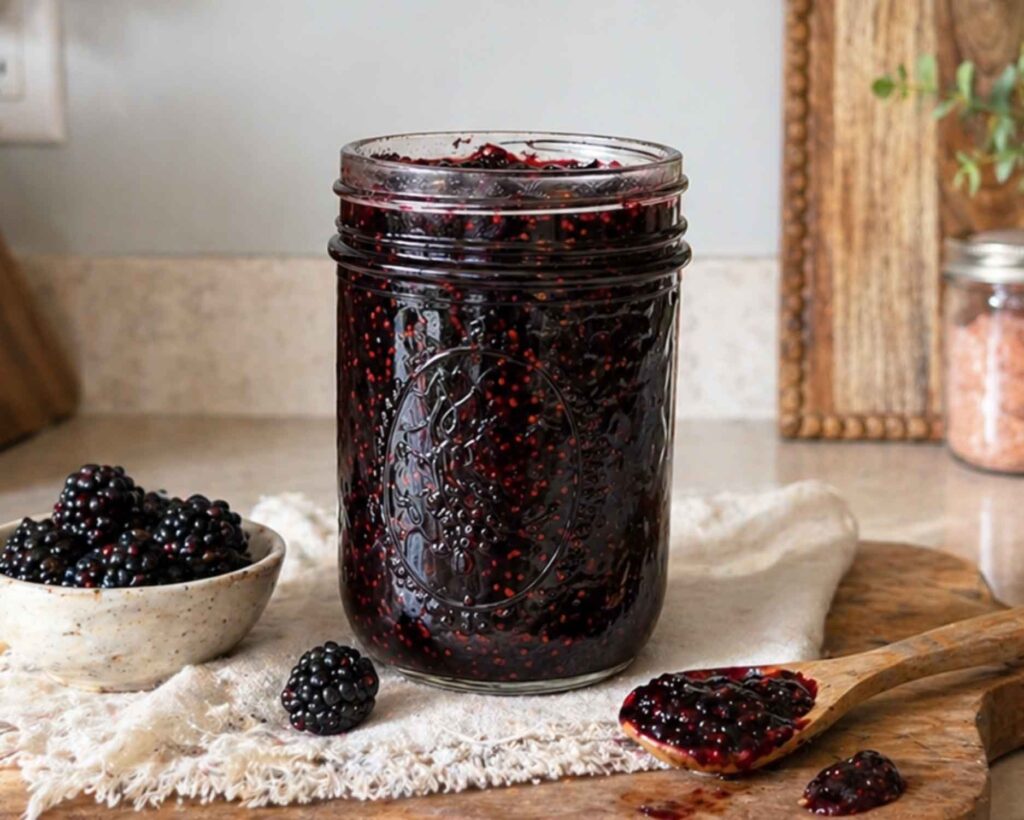
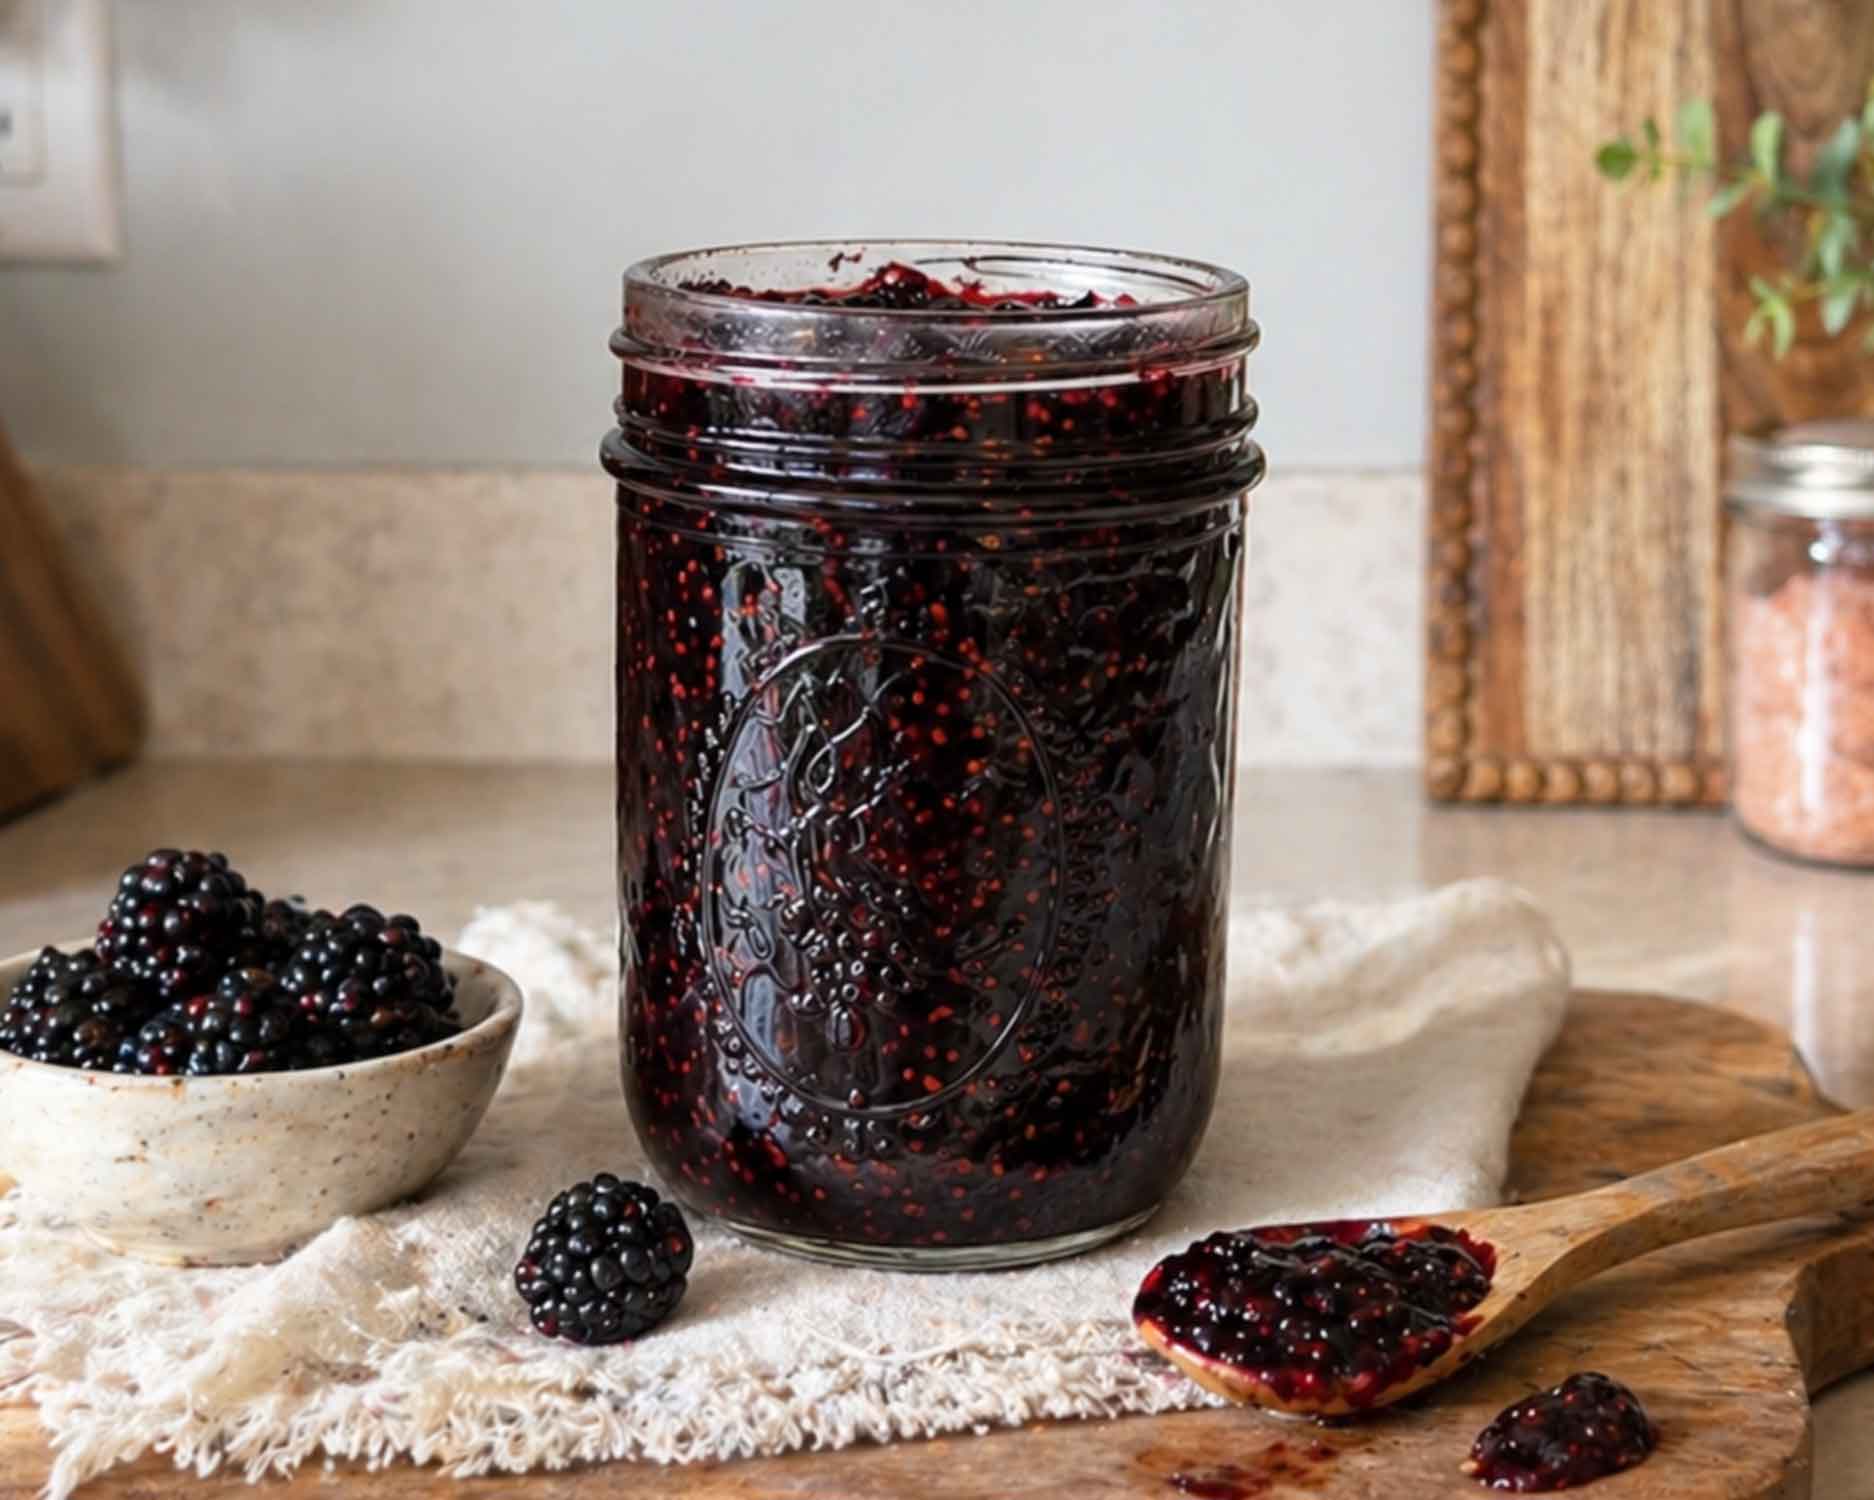
Pour hot jam into a clean jar or deep jam pot and enjoy! This recipe yields about 2 cups, ready for immediate use, or slightly less if making seedless (due to straining)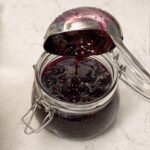
Nutrition
Notes
- Seeded jam will set a bit more easily due to natural pectin in the seeds
- Seedless blackberry jam may take slightly longer to thicken – this is normal
- Jam thickens further as it cools to room temperature, so don’t overcook trying to rush it
- If your jam feels too runny after cooling, you can always reheat and cook it down further.
Storage For Future Use
- Refrigerator: up to 3 weeks
- Freezer: several months
- Water bath canned: about 1 year on the shelf (see next)
Water Bath Canning (Shelf-Stable)
If you want to be able to store this jam in your pantry:
- Use sterilized canning jars
- Leave ¼ inch headspace at the top
- Wipe rims, apply lids
- Process in boiling water (submerged in a water bath canner) for 10 minutes
- Let cool undisturbed for 12–24 hours
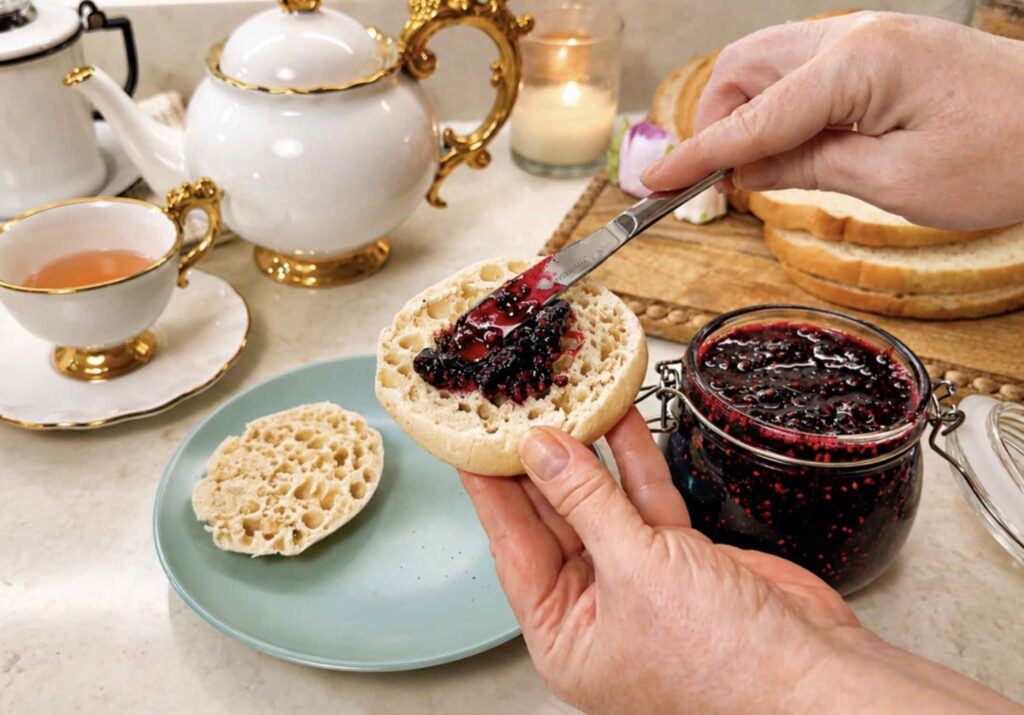
Ways to Use It
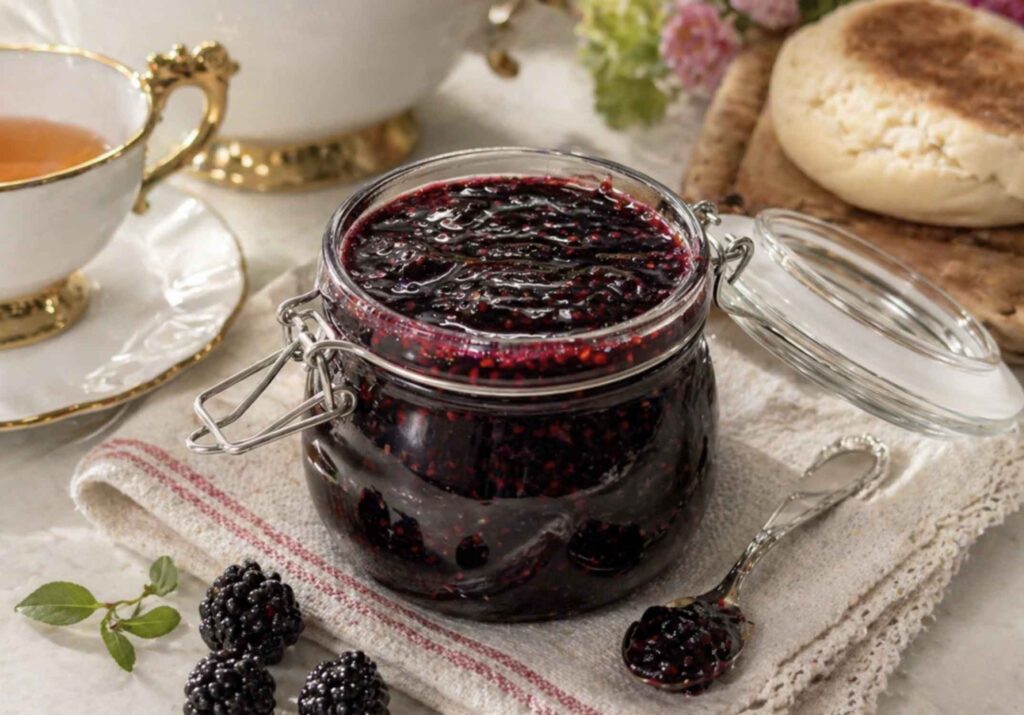
Seeded blackberry jam is especially nice on buttered toast, tucked into warm biscuits, or served alongside a sharp cheddar on a snack board. My favorite way to eat it lately is with a thick slice of fresh sourdough bread (I have a great sourdough bread recipe for beginners).
Seedless blackberry jam is better anywhere you want a smoother finish, like in cakes, thumbprint cookies, yogurt, or spooned warm over ice cream.
Tried this recipe?
Tap the stars in the recipe card to leave a quick rating. Your rating helps other home cooks know this recipe works in a real kitchen, not just mine.
And as a thank-you for your feedback, you will receive a free printable copy of my Maker Home Companion Cookbook, featuring my most popular recipes, each one formatted on a SINGLE, easy-to-use page, a perfect kitchen companion for easy meal prep. Click here to learn more about this cookbook and how you can get your copy!
")
")


Meet Jennifer
Jennifer cooks and experiments in the kitchen at Maker Farm, where she focuses on simple pantry cooking, homemade staples, and practical recipes that make everyday meals easier. Over the years she has tested many ways to make cooking simpler and more dependable, and shares the methods that work best in her own kitchen, occasionally showing them on her Heart to Home at Maker Farm vlog.
Absolutely delicious! I was so excited to be able to make blackberry jam with just a couple ingredients from my kitchen. I made it seedless and used a little less sugar than called for. I used around 1 & 1/4c. I can’t wait to make it again. My grandbabies couldn’t believe I made jam while they were at school. Blackberry jam is my favorite, but I want to try to make raspberry jam soon. 💜
Can you use your recipe to make strawberry or peach jam ? I made the blackberry seedless jam and it was so easy. This was my first time making jam. It was very thick like a gummy so I wonder if I cooked it too long? I reheated the batch to spread on a sausage biscuit today and it was sooooo good -Yum !
Yes, you can use the same basic method for strawberry or peach jam, but they need a few adjustments because they don’t have the same natural pectin as blackberries.
Strawberries usually need a little more lemon juice and often a slightly longer cook time to thicken. Peach jam is similar and can stay softer unless you cook it down more or add a little pectin.
Blackberry jam tends to set the easiest, which is why it’s such a good first jam recipe.
And yes, if your seedless blackberry jam turned out very thick and a little gummy, it probably cooked just a bit too long. Seedless jam thickens more than people expect because once the seeds are removed, the fruit pulp cooks down into a very concentrated spread. The good news is exactly what you discovered: it reheats beautifully and is amazing on things like biscuits 😊
Love the ease and the simple ingredients. I made the seedless and it tastes great !!!! ❤️❤️❤️❤️
One question: is it supposed to be super thick without seeds. I’m is compared to a grocery store brand . Is it supposed to be that thick ? First time making jam
Seedless blackberry jam is often thicker than store-bought jam, especially when made without added pectin or extra water. Once you remove the seeds, the fruit pulp cooks down into a richer, denser texture, so it can feel more like a soft fruit spread than a thin commercial jam.
Store-bought versions are usually made to be smoother and looser for easier spreading, while homemade jam tends to be fuller and more concentrated.
As long as yours still spreads on toast and doesn’t feel stiff like jelly, you’re right where you should be. And remember, it will thicken even more as it cools in the jar.
For your first jam, that actually sounds like a success ❤️
Can I use this recipe for black raspberry jelly or jam?
Yes, but double the amount of lemon juice, as raspberries have less natural pectin. You’ll probably also want to remove the seeds if you’re doing raspberries, because they are more noticeable.
Thank you for sharing.
Jennifer, could I use the same recipe for Raspberry jam? I have raspberries and I see yours is so easy I was hoping I could use it.
Yes, with a small tweak: increase the lemon juice by 50% (so 1.5 tablespoons instead of 1 tablespoon). This will help the raspberry jam set better. Also, I recommend you go seedless for raspberry jam, so follow those instructions.