

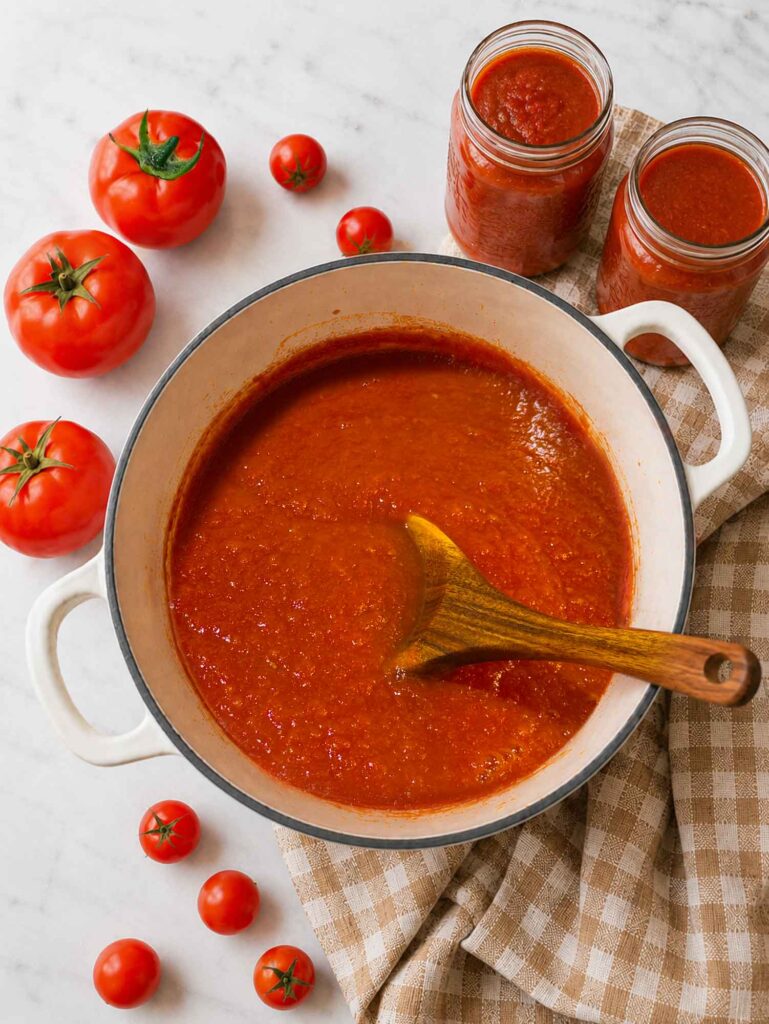
This homemade tomato sauce is a simple, plain sauce made from ripe tomatoes, fresh or frozen, cooked down smooth and ready to use all winter. You cook the tomatoes, run them through a food mill to leave the skins and seeds behind, then simmer until it’s as thick as you like. It takes some time on the stove, but the work is easy, and I’ll show how to can it so it keeps on the shelf.
Why I Stopped Buying Canned Tomato Sauce

For a long time I just reached for a can of tomato sauce without thinking twice. Then I made a batch from ripe, in-season tomatoes, and there was no going back. Fresh tomato sauce tastes brighter and sweeter than anything from a can, without that tinny, cooked-flat edge. And you get to decide exactly what goes in it: just tomatoes, a little acid, and salt, with none of the extra additives. It’s cheaper too, especially when the garden is already handing you tomatoes by the bowlful.
That’s exactly where we are this time of year. We grow way more tomatoes than we can ever eat fresh, so putting up sauce is the thing to do when the garden comes in all at once. This year I made sauce the same day I picked them, but last year I just tossed whole tomatoes in the freezer during the busy weeks to turn into sauce when things slowed down. Both work, and honestly the frozen ones have a sneaky advantage I’ll share later.
Either way, there’s something SO satisfying about a tomato sauce you made yourself. Greg has already put in his request for a batch that’s headed straight for a baked ziti soon.
Let’s dig in!


Want to Save This Recipe?
Enter your email below and we’ll send it straight to your inbox! Plus you’ll get new recipes each week!
What Tomatoes Make the Best Sauce?
The short answer: paste tomatoes like Roma or San Marzano make the richest sauce, because they have more flesh and less water and juice inside. That means less time simmering on the stove to thicken up. But don’t worry if that’s not what’s in your garden, farmers market, or produce section at the store. Any ripe tomato makes good sauce, you’ll just cook a slicing tomato down a little longer to drive off the extra water. I use whatever the garden gives me, and it always turns out great.
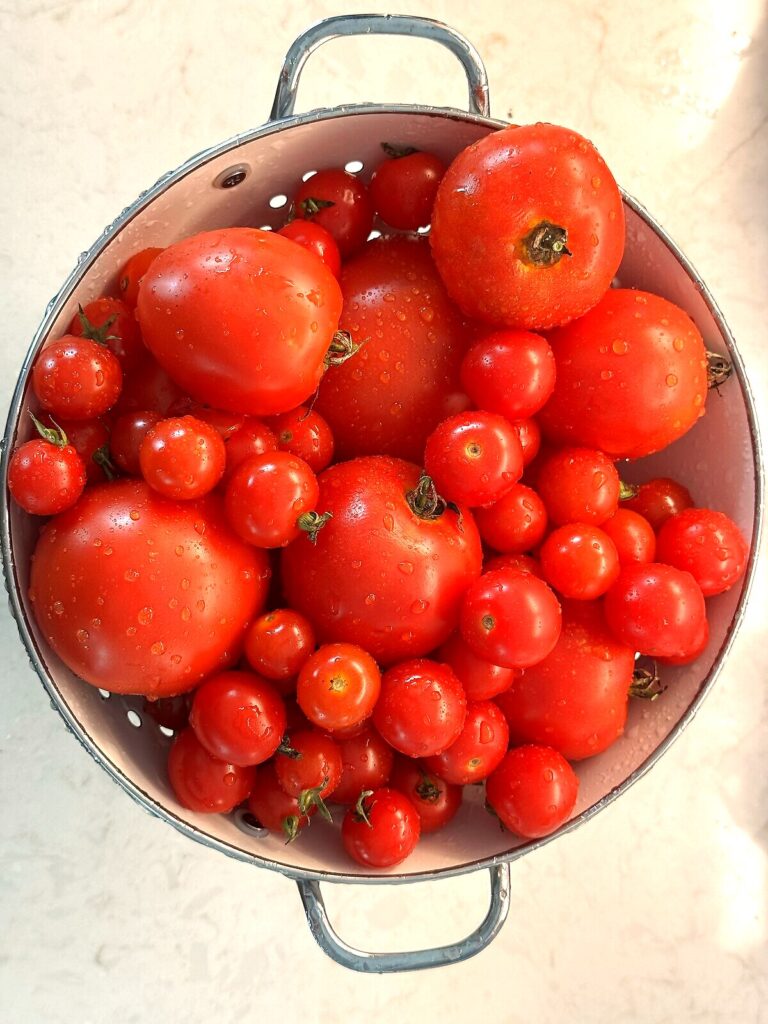
One thing to look for: use tomatoes that are fully ripe and free of bad spots. Be careful not to use tomatoes from dead or frost-killed vines, because their acidity can drop, and for a sauce you plan to can, steady acidity matters. Cut away any bruised or damaged parts before you start.
Making Sauce From Fresh Tomatoes vs Frozen Tomatoes
We’re really making this in two stages: getting your tomatoes down to a pulp, then simmering that pulp into sauce. The second stage is identical no matter what. It’s just the first stage, the prep, that changes a little depending on whether your tomatoes are fresh or frozen. Let me walk through both.
Starting With Fresh Tomatoes
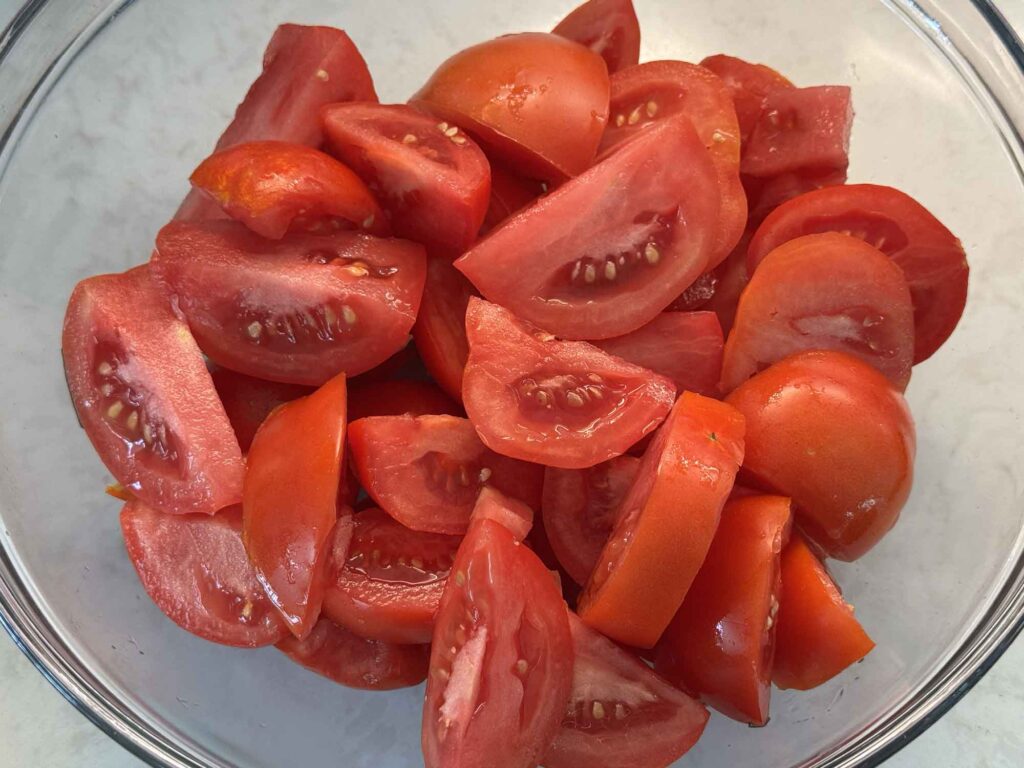
Wash your fresh tomatoes and cut out the cores. There’s no need to peel them first, because you’ll cook them soft and then run everything through a food mill or a sieve, which catches the skins and seeds for you automatically. Quarter the tomatoes into a large pot, and to keep the sauce a nice bright red, add just enough quartered tomatoes to the pot to get some juice going, then heat them while you add the rest. This helps because it keeps the enzymes from breaking down the color before the heat can set it. Simmer until everything is soft and saucy, about 15 to 20 minutes, then move on to milling.
How Do You Core a Tomato?
Coring just means taking out the tough, pale core where the stem attached, since that part never softens the way the rest of the tomato does. Set the tomato stem-side up, push the tip of a paring knife in at an angle right next to the stem, and cut a small circle around it, angling the blade inward so you carve out a little cone.
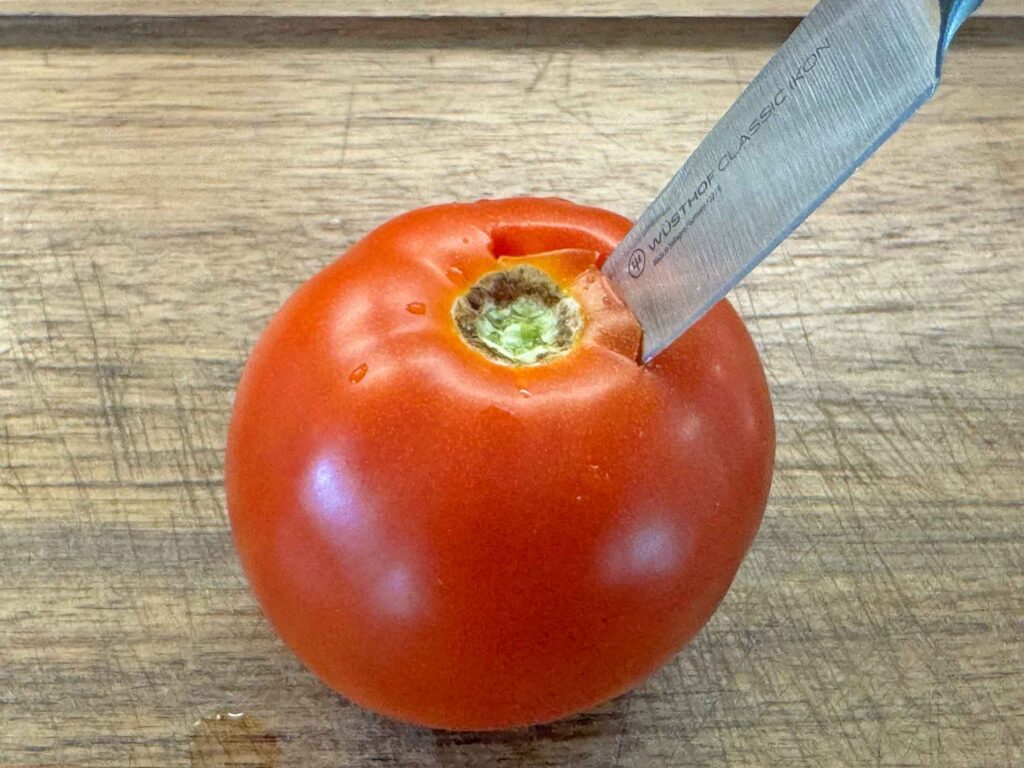
Lift that plug out and you’re done. Don’t worry about being precise… you’re only after that hard bit at the top, so take as little of the good flesh with it as you can.
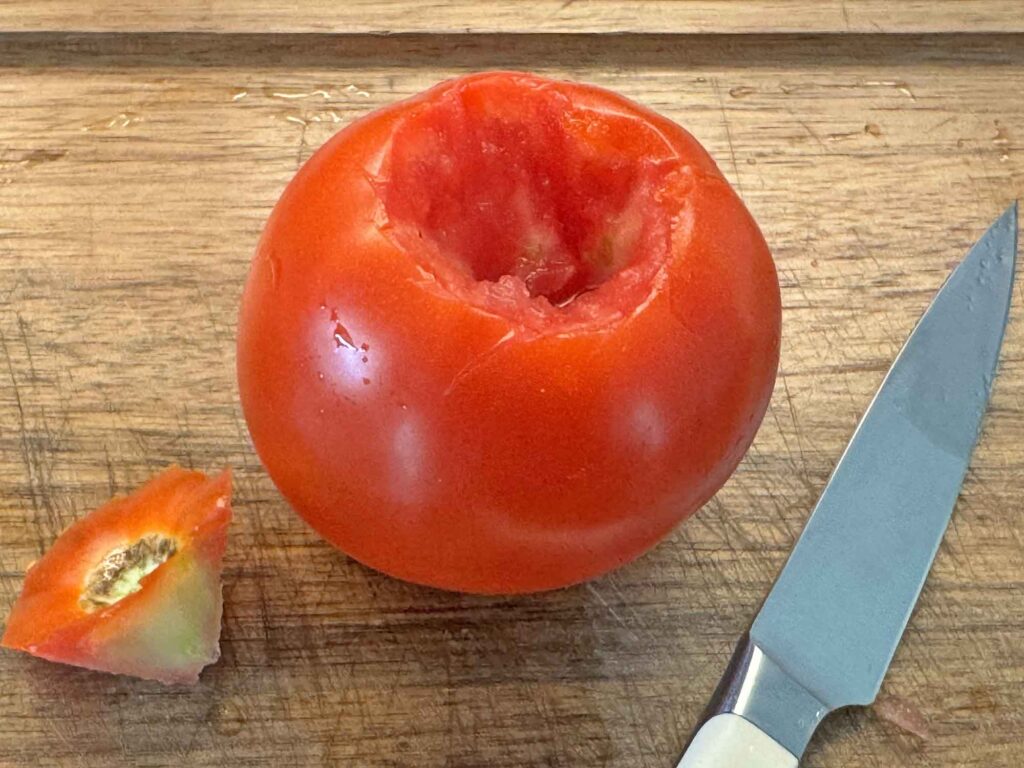
If it feels easier, you can also just halve the tomato and cut the core out with a quick little V-shaped slice.
Starting With Frozen Tomatoes
Here’s that sneaky advantage I promised. When you freeze whole tomatoes and then thaw them, the skins slip right off with barely a tug, so freezing does the peeling for you.
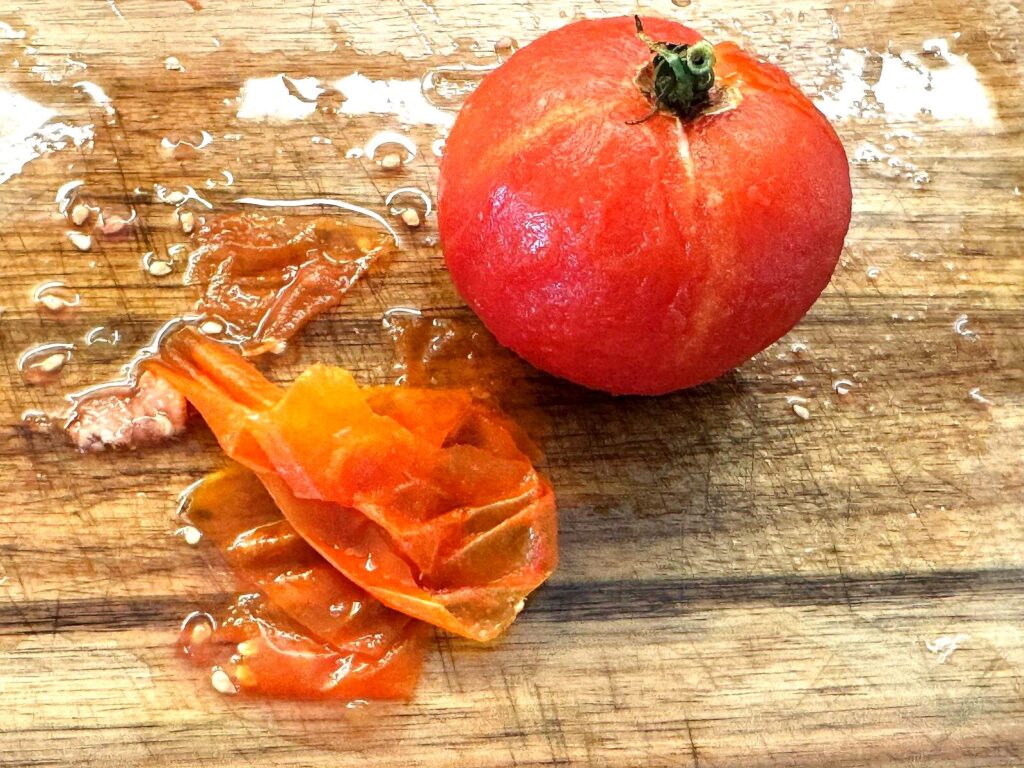
If you want, you can even let frozen tomatoes sit in a bowl of warm water for a few minutes and the skin practically falls off in your hand. Thaw your frozen tomatoes in a bowl or pot, and you’ll notice they let out a LOT of water. That’s totally normal. Just pour off some of that thin liquid before you start cooking, or plan to simmer a bit longer, since frozen tomatoes give up more water than fresh. Then quarter them, cut away the core, and cook them down the same way, about 15 to 20 minutes until soft.
Do I NEED to Peel My Tomatoes First?
For this recipe, no, and that’s one of the reasons I love making sauce this way. The food mill (or sieve) catches every skin and seed after the tomatoes cook, so peeling ahead of time would just be extra work for the same result. And if you’re using frozen tomatoes, the skins slip off on their own when they thaw, so that’s handled too.
You may have seen people cut a small X in the bottom of each tomato, dip them in boiling water for 30 to 60 seconds, then plunge them into ice water so the skins peel off. That blanching trick is worth doing in three cases: you’re canning whole or halved tomatoes, you want a chunky sauce with real tomato pieces, or you don’t have a food mill and need the skins gone before cooking. If none of those is you, just quarter and cook… the mill does the rest.
Cooking It Down Into Sauce
Once your tomatoes are soft, run them through a food mill or press them through a sieve to leave the skins and seeds behind. What drops through is a thin tomato puree, and now we just simmer it down to the thickness we want.
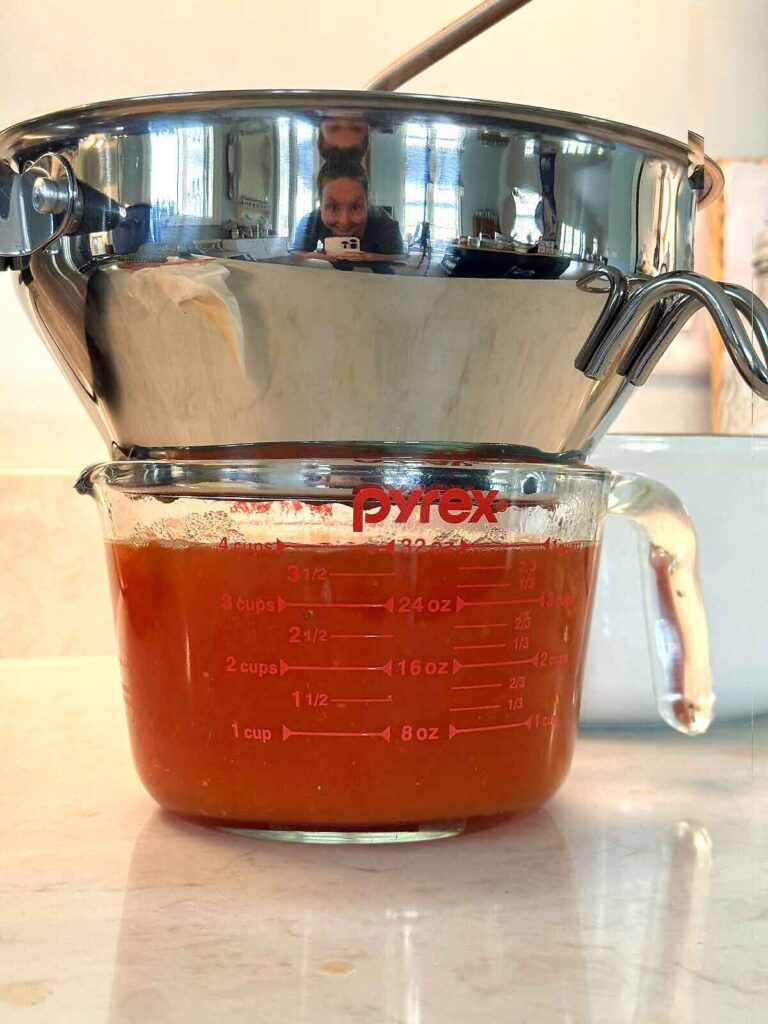
Pour the puree into a wide, large-diameter pot, because a wide pot gives the water more room to evaporate and thickens your sauce faster. Simmer gently, stirring now and then so the bottom doesn’t scorch.
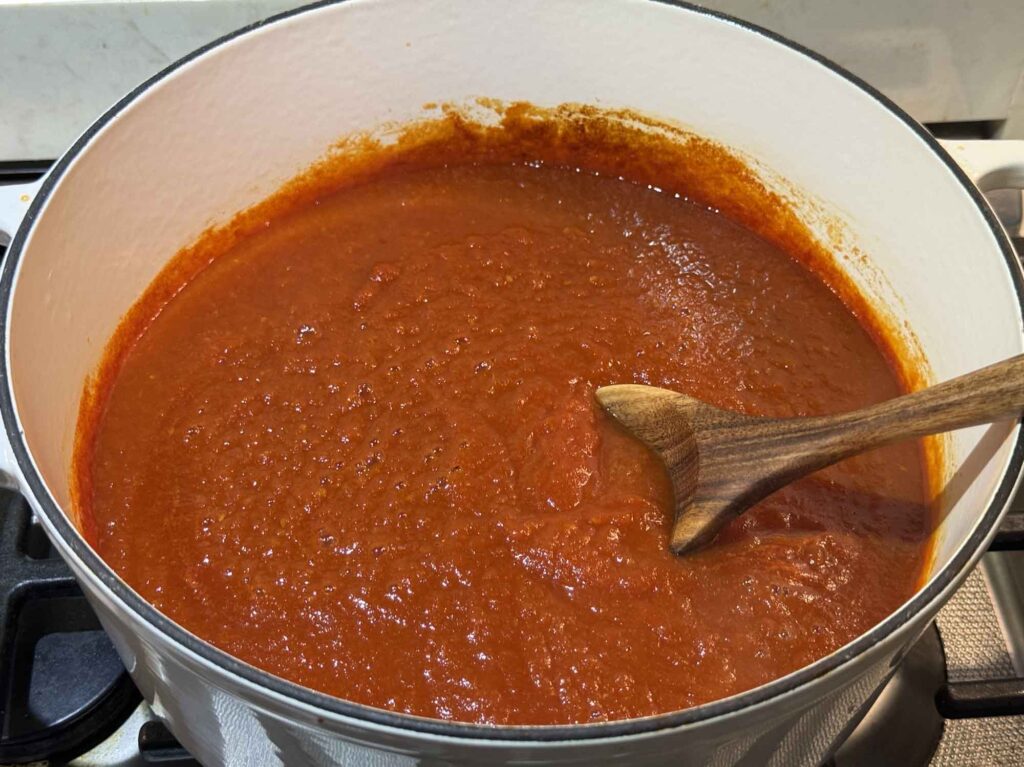
For a thinner sauce, cook until the volume drops by about a third. For a thick, spoon-coating sauce, cook until it reduces by about half. It’s completely okay if this takes a while… a big pot of thin, watery tomatoes can take an hour or more to come together, and that’s normal. One common mistake is walking away and letting it boil hard unattended, which can scorch the bottom and give the whole batch a burnt taste. Once it scorches, it’s bad and not worth saving. Keep it at a gentle simmer and give it a stir when you pass by.
Why Is My Tomato Sauce Still Watery?
If you’ve reduced your sauce and it’s still thin, don’t worry… this is really common, and it’s almost always the tomatoes, not you. Frozen tomatoes and juicy slicing tomatoes hold a lot more water than paste tomatoes, so with those you often have to cook past the “reduced by half” mark before it feels thick. The goal is a sauce that coats the back of a spoon, so just keep going… it’ll get there.
The biggest thing you can change is surface area, because sauce only thickens where it meets the air. A deep pot evaporates slowly, so pour your sauce into your widest, shallowest pan, or split it between two pans, and you’ll see it come together much faster. For a hands-off option, pour the sauce into a large roasting pan and let it reduce in a 325 to 350°F oven, stirring every 20 to 30 minutes… all that surface area does the work with less risk of scorching. You can also skip some of the boiling by ladling off the thin, watery liquid that rises to the top, or by draining the milled puree through a fine sieve before you simmer.
Just keep it uncovered at a steady simmer and stir now and then. And if you’re canning this batch, aim for thick but still spoonable rather than a dense paste, since the tested tomato sauce process is meant for a pourable sauce.
This is a plain tomato sauce on purpose, so I don’t add onion, garlic, herbs, or oil to the pot. Keeping it plain means it’s endlessly useful later (pasta, soup, chili, pizza), and it also keeps it safe to can, which I’ll explain below. When I actually cook it into a recipe, that’s when I add the garlic and basil and whatever else the dish wants.
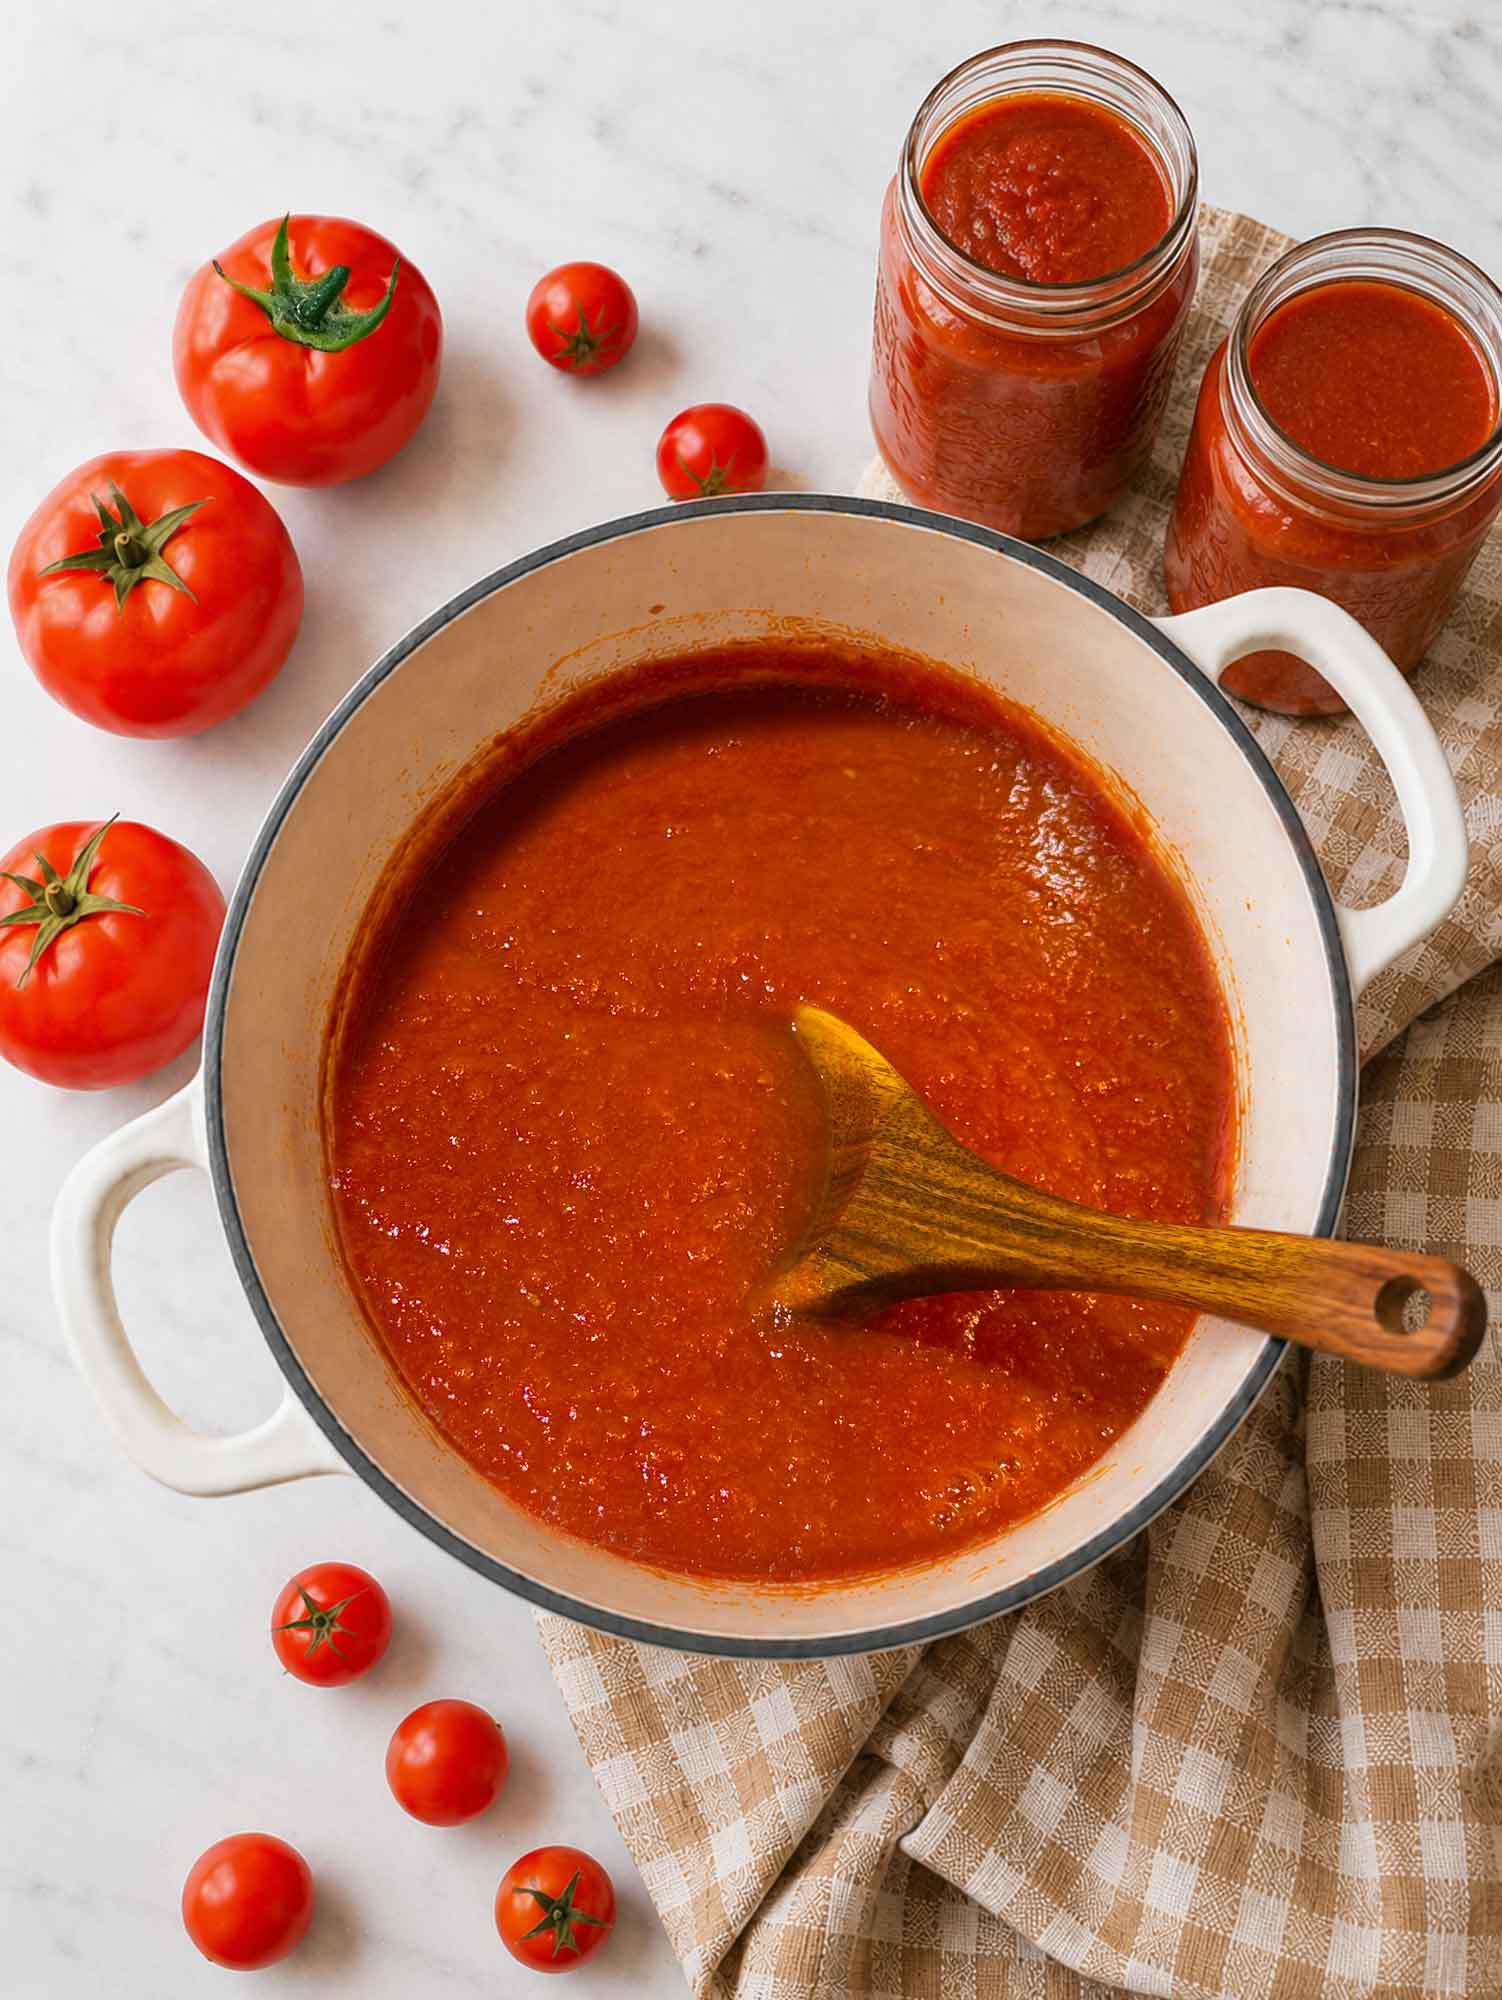
Homemade Tomato Sauce Recipe
Equipment
- 1 canner optional, if you want to preserve your tomato sauce
- 3-4 pint size jars
Ingredients
- 10 lbs ripe tomatoes, fresh or frozen (paste tomatoes like Roma give the thickest sauce)
- 1 tablespoon bottled lemon juice or 1/4 tsp citric acid, per pint jar (required if canning, see notes)
- 1/2 teaspoon salt, per pint jar (optional, to taste)
Instructions
- Prep the tomatoes. Fresh: wash and core. Frozen: thaw, slip off the skins, pour off some of the released water, then core. Cut all tomatoes into quarters. Cherry tomatoes can be left uncut.
- Cook them soft. Add a few quarters to a large pot and heat to get the juices going, then add the rest. Simmer 15 to 20 minutes, until soft and saucy.
- Mill out skins and seeds. Run the soft tomatoes through a food mill or press through a sieve. Discard the skins and seeds.
- Simmer to thicken. Pour the puree into a wide pot. Simmer gently, stirring often, until reduced by about one-third for a thin sauce or about one-half for a thick sauce.
- Use, refrigerate, freeze, or can. Season and use right away, keep in the fridge up to 5 days, freeze up to 6 months, or pressure can following the notes below.
Nutrition
Notes
- Canning requires added acid. Tomatoes are borderline for acidity, so if you’re canning, add bottled lemon juice or citric acid to every jar (amounts above), even when using a pressure canner. Use bottled lemon juice, not fresh, because its acidity is consistent.
- Keep it plain for canning. Don’t add onion, garlic, peppers, oil, or extra herbs to sauce you plan to can, and don’t thicken it with flour or cornstarch. Those change the safety of the recipe.
- Frozen tomatoes release more water, so expect a little longer simmer to reach the same thickness.
- Pressure-canning pints: 1/4-inch headspace; process 15 minutes at 11 pounds (dial-gauge) or 10 pounds (weighted-gauge) at up to 1,000 feet elevation. Adjust pressure for your altitude using the current NCHFP table. Full walkthrough below.
How to Can Tomato Sauce in a Pressure Canner
Canning your own tomato sauce is one of the best feelings in the world, and it’s very doable at home. But this is the one part of cooking where I follow the tested rules to the letter, because with low-acid and borderline-acid foods, guessing isn’t worth the risk. Everything here follows the USDA and National Center for Home Food Preservation directions for standard tomato sauce. Please read your pressure canner’s manual too, since models differ.
The one rule you cannot skip: acidify every jar.

Tomatoes are not quite acidic enough to be safe on their own, so add 1 tablespoon of bottled lemon juice (or 1/4 teaspoon citric acid) to each pint jar before you fill it. This is required even when you pressure can. Use bottled lemon juice, not fresh-squeezed, because bottled has a reliable, consistent acidity and fresh does not.
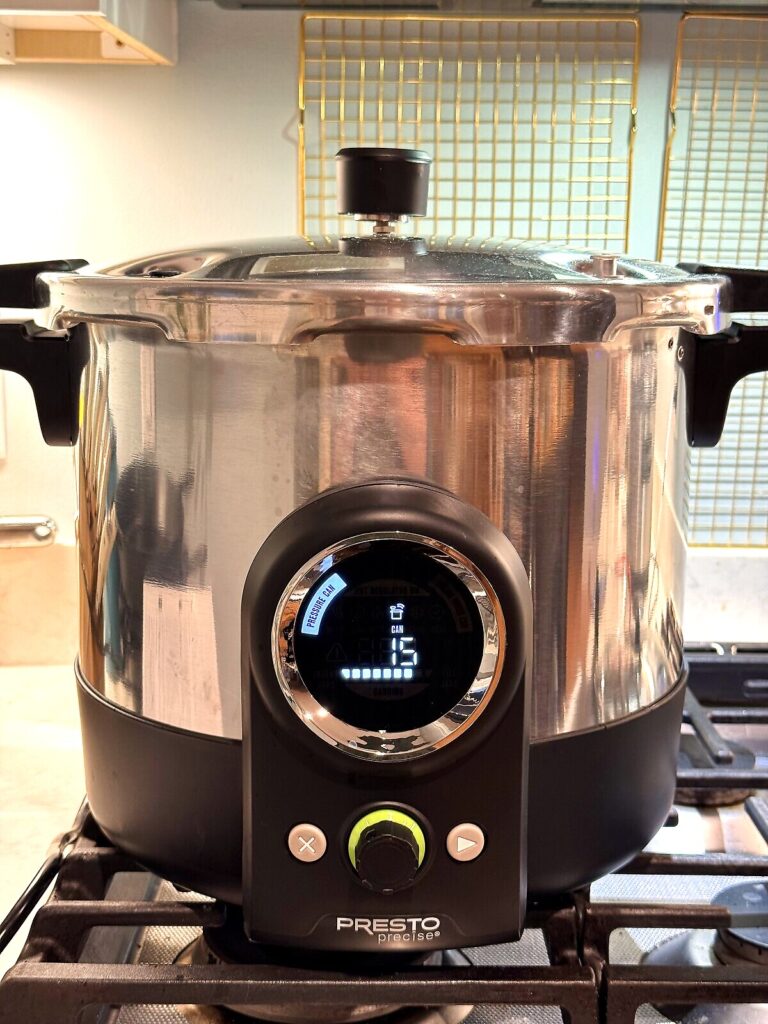
Here’s the flow, start to finish:
- Get your jars and canner ready. Wash your pint jars, keep them hot, and prepare your lids per the manufacturer. Set up your pressure canner with the amount of water its manual calls for.
- Acidify. Add 1 tablespoon bottled lemon juice (or 1/4 teaspoon citric acid) to each hot pint jar. Add 1/2 teaspoon salt per pint too, if you like, just for flavor.
- Fill the jars. Ladle your hot sauce into the jars, leaving 1/4 inch of headspace at the top. Be careful not to overfill… that headspace matters for a good seal.
- Remove air bubbles and wipe the rims. Slide a bubble tool or clean spatula around the inside to release trapped air, then wipe each rim clean so nothing keeps the lid from sealing. Set the lids and screw the bands on fingertip-tight.
- Vent, then pressurize. Lock the canner lid and let it vent steam for 10 minutes before you close the vent. This step matters, so don’t rush it. Once it’s vented, bring it up to pressure.
- Process the pints for 15 minutes. Hold 11 pounds of pressure on a dial-gauge canner, or 10 pounds on a weighted-gauge canner, for elevations up to 1,000 feet. If you live higher up, you’ll need more pressure, so check the current NCHFP standard tomato sauce table for your altitude. Keep the pressure steady the whole time.
- Cool down naturally. When the time is up, turn off the heat and let the canner depressurize on its own. Don’t force it. Once it’s fully down, wait a couple of minutes, then open the lid away from your face.
- Rest and check seals. Lift the jars out and set them on a towel, undisturbed, for 12 to 24 hours. You’ll hear those happy little pings as they seal. After they cool, press the center of each lid: if it doesn’t flex, it’s sealed. Any jar that didn’t seal goes in the fridge to use first.
Label your jars with the date and store them in a cool, dark spot. Properly canned tomato sauce keeps its best quality for about a year, though it stays safe longer. If you ever open a jar and the lid is bulging, the sauce smells off, or it spurts when opened, don’t taste it… just throw it out.
No Pressure Canner?

Standard tomato sauce is also approved for a boiling-water bath, so you don’t need a pressure canner to put it up safely. Everything else stays exactly the same: acidify every jar (1 tablespoon bottled lemon juice or 1/4 teaspoon citric acid per pint), fill to a 1/4-inch headspace, wipe the rims, and check your seals afterward. The only thing that changes is the processing. Instead of the pressure canner, lower the filled jars into a boiling-water canner so they’re covered by about an inch of water, bring it to a full rolling boil, and boil the pints for 35 minutes. Add time at higher elevations, so check the current NCHFP table for yours. It takes a little longer than pressure canning, but it’s the same safe, tested result, and it’s the method a lot of home cooks reach for with tomatoes.
If you’d rather not fuss with the canner at all, this sauce also freezes beautifully. Cool it, leave a little room at the top of the container for expansion, and freeze it flat in bags for up to 6 months.
How Do You Use Homemade Tomato Sauce?
Because it’s plain, this sauce is a blank canvas, and I reach for it all winter long. It’s the base for a spaghetti sauce, it layers into lasagna and a bubbly baked ziti, and it simmers down into homemade pizza sauce. I also stir it into chili and taco soup for an easy, cozy dinner. A jar of your own tomato sauce turns a random Tuesday dinner into something that tastes like late summer, even in February.
Happy canning!
Love,
Jennifer
Tried this recipe?
Tap the stars in the recipe card to leave a quick rating. Your rating helps other home cooks know this recipe works in a real kitchen, not just mine.
And as a thank-you for your feedback, you will receive a free printable copy of my Maker Home Companion Cookbook, featuring my most popular recipes, each one formatted on a SINGLE, easy-to-use page, a perfect kitchen companion for easy meal prep. Click here to learn more about this cookbook and how you can get your copy!


Meet Jennifer
Jennifer cooks and experiments in the kitchen at Maker Farm, where she focuses on simple pantry cooking, homemade staples, and practical recipes that make everyday meals easier. Over the years she has tested many ways to make cooking simpler and more dependable, and shares the methods that work best in her own kitchen, occasionally showing them on her Heart to Home at Maker Farm vlog.
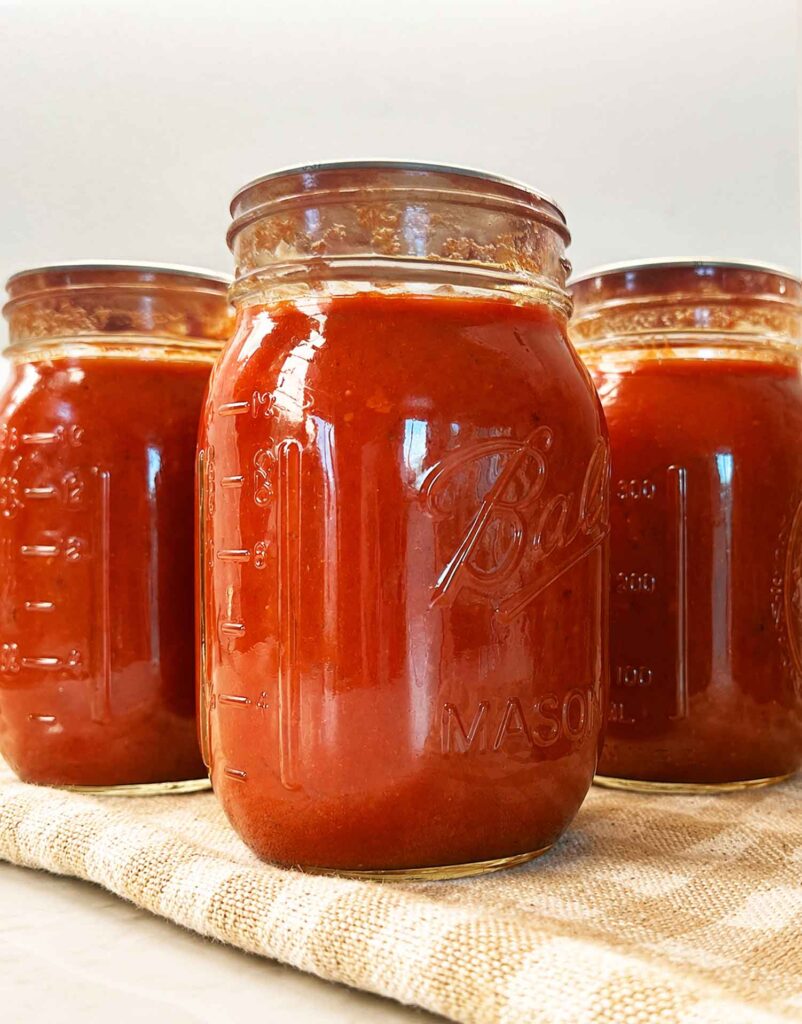
Sunday of the Labour Day weekend was the day to can tomato sauce. As a fan, and having tried so many of your recipes (not to mention a major follower for your Cricut projects) we decided to use your Homemade Tomato Sauce Recipe. I truly appreciate the additional information regarding not adding other ingredients to preserve the safety of the sauce as well as the tidbit of the lemon juice. We used fresh Roma tomatoes from a market. The colour of the sauce looks amazing in the jars! I would actually rate this receipt 4.5 but half marks are not available! The only reason for the half point off is we roast our tomatoes in the oven to remove the skins easily as well as the taste is glorious from the roasting. Thank you once again, Jennifer!
Excellent! Most of my tomatoes come from my freezer where I save them throughout the summer from my garden, so roasting is out … or so I THOUGHT. I just checked and I could try roasting them frozen, in fact. I will try that next time I make tomato sauce. THANK YOU!
Thank you so much for posting this recipe. I often put up tomatoes in some form or fashion. This year, I had already bought a food mill in preparation for my 2026 tomato sauce. My other recipes have said to run them through the mill before you cook them down. I think your way is going to be much easier on my poor achy hands. sadly, my san marzano’s are still so green. I’m in Windsor, ON, (across the river from Michigan). We had such a cold late spring. it’s taking some time for the plants to catch up. I’ve never had such trouble with my tomatoes but that’s the way it is LOL. Hopefully they’ll get there. If not I’m I prepared to buy a bushell of tomatoes from a local farmer. I’m looking forward to it. I’m a huge fan of your SVG patterns and other projects and have been for the past number of years. Hoping to get your cookbook. I’m excited to see more of your recipes especially for canning. I’m a huge fan. Thank you.
This was an easy way to use up lots of fresh tomatoes that came from my garden. I liked that it is versatile in its use from a base for pizza sauce or in taco soup.