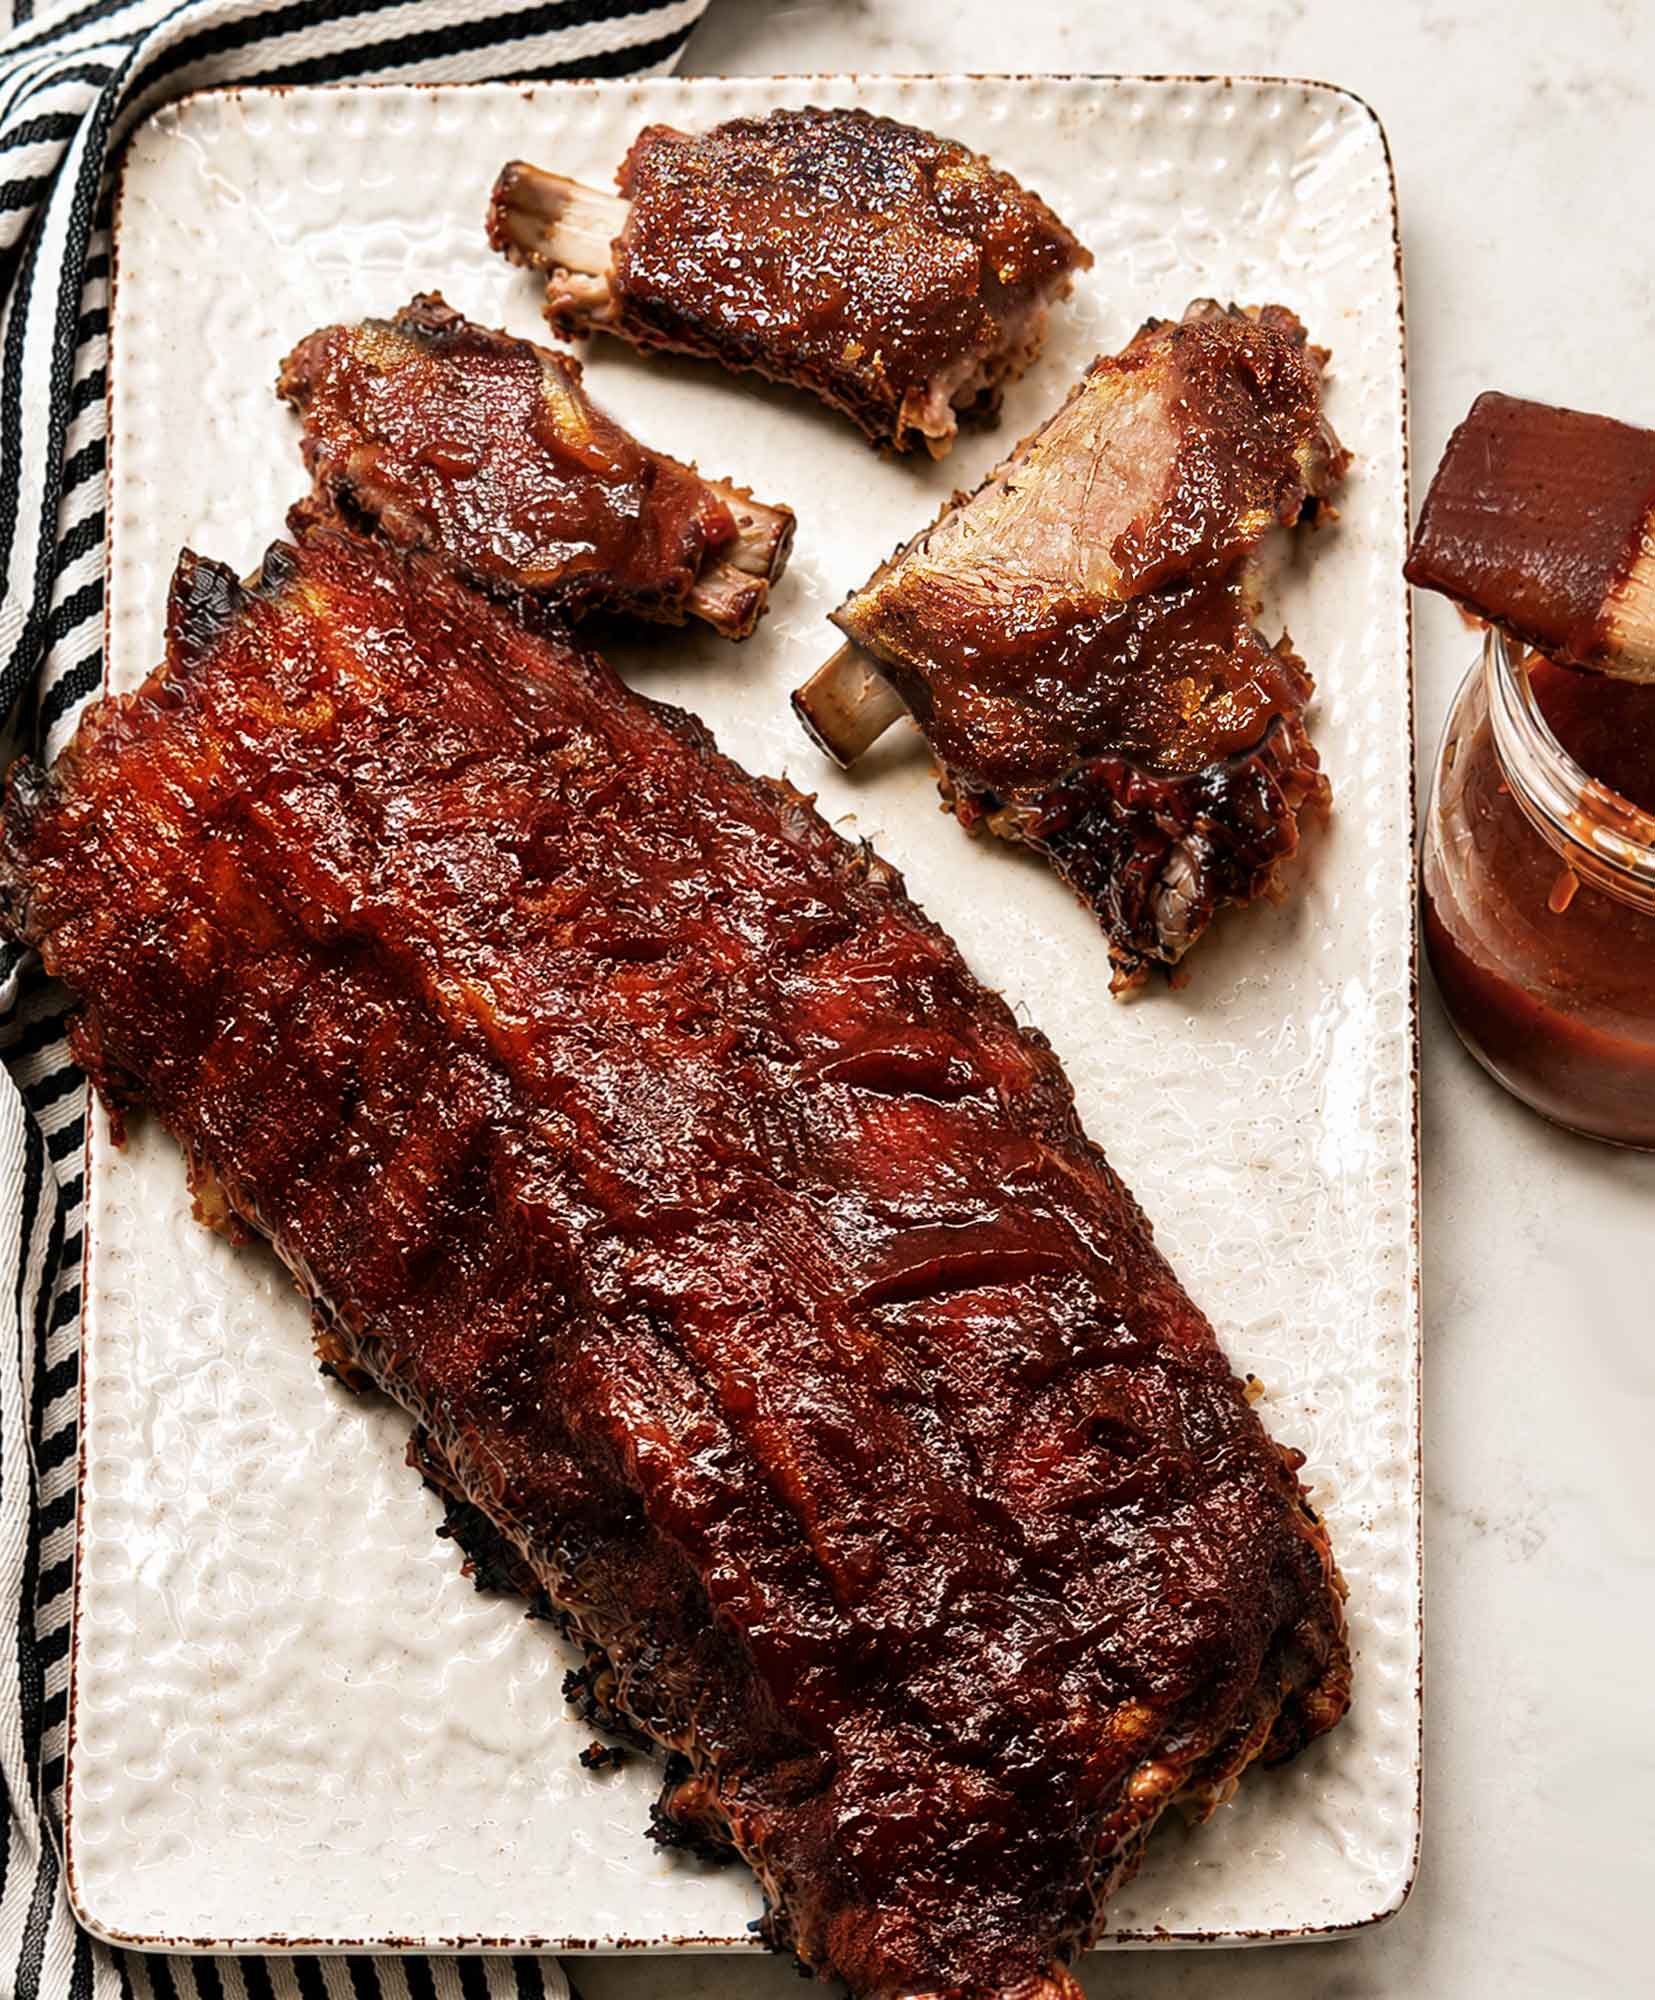
These oven baked ribs are cooked low and slow at 275°F until tender, then brushed with BBQ sauce and finished uncovered so the sauce gets sticky, glossy, and caramelized. The ribs start with a simple dry rub made with brown sugar, smoked paprika, garlic powder, onion powder, salt, and black pepper, then bake tightly wrapped in foil until the meat is tender.
Plan on about 2 1/2 to 3 1/2 hours total, depending on the size and thickness of your rack of ribs.
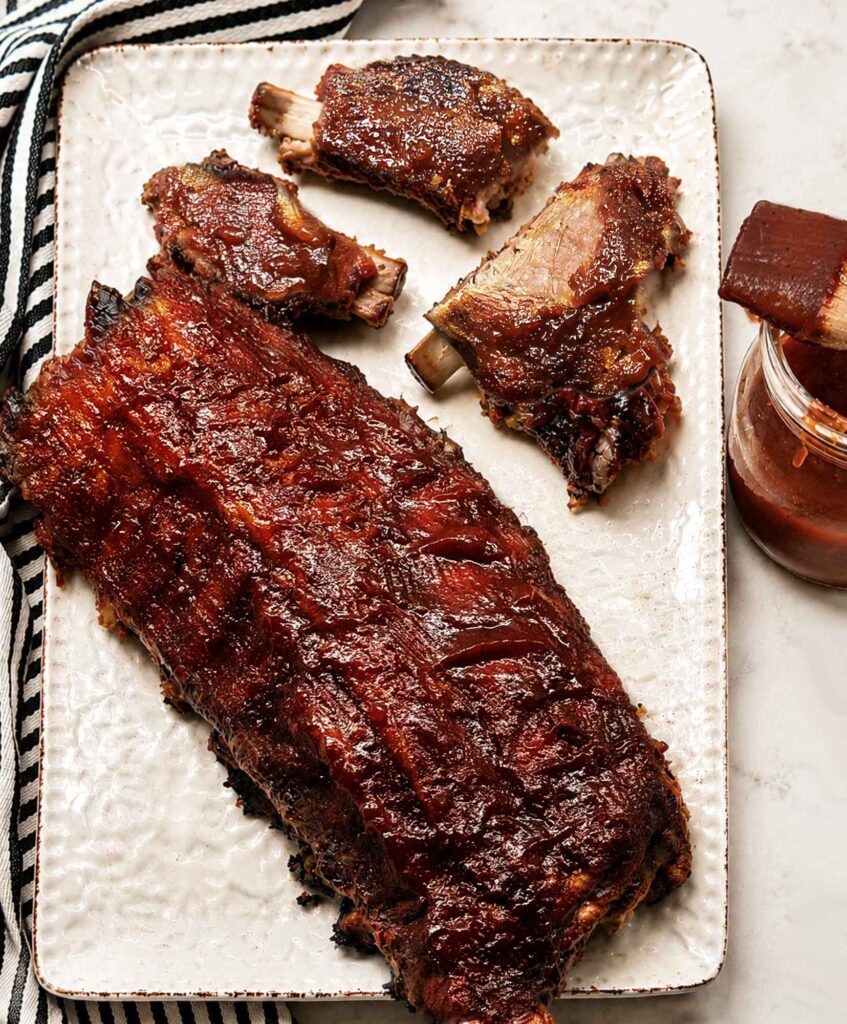
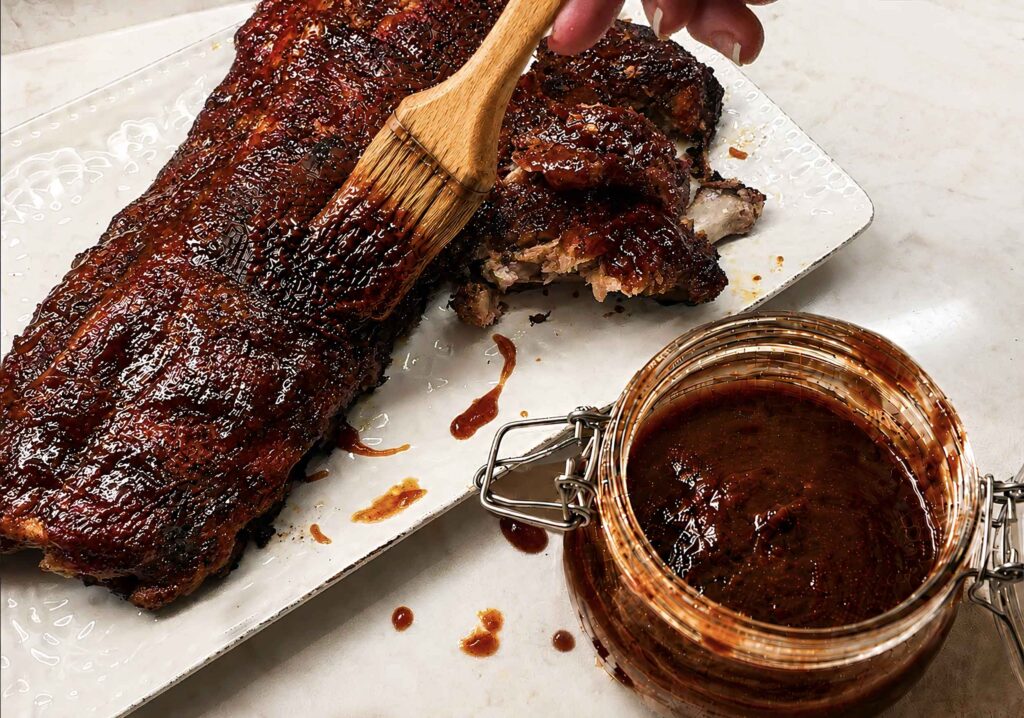
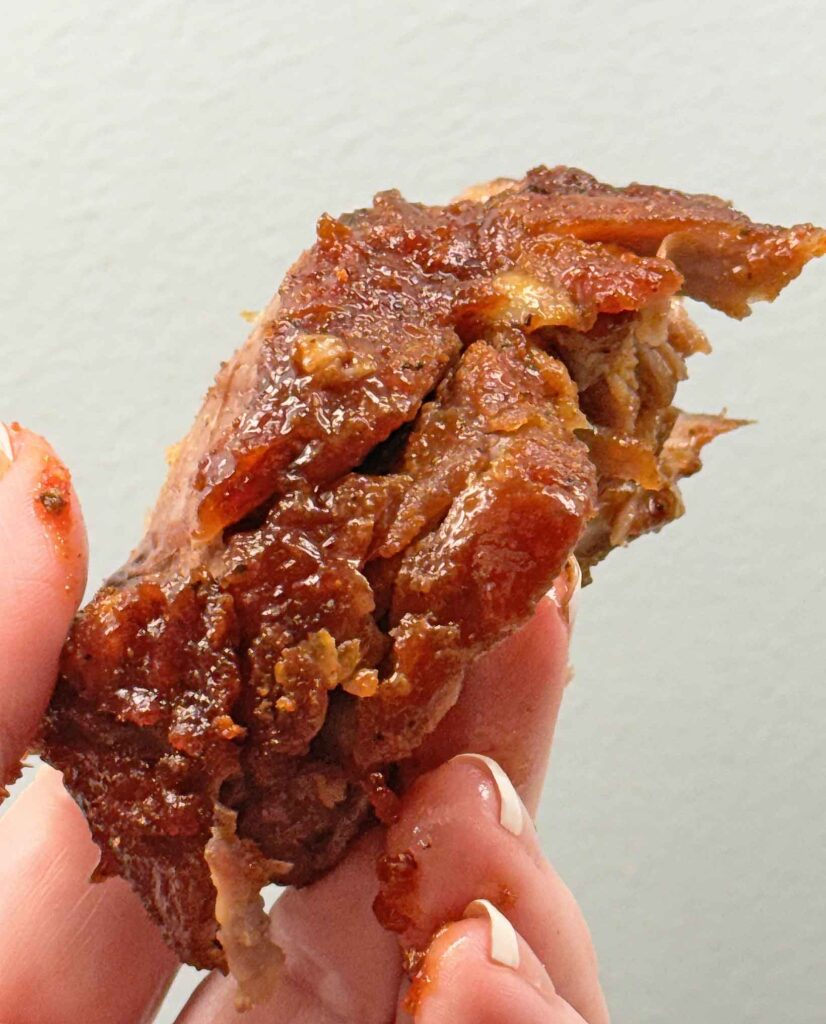
I made these with my homemade BBQ sauce, and they were exactly what I want from oven ribs: tender meat, a sweet and tangy sauce, and enough caramelized edges to make them feel like real BBQ, even without a smoker or grill.
These ribs are a huge winner on our farm. The meat falls right off the bones, so tender. Greg absolutely loves it. And they are even good cold right from the fridge the next day.
Why You’ll Love These Oven Baked Ribs
Oven baked ribs are one of the easiest ways to make tender BBQ ribs without special equipment. The foil keeps the ribs moist while they bake low and slow, and the final saucing step gives them that sticky barbecue finish.
I like this method because it is predictable. You do not have to manage charcoal, wood, or grill temperature. You season the ribs, wrap them tightly, let the oven do the slow cooking, then finish them with barbecue sauce at the end.
The most important thing is not rushing them. Ribs are done when they are tender, not just when the timer goes off.

Want to Save This Recipe?
Enter your email below and we’ll send it straight to your inbox! Plus you’ll get new recipes each week!
Key Ingredients

Pork Ribs
You can use baby back ribs, spare ribs, or St. Louis-style ribs for this recipe. Baby back ribs are usually smaller, leaner, and cook a little faster. Spare ribs and St. Louis ribs are usually meatier and may take longer.
If your rack is very large, start checking around the low end of the time range, but expect it may need extra time.
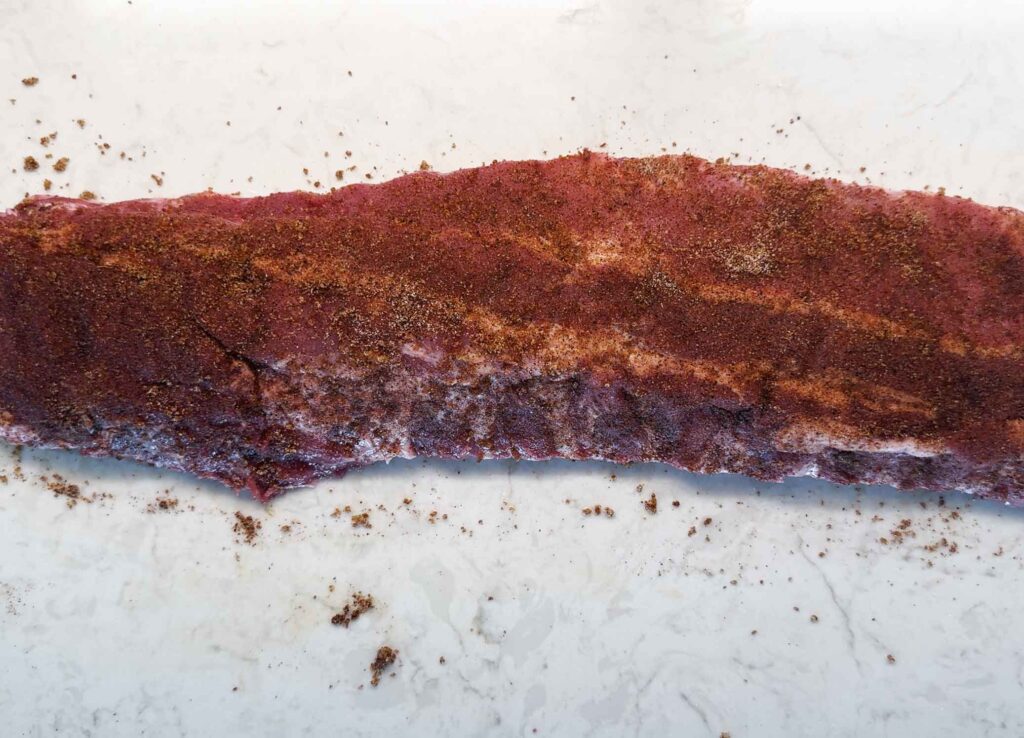
Dry Rub
The dry rub gives the ribs flavor before the BBQ sauce goes on. I use a simple mix of brown sugar, smoked paprika, garlic powder, onion powder, salt, and black pepper.
The brown sugar helps with caramelization, smoked paprika gives a gentle smoky flavor, and the garlic and onion powder make the ribs taste savory and well seasoned.
You can also optionally add chili powder and/or ground mustard if you need more kick or tang, but I don’t think it’s necessary.
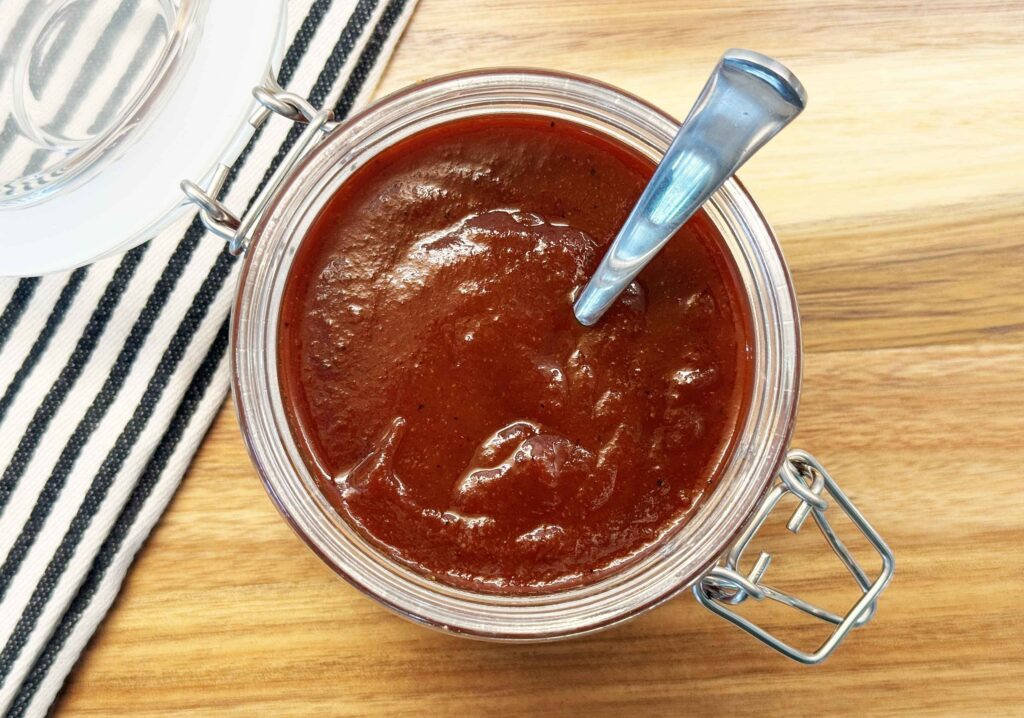
BBQ Sauce
Use your favorite BBQ sauce, or make my homemade BBQ sauce. I like a sweet, tangy sauce with honey for ribs because it gets glossy and sticky at the end.
Do not add the sauce too early. BBQ sauce has sugar in it, and if it bakes too long uncovered, it can get too dark or burn before the ribs are finished.
Liquid
I add a little liquid to the foil packet before baking. It can be Coke, apple juice, broth, or even just water. It helps create a moist, steamy environment inside the foil while the ribs cook low and slow, and if you use Coke as I did, it adds a subtle sweetness that works well with the dry rub and BBQ sauce.
You do not need much. The ribs should not be swimming in liquid. The liquid is there to add moisture and a little flavor while the foil traps steam around the ribs.
How to Remove the Membrane
The membrane, also called silverskin, is the thin layer on the bone side of the ribs. Removing it helps the seasoning reach the meat and makes the ribs easier to eat. Here’s how to remove it:
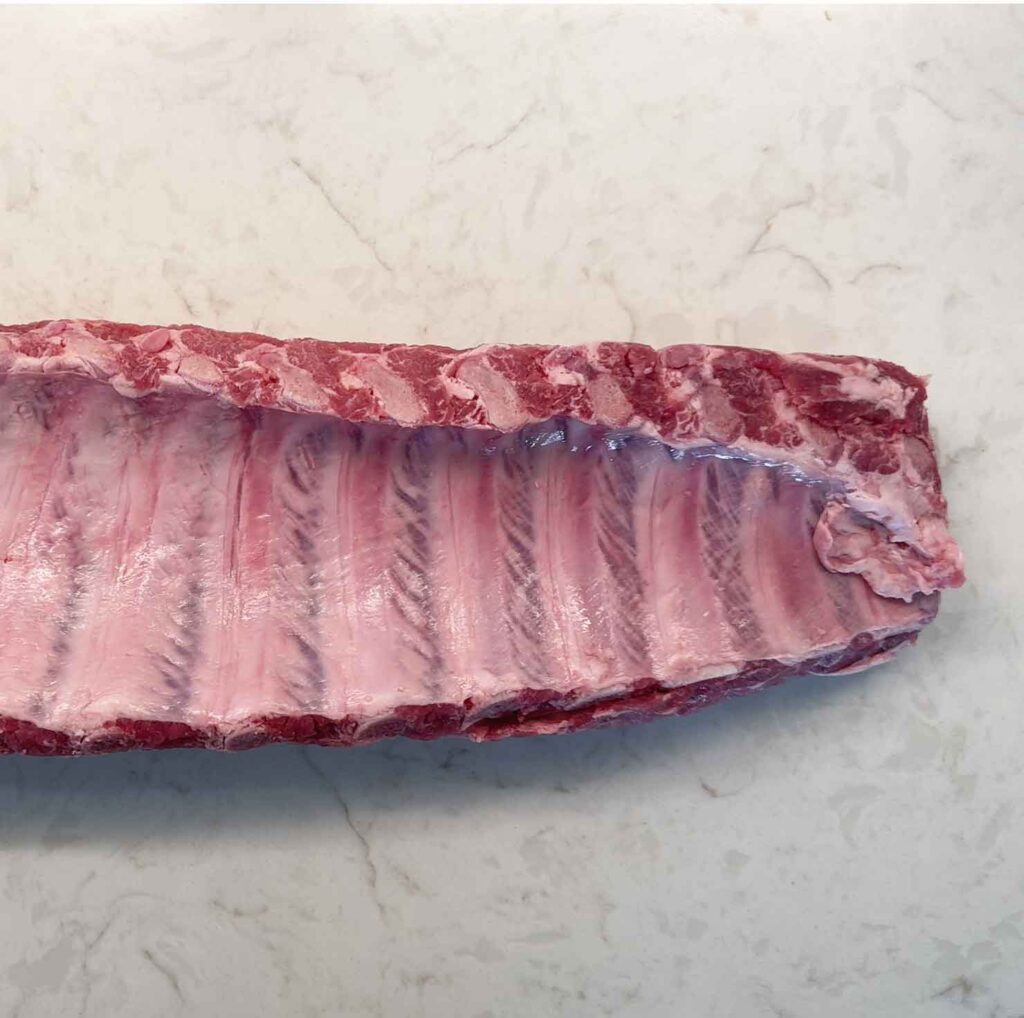
Turn the rack bone-side up.
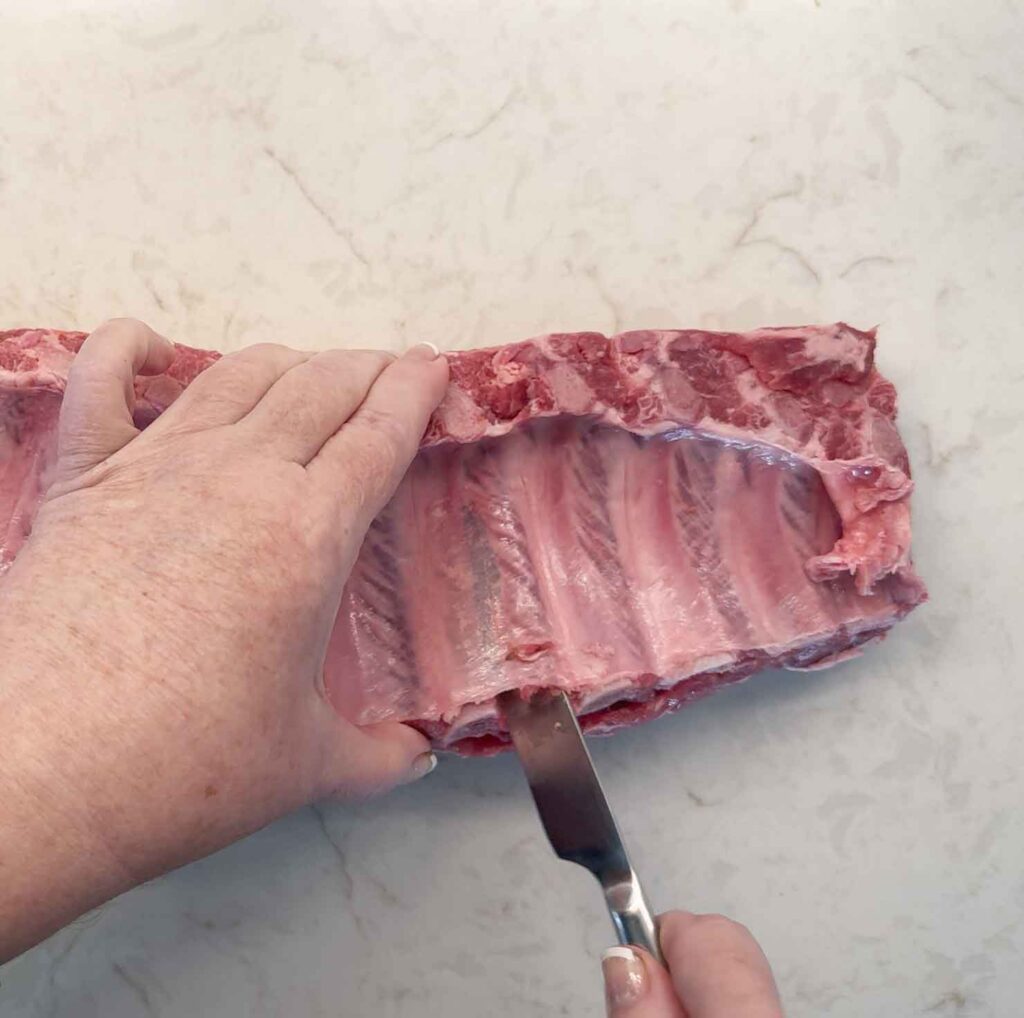
Slide a table knife under the membrane near one end of the rack to loosen it.

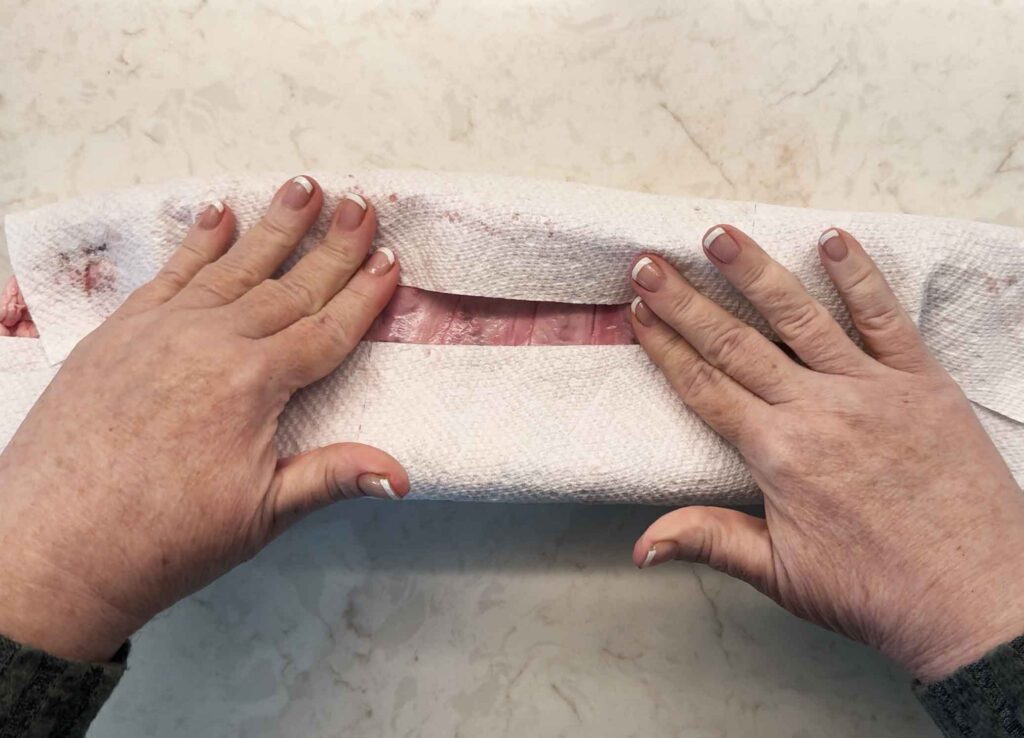
Once you loosen it, insert some paper towel and pull it up and off. It may come off in one piece, or it may tear into sections.
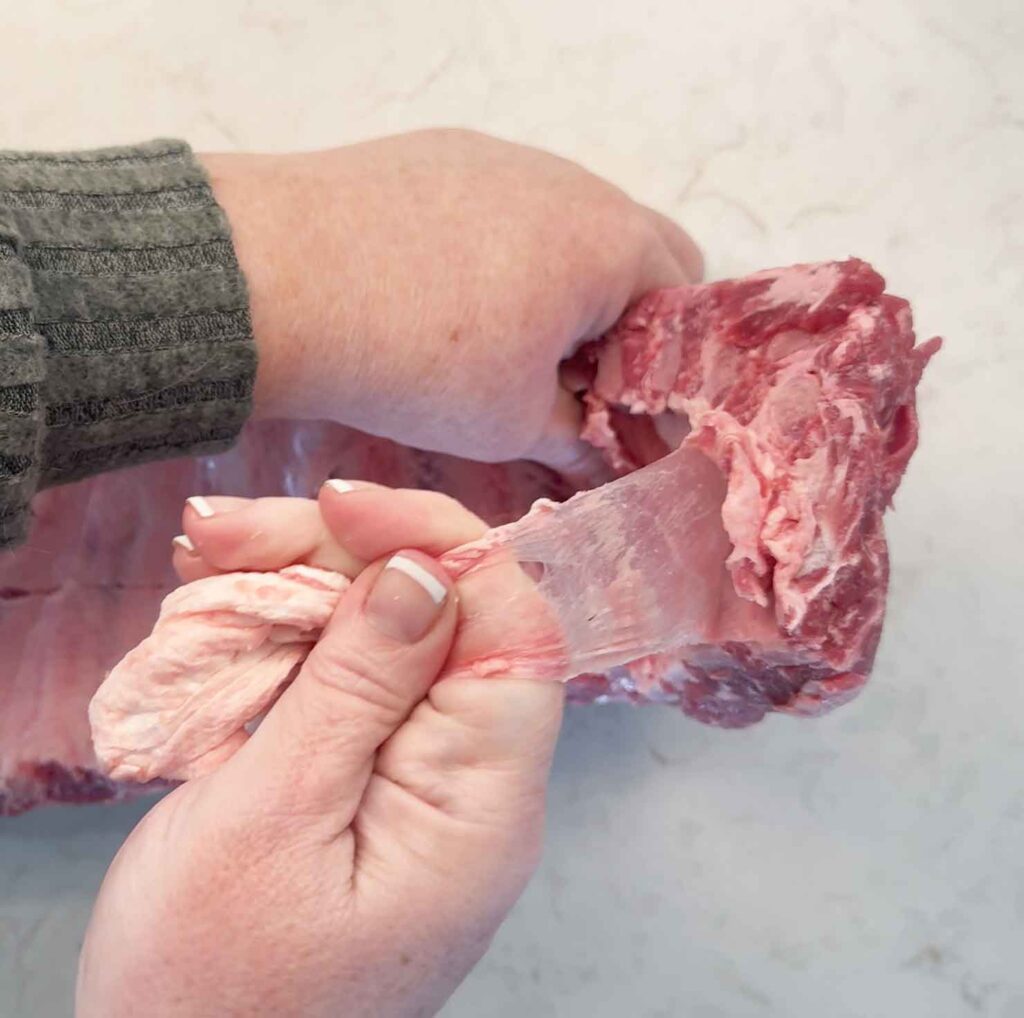
If you cannot get every bit off, do not stress over it. Remove what you can and keep going.
How to Cook BBQ Ribs in the Oven
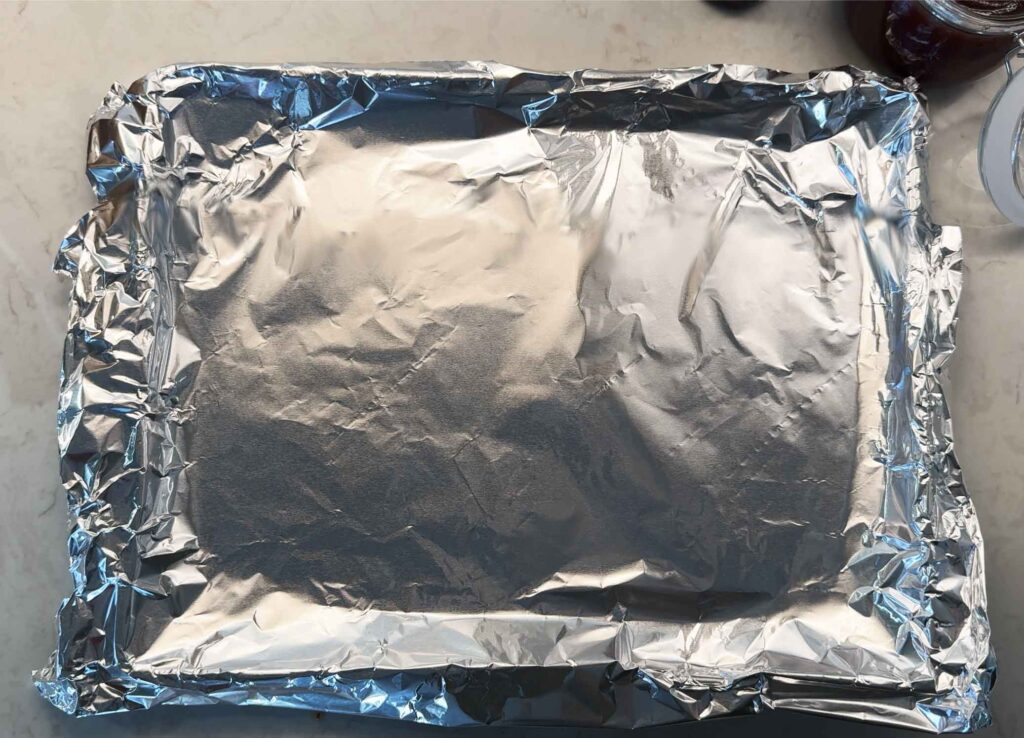
Preheat the oven to 275°F and line a baking sheet with foil or parchment for easier cleanup.
Pat the ribs dry, then remove the membrane if you can.
Rub the oil over both sides of the rack, then mix the seasonings and sprinkle the mix over the entire rack, making sure to coat the meaty side very well.
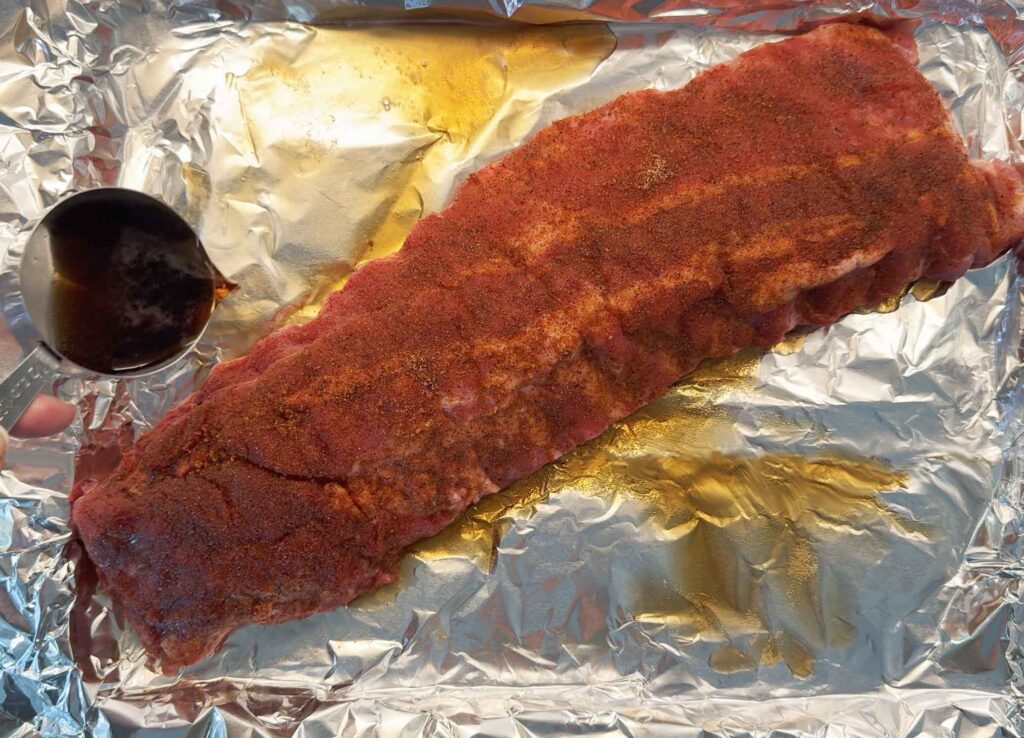
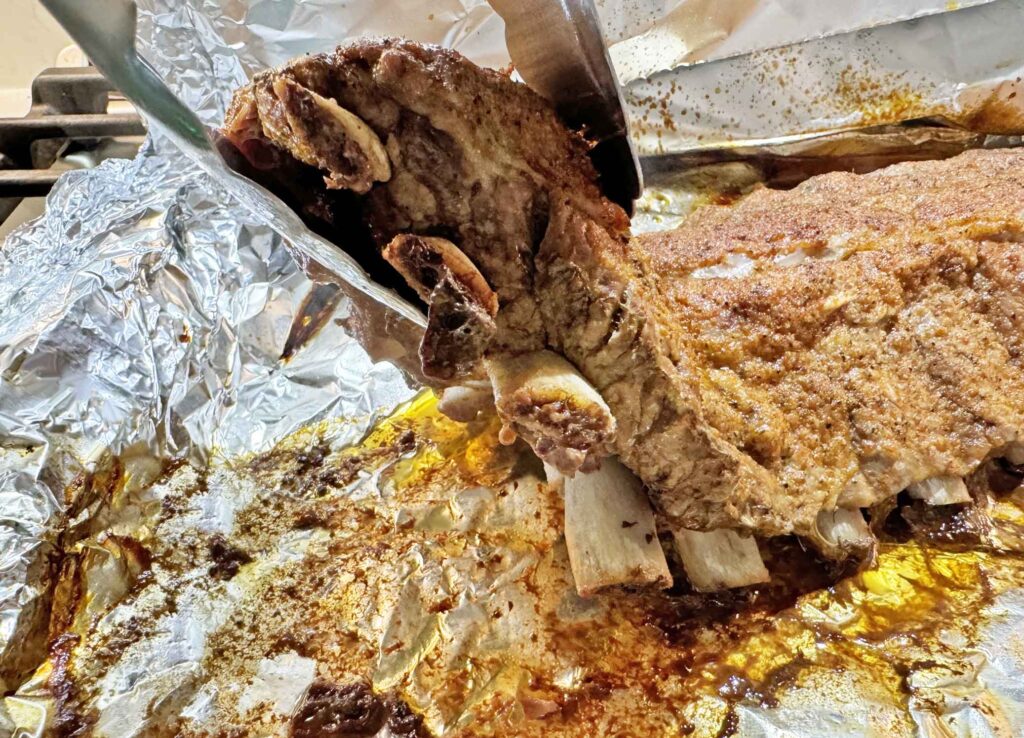
Place the ribs on a large piece of foil, meaty-side up. Pour the Coca-Cola or whatever liquid you’re using around the ribs, not directly over the top so you do not wash off the seasoning.
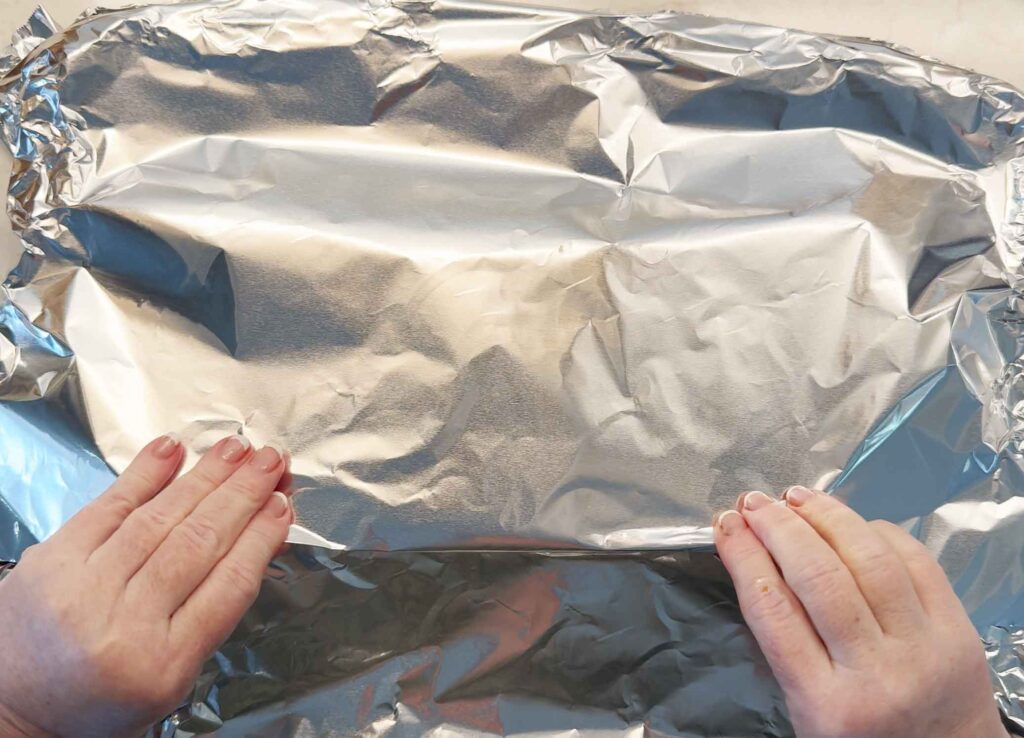
Bring the two sides of your foil together to wrap the ribs tightly. If your rack is large, use two pieces of foil and crimp the seams well so steam stays inside.
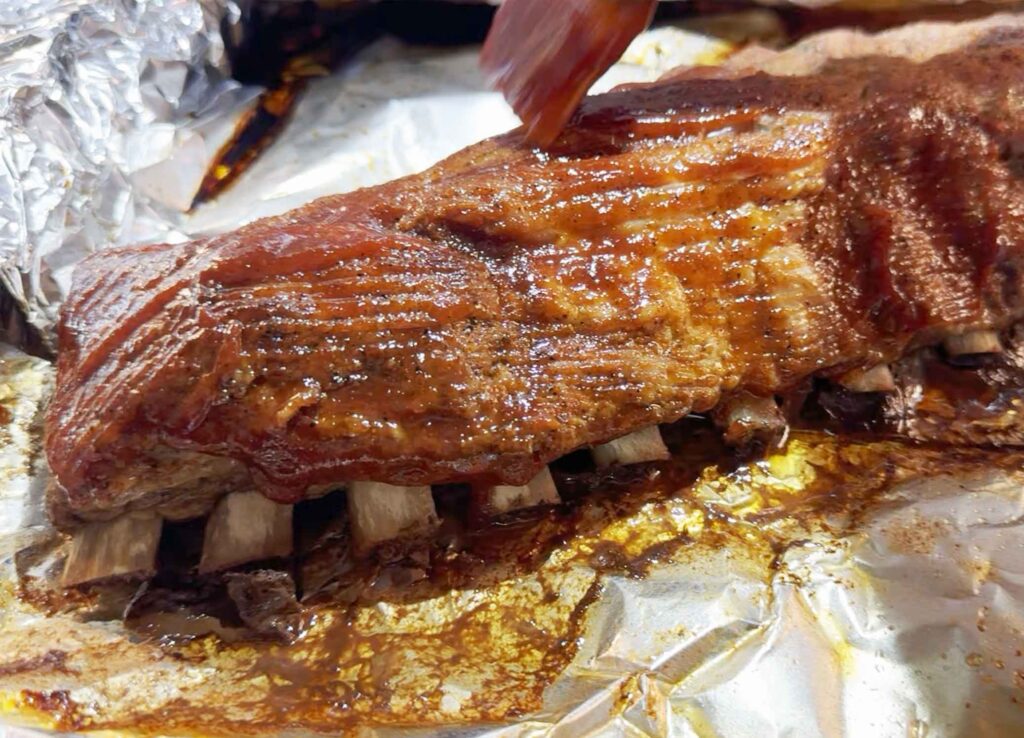
Bake the wrapped ribs until tender. Then carefully open the foil, brush the ribs with BBQ sauce, and return them to the oven uncovered. Broil briefly or bake at a higher heat just until the sauce looks glossy and caramelized.
For extra shine, I like to brush on a very thin final layer of warm BBQ sauce after the ribs come out of the oven, right before serving.
Oven Baked Ribs Time Guide
Cooking time depends on the type of ribs, the size of the rack, and how tender you want them.
| Rib Type | Approximate Time at 275°F | Notes |
|---|---|---|
| Baby back ribs, small rack | 2 to 2 1/2 hours | Start checking early |
| Baby back ribs, average rack | 2 1/2 to 3 hours | Good range for tender ribs |
| Spare ribs or St. Louis ribs | 3 to 3 1/2 hours | Usually thicker and meatier |
| Very large rack ribs | 3 1/2 hours or more | Cook until tender, not just by time |
After the wrapped baking time, add BBQ sauce and finish uncovered for about 10 to 15 minutes, or broil for 2 to 4 minutes. Watch closely during the broil step because barbecue sauce can go from caramelized to burned quickly.
How to Tell When Ribs Are Done
Ribs are done when the meat is tender and has pulled back slightly from the bones. If you lift the rack with tongs, it should bend easily and the surface may start to crack a little.
For fall-off-the-bone ribs, the internal temperature is usually around 195°F to 203°F when measured between the bones. This is higher than the safe temperature for pork because ribs need time for the connective tissue to break down and become tender.
If the ribs still feel tough, wrap them back up and bake them longer.
Can I Make These Without Foil?
Yes. The foil creates a covered, steamy cooking environment, but you can use a tightly covered roasting pan instead.
Place the seasoned ribs in the pan, cover very tightly with a lid or foil, and bake until tender. Then uncover, brush with BBQ sauce, and finish until sticky and caramelized.
The key is keeping the ribs covered during the low-and-slow part so they do not dry out.
Can I Finish Oven Ribs on the Grill?
Yes. Bake the ribs wrapped until tender, then transfer them to a medium grill. Brush with BBQ sauce and grill for a few minutes per side, just until the sauce is sticky and lightly caramelized.
You are not trying to cook the ribs from scratch on the grill at this point. You are just finishing the sauce and adding a little grilled flavor.
What to Serve with Oven Baked Ribs
Oven baked BBQ ribs are rich, sweet, smoky, and saucy, so I like serving them with classic sides that balance the meal.
Potato salad is a natural choice because it is cool and creamy next to the sticky ribs. Coleslaw adds crunch and a little tang, which helps cut through the richness.
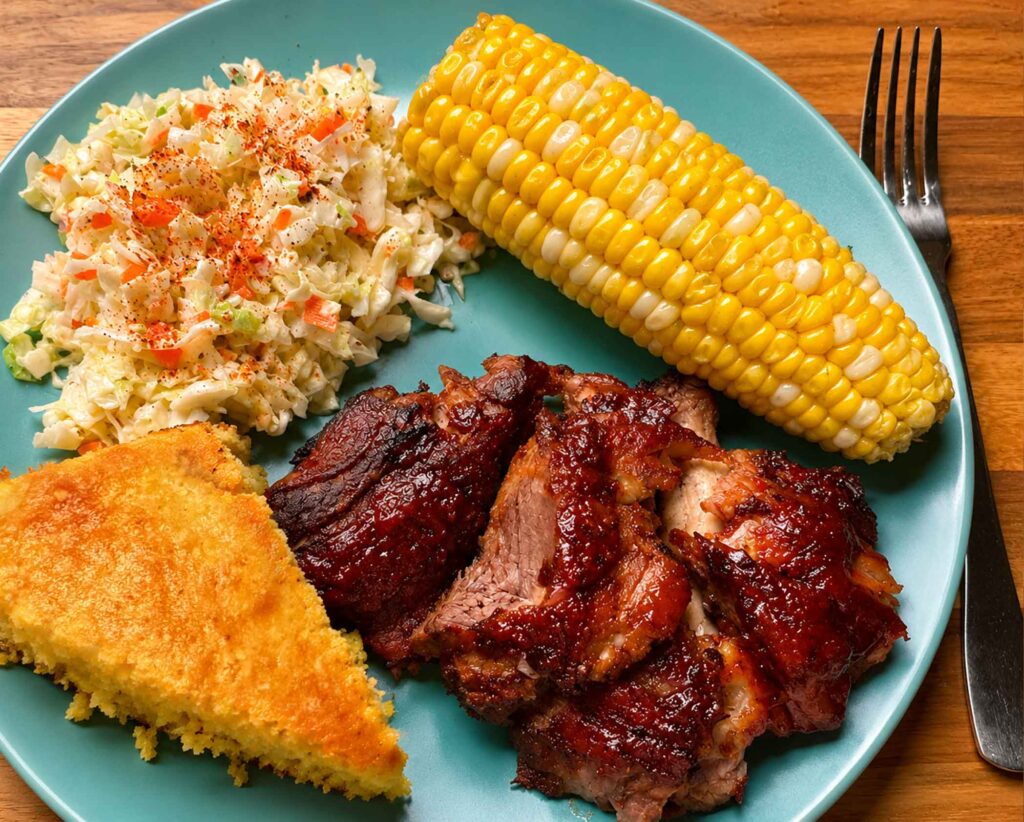
For a hearty old-fashioned meal, serve the ribs with brown beans, corn on the cob, and cornbread. Skin-on mashed potatoes also work well if you want a comfort food dinner.
If you are planning a summer BBQ-style spread, ribs also pair well with baked beans, macaroni and cheese, green salad, grilled vegetables, or a simple cucumber salad. Combine these ribs on a spread with skirt steak and you’ll please all the meat lovers!
Storage, Reheating, and Make-Ahead Tips
Store leftover ribs in an airtight container in the refrigerator for 3 to 4 days.
To reheat, wrap the ribs in foil and warm them in a 300°F oven until heated through. If they look dry, add a small splash of water or a little extra BBQ sauce before wrapping.
For the best texture, brush on a little more sauce near the end of reheating and uncover them for a few minutes.
You can also make the ribs ahead. Bake them wrapped until tender, let them cool, then refrigerate. When you are ready to serve, reheat them wrapped, brush with BBQ sauce, and finish uncovered until the sauce is sticky and glossy.
For smaller leftover portions, an air fryer works well. Reheat sauced rib pieces at 350°F for about 4 to 6 minutes, watching so the sauce does not burn.
Oven Baked Ribs Recipe
Equipment
- 1 baking sheet
Ingredients
- 1 rack baby back ribs, spare ribs, or St. Louis-style ribs
- 1 tablespoon oil canola oil, avocado oil, sunflower oil
- 1 tablespoon brown sugar light
- 1 tablespoon smoked paprika
- 1 teaspoon salt
- 1 teaspoon garlic powder
- 1 teaspoon onion powder
- 1/2 teaspoon black pepper
- 1/2 cup liquid Coke, apple juice, water, or broth
- 1 to 1 1/2 cups BBQ sauce homemade or store-bought
Instructions
- Preheat the oven to 275°F. Line a baking sheet with foil or parchment for easier cleanup.
- Pat the ribs dry with paper towels. Turn the rack bone-side up and remove the membrane if possible.
- In a small bowl, stir together the brown sugar, smoked paprika, garlic powder, onion powder, salt, and black pepper.
- Rub the ribs with a very thin layer of the oil, then sprinkle the rub over both sides of the ribs and gently press it into the meat.
- Place the ribs meat-side up on the prepared baking sheet. Pour the liquid into the pan around the ribs. Cover the pan tightly with foil.
- Place the wrapped ribs on the baking sheet and bake until tender. Baby back ribs usually take 2 1/2 to 3 hours. Spare ribs or St. Louis-style ribs may take 3 to 3 1/2 hours.
- Remove the foil and carefully drain off excess liquid if there is a lot in the pan. Brush the ribs generously with BBQ sauce.
- Increase oven temperature to 400°F. Bake uncovered for 10 to 15 minutes, brushing with more sauce once or twice, until the sauce is shiny, sticky, and caramelized.For darker, more caramelized edges, optionally broil for 2 to 4 minutes, watching closely so the sauce does not burn.
- Let the ribs rest for 10 minutes. Optionally brush with a very thin final layer of warm BBQ sauce right before serving for extra shine and sauciness. Then slice between the bones and serve with extra BBQ sauce.
Nutrition
Notes
Tried this recipe?
Tap the stars in the recipe card to leave a quick rating. Your rating helps other home cooks know this recipe works in a real kitchen, not just mine. And as a thank-you for your feedback, you will immediately receive a free printable copy of my cookbook, featuring my most popular recipes, each one formatted on a SINGLE, easy-to-use page, a perfect kitchen companion for easy meal prep.


")

Meet Jennifer
Jennifer cooks and experiments in the kitchen at Maker Farm, where she focuses on simple pantry cooking, homemade staples, and practical recipes that make everyday meals easier. Over the years she has tested many ways to make cooking simpler and more dependable, and shares the methods that work best in her own kitchen, occasionally showing them on her Heart to Home at Maker Farm vlog.