

Quick soak the pinto beans for 1 hour, then simmer 1 1/2 to 2 1/2 hours until tender and finish with butter, onion, garlic, a splash of broth, and a touch of brown sugar. Reduce 10 to 20 minutes for richer, darker brown beans.
The secret to real brown beans is a two-stage method: cook the pinto beans until they’re truly tender, then finish them with onion, fat, and a short simmer that turns them rich and deep. We’ll do it all on the stovetop with simple ingredients you probably already have. I tested this in my own kitchen until it worked every single time, and I’ll show you exactly what to look for so your beans come out tender, not bland.
Why I Love This Recipe
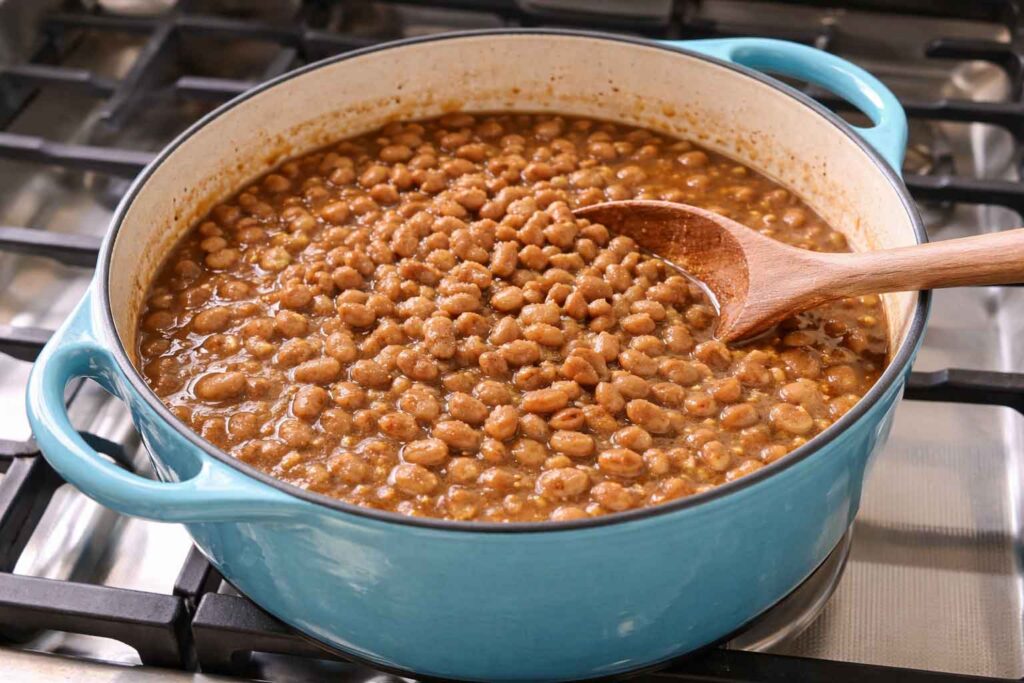
These taste like the beans I remember from my Southern grandma (Grandma Pat), and the reason they work is the two-stage approach: cook until truly tender, then finish with onion, fat, and a short reduction for deeper flavor.
But I really love these beans because they are SO inexpensive and exceptionally good for us! Beans are considered a superfood (yay!), and are packed with protein, fiber, iron, and a bunch of other good stuff. But, mostly, they are filling and delicious, and I can’t resist that.
I first made a big batch of these on a Sunday while working on my $50 for a week of food challenge, and they’re exactly the kind of cheap, filling meal that makes a tight grocery budget work.

Want to Save This Recipe?
Enter your email below and we’ll send it straight to your inbox! Plus you’ll get new recipes each week!
What Are “Brown Beans?”
“Brown beans” is a simple, old-fashioned way of describing pinto beans cooked low and slow until the broth thickens and deepens in color. They start out as plain pinto beans, and that long, gentle cooking is what gives them their name.
What They Taste Like
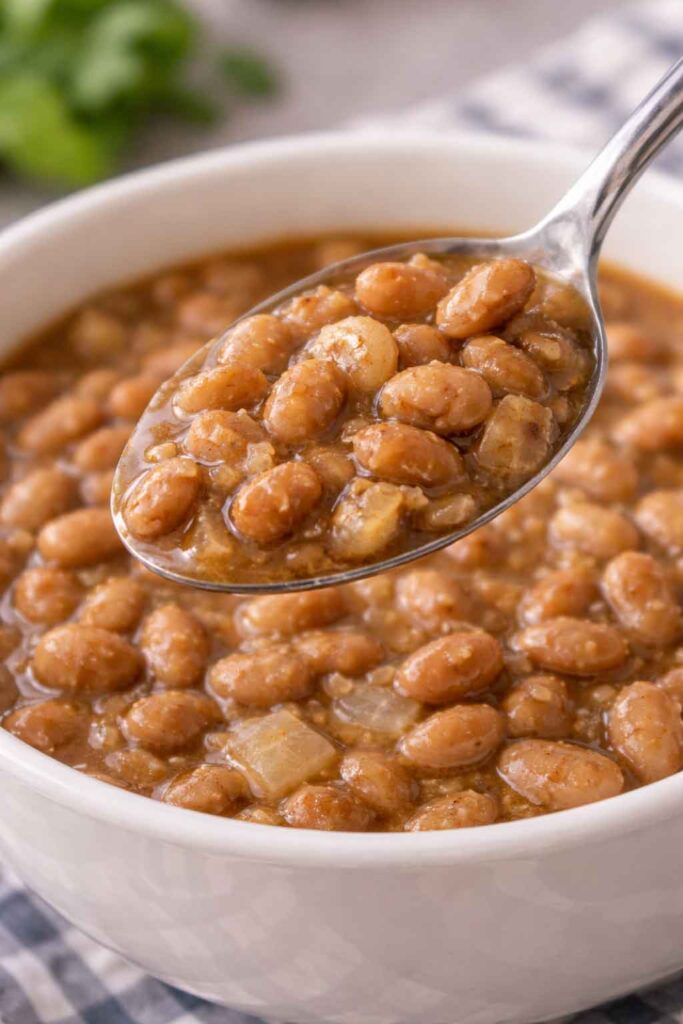
These are “better beans,” as I like to think of them. They come out soft and creamy without falling apart, with a savory, lightly buttery flavor from the onion and fat, and just enough salt to make them taste like a real meal instead of an afterthought. That little splash of broth at the end gives them a depth that tastes like they simmered all day, even when they didn’t.
How to Use Brown Beans
Once you’ve made brown beans, you can:
- Serve them over rice as a main meal
- Eat them with bacon or ham hock
- Mash them slightly and serve them as a delicious side dish (they go great with oven baked bbq ribs)
What to serve with brown beans: cornbread, rice, sautéed greens, roasted veggies, or as a side with beef tips & gravy, bacon or ham hock.
Leftovers idea: Warm the beans with a splash of cooking liquid, then mash or blend just until creamy for quick refried-style beans.
I am planning to use the same pot of beans in different meals this week, which makes everything easier.
Ingredients
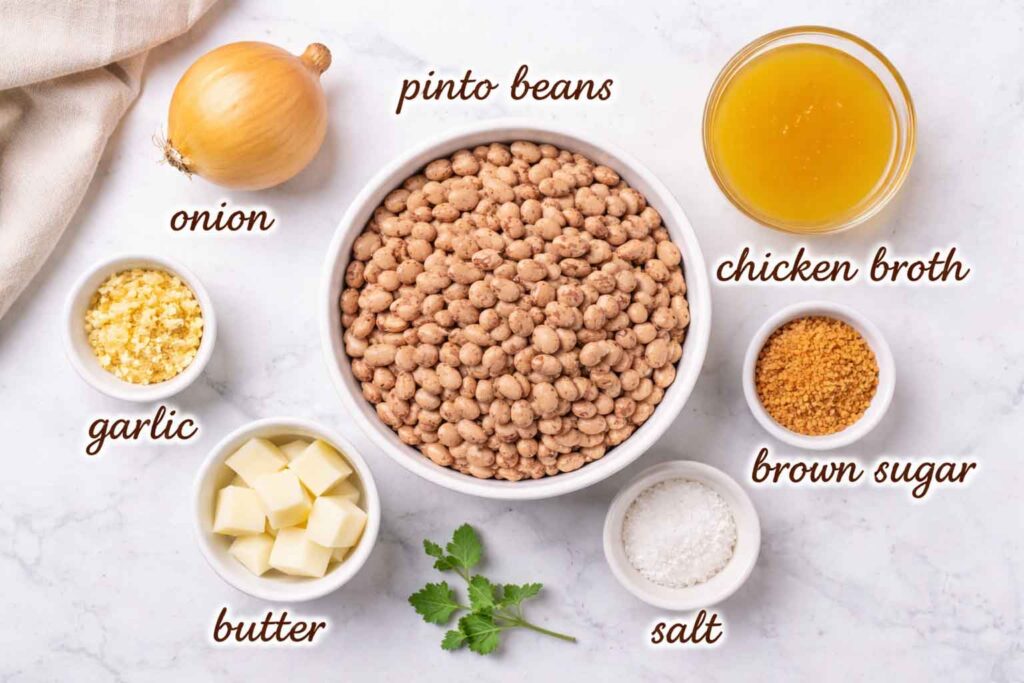
Pinto beans – I think pinto beans work the best, but you can also use kidney beans, black beans, or navy beans. I’m starting with dry pinto beans in this recipe, but you could also start with canned beans if you prefer the convenience and don’t mind the increased cost. If you do go for canned, use 4 (15-ounce) cans, drained and rinsed, skip soaking and long simmering, then go straight to the finishing step so they do not get watery.
Onions – Whatever kind of raw onion you have, just be sure to chop and saute them first.
Garlic – This really adds a lot of flavor. I’m using fresh minced garlic cloves, but garlic powder works, too.
Fat – Butter, bacon grease, and olive oil all work great here.
Broth – Adding chicken stock or broth (or vegetable) will add quite a bit of flavor. If you cook in broth or bouillon, be sure to taste and salt later. If you need to control the salt more, cook the beans in water, then add a splash of broth at the end for depth.
Salt – A little salt does wonders! Use whatever salt you have.
Sugar – Just a touch will balance things, and soften any bitter taste that might pop up. Any sugar will do, including brown sugar or maple syrup.
Smoked meat (optional): If adding ham hock or bacon, add it during the long simmer so it flavors the pot, then taste for salt at the end since smoked meats can be salty.
Flavor enhancers (optional): A pinch of chili flakes, a bay leaf during simmering, or a little extra sautéed onion at the finish can all boost your flavor a bit!
How to Make Brown Beans (Step-by-Step)
For the full printable steps, use the recipe card below. Here are the key cues and options that make my method work.
Let’s start with the base. This is my easy stovetop pinto beans method.
Step 1: Sort and Rinse the Beans
Pour your dry pinto beans onto a plate and check for debris. Then rinse them well.
Don’t worry if you’ve never done this before, it’s quick and just helps avoid surprises.
Step 2: Soak the Beans
Don’t skip this! You’ve got several options here:
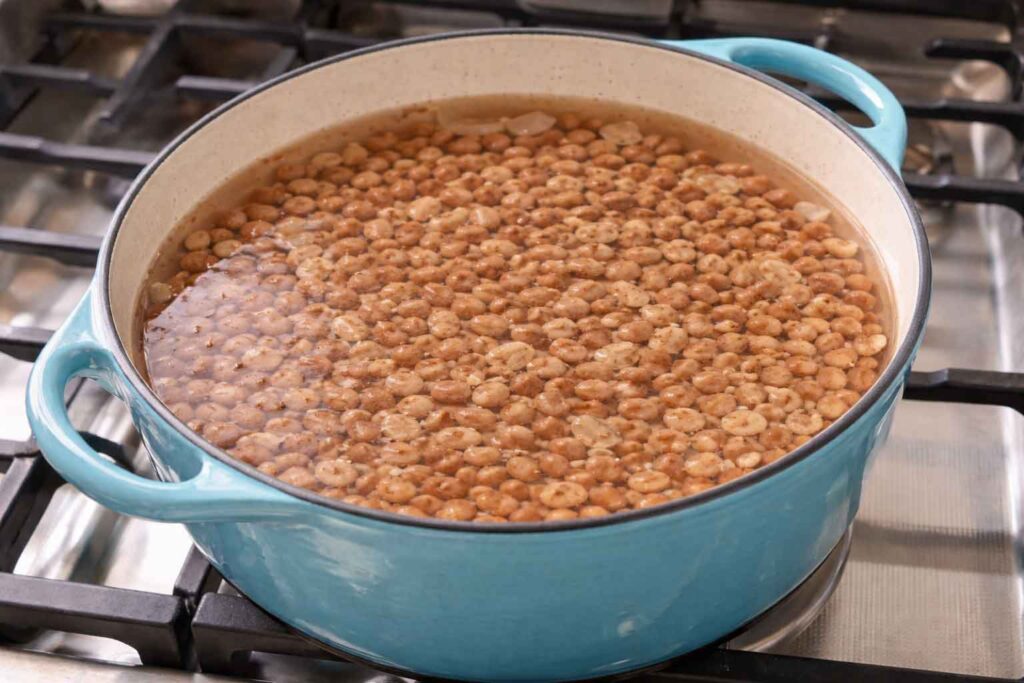
Quick Soak (MY PREFERENCE)
- Put the beans in a large pot (I like to use a Dutch Oven) and cover beans with water
- Bring to a boil for 2 minutes
- Turn off heat, cover, let sit 1 hour
- Drain and rinse
Instant Pot SOAK
- Add beans to Instant Pot
- Cover with plenty of water
- Seal lid
- Set to High Pressure – 1 minute
- Let it naturally release for 15–20 minutes
- Drain and rinse
Overnight Soak
- Cover with water
- Let sit 8–12 hours
- Drain and rinse the next day
Each of these methods work fine. It’s a myth that beans MUST be soaked overnight. But you DO want a soak of some sort, as it helps because soaked beans cook more evenly and more quickly.
Step 3: Cook the Beans Until Tender
Sauté some onions and garlic in the pot, and be careful to keep the garlic from browning. Do not toast the beans dry in the pot. Once the onion is soft, add beans and cover with water about 2 inches above, then simmer gently. Cook per the recipe, stirring occasionally. Don’t worry if it takes a little longer … this is totally normal.
Helpful Tip

One common mistake is stopping the cooking too soon. Make sure the beans are soft all the way through. The freshness of your beans is the determining factor here.
Step 4: Turn Ordinary Pinto Beans Into Brown Beans
Take your beans out of your pot and drain them, be sure to save some of the liquid they were cooking in, too!
Now, in the same pot (which is now empty):
- Melt butter
- Cook a little onion until soft
Add:
- cooked beans
- a ladle or two of their cooking liquid
- a splash of chicken broth
Let everything simmer uncovered for 10–20 minutes. If the pot gets too thick during this reduction, stir in a splash of water or cooking liquid. If it is too thin, simmer uncovered a little longer.
This helps because reducing the liquid concentrates everything, and that little bit of broth adds depth without overpowering the beans.
(Just don’t add too much, or they won’t thicken properly.)
Troubleshooting

If beans are still hard after the time range, keep simmering and check every 15 minutes. If the pot liquor is thin after finishing, reduce uncovered longer. If it is too thick, loosen with a splash of water or cooking liquid.
Step 5: Season and Serve
Add additional salt to taste at the end. That’s it. Super easy! These go great with my easy coleslaw recipe, too!
Other Cooking Methods
Can I use my crock pot?
Yes! After soaking the beans, add everything to a slow cooker and cook on LOW for 7–9 hours or HIGH for 4–6 hours, until the beans are tender and creamy. I recommend checking the liquid level occasionally and adding more water if needed.
Can this be converted to the Instant Pot?
Yes, though the texture will be a little different from the slow-simmered stovetop version. Soaked beans usually take about 25–30 minutes on High Pressure with a natural release. If using unsoaked beans, increase the cooking time to about 45–50 minutes. After soaking, use sauté mode to do the 10 to 20 minute reduction finish.
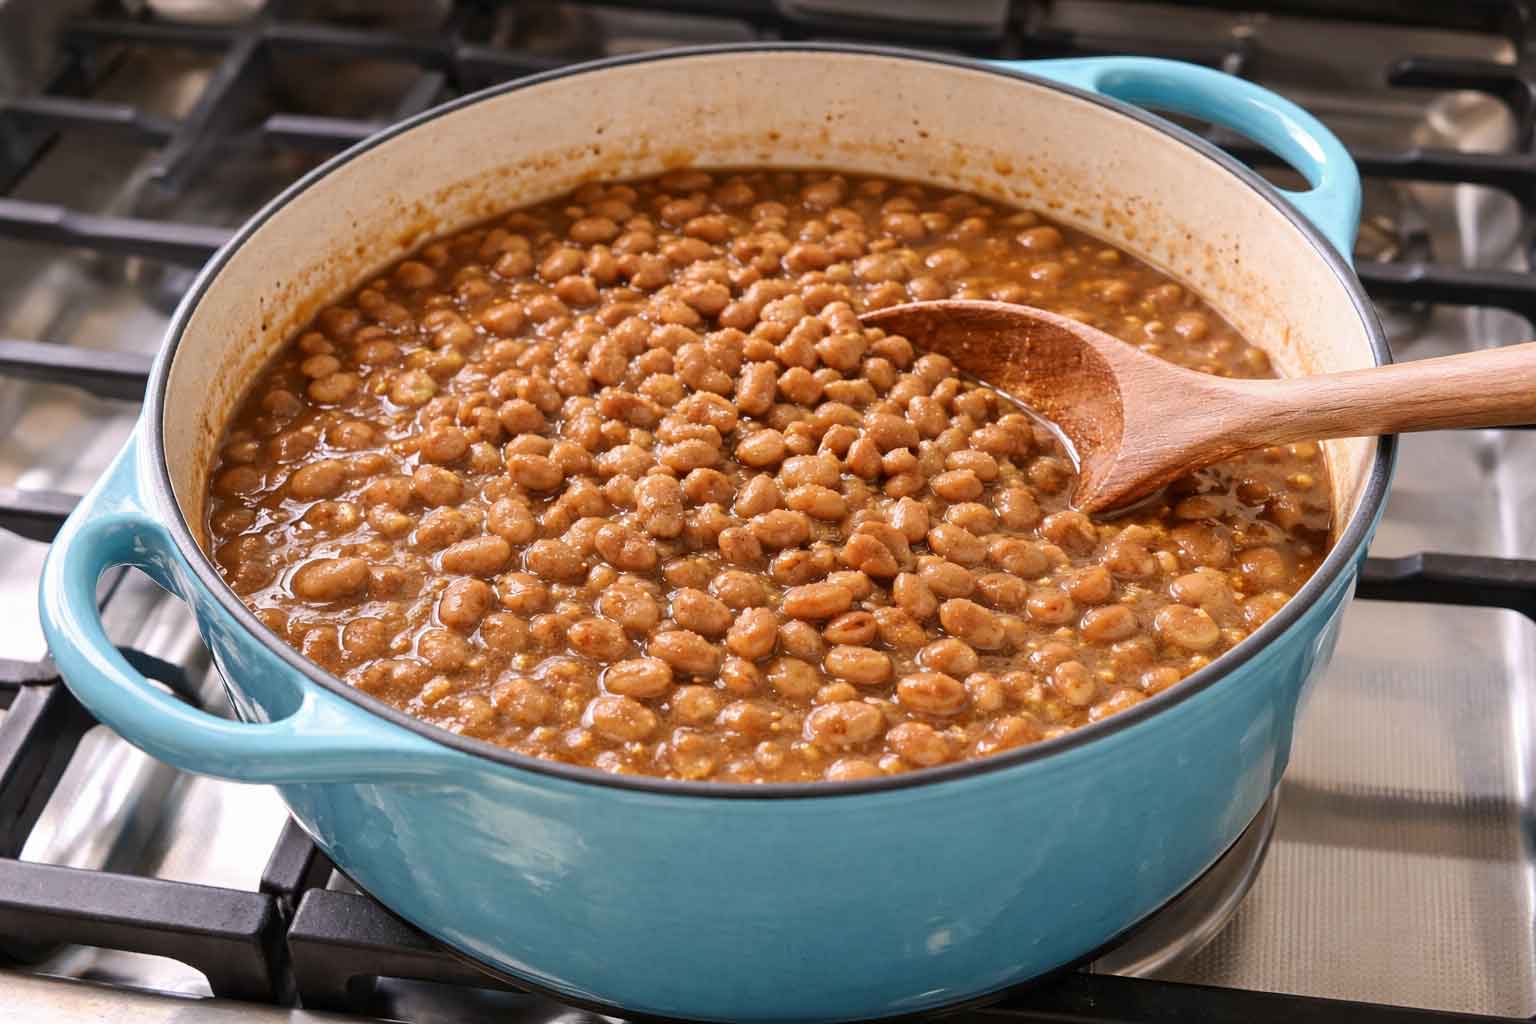
Brown Beans Recipe (Southern-Style Pinto Beans)
Equipment
- 1 large pot with a lid (I use a Dutch oven)
Ingredients
- 1 lb dry pinto beans (or four 15 oz cans of pinto beans, drained and rinsed, and start at step 5 instead)
- Water for soaking and cooking
- 1 small onion chopped
- 2 cloves garlic minced
- 2 tablespoons butter
- Salt to taste
- 3 tablespoons chicken broth
- 1 teaspoon brown sugar
Instructions
Sort and Rinse
Sort through the pinto beans to remove any weird bits (little stone or broken parts), then rinse well.Soak the Beans
Cover beans with water. Bring to a boil for 2 minutes. Turn off heat, cover, and let sit 1 hour. Drain and rinse.Saute Some Onion
Put half the onion and a bit of the butter into the now-empty pot. Saute the onion until just soft and light golden (If you brown it too much, it can turn bitter).Cook the Beans
Add the soaked beans to the sauteed onions. Cover with fresh water (about 2 inches above beans). Stir in half the garlic. Bring to a boil, then reduce to a gentle simmer. Cook for 1½ to 2½ hours, until beans are soft. Remove beans and liquid from the pot, saving at least 1 cup of the cooking liquid.Build the Brown Beans
In your now-empty pan, melt the rest of the butter and cook the remaining onion until soft. Add the cooked beans, broth, sugar, and 1 cup of their cooking liquid.Simmer and Reduce
Let simmer uncovered for 10–20 minutes, until the liquid thickens, the color deepens, and the beans become rich and cohesiveSeason and Serve
Add salt to taste at the very end and serve warm.
Nutrition
Notes
Storage
- Fridge: 3–4 days
- Freezer: up to a couple of months
They reheat really well. Just warm on the stovetop over low heat with a splash of water, broth, or reserved cooking liquid until loosened and hot. Microwave in 30 to 60 second bursts, stirring and adding a splash of liquid if needed.
Beans, Beans, the Magical Fruit!
I often make these, spooning them over rice one night and mashing the leftovers into refried beans the next. For the price of a bag of dry pinto beans, that is a whole lot of cozy, filling dinners.
More From-Scratch Staples to Serve With Brown Beans
A pot of brown beans is even better with a few other homemade basics alongside it. Here are some of my favorites that turn this into a full, cozy, budget-friendly meal:
- Homemade BBQ sauce, because beans belong right next to anything off the grill.
- Maple oat bread, a cozy homemade loaf to serve alongside a warm bowl.
- Homemade butter, perfect for finishing the beans and slathering on some bread.
- Homemade taco seasoning, for turning leftover beans into an easy taco night.
- Cream of soup mix, another handy way to skip the cans in your weeknight cooking.
Love,
Jennifer
Tried this recipe?
Tap the stars in the recipe card to leave a quick rating. Your rating helps other home cooks know this recipe works in a real kitchen, not just mine.
And as a thank-you for your feedback, you will receive a free printable copy of my Maker Home Companion Cookbook, featuring my most popular recipes, each one formatted on a SINGLE, easy-to-use page, a perfect kitchen companion for easy meal prep. Click here to learn more about this cookbook and how you can get your copy!




Meet Jennifer
Jennifer cooks and experiments in the kitchen at Maker Farm, where she focuses on simple pantry cooking, homemade staples, and practical recipes that make everyday meals easier. Over the years she has tested many ways to make cooking simpler and more dependable, and shares the methods that work best in her own kitchen, occasionally showing them on her Heart to Home at Maker Farm vlog.
My mom was from the south and this recipe reminds me of her cooking. I have made these once and have some leftovers to boot. I made cornbread to round out a quick meal.
Happy to hear it was a winner for you, Connie. 🙂