

Canning green beans at home is how we put up our garden harvest so we can enjoy that fresh-picked taste long after the plants are done for the year. This is the raw-pack method in pint jars, processed in a pressure canner at 10 pounds for 20 minutes. Green beans are a low-acid food, so a pressure canner really is the only safe way to can them, and I will explain exactly why in a moment. I am going to walk you through every single step, slowly and in beginner-friendly detail, so you feel sure of what you are doing at each stage.
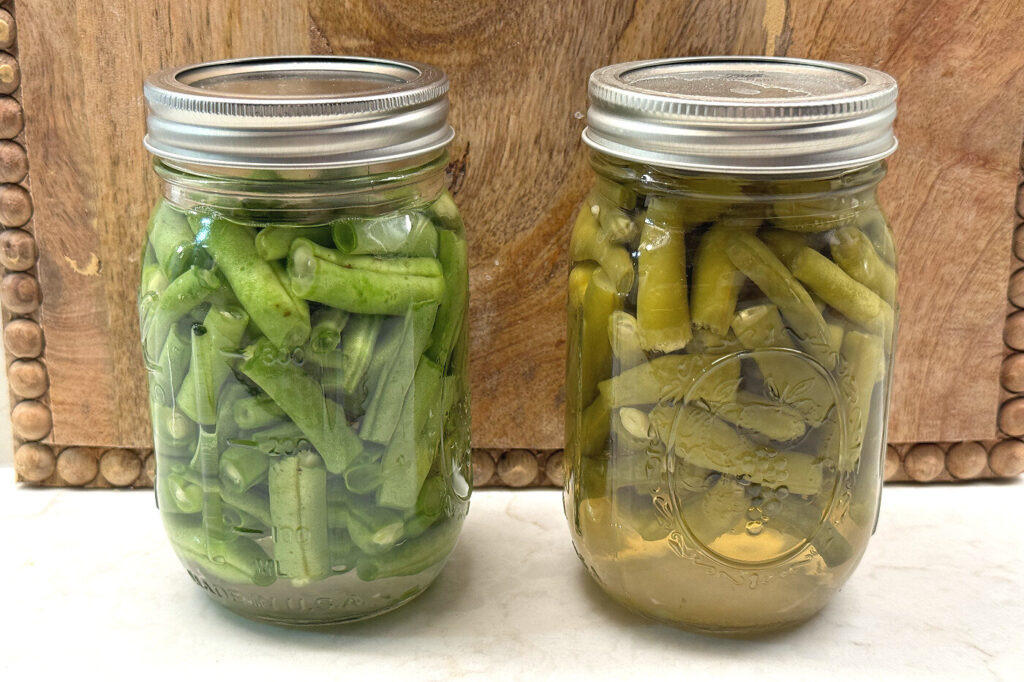
I have been canning food from our garden for over a year now, and every batch has sealed up beautifully. But I still remember how nervous I felt the very first time, standing at the stove with a heavy pressure canner and a counter full of jars, wondering if I was about to do something wrong. So I started writing everything down in tiny, almost fussy detail, more detail than you will find in most canning books. Being fairly new at this turned out to be an advantage. When someone has canned their whole life, the tricky little steps become automatic, and they forget to mention them. When you are still learning, you notice every one of them, because none of it is second nature yet. That is exactly why I think these notes will help a fellow beginner. I am not skipping the parts that used to confuse me, because honestly, they still feel fresh to me.

Want to Save This Recipe?
Enter your email below and we’ll send it straight to your inbox! Plus you’ll get new recipes each week!
Just so you know where the numbers come from: the safety-critical parts of this process, which are the jar size, headspace, pressure, altitude adjustment, processing time, packing method, and cooling procedure, all follow the current tested guidance from the National Center for Home Food Preservation for snap beans. My personal notes, like the Blue Lake variety, the canning salt, and my specific canner, describe what I used without changing that tested method. Think of me as the friend standing next to you in the kitchen, not the source of the food-safety rules themselves.
Why do green beans need a pressure canner?

Plain green beans are a low-acid food, and low-acid foods can grow the bacteria that cause botulism if they are not heated hot enough. A boiling-water canner cannot reach that temperature, but a pressure canner can. This is the one rule I never want you to bend. If all you have is a water-bath canner, please do not use it for plain green beans… it is not safe, and it is worth waiting until you have the right equipment.
What Kind of Beans and Equipment You Need
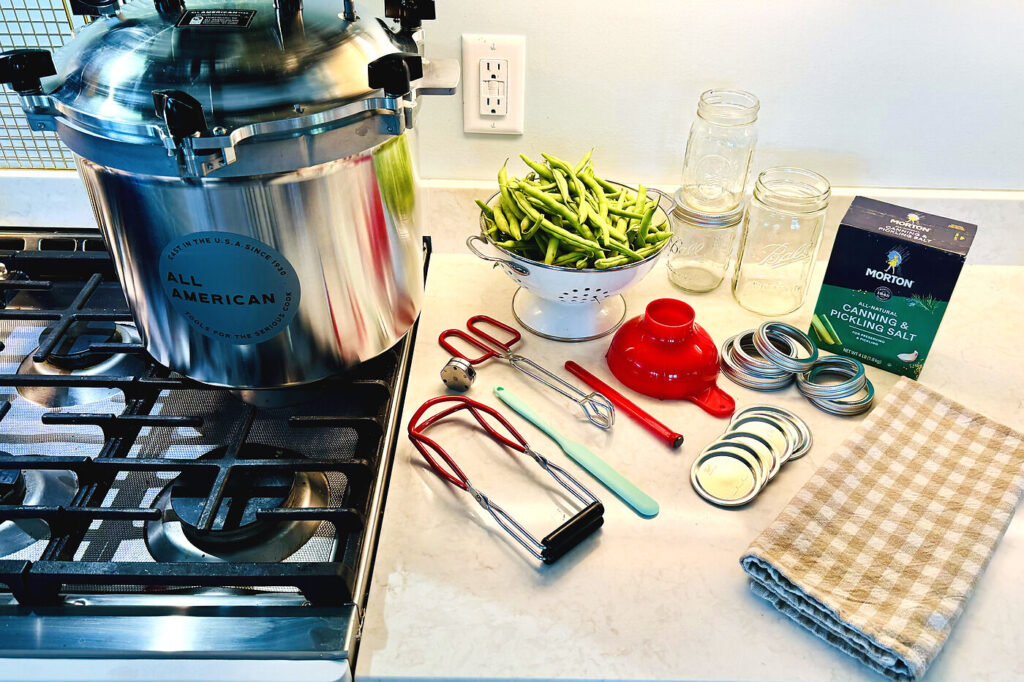
You do not need anything fancy here, but a couple of pieces of equipment are non-negotiable, starting with the pressure canner itself. Here is what I reached for.
Ingredients
The ingredient list for canned green beans is refreshingly short. That is part of why I love this project.
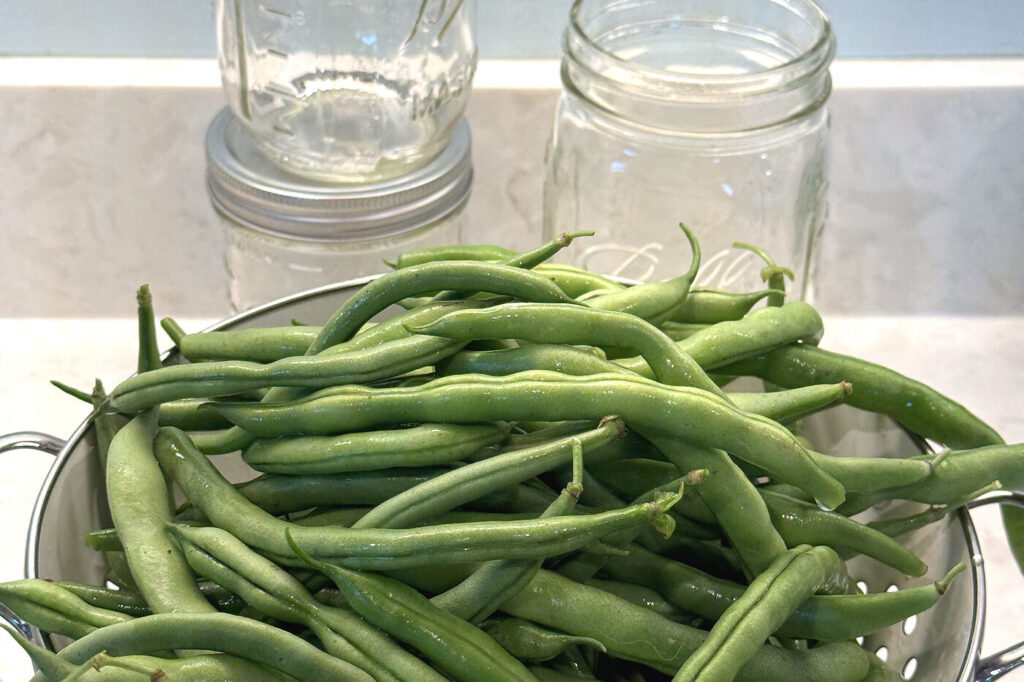
- Fresh, tender green beans (I used Blue Lake from our garden)
- Boiling water, to cover the beans in the jars
- Canning salt, optional, about ½ teaspoon per pint jar
One thing worth saying plainly: the salt is there for flavor, not for safety. So if you are watching your sodium, you can leave it out entirely and your beans will still be perfectly safe to can. I used ½ teaspoon per pint because I like the taste.
Equipment
This is the gear that made my batch go smoothly.
- Pressure canner with a rack (I used an All American 21.5-quart Pressure Canner, Model 921)
- Pint canning jars (you can also use quart size if you prefer)
- Screw bands (can be re-used, typically come with the jars)
- New flat canning lids (if you are re-using jars)
- Jar lifter
- A ruler or a canning headspace measuring tool
- A clean plastic or silicone utensil for removing air bubbles
- Knife or kitchen shears (for trimming and cutting the beans)
- A clean damp cloth or a few paper towels
- A large pot or kettle for boiling water
- A canning funnel, optional
A quick word about my NOTEs

I’ve kept all of my notes in here so I can refer to them the next time I can green beans, like how my back-right stove burner at heat setting 3 held the right pressure for my All American 921 canner. Please read that as a note about my equipment and kitchen, not a setting to copy. Follow your own manual for water amounts and how the lid closes, and always go by your canner’s regulator and the tested pressure for your elevation, not by someone else’s burner number.
How Do You Pick and Prepare the Beans?
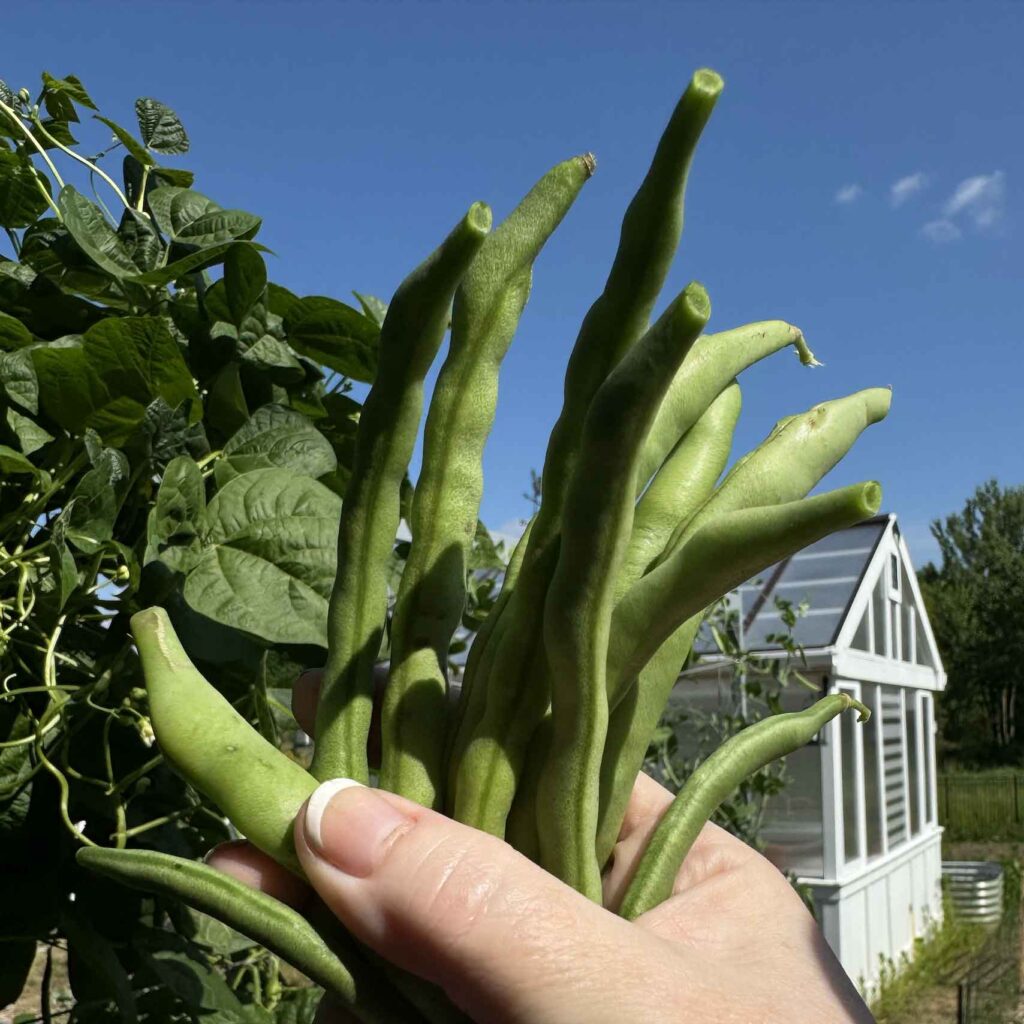
Good canned beans start with good fresh beans, so this first part matters more than it might seem. Pick your beans while the pods are filled out but still tender, crisp, and firm. You want them at that sweet spot where they snap cleanly. Be careful not to use pods that are rusty, diseased, soft, slimy, moldy, badly bruised, or deeply spotted and sunken, because canning does not fix a bean that was already going bad. The tested guidance says the same thing in fewer words: choose filled but tender, crisp pods, and set aside anything rusty or diseased.
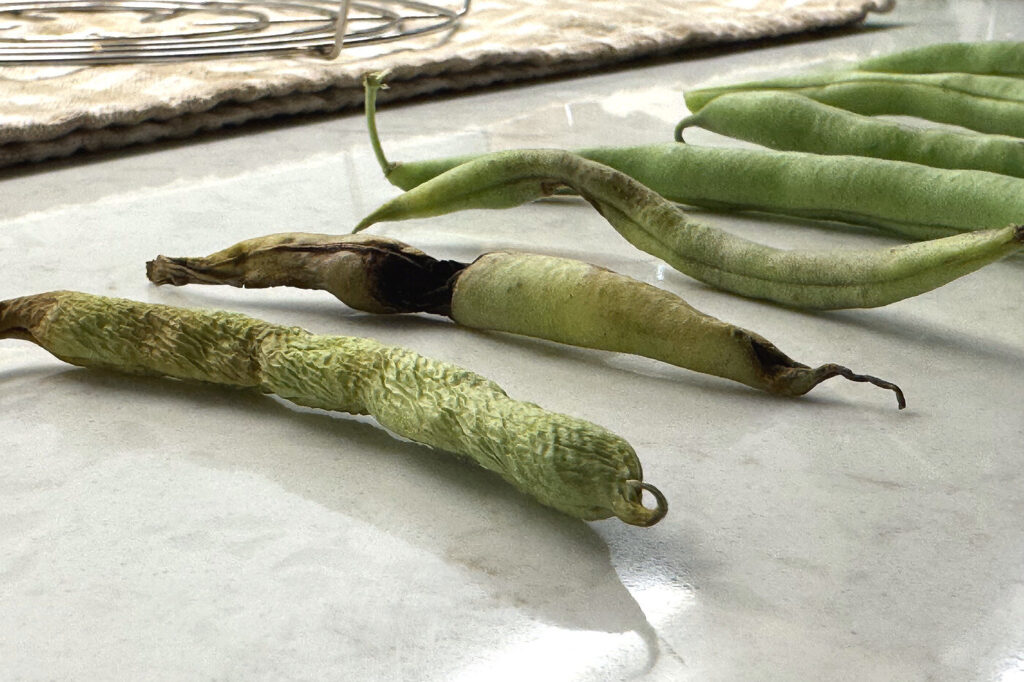
For the best quality, try to can your beans as soon after picking as you practically can. I know that is not always possible, and that is okay, but the fresher they are, the better they taste in the jar. If you can’t do it immediately, put them into the refrigerator dry and unwashed, where they will hold for a day or two.
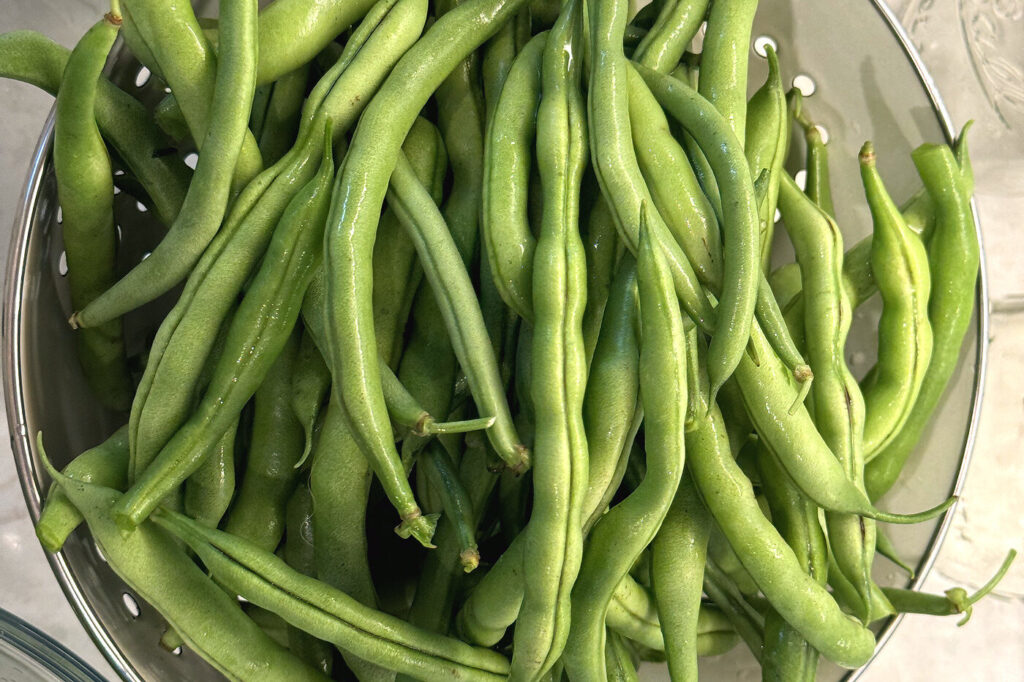
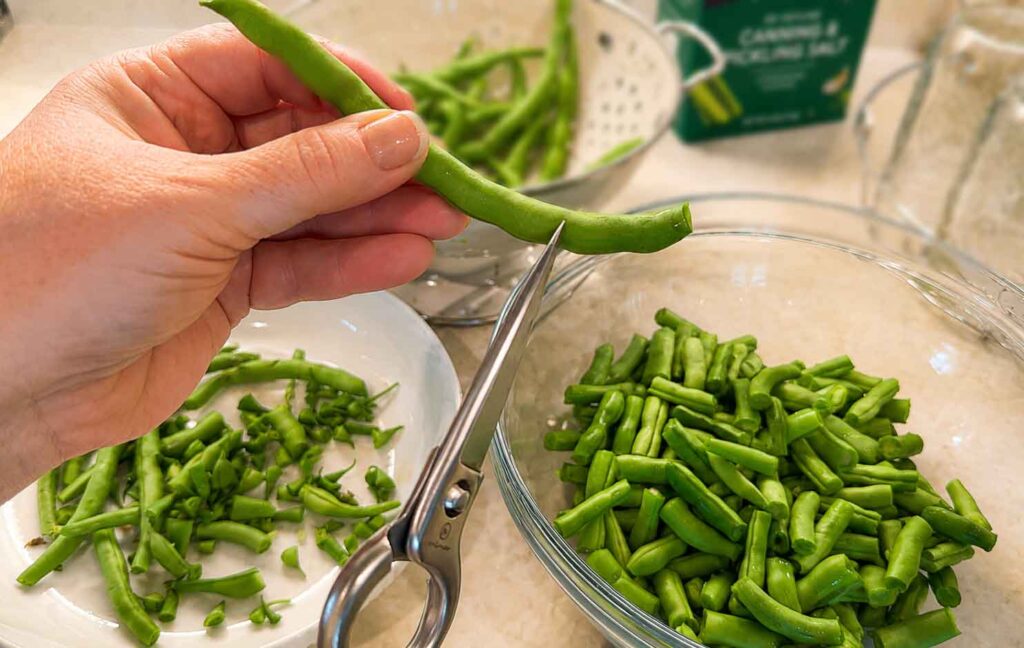
When you are ready, wash the beans thoroughly under cool running water. Trim off the stem and blossom ends, then leave the beans whole or cut or snap them into pieces about 1 inch long. Mine were mostly around 1 to 1½ inches, and they did not need to be perfectly identical. Reasonably even pieces just pack a little more neatly, that is all. Do not worry about making them look like the photo on a can.
Getting Your Jars and Lids Ready
While you are thinking about the beans, let’s get the jars and lids prepped so everything is ready to go at the same time. Wash the jars and screw bands in hot, soapy water and rinse them well. Then inspect each jar carefully for cracks, chips, nicks around the rim, and any hairline fractures. A damaged jar can fail during processing, so set aside anything that is not perfect.
Here is a detail that surprises a lot of beginners, and it certainly surprised me: the jars do not need to be pre-sterilized for pressure canned green beans. That’s because the green beans get processed for longer than 10 minutes, and that processing takes care of it. The jars still need to be thoroughly clean and kept warm before you fill them, so a hot rinse and leaving them in warm water is the way to go.
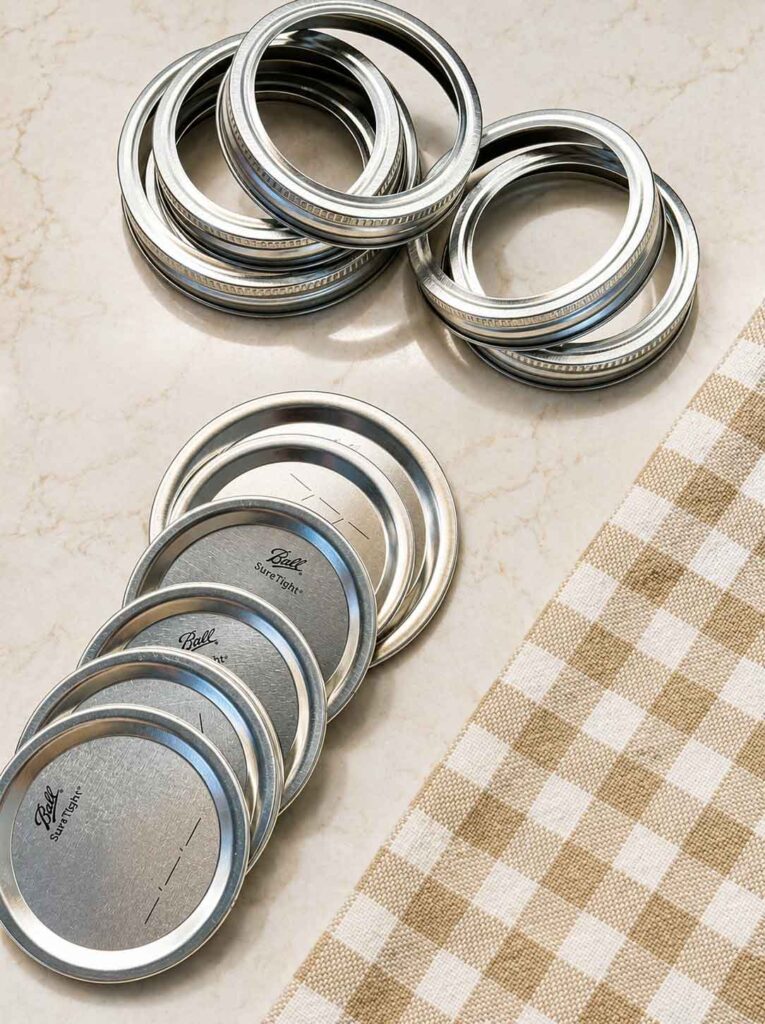
For the lids, wash the flat lids according to the lid manufacturer’s directions. One common mistake is to automatically boil or simmer modern canning lids the way older recipes told us to. Be careful not to do that, because prolonged boiling can overheat or damage the sealing compound on some newer lids and actually interfere with the seal. Just follow whatever your lid maker says, and use a brand-new flat lid for each jar. The screw bands can be reused, but the flat lids cannot.
Setting Up the Pressure Canner
Now let’s get the canner going, because you will want it hot and ready by the time your jars are packed. Place the rack in the bottom of the canner. The rack matters more than it looks, because it keeps the jars up off the direct heat of the bottom.
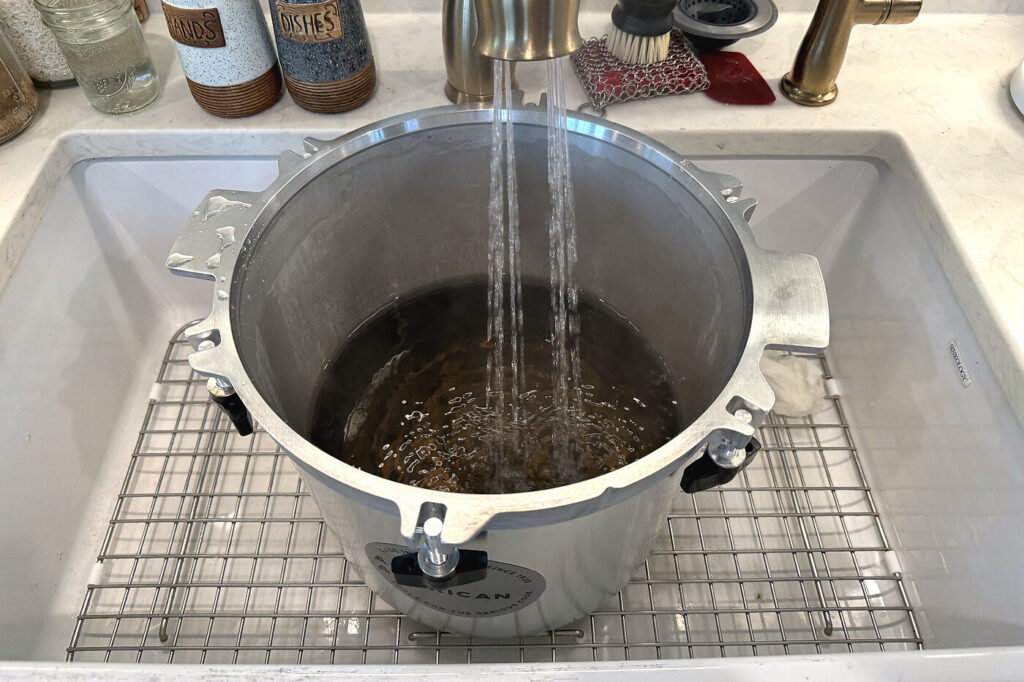
Add the amount of water your canner manual specifies. For my All American 921, that was roughly 2 to 3 inches of water. Then heat that water in the uncovered canner while you prepare and pack the beans. For a raw-packed product like this one, you want the starting water hot but not at a hard, rolling boil. This helps because your jars will be filled with boiling water, and keeping the canner water similarly hot helps prevent thermal shock, which is a fancy way of saying it keeps the jars from cracking due to a sudden temperature change.
How Do You Pack the Jars for the Raw-Pack Method?
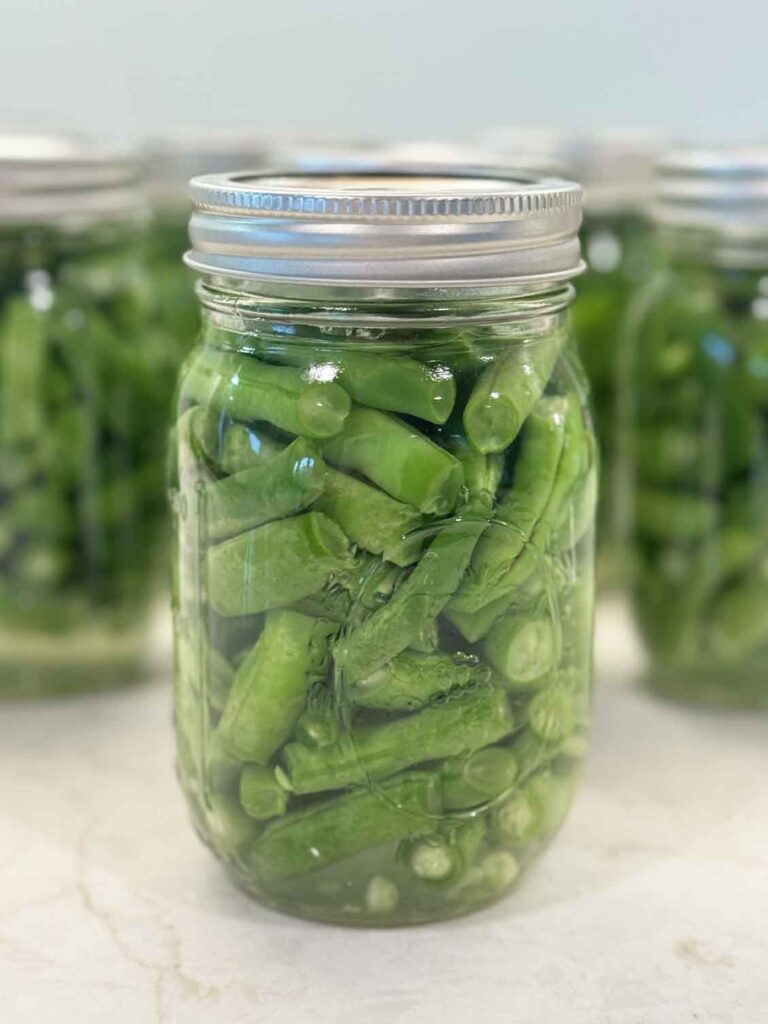
This is the heart of the raw-pack method, and it is genuinely simple once you see the rhythm of it. Pack the raw green beans firmly into your warm pint jars. I placed the beans in by hand and skipped the funnel, and it went just fine. Pack them snugly, but you do not need to crush them.
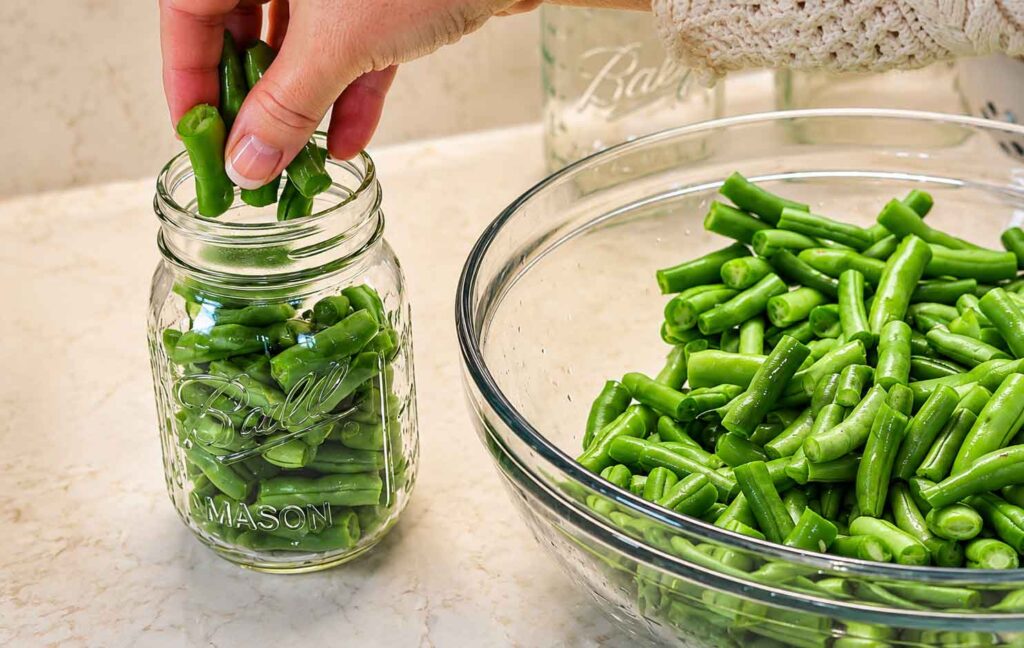
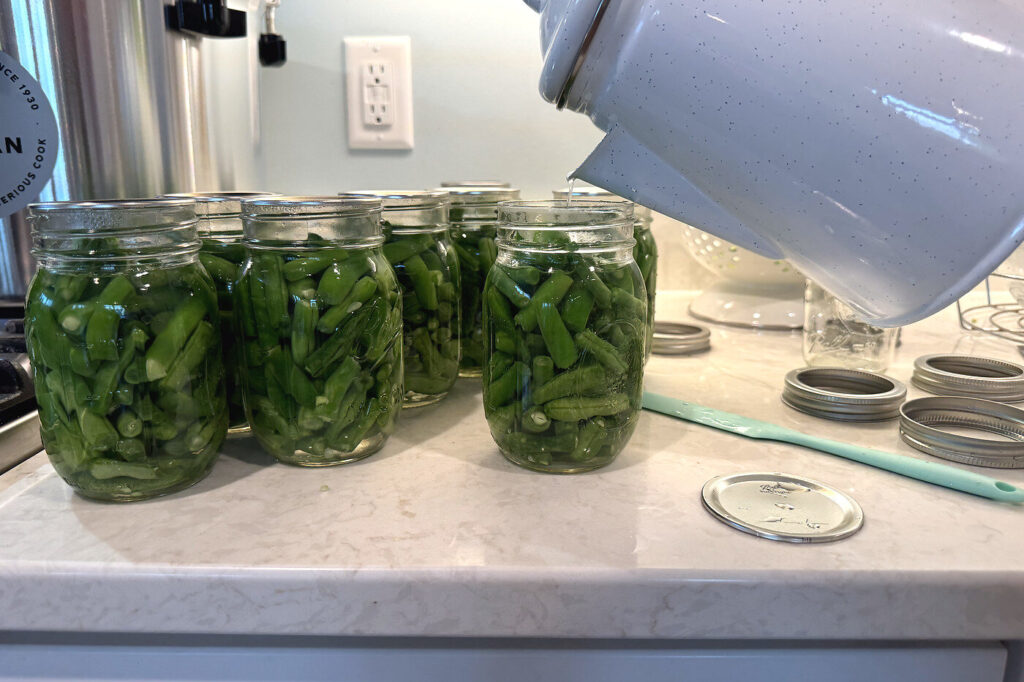
Leave 1 inch of headspace between the top of the beans and the rim of the jar. Headspace is just the empty gap at the top, and 1 inch is the tested amount for green beans, so this is one of those numbers I do not want you to change. Add ½ teaspoon of canning salt to each pint jar if you are using it. Then pour boiling water over the beans, still leaving that 1 inch of headspace at the top.
Why does removing air bubbles matter?
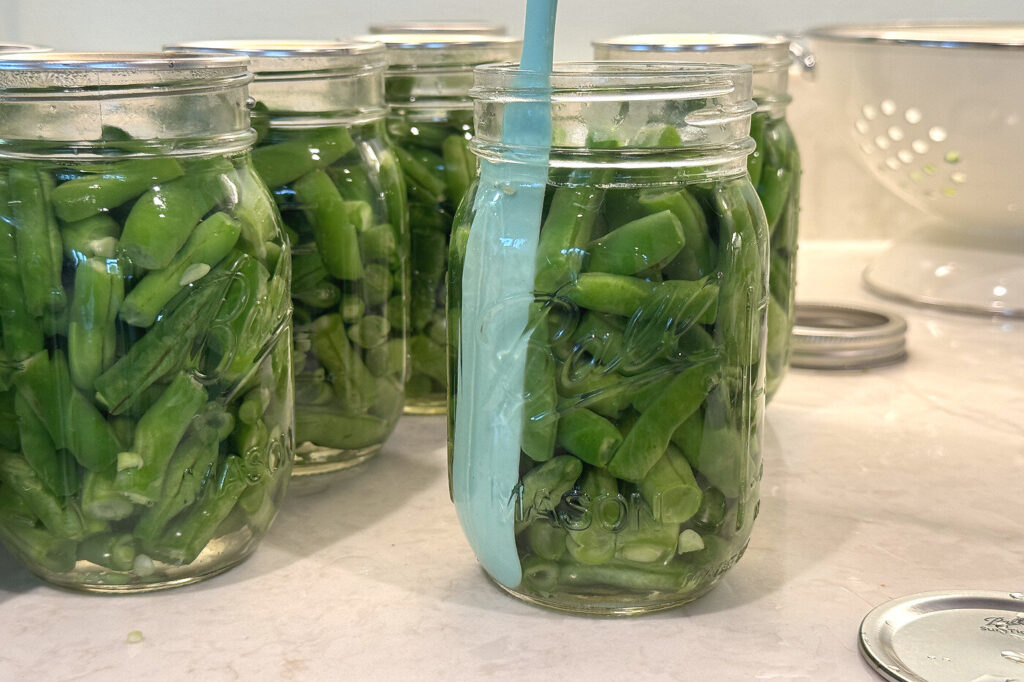
Once the water is in, slide a clean plastic or silicone utensil gently down between the beans and the inside wall of the jar, and move it around to release any trapped air bubbles. This helps because trapped air can throw off your headspace and interfere with a good seal. Be careful not to use a metal knife for this, because it can scratch or weaken the glass. After you release the bubbles, the liquid level usually drops a little, so top it back up with more boiling water as needed.
Measuring the headspace so you get it right
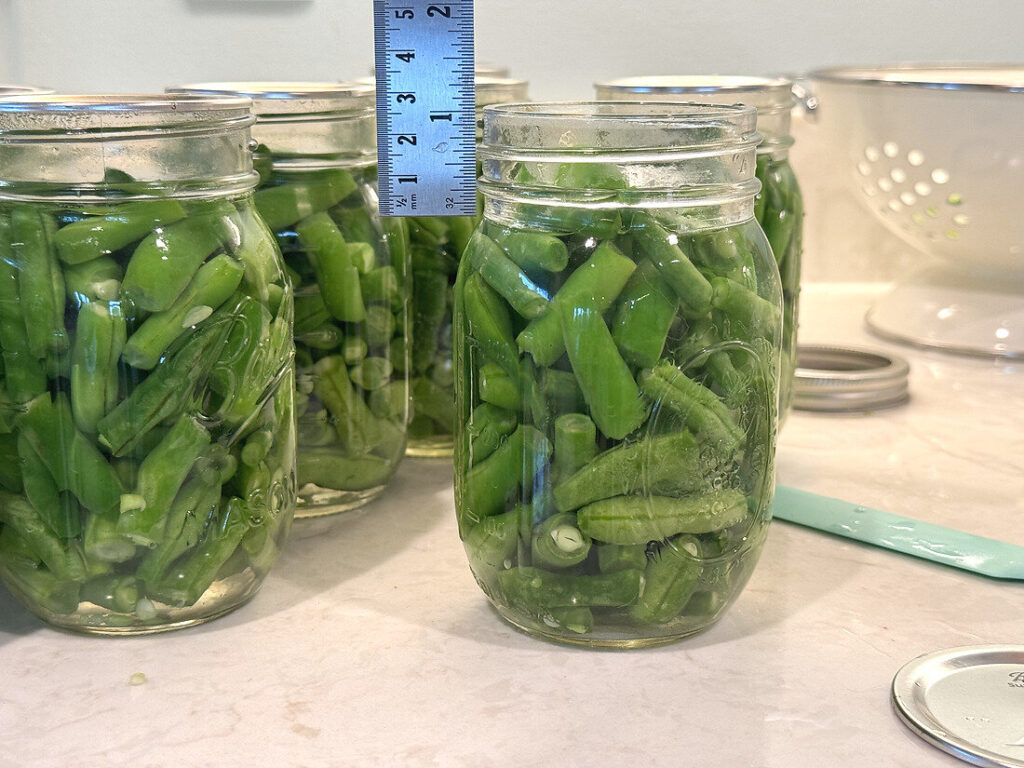
I used a ruler for this instead of eyeballing it, and I am so glad I did. Measure from the flat top rim of the jar down to the surface of the liquid, and confirm you have exactly 1 inch. If the liquid is too low, add a little more boiling water. If it is too high, remove a little with a clean spoon. Make sure the beans stay under the liquid the whole time. Getting this right the first few times feels fiddly, I promise it gets faster.
Wiping the rims and adding the lids
Wipe the top rim of every jar carefully with a clean, damp cloth or paper towel. This removes any salt, water, or little bean fragments that could keep the lid from sealing. One tiny bean skin on the rim is all it takes to cause a seal to fail, so do not skip this. Center a clean, new flat lid on the jar, then add the screw band and turn it until it is just fingertip-tight. That means secure, but not cranked down hard. Air needs to escape during processing, and an overtightened band can actually prevent a good seal.
Loading and Sealing the Canner
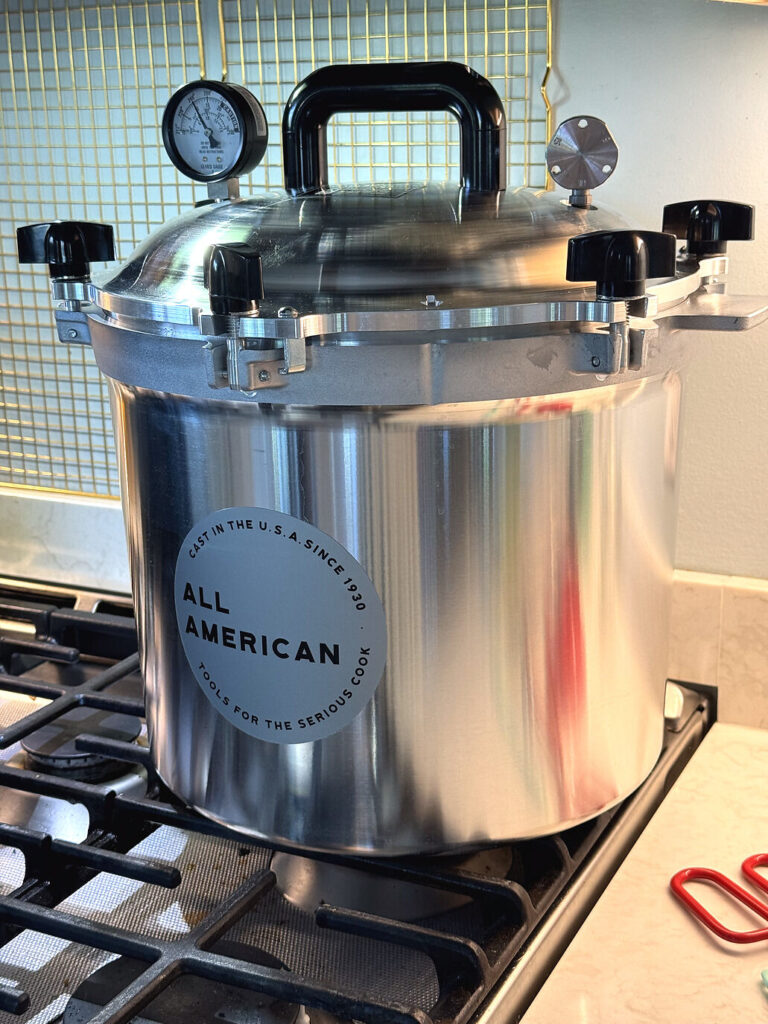
Use your jar lifter to place the filled jars upright on the canner rack. The jars should sit on the rack, not directly on the bottom of the canner. The water should come only a few inches up the sides of the jars, not over the top of them, which feels strange if you are used to water-bath canning where jars are fully submerged. In a pressure canner, it is the steam that does the work, not the water. Keep the jars upright and give them a little breathing room so they are not wedged tightly against each other.
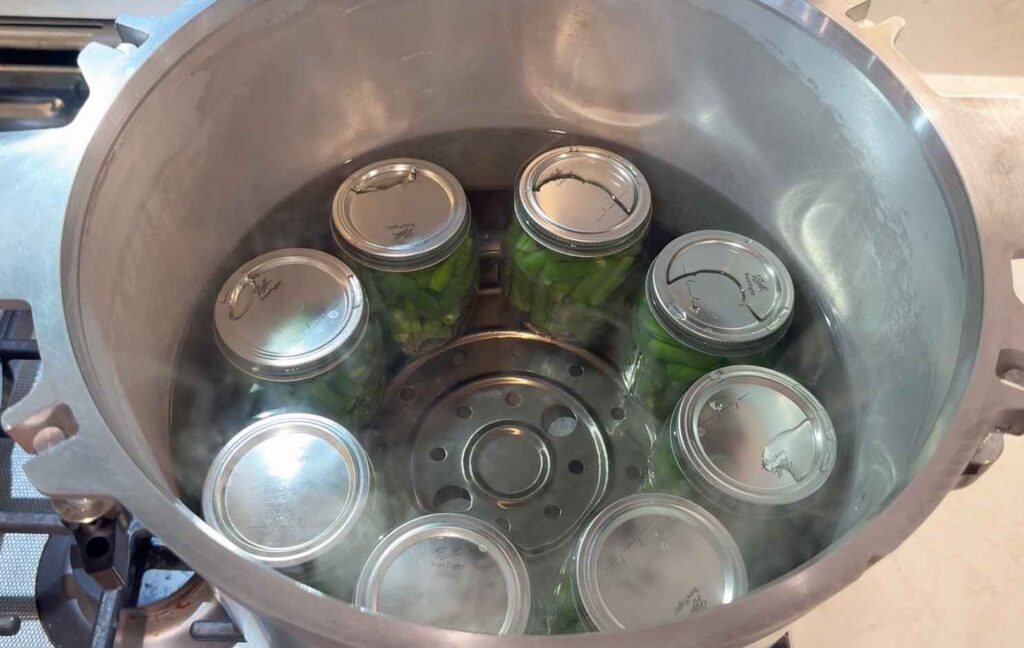
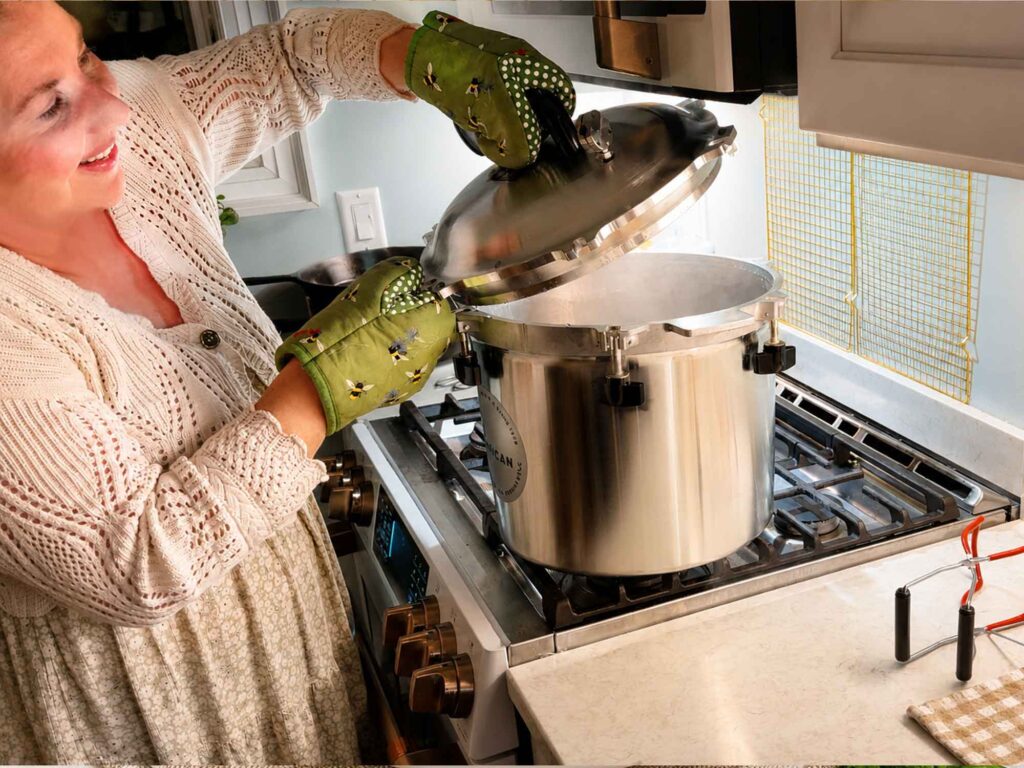
Now set the lid on your canner. On the All American 921, you place the lid on evenly and tighten the opposite wing nuts in pairs, working your way around so the lid stays level. Be careful not to tighten one side all the way before the other, because that can seat the lid crooked. Leave the pressure regulator weight off the vent pipe for now. If your canner closes differently, follow your own manual here.
How Long Do You Vent a Pressure Canner?
Turn the burner up and heat the canner. Watch the open vent pipe, and wait until a strong, steady column of steam is escaping from it. Once that steam is flowing steadily, start your timer and let the canner vent continuously for a full 10 minutes.
Please do not shorten this venting time, even though it is tempting when you are eager to get going. Venting pushes the trapped air out of the canner so it can reach the correct internal temperature, and skipping it can leave you with under-processed jars. Ten minutes of steady steam, every time.
Bringing the Canner to Pressure and Processing
After the full 10 minutes of venting, place the regulator weight on the vent pipe at the correct setting for your elevation. For a weighted-gauge pressure canner, here is the guide:
| Elevation | Required pressure |
|---|---|
| 0 to 1,000 feet | 10 pounds |
| Above 1,000 feet | 15 pounds |
I used the 10-pound setting because we are below 1,000 feet here in Dexter, Michigan. If you are not sure of your elevation, it is worth looking up before you start, because this is another one of those safety-critical numbers.
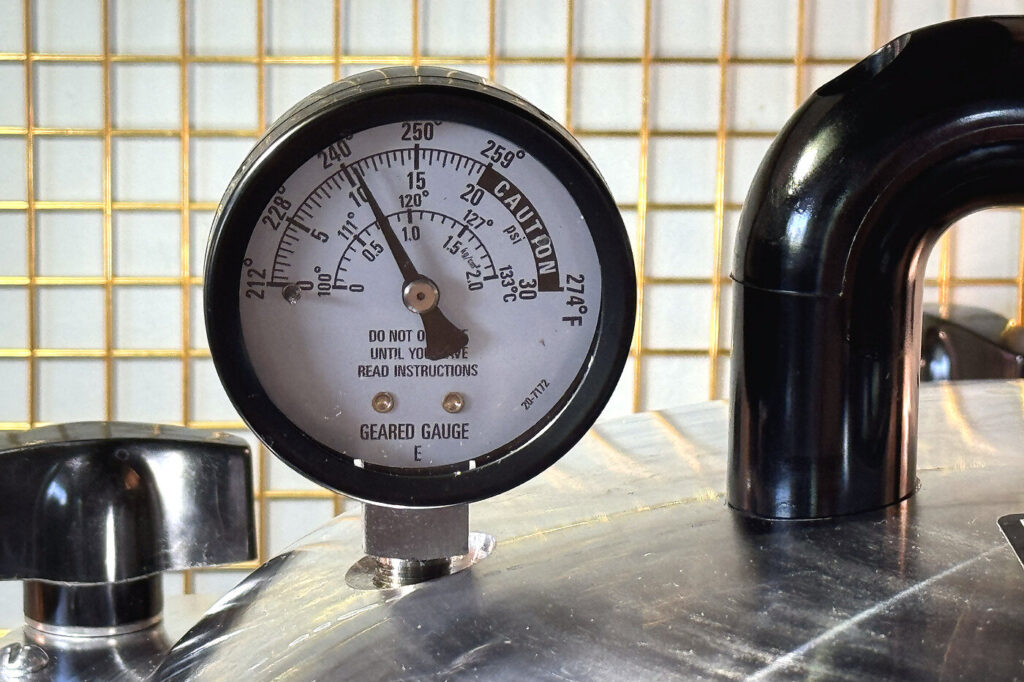
Keep heating until the regulator begins to jiggle, rock, or release steam, depending on your canner’s style. Do not start timing your processing yet. Wait until the canner has actually reached the required pressure, which won’t begin typically until it gets to your required pressure (in my case, 10 pounds). Once the regulator is operating, gradually turn the burner heat down until the regulator releases pressure intermittently rather than almost constantly. With my All American 921, the back-right burner at heat level 3 on the knob held the pressure nicely once the canner was fully heated. Again, that is my stove, not a universal setting, so let your regulator be your guide.
The processing times
Once the canner is at the right pressure, process the jars for these times:
| Jar size | Processing time |
|---|---|
| Pints | 20 minutes |
| Quarts | 25 minutes |
Begin timing only after the canner reaches the correct pressure, and hold that pressure steadily for the entire processing period. If the pressure ever drops below the required level, you need to bring the canner back up to pressure and start the full processing time over from the beginning. I know that is a little heartbreaking if it happens near the end, but it is the only safe way. And please, do not leave the canner unattended while it is processing.
CAN I USE HALF PINT SIZE JARS?

Yes, you can use the smaller half-pint size jars instead of pint size jars, but as there is no official processing time listed for those, you’ll want to use the pint-size processing time of 20 minutes. I don’t use the smaller half-pint size because I think my beans get a little too mushy in the smaller jar.
Cooling Down and Removing the Jars
When the processing time is up, turn off the burner and then… wait. This is the part where patience really pays off. Do not remove the regulator, loosen the lid, move the canner, run cold water over it, or try to force it to cool in any way. Let the canner depressurize all on its own, naturally. This can take quite a while.
Wait until the dial returns to zero and the canner is fully depressurized before you remove the regulator. When you do open it, tilt the lid away from your face so the steam escapes away from you, not toward you. That steam is hot, and this is an easy way to protect yourself.
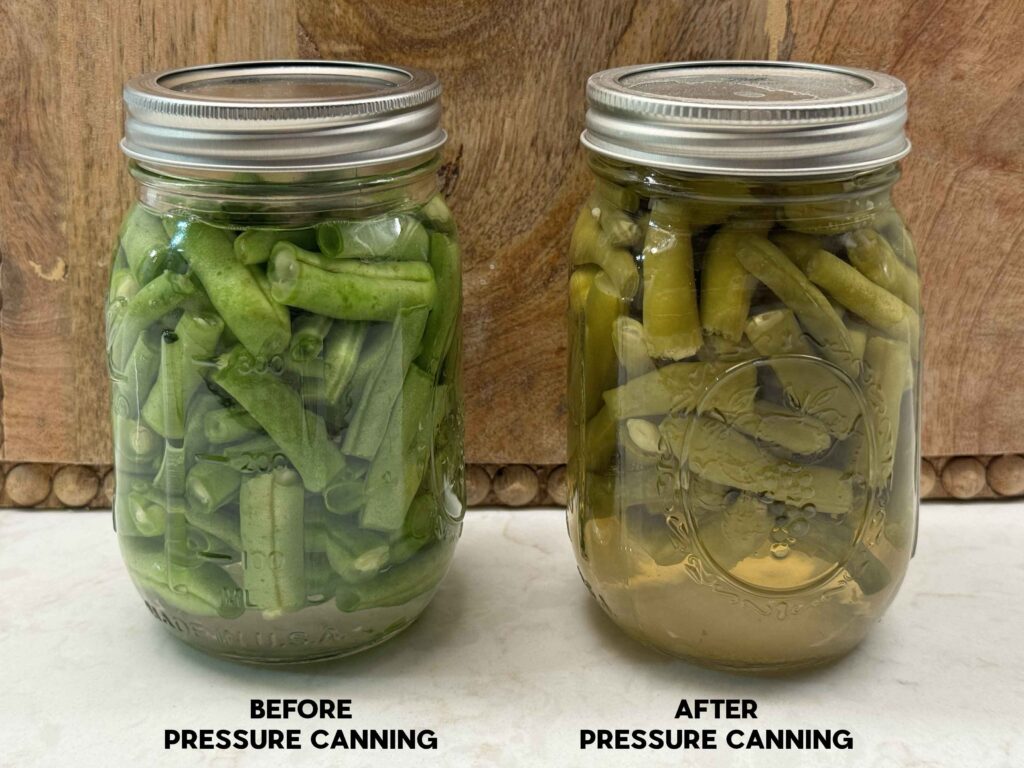
Then lift each jar straight up with your jar lifter and set it on a folded towel or a cooling rack, with a little space between the jars. You will notice that the color of the beans is more of a faded green now, indicating that they are cooked right in the jar.
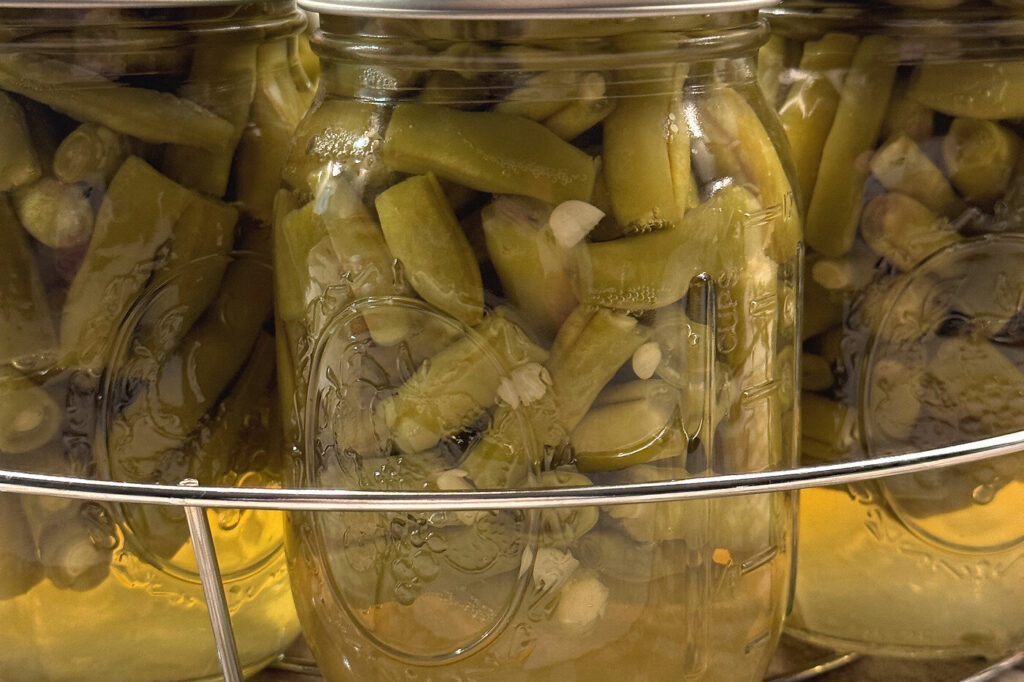
Now resist the urge to fuss over them. Do not tighten the screw bands, press the center of the lids, tip the jars, wipe them while hot, or move them around more than you need to. Just let them sit undisturbed for 12 to 24 hours. You will probably hear them ping as they seal, and that little sound is SO satisfying.
How Do You Check the Seals?
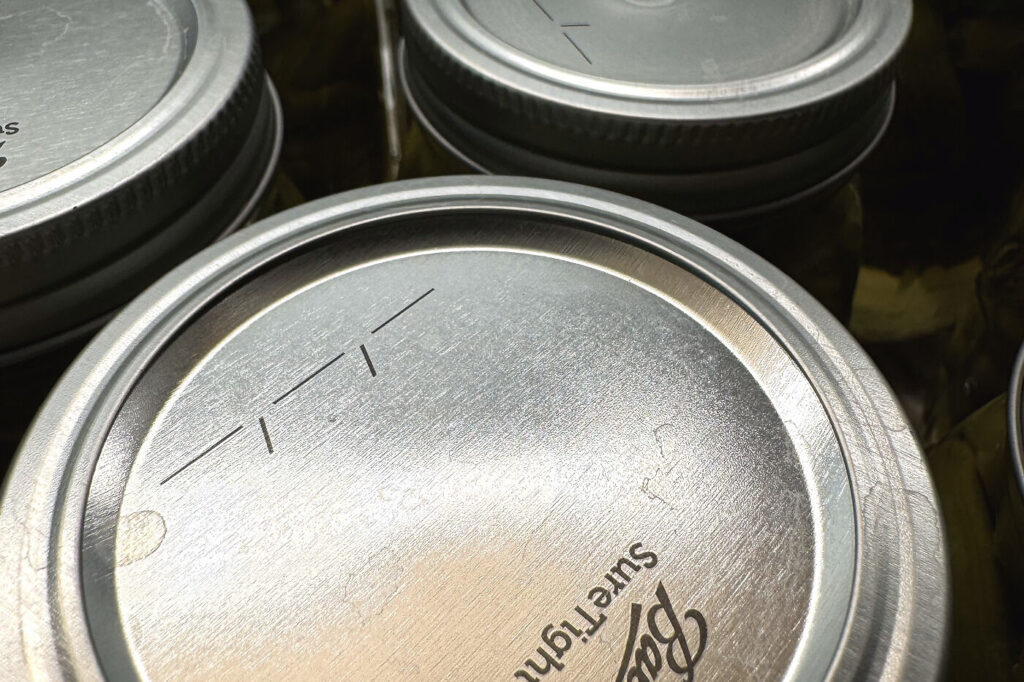
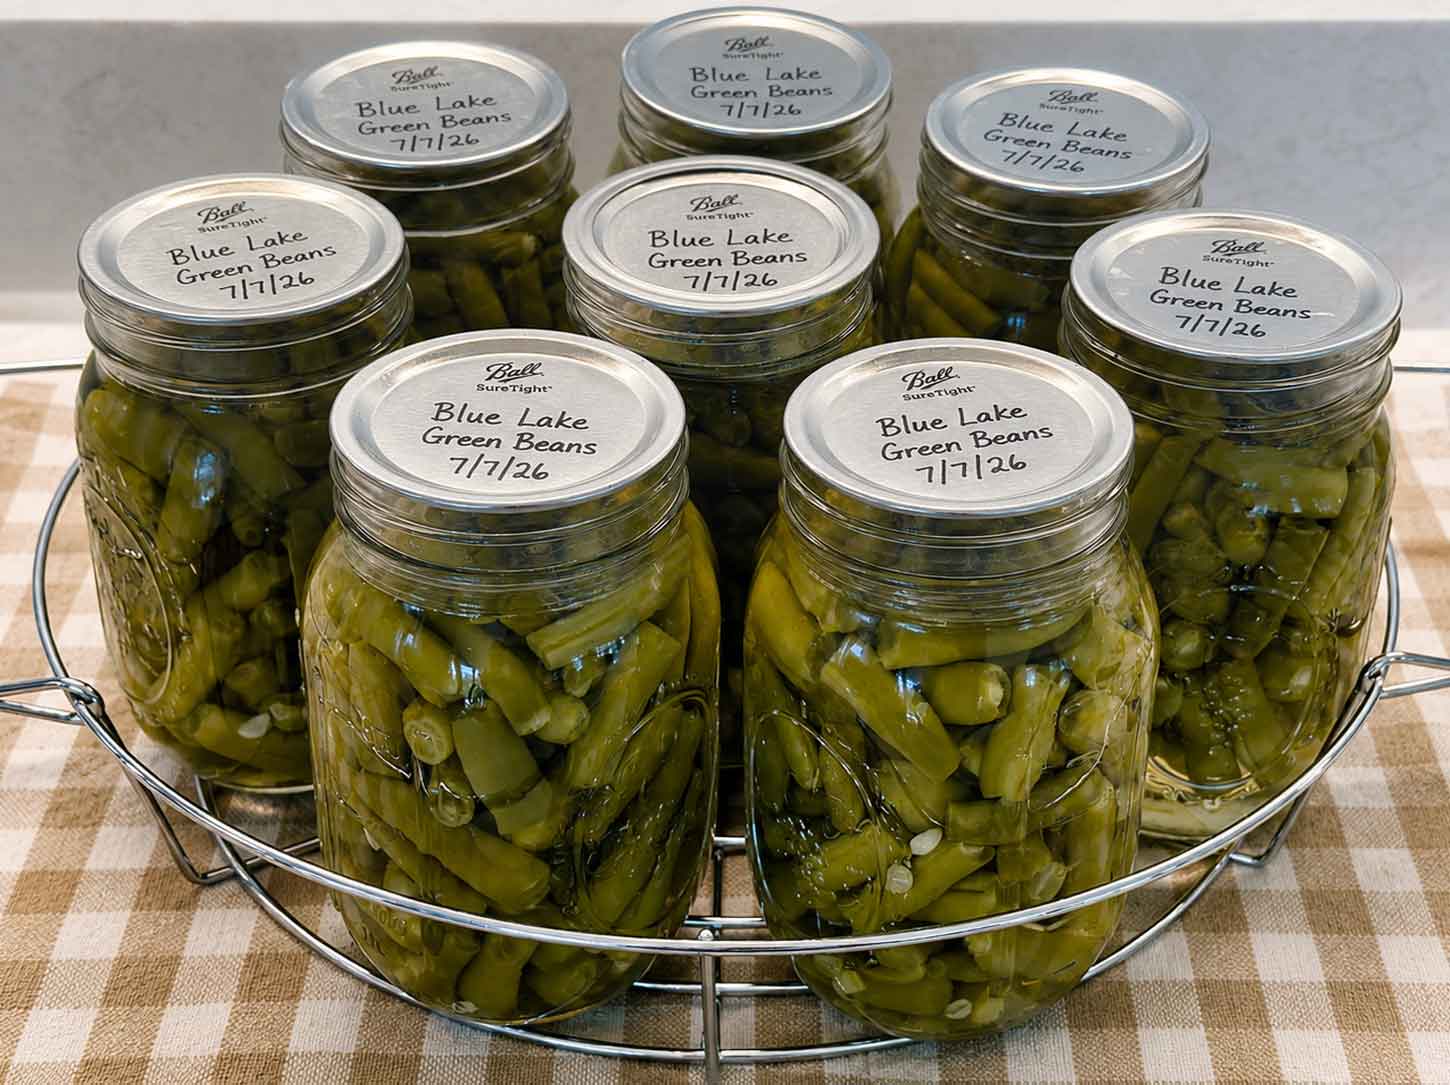
After 12 to 24 hours, remove the screw bands and press gently on the center of each lid. A properly sealed lid should curve slightly downward in the center, feel firm, and not flex or pop when you press it. If it pops up and down, that jar did not seal, and I will tell you what to do about that in a minute. For what it is worth, all 8 of my pint jars sealed successfully overnight.
Once you have confirmed the seals, wash any residue off the outside of the jars and dry them well. Label each jar with the contents and the date, because trust me, you will not remember later. Store the jars without the screw bands in a cool, dark, dry place. Leaving the bands off might feel odd, but it helps prevent false seals and makes it easy to notice if a lid loosens during storage (I learned this one the hard way!).
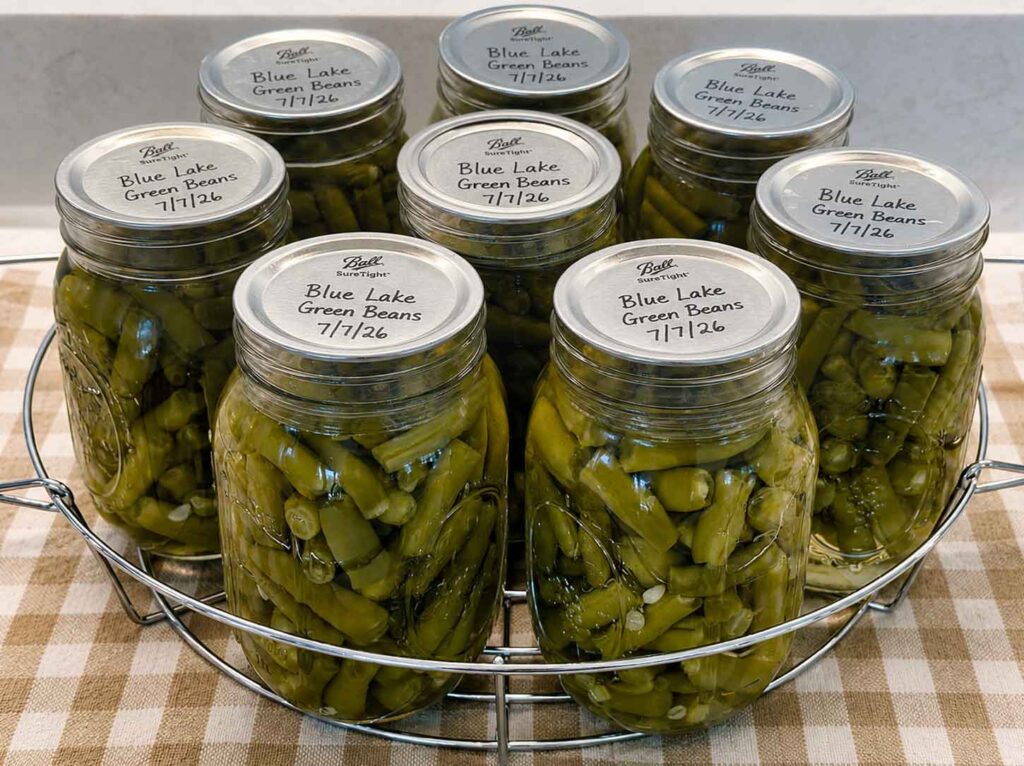
For the best taste and quality, plan to use your canned beans within 12 to 18 months. If your beans were properly canned and the seal intact, they will last indefinitely, but the quality will degrade over time. If your jar ever becomes unsealed in any way other than intentionally by you, they are expired and should be discarded.
Canning Green Beans
Equipment
- Pint canning jars, new flat lids, and screw bands
- Jar lifter, ruler or headspace tool, plastic or silicone bubble remover
- Clean damp cloth, large pot or kettle for boiling water
Ingredients
boiling water
- 8 lbs fresh, tender green beans 1 pound per pint-size jar
- boiling water to cover beans
- ½ teaspoon per pint jar canning salt optional – for flavor, not safety
Instructions
Instructions
- Wash the jars and bands in hot soapy water, rinse, and keep the jars warm. Prepare the lids per the manufacturer’s directions. No need to pre-sterilize the jars, since processing exceeds 10 minutes.
- Place the rack in the canner and add water per your canner manual (about 2 to 3 inches for the All American 921). Heat the uncovered canner while you work.
- Wash the beans, trim the stem and blossom ends, and cut or snap into roughly 1-inch pieces, or leave whole.
- Pack the raw beans firmly into warm pint jars, leaving 1 inch of headspace.
- Add ½ teaspoon canning salt per pint, if using. Pour boiling water over the beans, keeping 1 inch of headspace.
- Slide a plastic or silicone utensil around the inside of each jar to release air bubbles. Do not use metal. Add more boiling water if needed to hold 1 inch of headspace.
- Measure the headspace with a ruler to confirm exactly 1 inch, keeping the beans under the liquid.
- Wipe the rims clean, center a new flat lid on each jar, and add the screw band until fingertip-tight.
- Place the jars upright on the rack. The water should reach only a few inches up the sides, not cover the jars. Secure the canner lid; leave the regulator weight off.
- Heat until a steady column of steam escapes the vent pipe, then vent for a full 10 minutes.
- Place the regulator weight on the vent pipe: 10 pounds at 0 to 1,000 feet, or 15 pounds above 1,000 feet.
- Bring the canner to full pressure, then process pints for 20 minutes (quarts for 25 minutes), holding pressure steadily. If pressure drops, return to pressure and restart the full time.
- Turn off the heat and let the canner depressurize naturally. Do not force-cool it. Once the dial reads zero, remove the regulator and open the lid tilted away from your face.
- Lift the jars straight up onto a towel or rack and let them cool undisturbed for 12 to 24 hours.
- Check the seals: a sealed lid curves down slightly and does not flex. Remove the bands, wash and dry the jars, label with contents and date, and store without bands in a cool, dark, dry place. Use within about 1 year for best quality.
Notes
Common Questions About Canning Green Beans
What if a jar does not seal?
First, don’t panic, this happens to everyone eventually. Just do not store an unsealed jar at room temperature. You have a few good options: refrigerate it and use it up promptly, freeze the contents in a freezer-safe container, or safely reprocess it within 24 hours using a new flat lid and the current tested directions. Any of those is perfectly fine.
Can I use a boiling-water canner instead?
No, and this is the one place I really dig in my heels. Plain green beans are low-acid, so they must be processed in a pressure canner to reach a safe temperature. A boiling-water canner cannot get hot enough, so please do not use one for green beans.
Can I hot-pack instead of raw-pack?
Yes. The hot-pack method is also tested and safe. You cover the beans with boiling water, boil them for 5 minutes, then pack them loosely into hot jars and cover with the cooking liquid, keeping that same 1 inch of headspace. The pressures and processing times stay exactly the same as the raw-pack version.
Raw pack or hot pack: how do I choose?
Here is the part that takes the pressure off: for green beans, both methods use the exact same pressure and the same processing time, so this is only a quality and convenience choice, never a safety one. Raw pack, which is what I did in this post, is faster and simpler. You just pack the raw beans in and cover them with boiling water. The trade-off is that raw beans hold a little air inside, so they tend to float, shrink away from the liquid a bit, and lose a little more water during processing.
Hot pack means boiling the beans for 5 minutes first, then packing them hot and covering with the cooking liquid. That quick boil drives the air out, so you usually get better color, less floating, less liquid loss, and you can fit a few more beans per jar since they have already shrunk down. It is a little more work and one more pot to wash. So I reach for raw pack when I want speed and simplicity, and hot pack when I want the prettiest, most consistent jars for longer storage. The tested guidance leans toward hot pack for overall quality, but plenty of us raw pack all summer long and love the results.
How long do home-canned green beans last?
For the best quality, plan to use them within 12 to 18 months. They can be safe longer if the seal holds and they are stored well, but the flavor and texture are nicest in the first year.
Do I have to add salt?
Not at all. The salt is purely for flavor, so leaving it out does not affect safety in any way. I used ½ teaspoon per pint because we like the taste and often eat our green beans without any other preparation, but whatever works for you is fine here.
One important food-safety note

This post is my firsthand account of following a tested pressure-canning method, not a custom canning recipe of my own invention. Please do not change the jar size, headspace, processing time, pressure, altitude adjustment, packing method, or cooling procedure. My personal notes, like the Blue Lake variety, the canning salt, my ruler, my All American 921, and my stove burner setting, simply describe what I used. They do not alter the tested preservation method underneath, and neither should you.
And that is canning green beans, start to finish. I know it looks like a lot written out this way, but so much of it is just careful setup and then patient waiting, and it gets easier and faster every single time you do it. There is honestly nothing like reaching into the pantry in the middle of winter and pulling out a jar of beans you grew and put up yourself. Once you have your first batch of jars sealed and lined up on the counter, I think you will be hooked, just like I am.
Happy canning!
Love,
Jennifer
Tried this recipe?
Tap the stars in the recipe card to leave a quick rating. Your rating helps other home cooks know this recipe works in a real kitchen, not just mine.
And as a thank-you for your feedback, you will receive a free printable copy of my Maker Home Companion Cookbook, featuring my most popular recipes, each one formatted on a SINGLE, easy-to-use page, a perfect kitchen companion for easy meal prep. Click here to learn more about this cookbook and how you can get your copy!


Meet Jennifer
Jennifer cooks and experiments in the kitchen at Maker Farm, where she focuses on simple pantry cooking, homemade staples, and practical recipes that make everyday meals easier. Over the years she has tested many ways to make cooking simpler and more dependable, and shares the methods that work best in her own kitchen, occasionally showing them on her Heart to Home at Maker Farm vlog.
Jennifer, I did not try your recipe for canning as I learned as a kid, first picking and snapping beans before graduating to jar washer, then to the canning process. But I must tell you that your step by step instructions were spot on. My one thing to add, as you add beans to jar, think about adding small pieces of onion and of ham. I tried it one time and my family was hooked. Again, great job in teaching !! Sincerely, Kathy
Thank you so much, Kathy!!