We turned our own maple syrup into beautiful, shelf-stable maple sugar, and in this guide, I’ll show you exactly how you can do it too, whether you tapped your own trees or bought pure syrup from the store. This DIY maple sugar recipe is simple, natural, and a beautiful way to preserve sweetness.
I’ll walk you through the entire process, cooking maple syrup down into granulated sugar you can use just like table sugar. You don’t need a sugar shack or fancy equipment, just basic tools like a saucepan, thermometer, mixer, and a little time.


Want to Save This Recipe?
Enter your email below and we’ll send it straight to your inbox! Plus you’ll get new recipes each week!
What is Maple Sugar?
Maple sugar is a natural sweetener made by boiling pure maple syrup until the water evaporates and it crystallizes into sugar. Unlike refined white sugar, maple sugar contains trace minerals, antioxidants, and has a lower glycemic index, which means it causes a slower and more gradual rise in blood sugar levels. It’s less processed and is even thought to be slightly healthier than honey, if you can believe that. That said, maple sugar is still sugar, so it’s best to use it in moderation.
Why Make Your Own Maple Sugar?
Honestly, store-bought maple sugar is expensive! Why buy when you can DIY? But seriously, it is delicious and just a bit better for you than pure white sugar.
Homemade Maple Sugar
Equipment
- 1 large saucepan with a heavy bottom and high sides I recommend a 3-quart pan
- 1 digital thermometer or candy thermometer
- 1 wooden spoon or electric hand mixer
- 1 sifter metal mesh recommended
- 1 bowl or pan for sifting into
- 1 electric mill for fine granulation optional
Ingredients
- 16 oz 100% pure maple syrup any grade
Instructions
- Step 1. Heat Your SyrupPour the pure maple syrup into your large, heavy-bottomed saucepan. Place the saucepan on a heat source (stove or fire) and turn the heat to medium-high. Insert your thermometer and bring the syrup to a boil. Do not stir the syrup during this stage. Watch the syrup carefully to prevent it from boiling over. If it starts to rise too high, reduce the heat immediately or place a wooden spoon across the top of the pan to discourage boil-over. You can also add a small amount of fat (butter or oil) to the inside edge of the pan or directly into the syrup to help prevent this.
- Step 2. Boil Your SyrupContinue to boil the syrup until it reaches a temperature between 257°F and 262°F (127°C and 130°C). This is also known as the hardball stage.Once the syrup reaches the target temperature, immediately remove the saucepan from the heat.
- Step 3. Stir Your SugarBegin stirring the hot syrup vigorously with a wooden spoon or an electric hand mixer. Continue stirring for approximately 5 to 15 minutes. The syrup will transform from a liquid to a crystallized, granulated sugar, and its color will lighten.
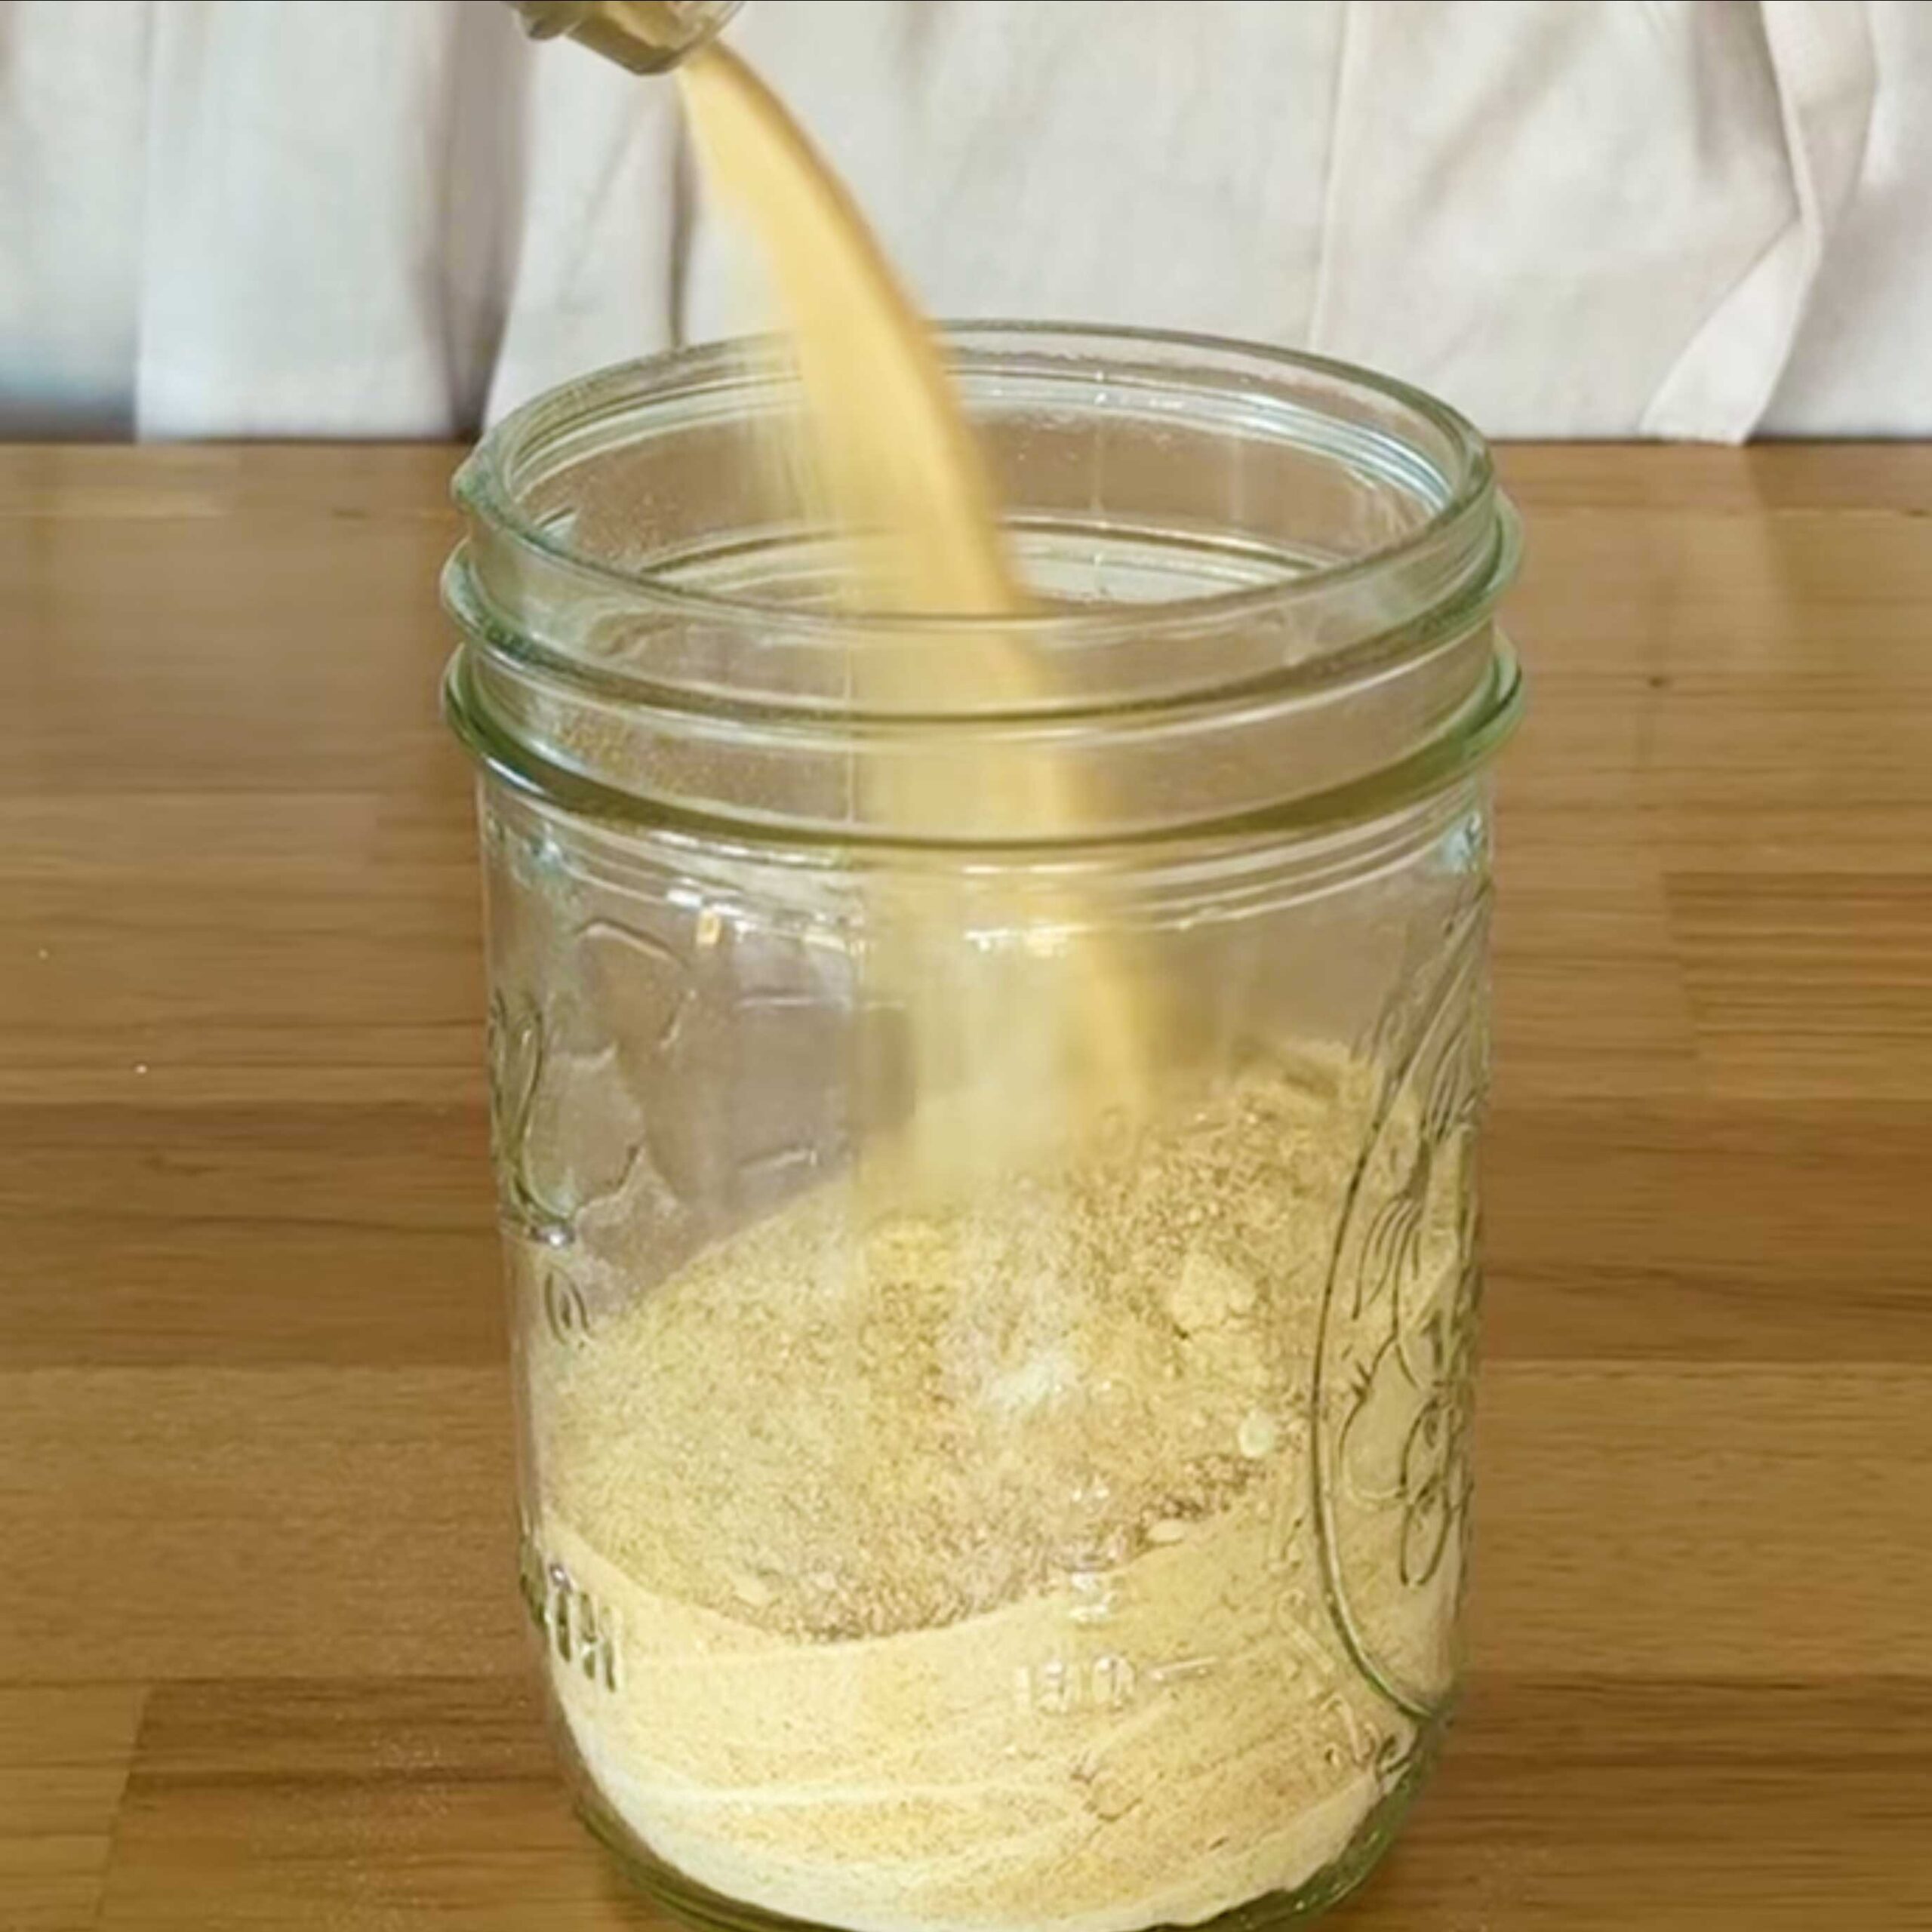
- Step 4. Sift Your SugarOnce the maple sugar has granulated, sift it into a bowl or pan to remove any larger chunks. Any remaining chunks can optionally be broken down further in a food processor or mill, or saved for use in snacks, oatmeal, or hot drinks.To clean your sticky saucepan, add water and either reheat it to dissolve the sugar or let it soak in hot water in the sink.
Video
How to Turn Maple Syrup into Maple Sugar: Step-by-Step Instructions
Equipment You’ll Need
To make maple sugar, you need:
• A large saucepan with a heavy bottom
• A way to stir your sugar, such as a wooden spoon or an electric mixer
• A heat source, which can be a stove or a fire
• A thermometer so you know when to remove it from the heat (I recommend a digital thermometer as it’s easier to read)
• A sifter like a metal mesh one
• Something to sift your sugar into, such as a pan
And that’s it.
Starting with Pure Maple Syrup
Start with your sap or your maple syrup. If you don’t make your own syrup, just be sure you’re using 100% pure maple syrup with no added ingredients. The process works the same regardless of whether you start with sap or syrup, and you’ll still end up with that beautiful caramelly maple sugar.
Step 1: Heat the Maple Syrup
I started with a 16oz jar of maple syrup in a 3 quart saucepan, but you can increase how much syrup you start with if you have a larger pan. Now turn on the heat. I started low and I put the thermometer in to watch the temperature. I gradually turned my heat up to medium high. Your syrup will begin to bubble and then boil.
Step 2: Watch Carefully to Prevent Boil-Over
And you’ll want to stay right there to watch it so it doesn’t boil over. The boiling process removes more water from the syrup, which is how we’ll turn this from a syrup to a sugar. As you’re boiling, the syrup will bubble up more and more. You definitely do not want it to boil over, as that will make a huge mess. I speak from experience.
How to Prevent Boil-Over
If it does start to boil over, turn down the heat right away, or you can place your wooden spoon across the top of the pan, which will discourage a boilover, but do not stir it with the spoon. Another thing you can do to prevent a boilover is put a bit of fat such as butter or oil on the inside edge of the saucepan, on the back of your wooden spoon that’s laying over your saucepan, or even in the syrup itself.
Step 3: Monitor the Temperature
Keep an eye on the temperature and watch for it to get between 257 and 262°F or 127 and 130°C. I let mine go all the way up to 262°.
Step 4: Remove from Heat and Stir Vigorously
Once it hits that temperature range, remove it from the heat and immediately start stirring vigorously with your wooden spoon. You can also use an electric hand mixer for this, which will be easier on your hands and arms.
Step 5: Watch the Magical Transformation
After about 5 minutes or so of this, it’s going to change from this viscous liquid to something magical. It’s so cool. I love this. It just starts to crystallize at some point during the stirring and even changes color. Now, keep stirring for 10 to 15 more minutes, getting everything mixed well, and flatten out any little balls of sugar that will probably form.
Sifting, Storing, and Using Your Homemade Maple Sugar
Sifting Your Maple Sugar
Now, you want to sift the sugar into a bowl or a pan. There will be little chunks left over after you sift it, and you can either save them for snacks or oatmeal or hot drinks, or you can put them into a food processor or a mill to break them down even further. A food processor works okay, but the mill works the best at getting all of the sugar into granulated form.
Cleaning Your Saucepan
Now, your saucepan is going to be a sticky mess, but it’s okay. All you need to do is put some water into your saucepan and either turn the heat back on, which will dissolve all of that mess back into essentially sugar water, which you can then boil right down into sugar again. Or you can just simply put it into the sink with some hot water and let that hot water dissolve all of the sugar. So, it’s pretty easy. It will seem intimidating, but it’s not that bad.
How Much Maple Sugar Will You Get?
And that’s it. The syrup turns into just about the same amount of sugar. So my 16 oz of syrup became 16 oz of sugar from one maple tree. I think you could get just about 4 lbs of sugar. That’s about 2 kg of sugar, which is equivalent to one bag of sugar from the store. You might have sugar right in your own backyard just waiting to be tapped.
Storing Maple Sugar
When the sugar is completely dry, store it in an airtight jar at room temperature. If you’d like to see how I keep my sugar free from moisture and always ready to use, check out my long-term food storage video. It’s really easy and it will help you increase your food security, too.
How to Use Maple Sugar in Recipes
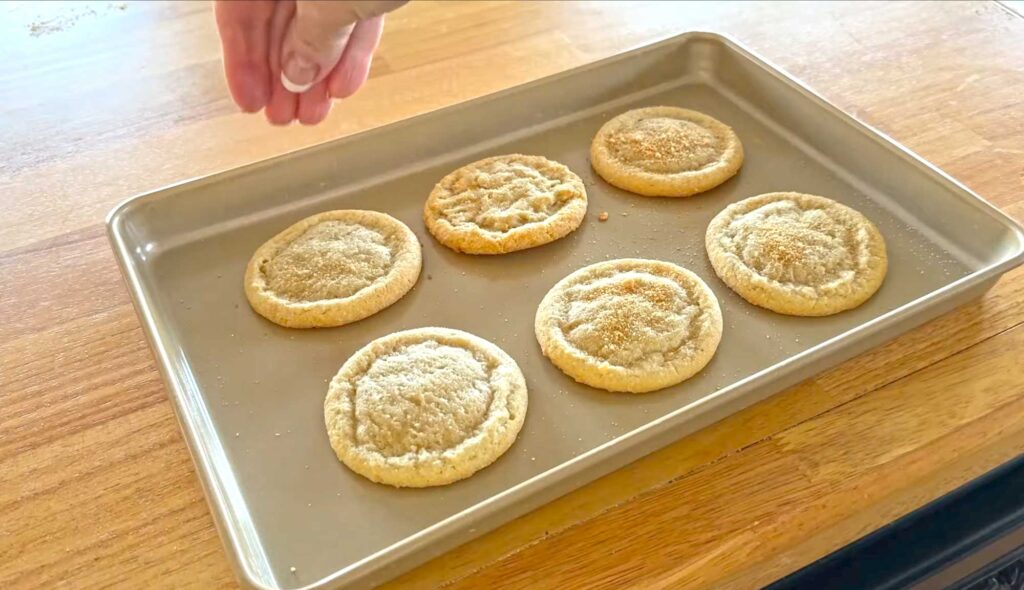
You can eat maple sugar the same way you would regular cane sugar. Just substitute maple sugar for table sugar in a 1:1 ratio in any recipe. This delicious natural sweetener has trace minerals, antioxidants, a lower glycemic index, which means it causes a slower and more gradual rise in blood sugar levels, and it’s less processed.
Health Benefits of Maple Sugar
Maple sugar is even thought to be slightly healthier than honey, if you can believe that. That said, maple sugar is still sugar, so it’s best to use it in moderation.
Why I Love Making Maple Sugar at Home
What I love about this sugar is that I can make it entirely myself. And I love being self-sufficient. As long as I can find a maple tree, I will always have sugar. And I love baking and cooking with maple syrup and maple sugar and sharing those recipes with you here, too.
Final Thoughts on Homemade Maple Sugar
Have you ever tried maple sugar? Would you give it a go? Let me know if you have any questions. I hope you try making maple sugar because it will amaze you. This natural sweetener never spoils, tastes amazing, and gives you the satisfaction of creating something sweet and delicious entirely on your own. And if you have your own maple trees from which to collect sap and make the syrup, that’s even more fun!
Tried this recipe?
Tap the stars in the recipe card to leave a quick rating. Your rating helps other home cooks know this recipe works in a real kitchen, not just mine. And as a thank-you for your feedback, you will immediately receive a free printable copy of my cookbook, featuring my most popular recipes, each one formatted on a SINGLE, easy-to-use page, a perfect kitchen companion for easy meal prep.

")
")

Meet Jennifer
Jennifer cooks and experiments in the kitchen at Maker Farm, where she focuses on simple pantry cooking, homemade staples, and practical recipes that make everyday meals easier. Over the years she has tested many ways to make cooking simpler and more dependable, and shares the methods that work best in her own kitchen, occasionally showing them on her Heart to Home at Maker Farm vlog.
So happy you shared. I can’t wait to make it!
Wonderful!