This homemade coffee creamer takes 5 minutes and 3 ingredients: evaporated milk, vanilla extract, and maple syrup or honey. Just shake it in a jar, chill, and add to hot or iced coffee.
I love my morning coffee. So when I was working on my $50 weekly meal challenge, I knew I needed coffee and creamer. But a bottle of store-bought creamer wasn’t in my budget. So I came up with a homemade recipe that used just three simple ingredients. I tested a few ratios to keep it smooth and lightly sweet without needing a saucepan … and I couldn’t be happier with it! Best of all, it leans on pantry staples I already had on hand, so there’s no milk, heavy cream, or sweetened condensed milk required, and no cooking either.


Want to Save This Recipe?
Enter your email below and we’ll send it straight to your inbox! Plus you’ll get new recipes each week!
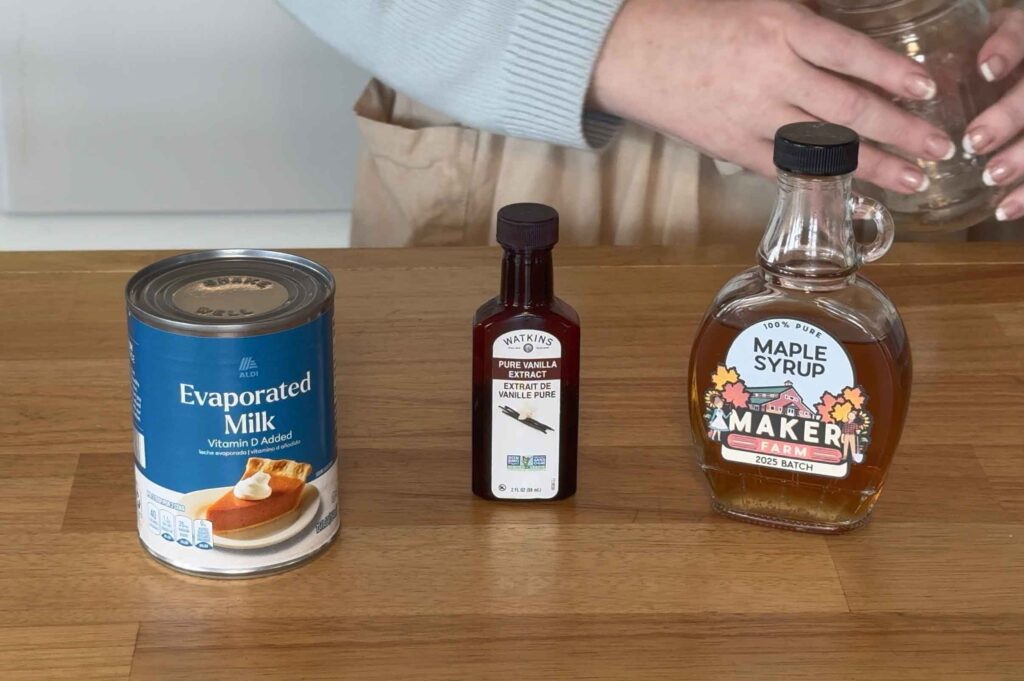
What You Need
Evaporated Milk – You just need one can. While some people use sweetened condensed milk instead, I prefer to add my own type of sweetener.
Pure Vanilla Extract – The taste of vanilla bean really improves the flavor, and as I drink French Vanilla creamer most of the time, it reminds me of “the usual.” If you have homemade vanilla extract, use that! For a plain (unflavored) creamer, omit the vanilla extract.
Liquid Sweetener – This is optional. Use it only if you like your creamer sweet (as I do). I used maple syrup I harvest from my maple trees here on Maker Farm. But you could also use honey, agave, or simple syrup. Honey works 1:1 for maple syrup. Start with the same amount, then adjust because honey can taste sweeter.
That’s it!
How to Make Homemade Coffee Creamer
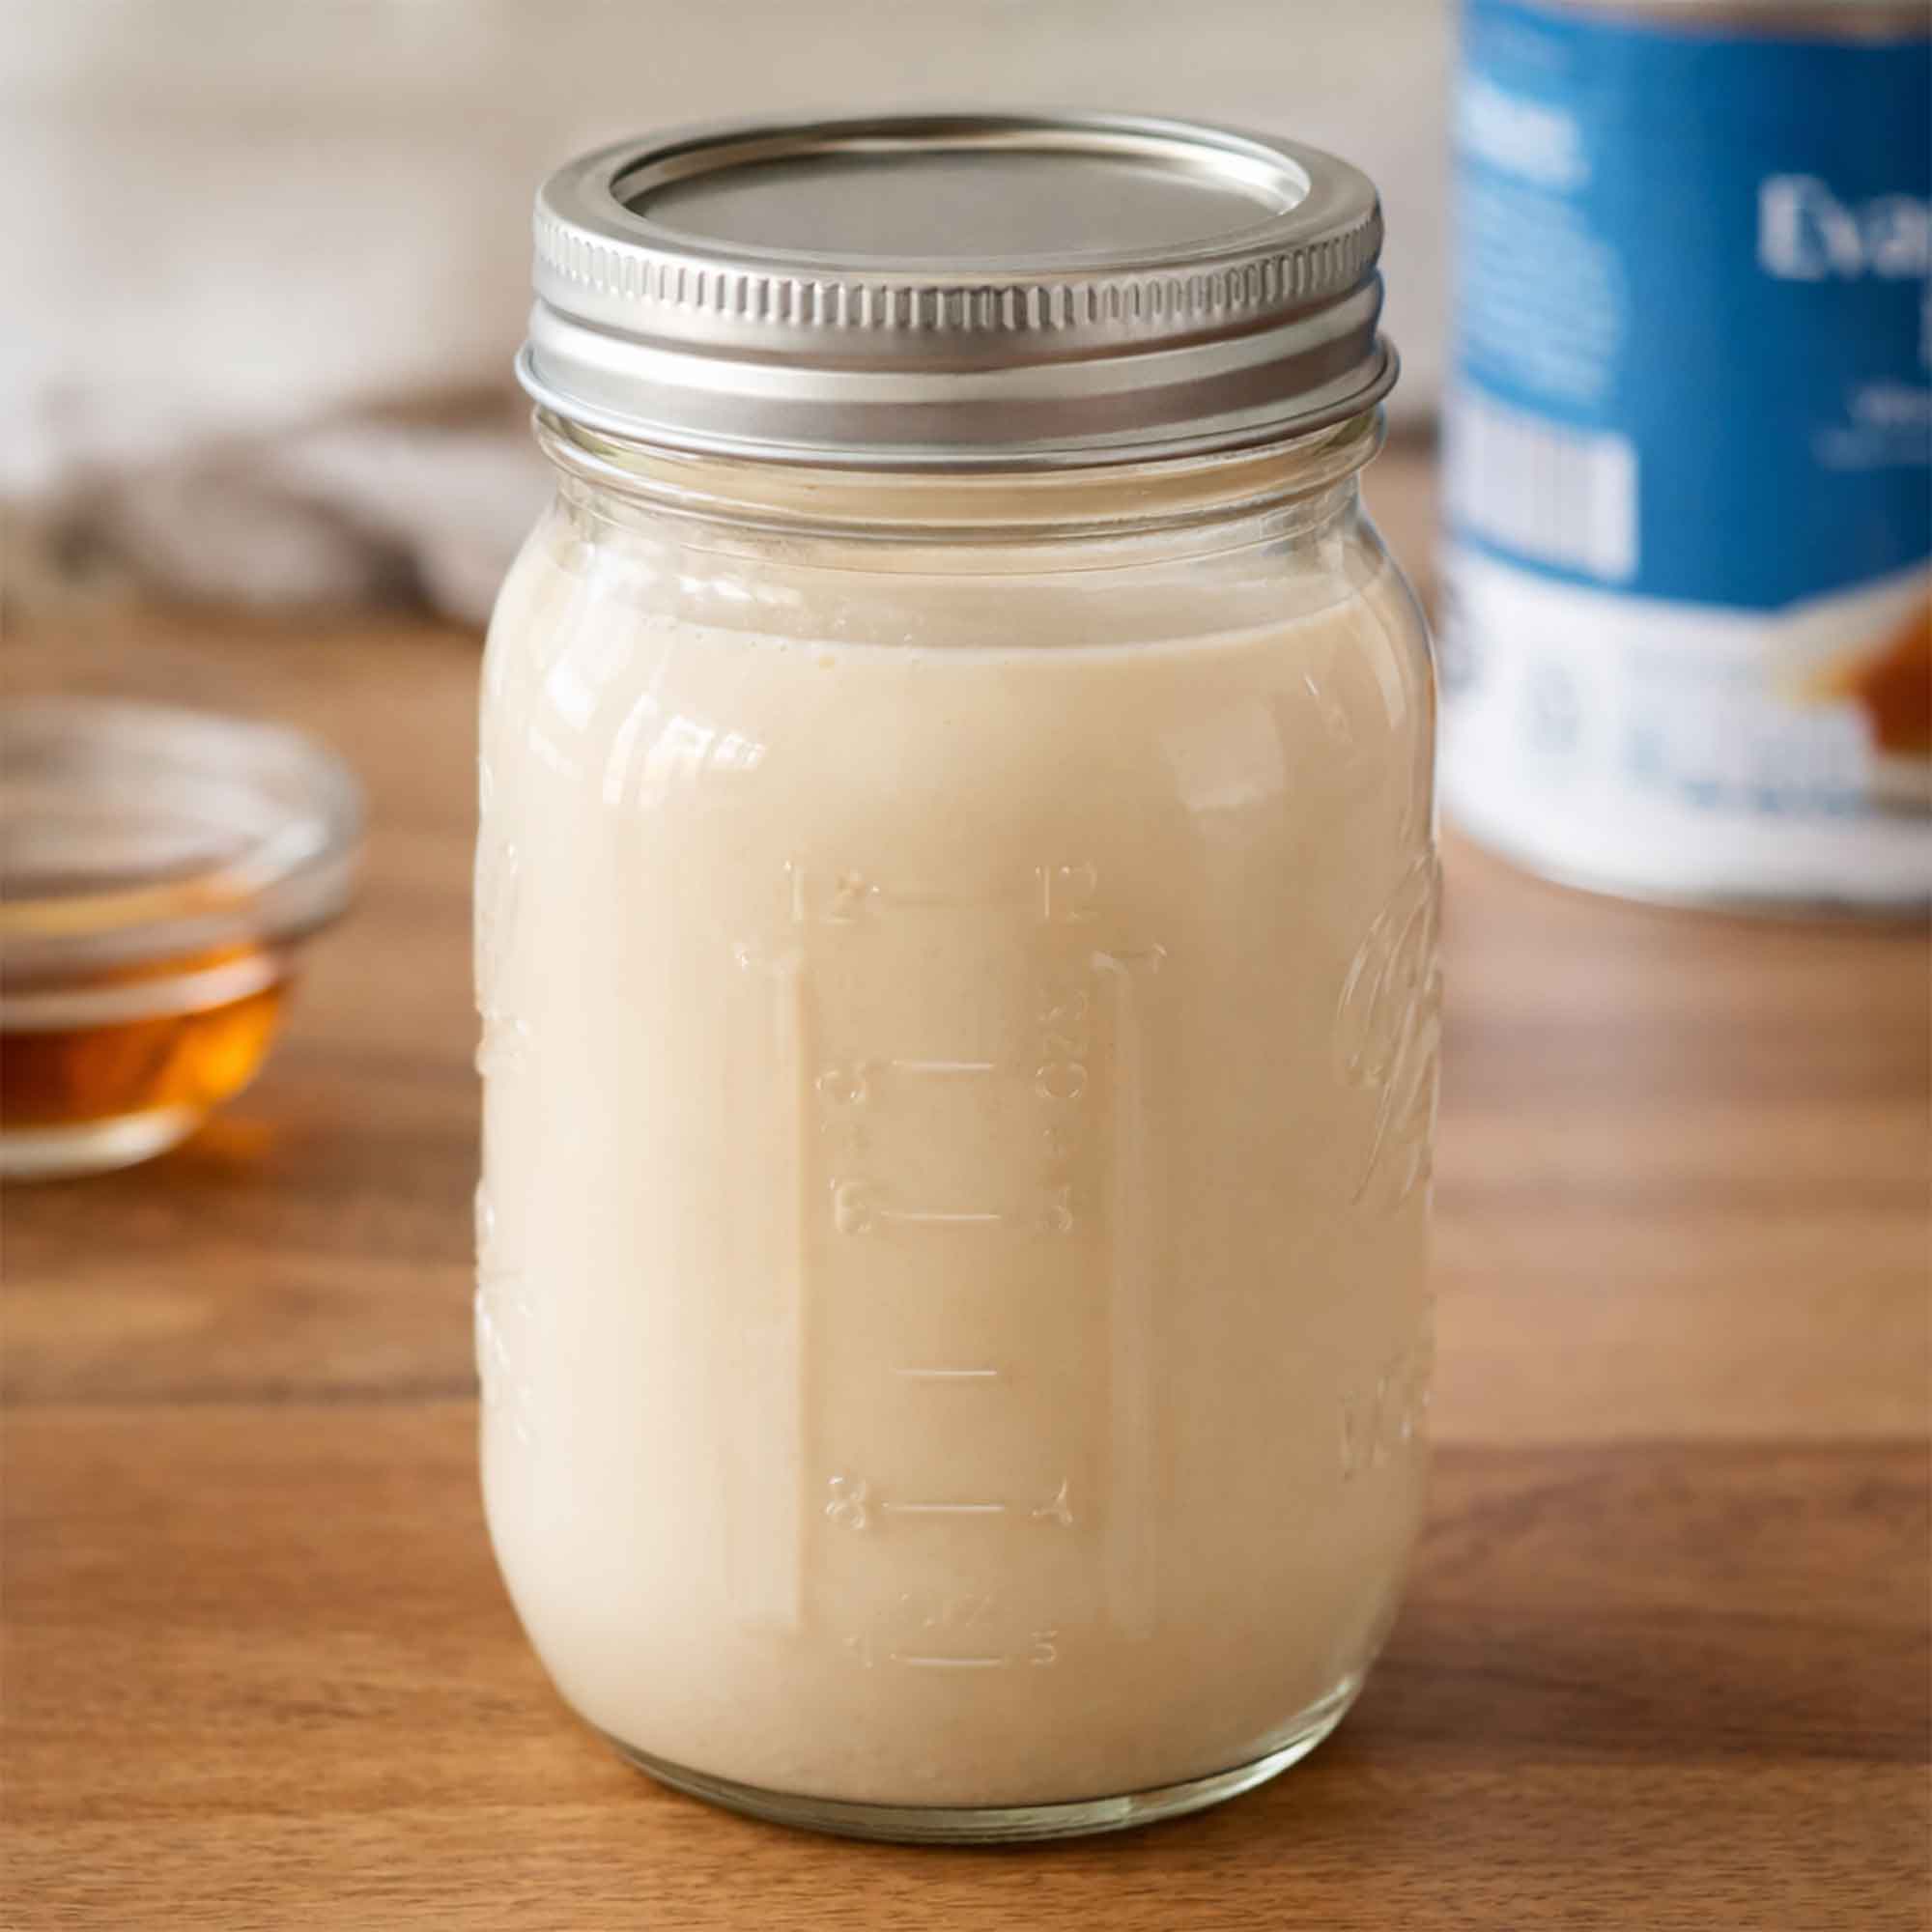
Step 1: Add ingredients to a clean jar or bottle, some sort of airtight container. I’m using a pint-size Mason jar.
Step 2: Stir or shake until combined.
Step 3: Chill and shake before each use. For exact amounts, see the recipe card below.
Yes, it really is that easy!
Homemade Coffee Creamer Recipe
Equipment
- 1 pint-size Mason jar
Ingredients
- 1 12.8 oz can evaporated milk
- 2 teaspoons vanilla extract
- 2-4 tablespoons liquid sweetener (I use maple syrup)
Instructions
Prepare your container
- Get a clean, airtight jar or bottle. A pint-size Mason jar works well.
Add the milk
- Open the can of evaporated milk and pour it immediately into the jar.
Add flavor
- Stir in the vanilla extract.
Sweeten to taste
- Add 2–4 tablespoons of your preferred liquid sweetener. Adjust based on how sweet you like your coffee.
Mix
- Stir well until everything is fully combined.
Store
- Seal with a lid, label and date the jar, and store it in the refrigerator.
Nutrition
Notes
- Shake well before each use
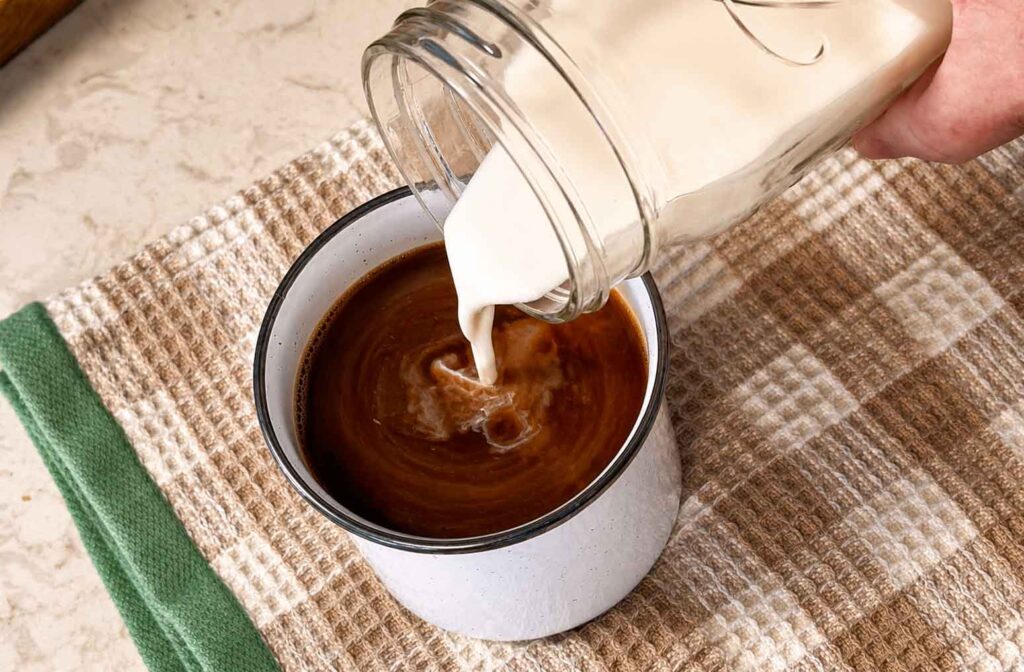
- Stir 1–2 tablespoons into a cup of black coffee
- Keeps for 5–7 days in the refrigerator
- Adjust sweetness as needed
How This Tastes
This vanilla coffee creamer recipe is lighter than commercial French Vanilla creamer, but really quite pleasant. Making it with maple syrup gives it a wonderful taste … it’s not maple syrupy, but it is a “fresh” taste that I really enjoy in my morning cup of coffee. Because it’s evaporated-milk-based (no heavy cream), it tastes light and clean, not thick or overly artificial.
Adjust to Taste
If you want it sweeter:
→ add 1 more tablespoon of sweetener
If you want it richer:
→ add a small splash of regular milk
If you want it lighter:
→ dilute with a little water or milk
If you want it not sweet at all:
→ skip the liquid sweetener entirely
Flavor Variations
You can get really creative with different flavored coffee creamers simply by adding or replacing flavor extracts to the base recipe. Try some peppermint extract, almond extract, or hazelnut extract — each one is a great addition! You could even stir in a bit of unsweetened cocoa powder for a chocolatey boost!
- Peppermint Mocha: Add 1/2 teaspoon peppermint extract and 1 tablespoon unsweetened cocoa powder.
- Hazelnut: Replace vanilla with hazelnut extract.
- Almond Joy: Use 1 teaspoon almond extract and add a touch of cocoa powder.
- Cinnamon Vanilla: Add 1/2 teaspoon cinnamon along with the vanilla.
- Pumpkin Spice: Add 1 teaspoon of pumpkin pie spice and 2 tablespoons of pure pumpkin puree (yes, really!) along with the vanilla.
- Sweet Cream style: Use vanilla, keep sweetener on the low end, and add a small splash of milk for a softer ‘sweet cream’ vibe.
- Unflavored: Omit vanilla and keep the base as evaporated milk + sweetener (or no sweetener).
Lactose-Free Options
If you’re like me and lactose intolerant, you can buy lactose-free evaporated milk!
Evaporated coconut milk and oat milk are other options, too.
If you tolerate some dairy, you can blend almond milk with a splash of heavy cream for richness, then flavor and sweeten to taste.

Will This Save Me Money?
Let’s talk budget. I priced a 32 oz bottle of creamer at $2.75 at the grocery store vs $1 for a 12 oz can for evaporated milk, plus you need to add in the cost of vanilla and sweetener. So, no, it’s not going to save you money. BUT, this easy homemade coffee creamer recipe has simpler ingredients — just milk, vanilla, and sweetener — whereas the store-bought bottle of creamer has stabilizers, artificial flavors, form of corn syrup, and preservatives. I like to make my own coffee creamer because it tastes “cleaner” and also because the bottles of store-bought creamers have such a strong, artificial taste (due to weird artificial flavorings) that can be really overpowering by the time I get to that second cup of coffee.
How Long Will This Last?
Refrigerate promptly in an airtight container and watch for spoilage signs like sour smell, slimy texture, or mold.
Helpful Tip: Freezing in Ice Cubes

You can also freeze unused portions in ice cube tray or small container for up to four months. Pop out a cube or two as needed and thaw in the fridge overnight. This is a great way to extend the life of your creamer!
Important: Do not leave your opened evaporated milk at room temperature for long; it is highly perishable once exposed to air.
These days I keep a jar of this going in the door of my fridge so there’s always some ready for my morning cup. Give it a try, and let me know which flavor variation becomes your regular.
Love Making Your Own Pantry Staples?
If you like making things from scratch as much as I do, this creamer is in good company. Here are a few of my favorite homemade pantry staples that live right next to it in my kitchen:
- Homemade butter, because there’s nothing like the fresh stuff (and Greg even came up with a way to make it faster).
- Homemade brown sugar, which is really just white sugar and molasses. That’s it!
- Cream of soup mix, so you can skip the cans in all your favorite casseroles.
- Homemade taco seasoning, with no fillers and just the right amount of heat.
Love,
Jennifer
Tried this recipe?
Tap the stars in the recipe card to leave a quick rating. Your rating helps other home cooks know this recipe works in a real kitchen, not just mine.
And as a thank-you for your feedback, you will receive a free printable copy of my Maker Home Companion Cookbook, featuring my most popular recipes, each one formatted on a SINGLE, easy-to-use page, a perfect kitchen companion for easy meal prep. Click here to learn more about this cookbook and how you can get your copy!

")
")

Meet Jennifer
Jennifer cooks and experiments in the kitchen at Maker Farm, where she focuses on simple pantry cooking, homemade staples, and practical recipes that make everyday meals easier. Over the years she has tested many ways to make cooking simpler and more dependable, and shares the methods that work best in her own kitchen, occasionally showing them on her Heart to Home at Maker Farm vlog.
Jennifer, you always amaze me! From the beginning with my first little cricut to from scratch recipes. You have a wonderful teaching style and you are so thorough in your instructions. Thank you for showing us that there is a lactose free option. I had no idea there is lactose free evaporated milk. My son and I both need that option. Thank you for these wonderful recipes.
Thank you for the recipe. I currently make a pumpkin creamer with half n half and monk fruit sweetener that is so yummy but it needs to be heated and strained. Your coffee creamer recipe looks so simple and I will be trying it with my Choc Zero syrup flavors.
Thank you, Jacqueline!
I like my coffee cold, but with French vanilla creamer. Yumm! I’m going to make this when I run out of store bought. I love, love, love making my own everything. With some health issues, it’s always better to make my own. I think all the preservatives are what makes us so sick. Just my opinion!
Wonderful, Deborah!
Yum! I’ll have to try this. I have just started making my own vanilla extract, paste and sugar recently. The rabbit hole got deep pretty quickly and I was looking for more places to use this deliciousness! I love the simplicity of the ingredients and that they are shelf stable to keep on hand and make fresh weekly. Thank you!
Thank you, Joann! I also love being able to use shelf stable ingredients. 🙂
Thanks for the recipe for homemade creamer! I only need to change from a regular sweetener to pure Stevia to make it keto friendly. my husband is on a low carb diet due to being borderline for diabetes. I’m always on the lookout for new recipes that I can make low carb and without all the unnecessary extra ingredients for better overall health. Being budget friendly is a major bonus.
taste realy good
Hooray! Thank you, Kathy!