

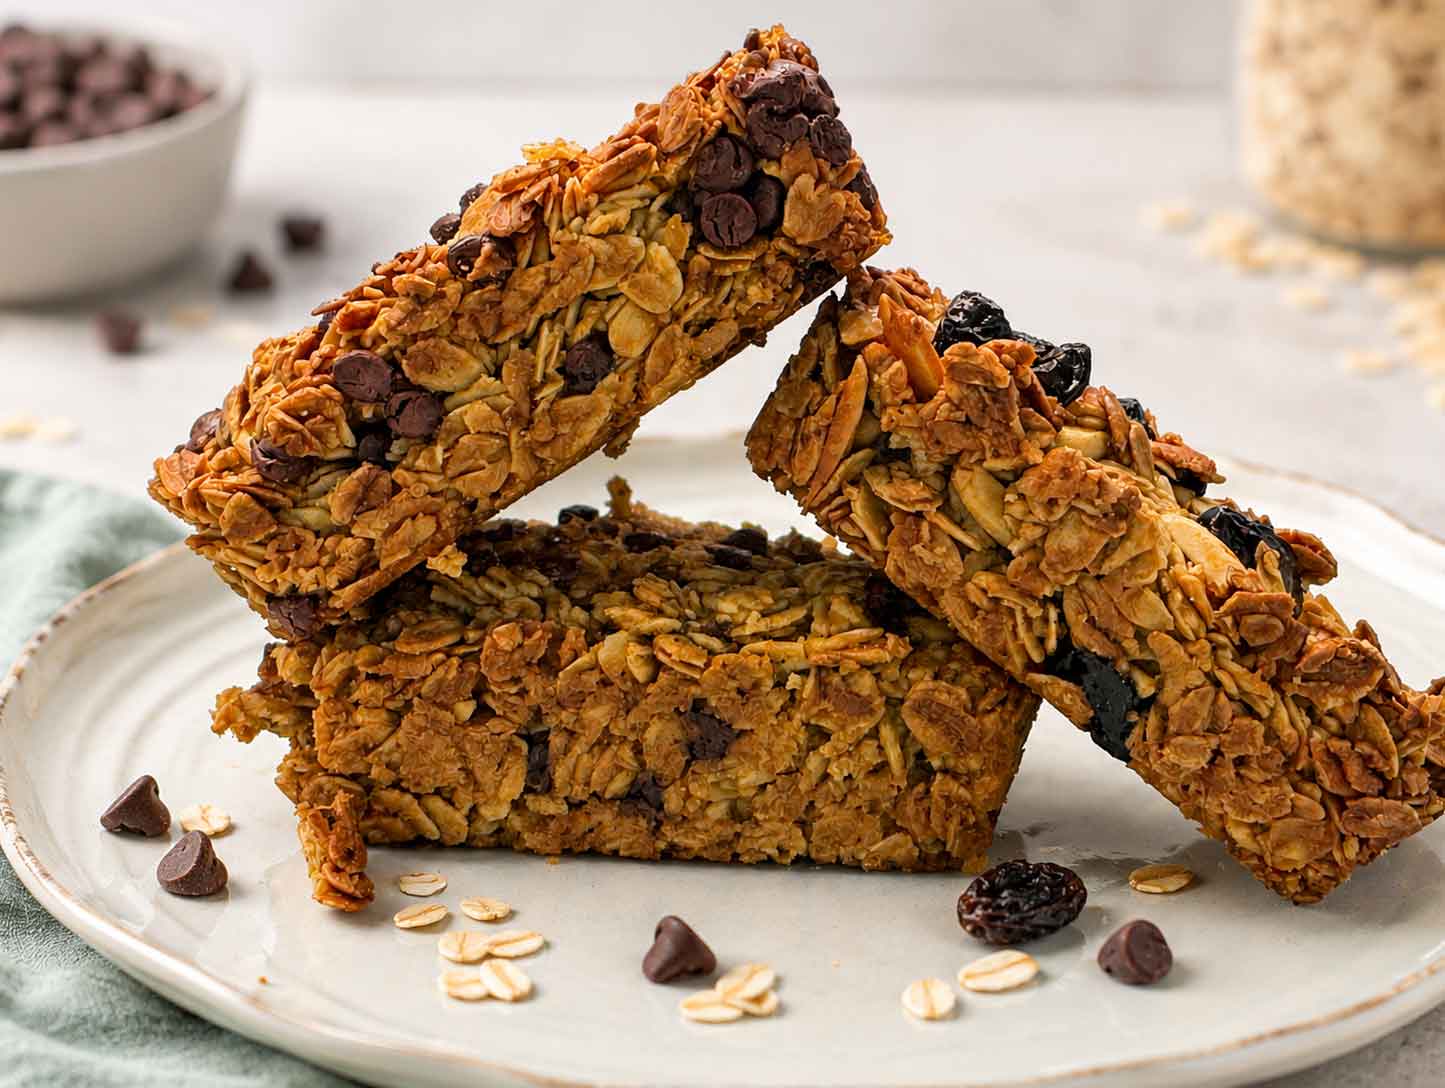
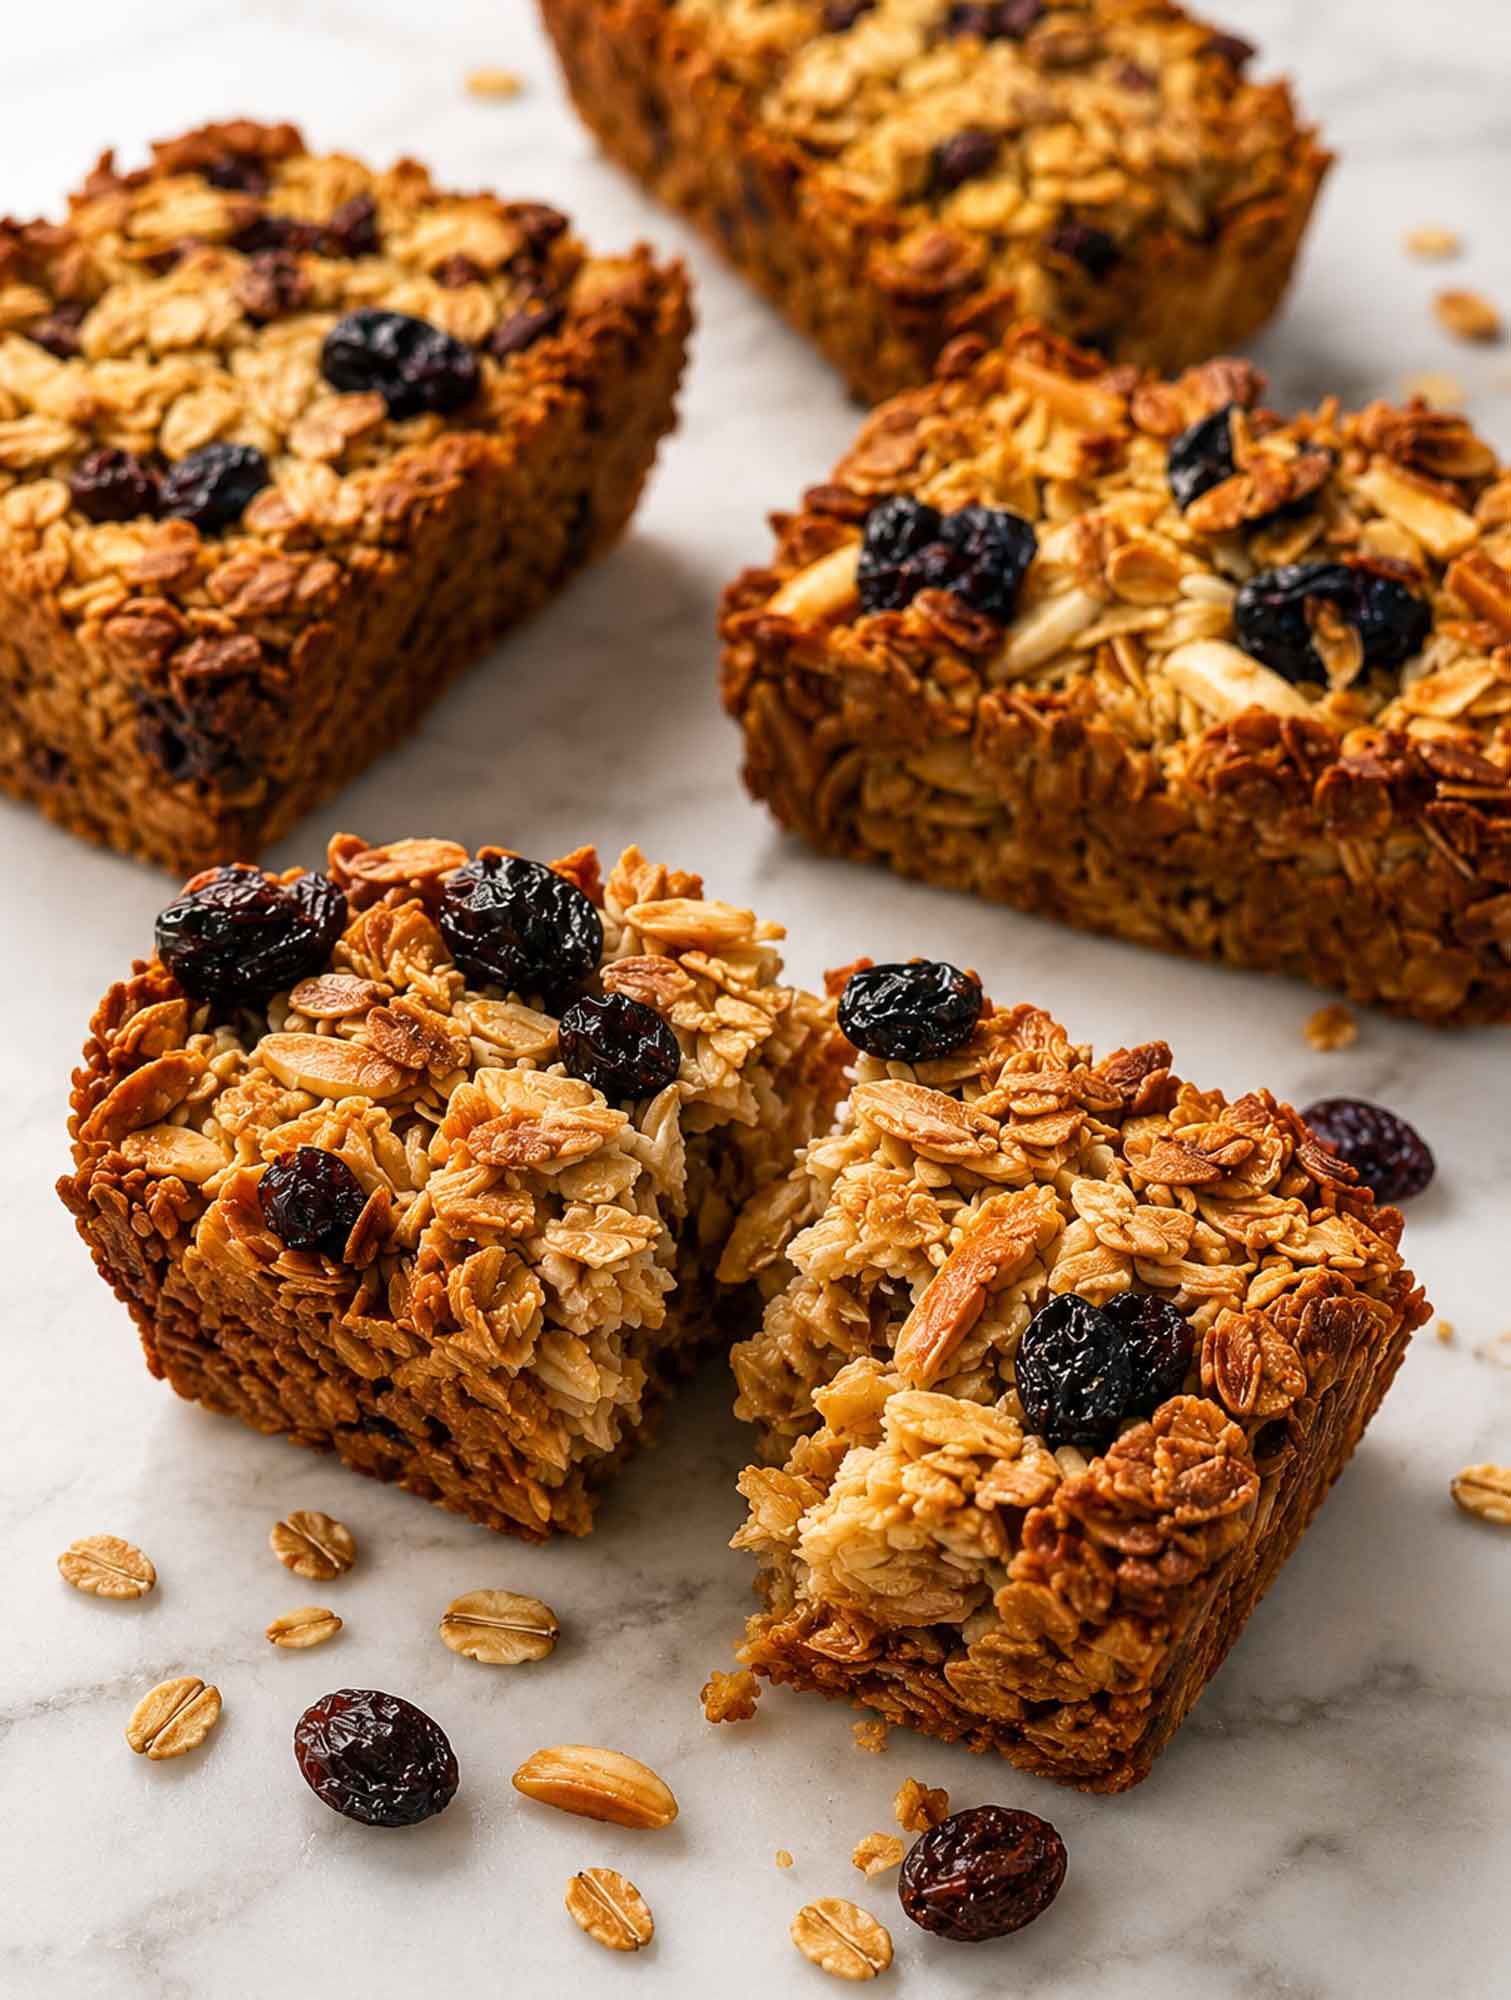
These easy oatmeal breakfast bars are made from rolled oats, butter, honey, and brown sugar, pressed into mini loaf pans so every bar comes out the same tidy size. Mix one plain base, split it, and stir a different flavor into each. They keep all week, perfect for busy mornings.
A Better Oatmeal Bar With Endless Flavors

I’ve been making oatmeal bars on Sundays when I want the week’s breakfast handled before the week even starts. But when I started to need more variety, I came up with a simple base recipe to which I could add whatever seasonings and mix-ins I felt like at the time. This is my better oatmeal bar recipe that doesn’t get boring, and you’re going to love it!
And because I make so many oatmeal bars, I went searching for a way to make them even easier, and I discovered mini loaf pans. They turn each one into a bar that’s the same size, easy to grab on the way out the door. They’re frugal, they’re from scratch, and they use pantry staples you almost certainly already have.
Let’s dig in!


Want to Save This Recipe?
Enter your email below and we’ll send it straight to your inbox! Plus you’ll get new recipes each week!
What You Need for Oatmeal Breakfast Bars
The plain base is just five things. Once you have it mixed, you get to decide what each little batch becomes.
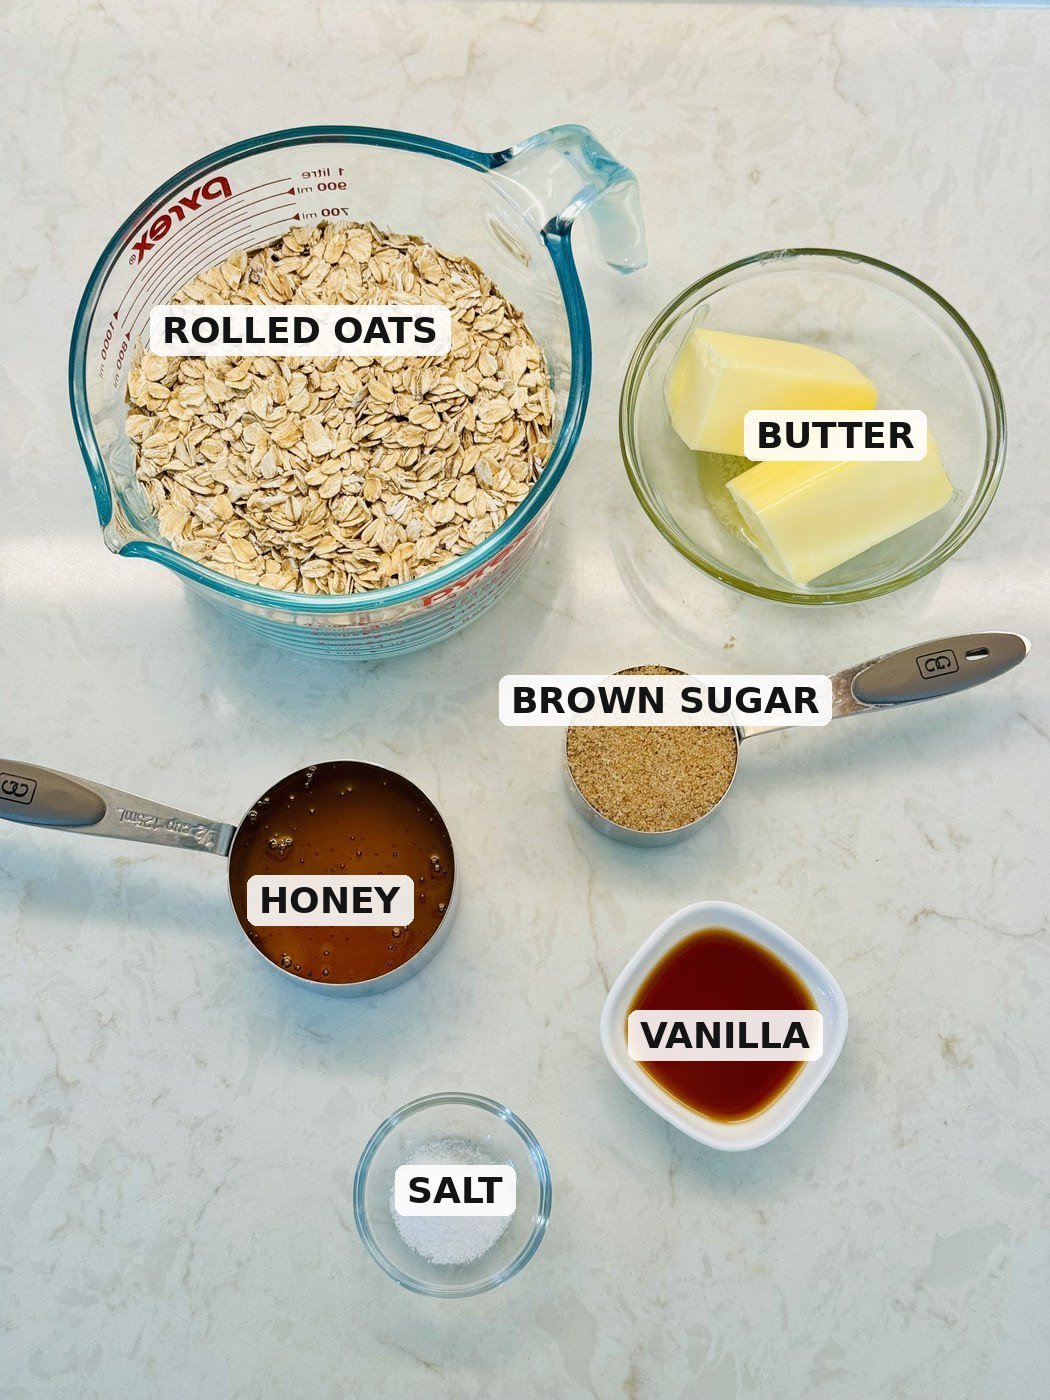
- Old-fashioned rolled oats. These are the ones you want here. They give the bars that hearty, chewy bite and hold their shape when you press them in. (Skip quick oats and steel-cut, and I’ll explain why a little further down.)
- Butter, melted. This carries the flavor and helps everything hold together as it cools. I use salted butter and then go a little easy on the added salt.
- Honey. This is the real binder. As the bars cool, the honey sets and glues the oats into a bar you can actually pick up. Don’t skip it, even if you cut back on the brown sugar.
- Brown sugar. This adds chew and a little caramel warmth. If you like your breakfast on the less-sweet side, you can drop this to 1/4 cup or leave it out entirely and lean on the honey. And if you ever run out, you can make your own brown sugar with two things you already have.
- Salt and a splash of vanilla. Just enough to wake everything up. Sweet things fall flat without a little salt behind them.
The fun part: four flavors from one batch
Here’s where you get variety without making four separate recipes. You mix the plain base, divide it into bowls, and stir a different add-in into each. I usually reach for these four because they cover a nice range, one cozy, one for the chocolate lovers (me!), one that feels a touch fancy, and one for when it turns cool out:
- Cinnamon-raisin: ground cinnamon and raisins. Warm and old-fashioned, like a bowl of oatmeal you can hold.
- Chocolate chip: mini chocolate chips. This is the one that disappears first around here.
- Cherry-almond: dried cherries and sliced almonds. Sweet-tart, a little chewy, a little crunchy.
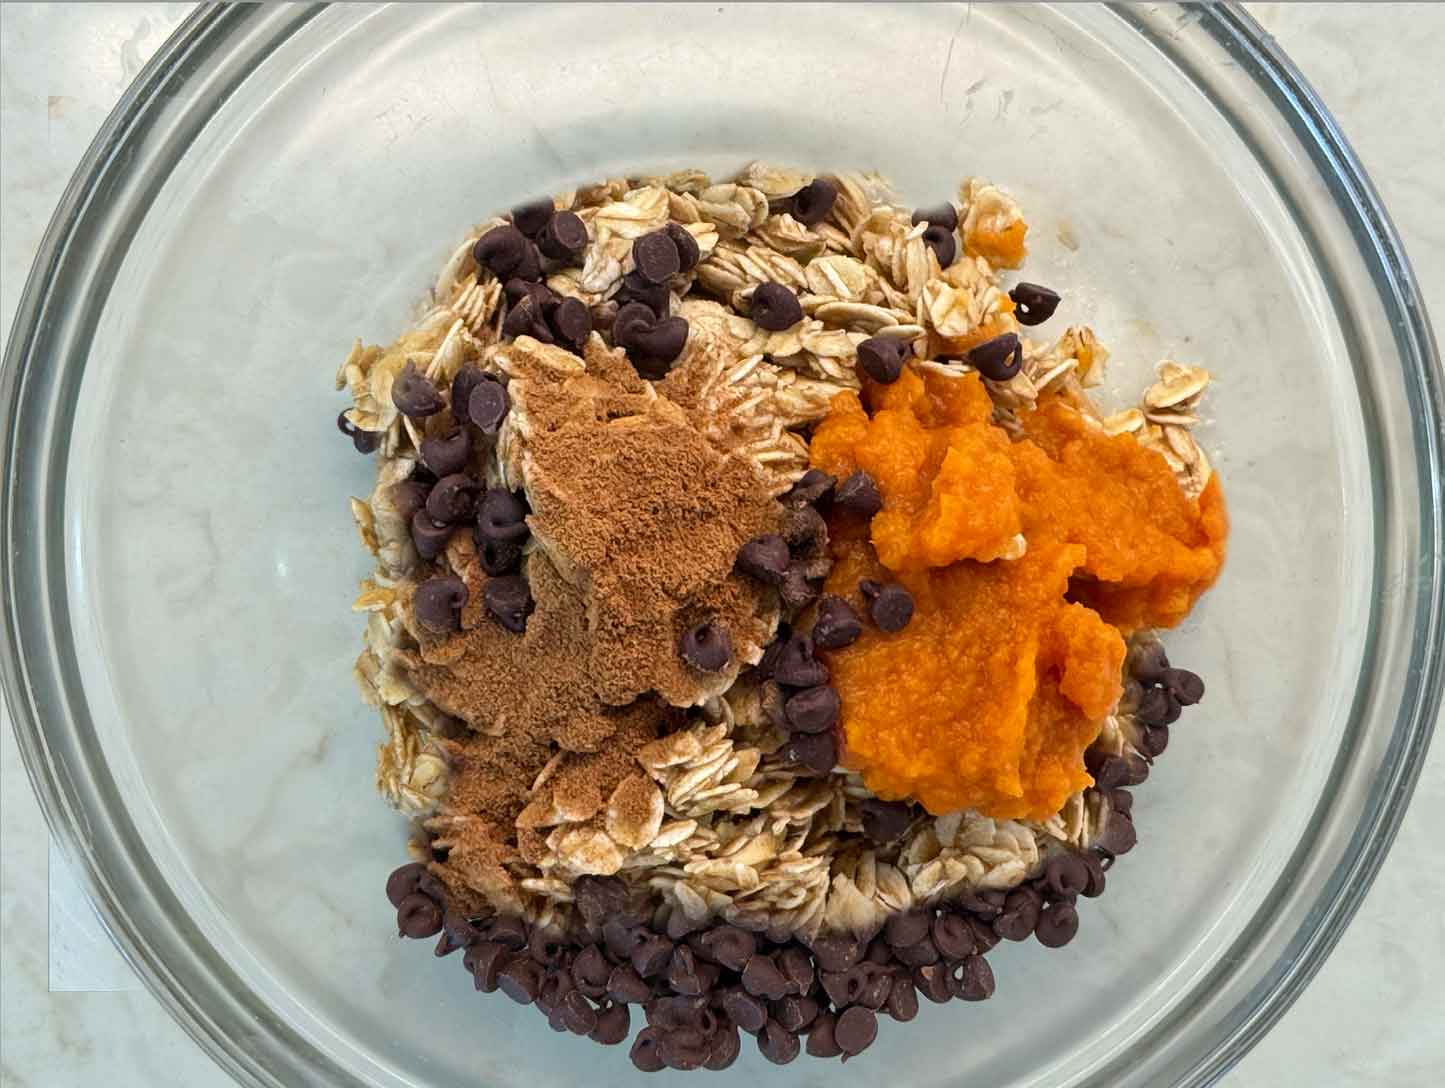
- Pumpkin chocolate: a spoonful of pumpkin puree, pumpkin pie spice, and chocolate chips. Soft, cozy, and a little like fall in a bar. The pumpkin adds moisture, so just give this batch a firmer press so it still sets up.
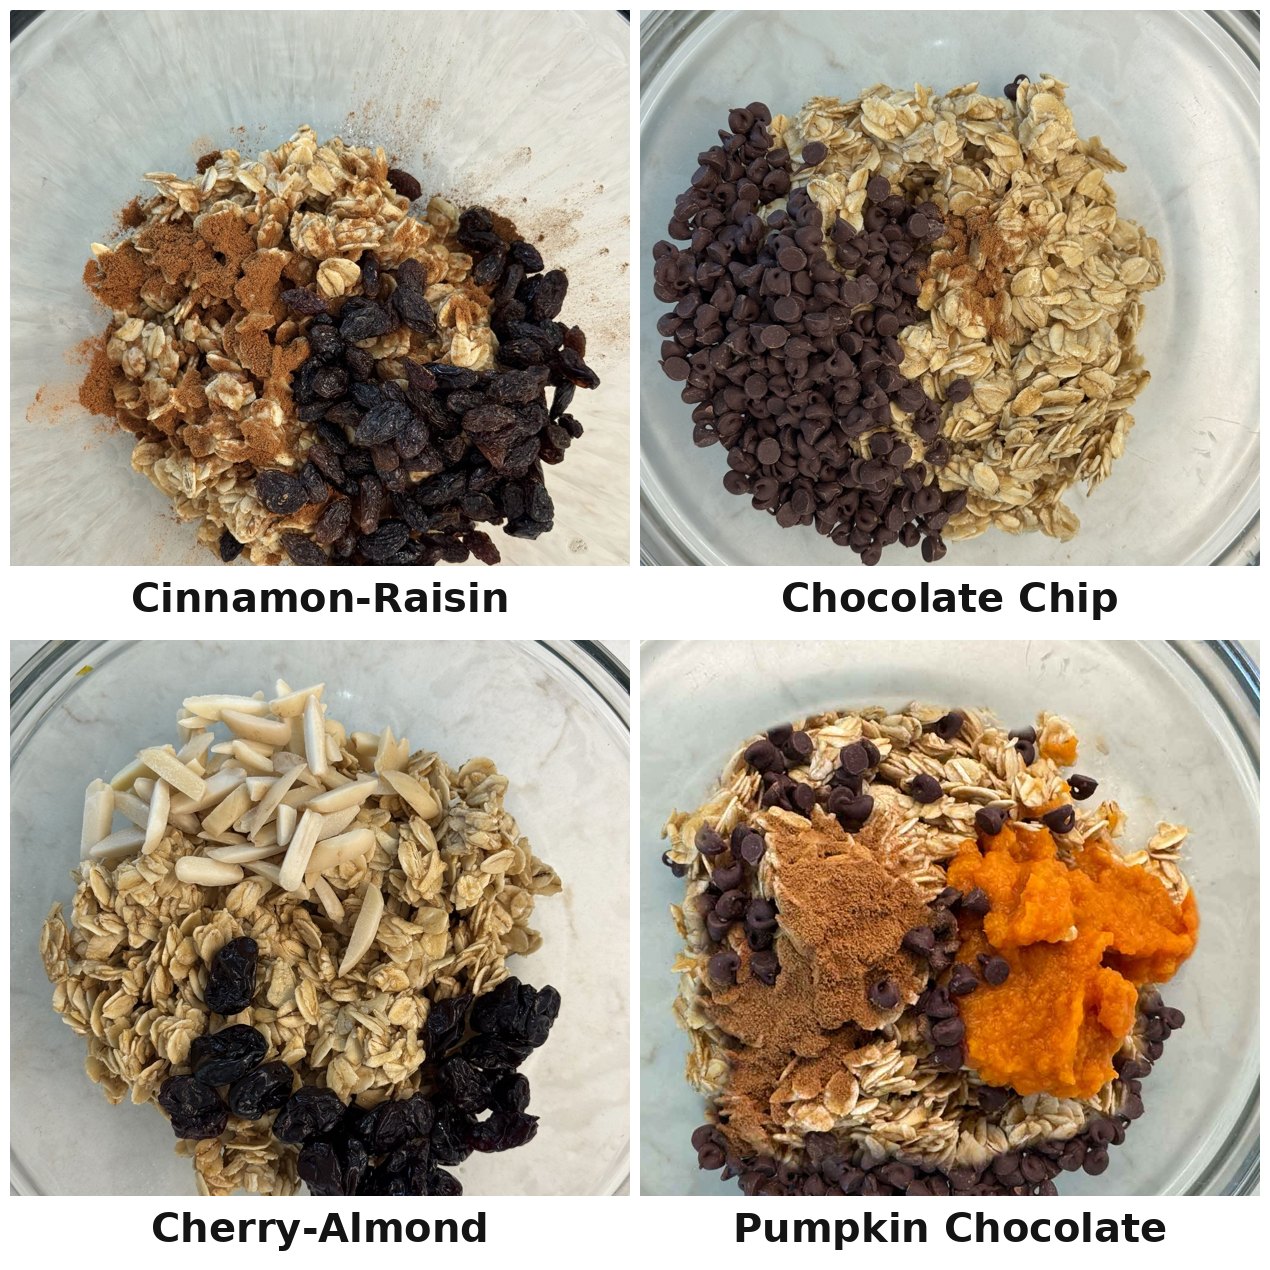
And truly, whatever works for you. Chopped dates and walnuts, dried cranberries, a spoon of peanut butter, a little shredded coconut… the plain base is a blank canvas, so use up what’s in the pantry.
Why Make Them in Mini Loaf Pans?
A mini loaf pan is the little trick that makes these feel finished instead of homemade-messy. When you press the oat mixture into each cavity, every bar comes out the exact same size and shape, with clean edges and a nice thickness. No cutting a big pan with a knife and ending up with one giant corner piece and a pile of crumbs.
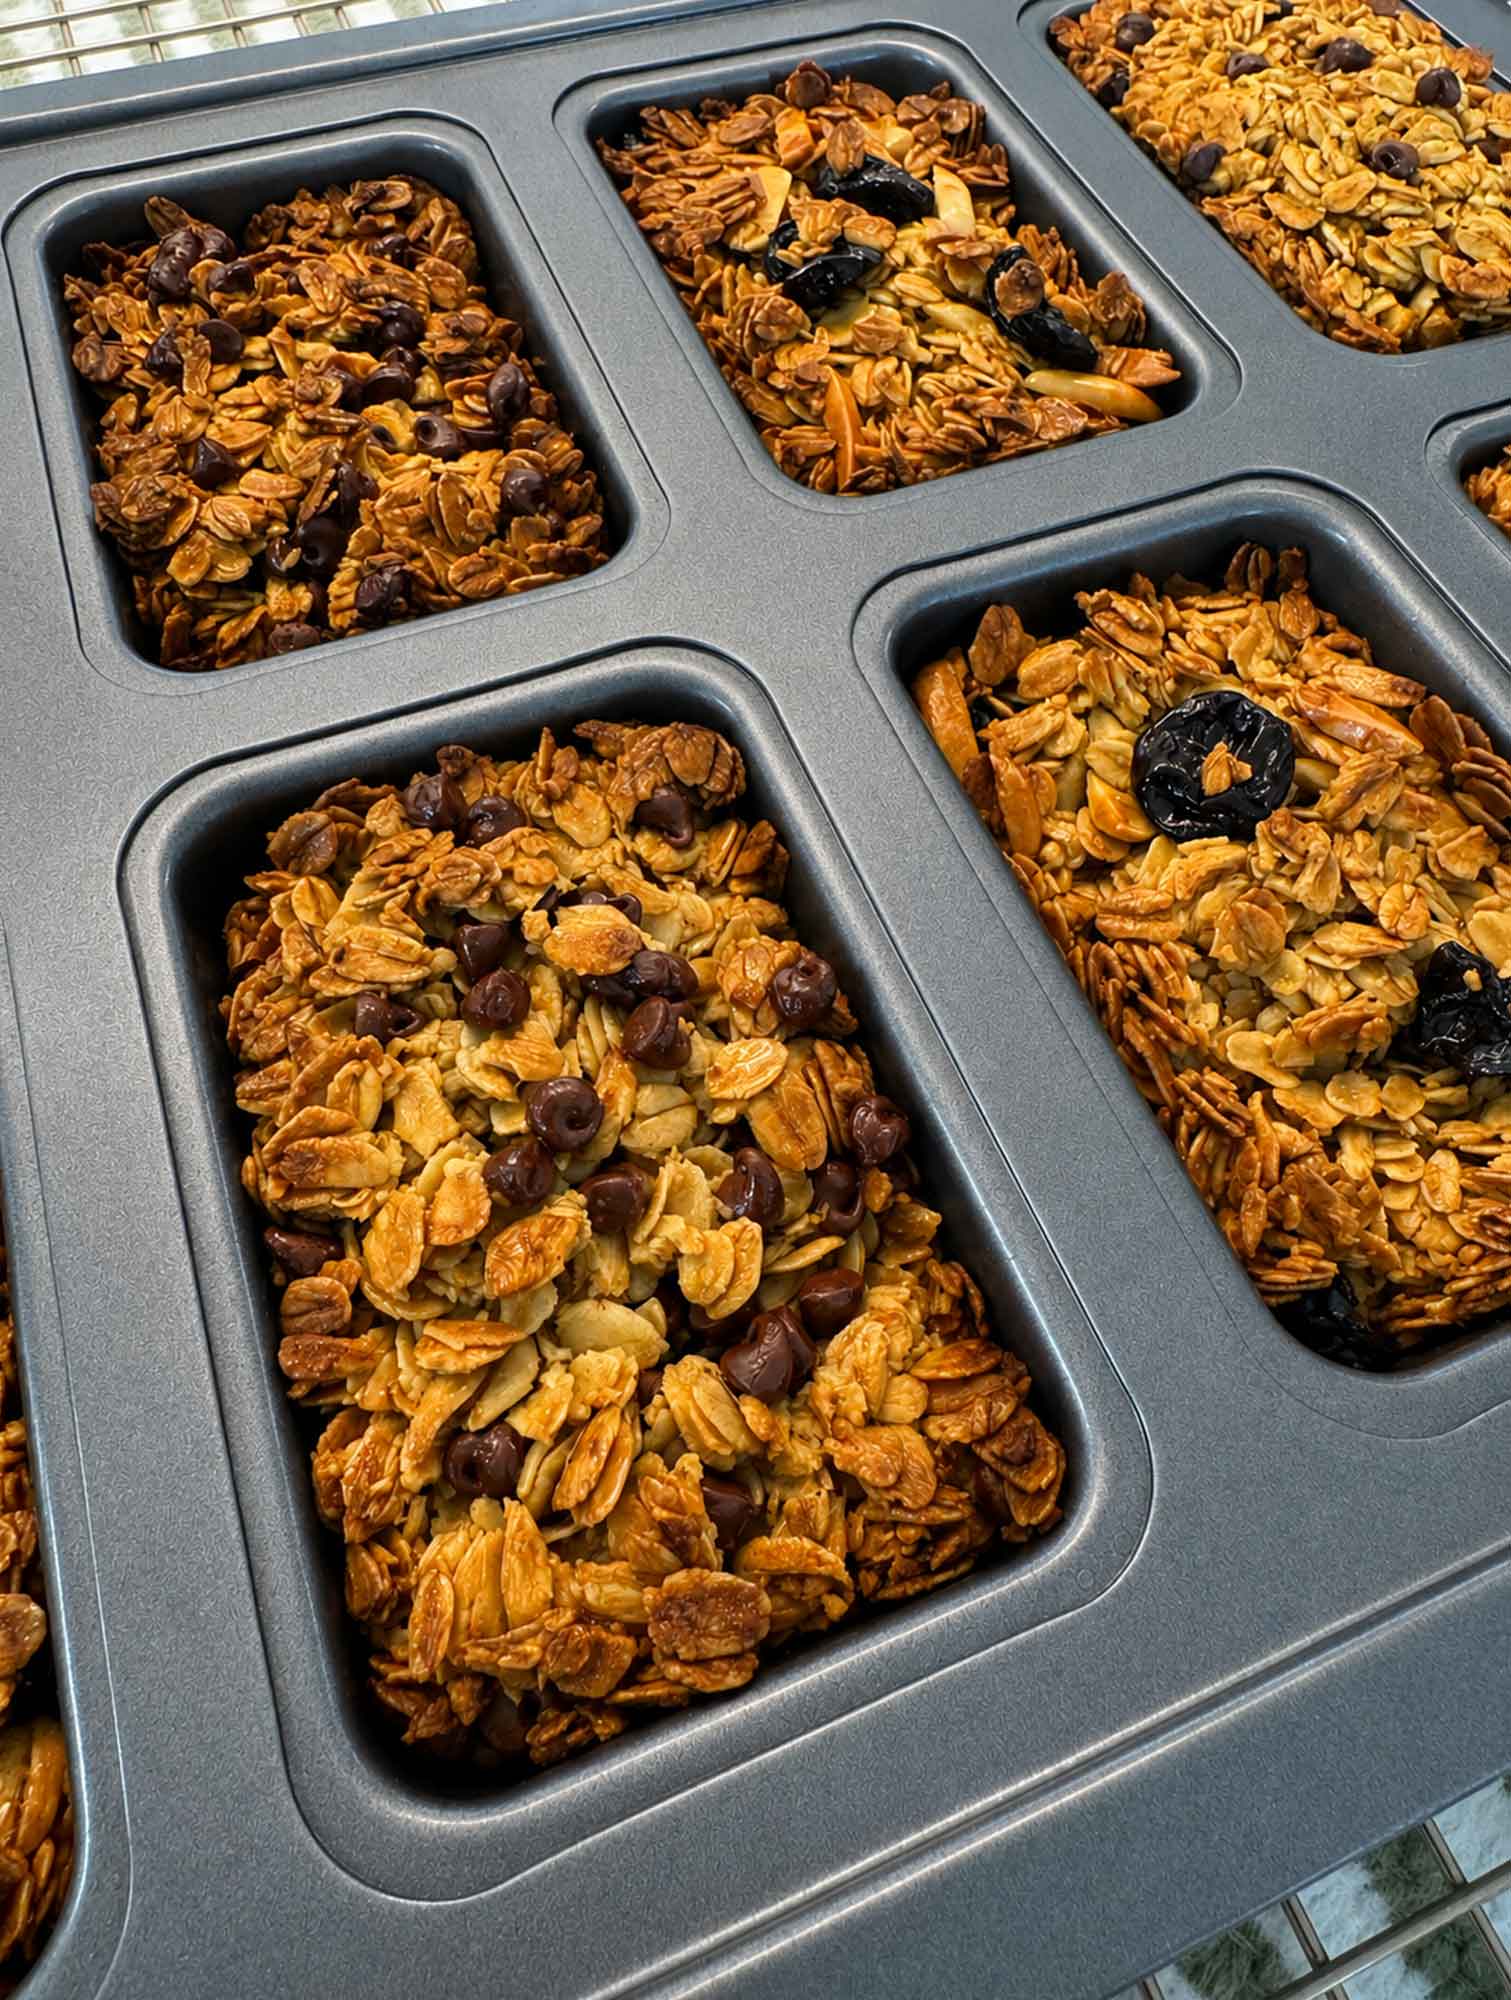
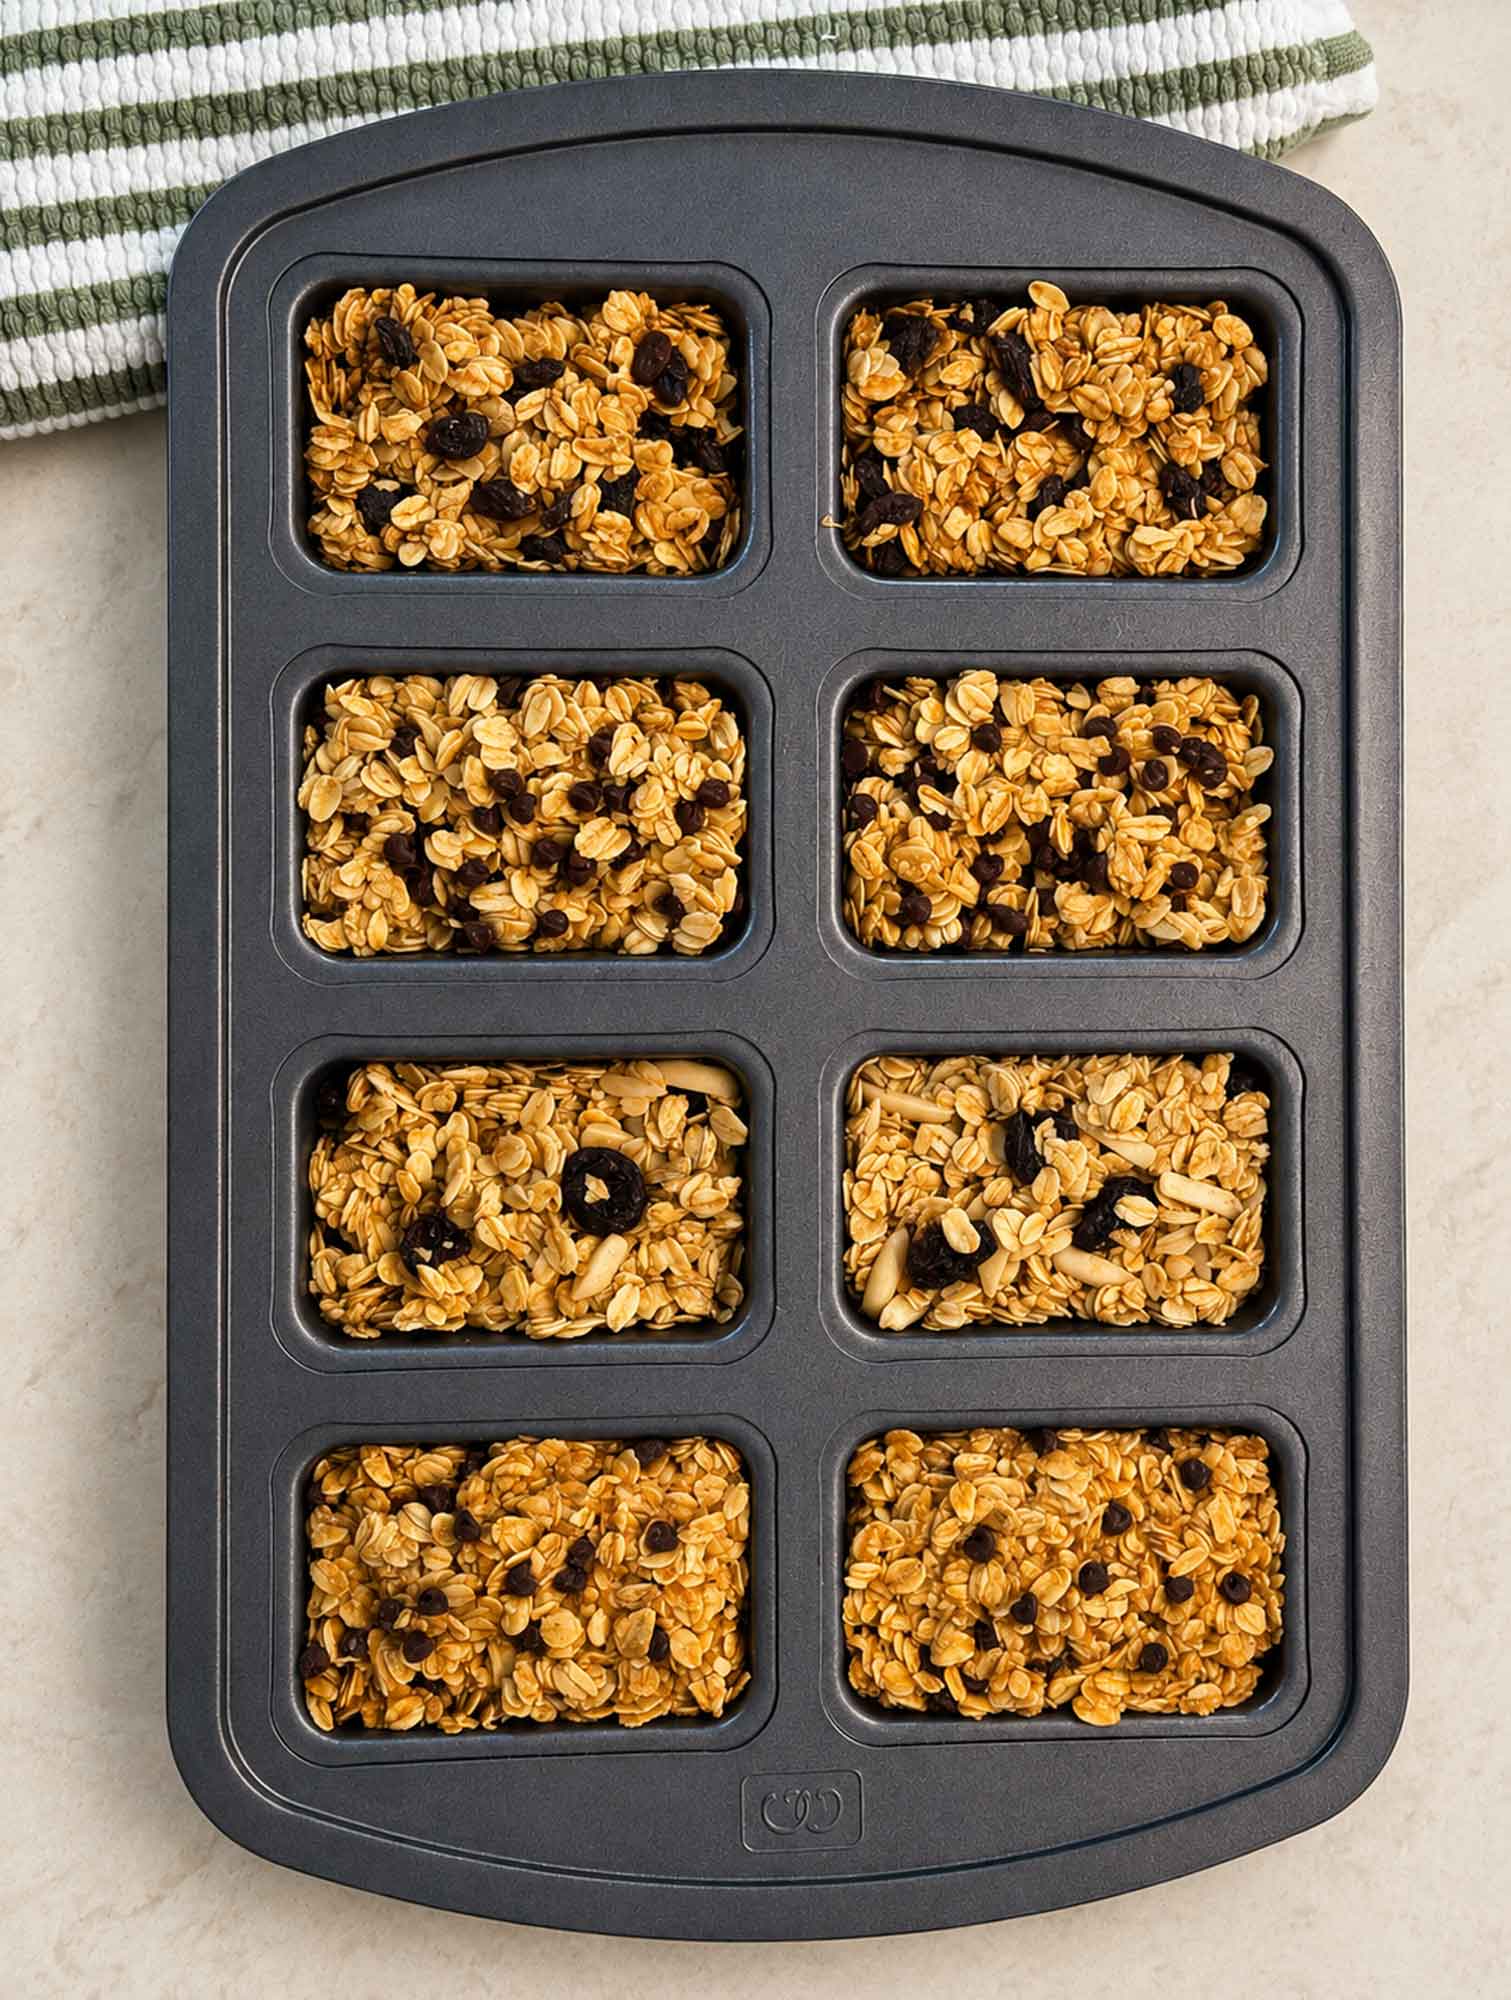
It also makes the split-batch idea so easy. Fill a couple of cavities with each flavor, and you can see at a glance which is which. This helps because you’re not guessing at breakfast when you’re half awake. If you don’t have mini loaf pans, don’t worry. A regular muffin tin works too, and I’ll walk you through that below.
How to Make Oatmeal Breakfast Bars
Step 1: Mix the plain base
Melt your butter, then stir it together with the honey, brown sugar, salt, and vanilla until it looks glossy and smooth. Add the rolled oats and stir until every oat is coated. The mixture should look damp and hold together when you squeeze a little in your hand. If it feels dry and loose, add another tablespoon of honey. Be careful not to add too much, though, or the bars turn sticky instead of set.
Step 2: Split and flavor
Divide the base evenly into a bowl for each flavor you’re making. Stir the add-ins into each one. A quick tip for the chocolate chip batch: let the mixture cool for a couple of minutes first so the chips hold their shape instead of melting into streaks. Totally normal if a few melt anyway… they still taste great. For the pumpkin chocolate batch, stir in the pumpkin puree and spice, then the chips, and know it’ll look wetter than the others. That’s expected, and we’ll handle it with a firmer press.
Step 3: Press into the pans
Grease your mini loaf pans well or use liners, then spoon the mixture in and press it down firmly. And I mean firmly, with the back of a spoon or your fingers. This is the step that decides whether your bars hold together, because packing the oats tight is what lets the honey set them into a solid bar. Loosely spooned oats crumble. Well-pressed oats slice clean.
Step 4: Bake, then cool completely (this is the important part)
Bake at 350°F for about 22 minutes, until the edges are golden. All four flavors bake in the same time, pumpkin included. They’ll still feel a little soft in the center when they come out, and that’s exactly what you want.
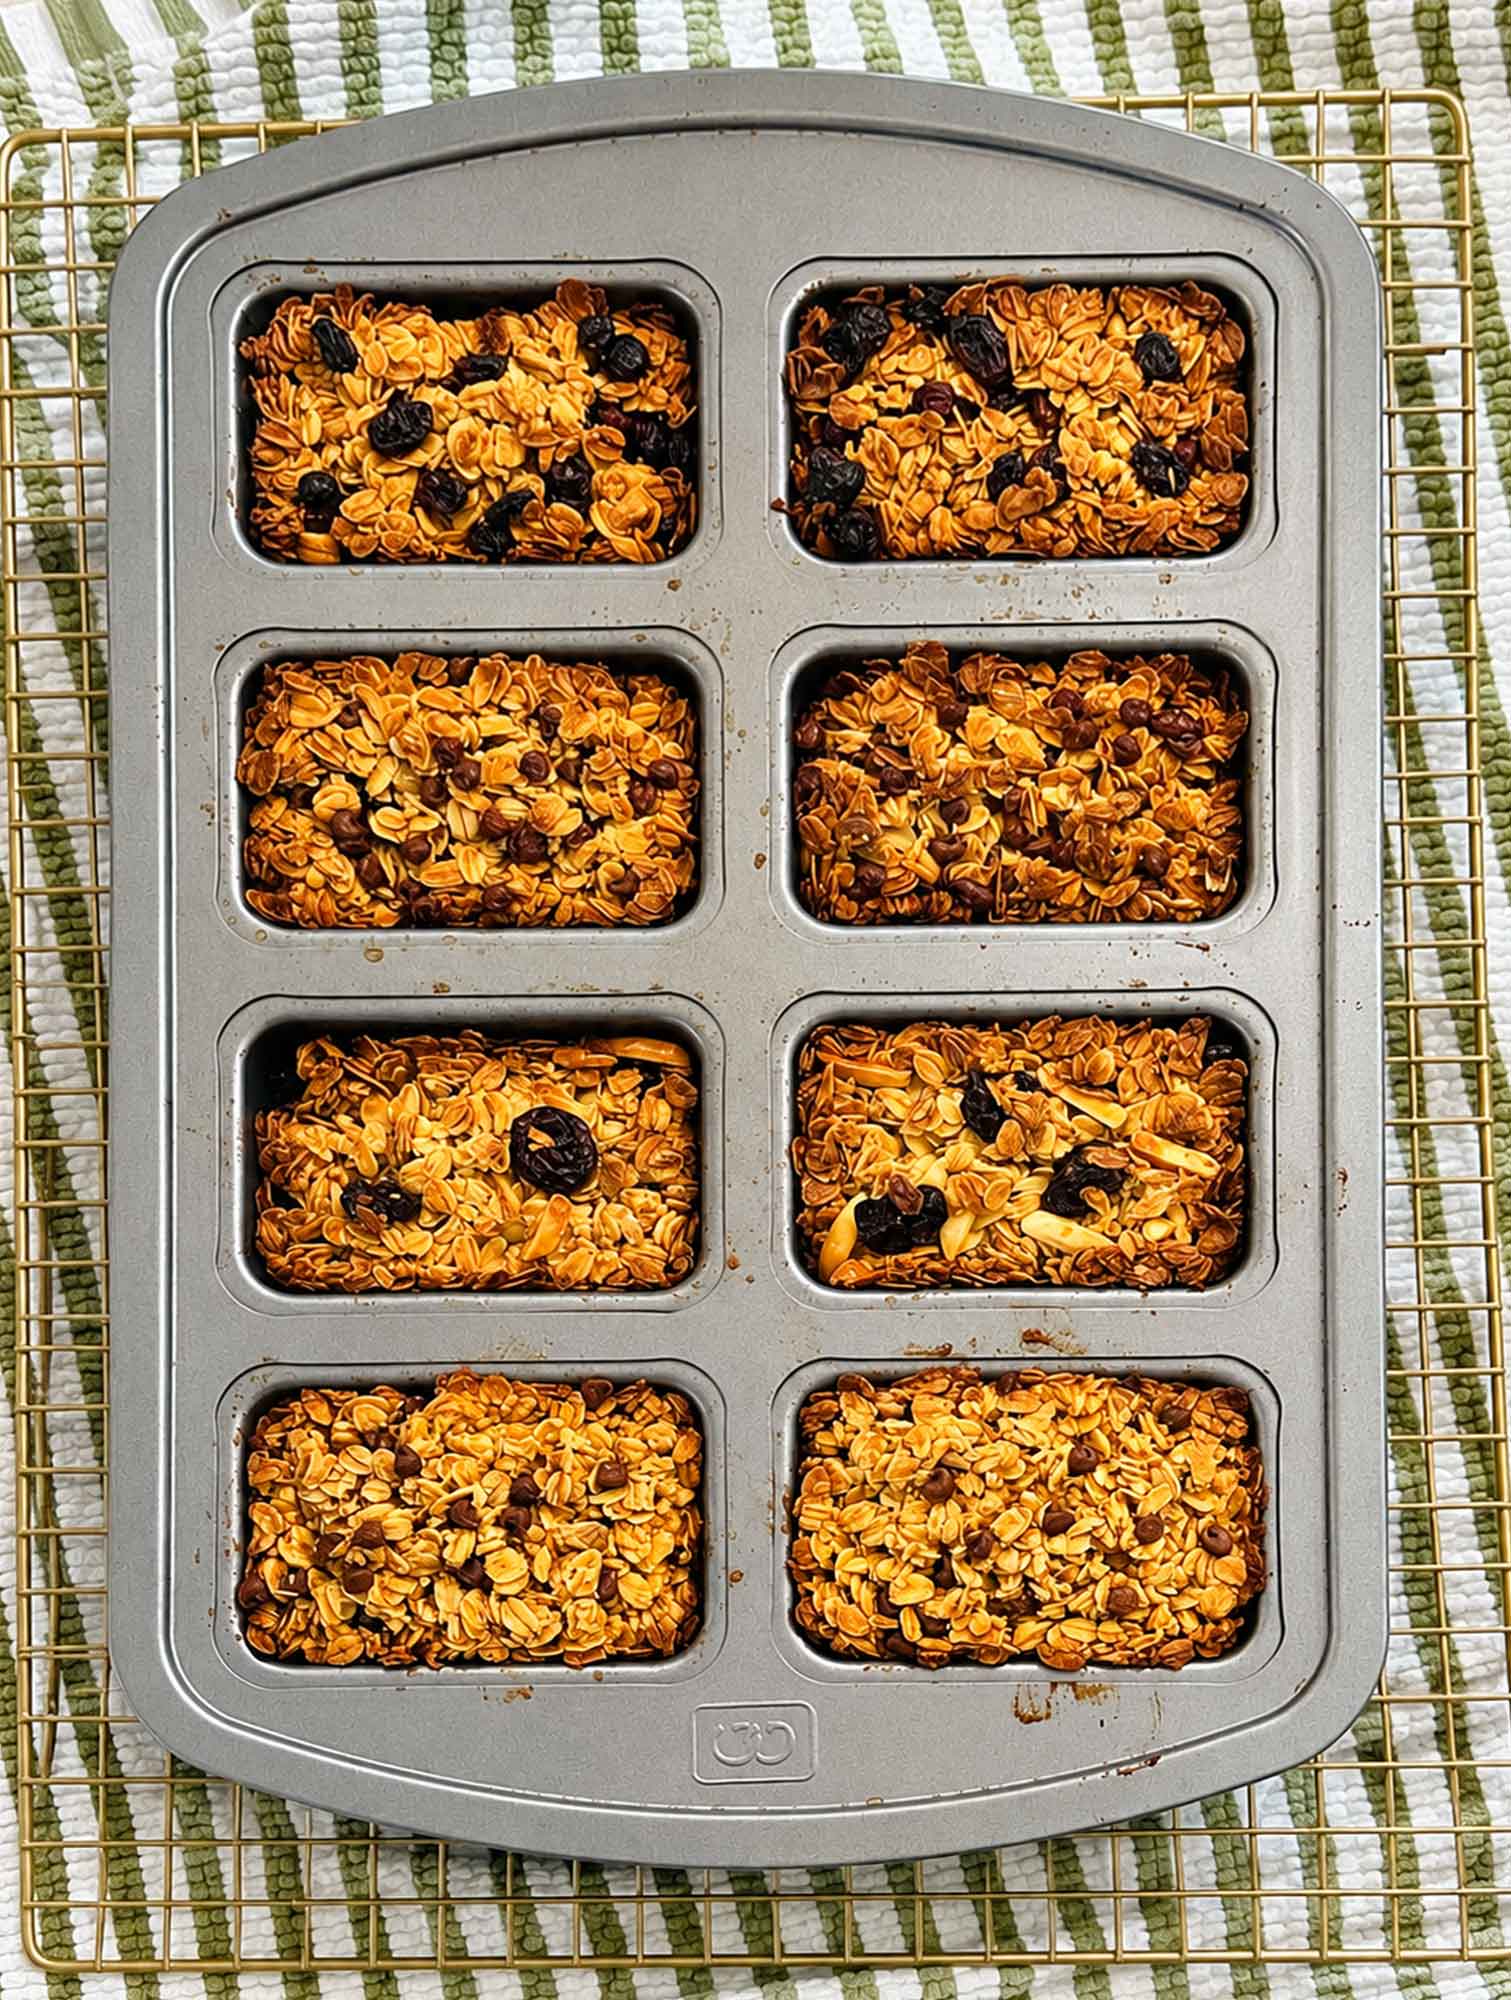
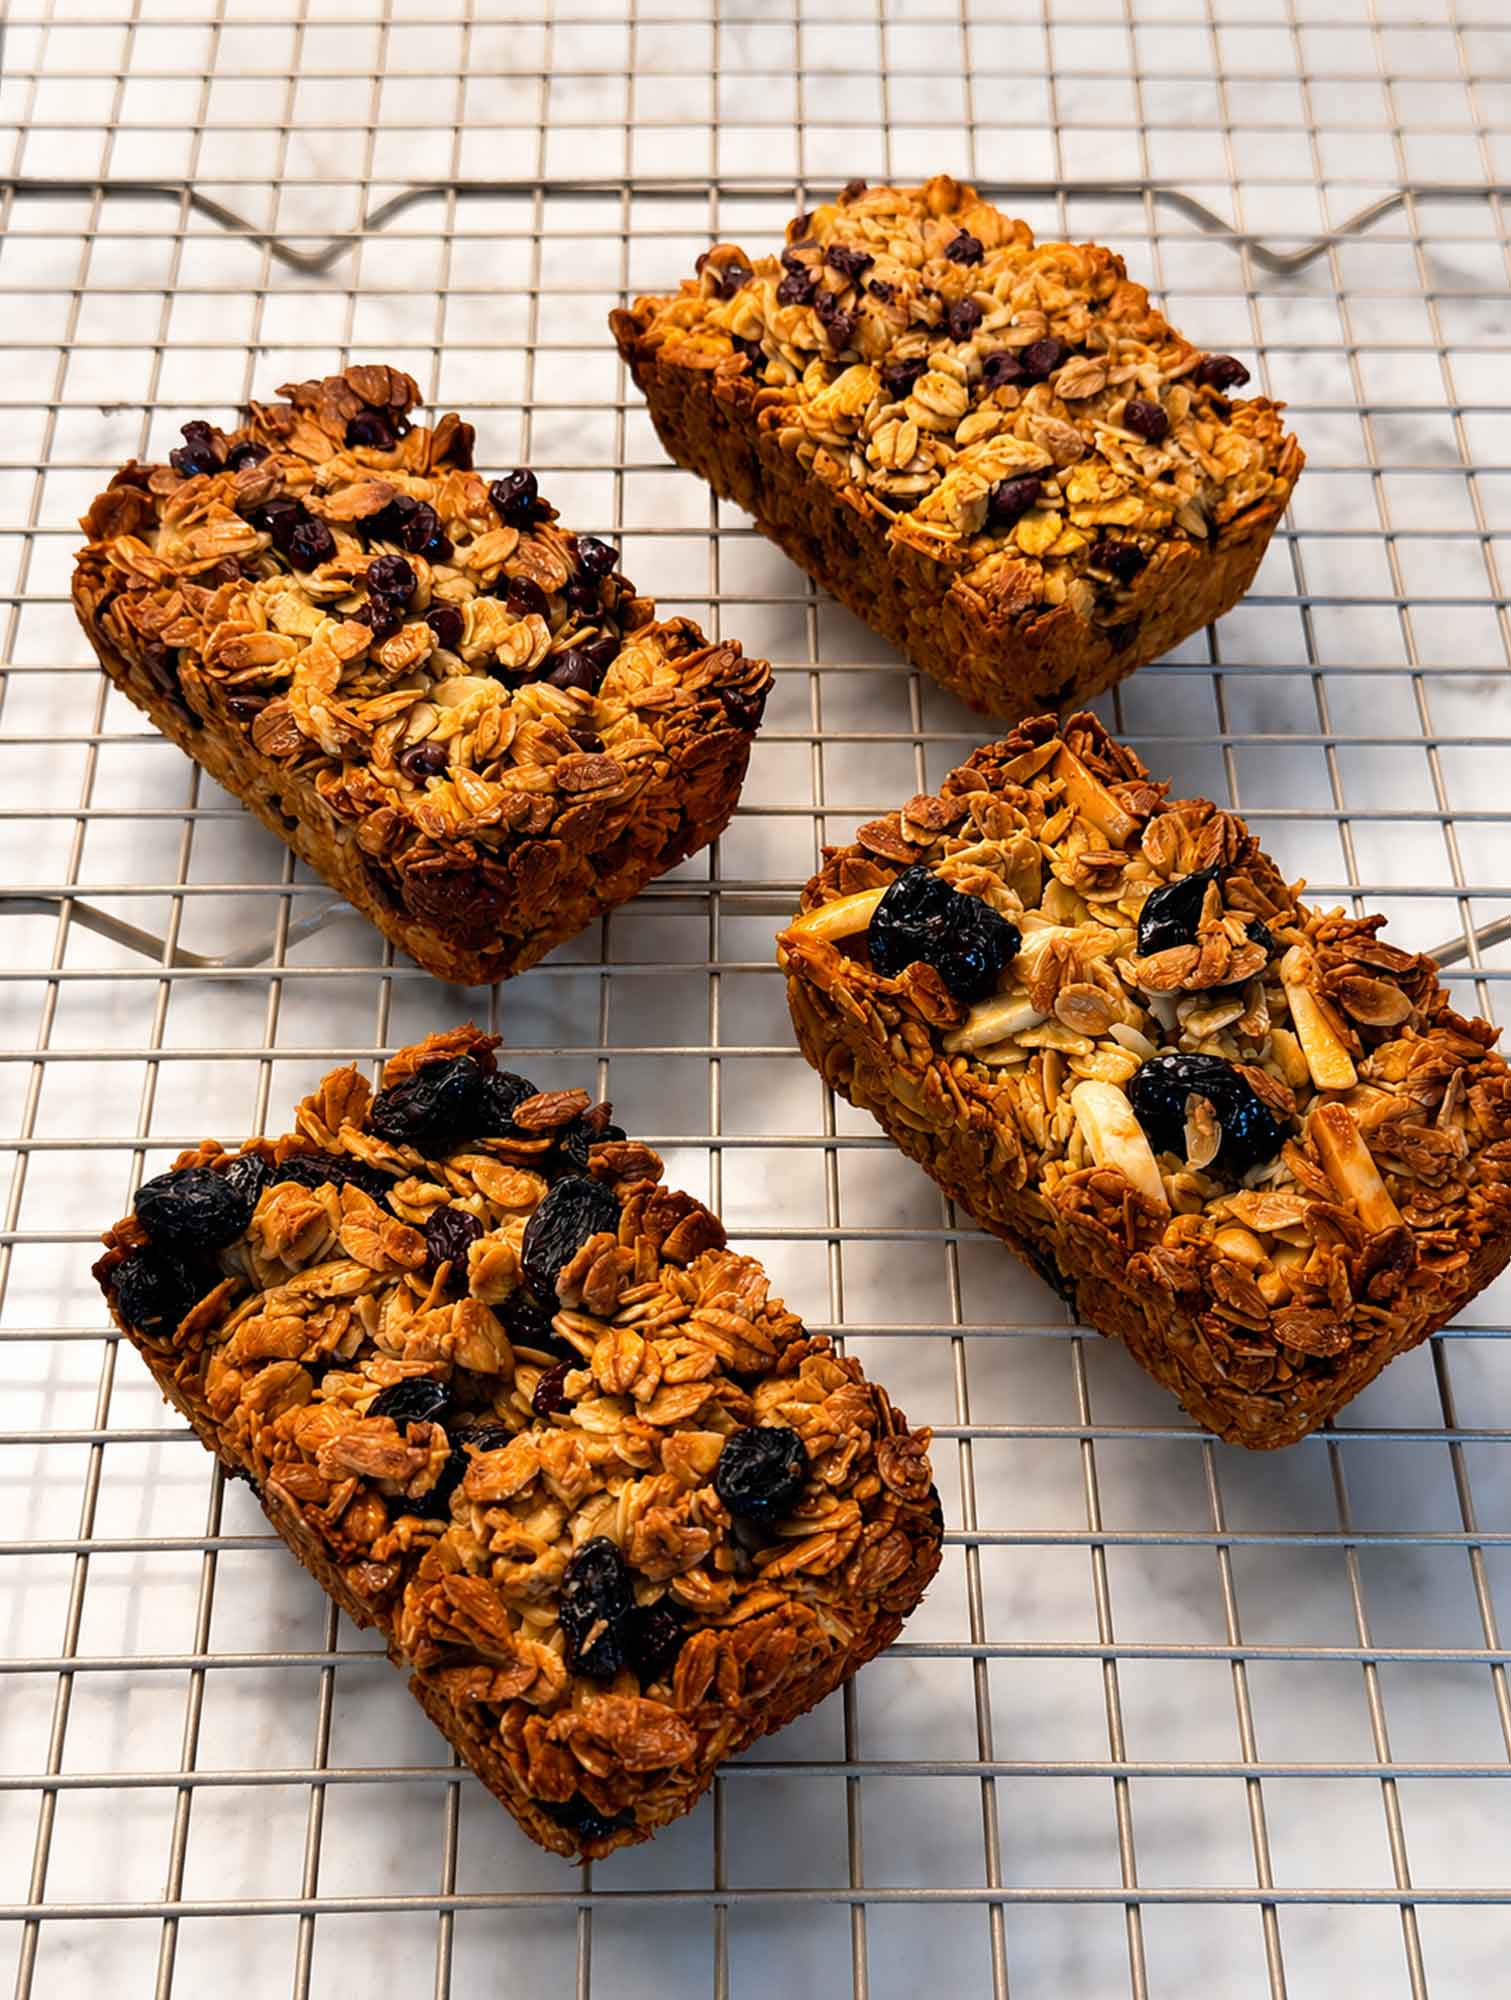
Now the step that truly makes or breaks these: let the bars cool completely in the pans, a full hour, before you touch them. I can’t stress this enough. The bars are crumbly and fragile while they’re warm, and the honey needs that hour to set and glue everything into a solid bar. This is the number one reason oat bars fall apart, so please don’t rush it. Once they’re fully cooled, just flip the pan over and give the bottom a tap. The bars drop right out and hold together beautifully.
Why Aren’t My Bars Holding Together?
If your bars crumble, it’s almost always one of three things, and all three are easy fixes. First, they weren’t pressed hard enough, so pack the next batch tighter. Second, they didn’t cool all the way, so give them more time in the pan. Third, the mix was too dry, so add a spoonful more honey next time. Want them extra sturdy for a heartier, hold-in-your-hand breakfast? Stir one beaten egg into the base before you press it in. This helps because the egg sets as it bakes and locks everything together like glue.
How to Store and Reheat Oatmeal Breakfast Bars
Once they’re completely cool, store the bars in an airtight container at room temperature for up to a week. Slip a square of parchment between layers so they don’t stick to each other. They’re built to eat cold or at room temperature, straight from the container, which is the whole grab-and-go idea.
They freeze beautifully too. Wrap each bar individually, tuck them into a freezer bag, and they’ll keep for about three months. Pull one out the night before, or warm it for 15 to 20 seconds in the microwave if you like it a little soft and the chocolate chips melty. This makes them wonderful for stashing ahead when you know a busy stretch is coming.
Can I Use Quick Oats or Steel-Cut Oats?
Stick with old-fashioned rolled oats if you can. Quick oats will work in a pinch, but the bars come out softer and a little pasty because those thin oats absorb the honey and butter too fast. Steel-cut oats don’t work here at all, since they stay hard and won’t bind. If rolled oats are all you buy, you’re already set.
Serving Ideas
These are made to eat out of hand, but they’re lovely alongside a cup of coffee, tucked into a lunchbox, or crumbled over yogurt if you want to stretch one bar into a fuller breakfast. On a slow weekend morning, I like one just barely warmed with a smear of peanut butter on top.
Easy Oatmeal Breakfast Bars
Equipment
- 1 mini loaf pan or muffin pan
Ingredients
For the plain base
- 3 cups old-fashioned rolled oats
- 1/2 cup butter (salted and melted)
- 1/2 cup honey
- 1/4 cup brown sugar packed (or leave out for less-sweet bars)
- 1/2 teaspoon salt
- 1 teaspoon vanilla extract
- 1 egg beaten (optional, for extra-sturdy bars)
Flavor add-ins (each amount flavors one portion of the base, about 2 bars)
- Cinnamon-raisin: 1/2 teaspoon ground cinnamon + 3 tablespoons raisins
- Chocolate chip: 3 tablespoons mini chocolate chips (plus a pinch of cinnamon, if you like)
- Cherry-almond: 3 tablespoons dried cherries + 2 tablespoons sliced almonds
- Pumpkin chocolate: 2 tablespoons pumpkin puree + 1/2 teaspoon pumpkin pie spice + 2 tablespoons mini chocolate chips
Instructions
- Preheat the oven to 350°F. Grease your mini loaf pans well or line them.
- In a large bowl, stir together the melted butter, honey, brown sugar, salt, and vanilla (and the beaten egg, if using) until smooth.
- Add the rolled oats and stir until every oat is coated and the mixture holds together when squeezed.
- Divide the base evenly into a bowl for each flavor. Stir a different set of add-ins into each. For the chocolate chip batch, let the mix cool a couple of minutes first so the chips keep their shape.
- Spoon the mixture into the mini loaf pans and press down firmly with the back of a spoon. Press the pumpkin chocolate batch especially firmly, since the pumpkin makes it wetter.
- Bake for about 22 minutes, until the edges are golden (all flavors bake in the same time). The centers will still be slightly soft.
- Let the bars cool completely in the pans, a full hour, before removing. This is the most important step, since it’s what sets the bars. Once fully cooled, flip the pan over and tap the bottom, and the bars drop right out and hold together.
Nutrition
Notes
More Easy Breakfasts to Try
If make-ahead breakfast is your thing, you’ll love my fruity oaty bars, another oatmeal bar you can keep on hand all week (no mini loaf pan or muffin pan needed). For something warm from the oven, my maple oat bread uses a lot of the same pantry staples, and my 4-ingredient oatmeal peanut butter cookies come together just as fast when you want something sweet. And when you’re in the mood for something savory, my crustless quiche and potato, egg, and cheese breakfast casserole are two more easy make-ahead breakfasts worth keeping in the rotation.
Whatever flavors you land on, I hope these make your mornings a little easier and a lot cozier. Happy cooking!
Love,
Jennifer
Tried this recipe?
Tap the stars in the recipe card to leave a quick rating. Your rating helps other home cooks know this recipe works in a real kitchen, not just mine.
And as a thank-you for your feedback, you will receive a free printable copy of my Maker Home Companion Cookbook, featuring my most popular recipes, each one formatted on a SINGLE, easy-to-use page, a perfect kitchen companion for easy meal prep. Click here to learn more about this cookbook and how you can get your copy!

Meet Jennifer
Jennifer cooks and experiments in the kitchen at Maker Farm, where she focuses on simple pantry cooking, homemade staples, and practical recipes that make everyday meals easier. Over the years she has tested many ways to make cooking simpler and more dependable, and shares the methods that work best in her own kitchen, occasionally showing them on her Heart to Home at Maker Farm vlog.