

Everyone needs one pasta dinner that comes together from a couple of cans and a box of macaroni, and this cheesy, creamy tuna pasta recipe is that one. It cooks in a single pot in about 30 minutes, with no draining and no canned soup, and it comes out cheesy and creamy every single time. This is one of our favorite comfort food meals, because it’s like a tuna noodle casserole you can make on the stovetop.
TUNA PASTA At A Glance
Prep
10 min
COOK
20 min
Total
30 min
Serves
4
Pan
10″ pot or Dutch oven with fitted lid
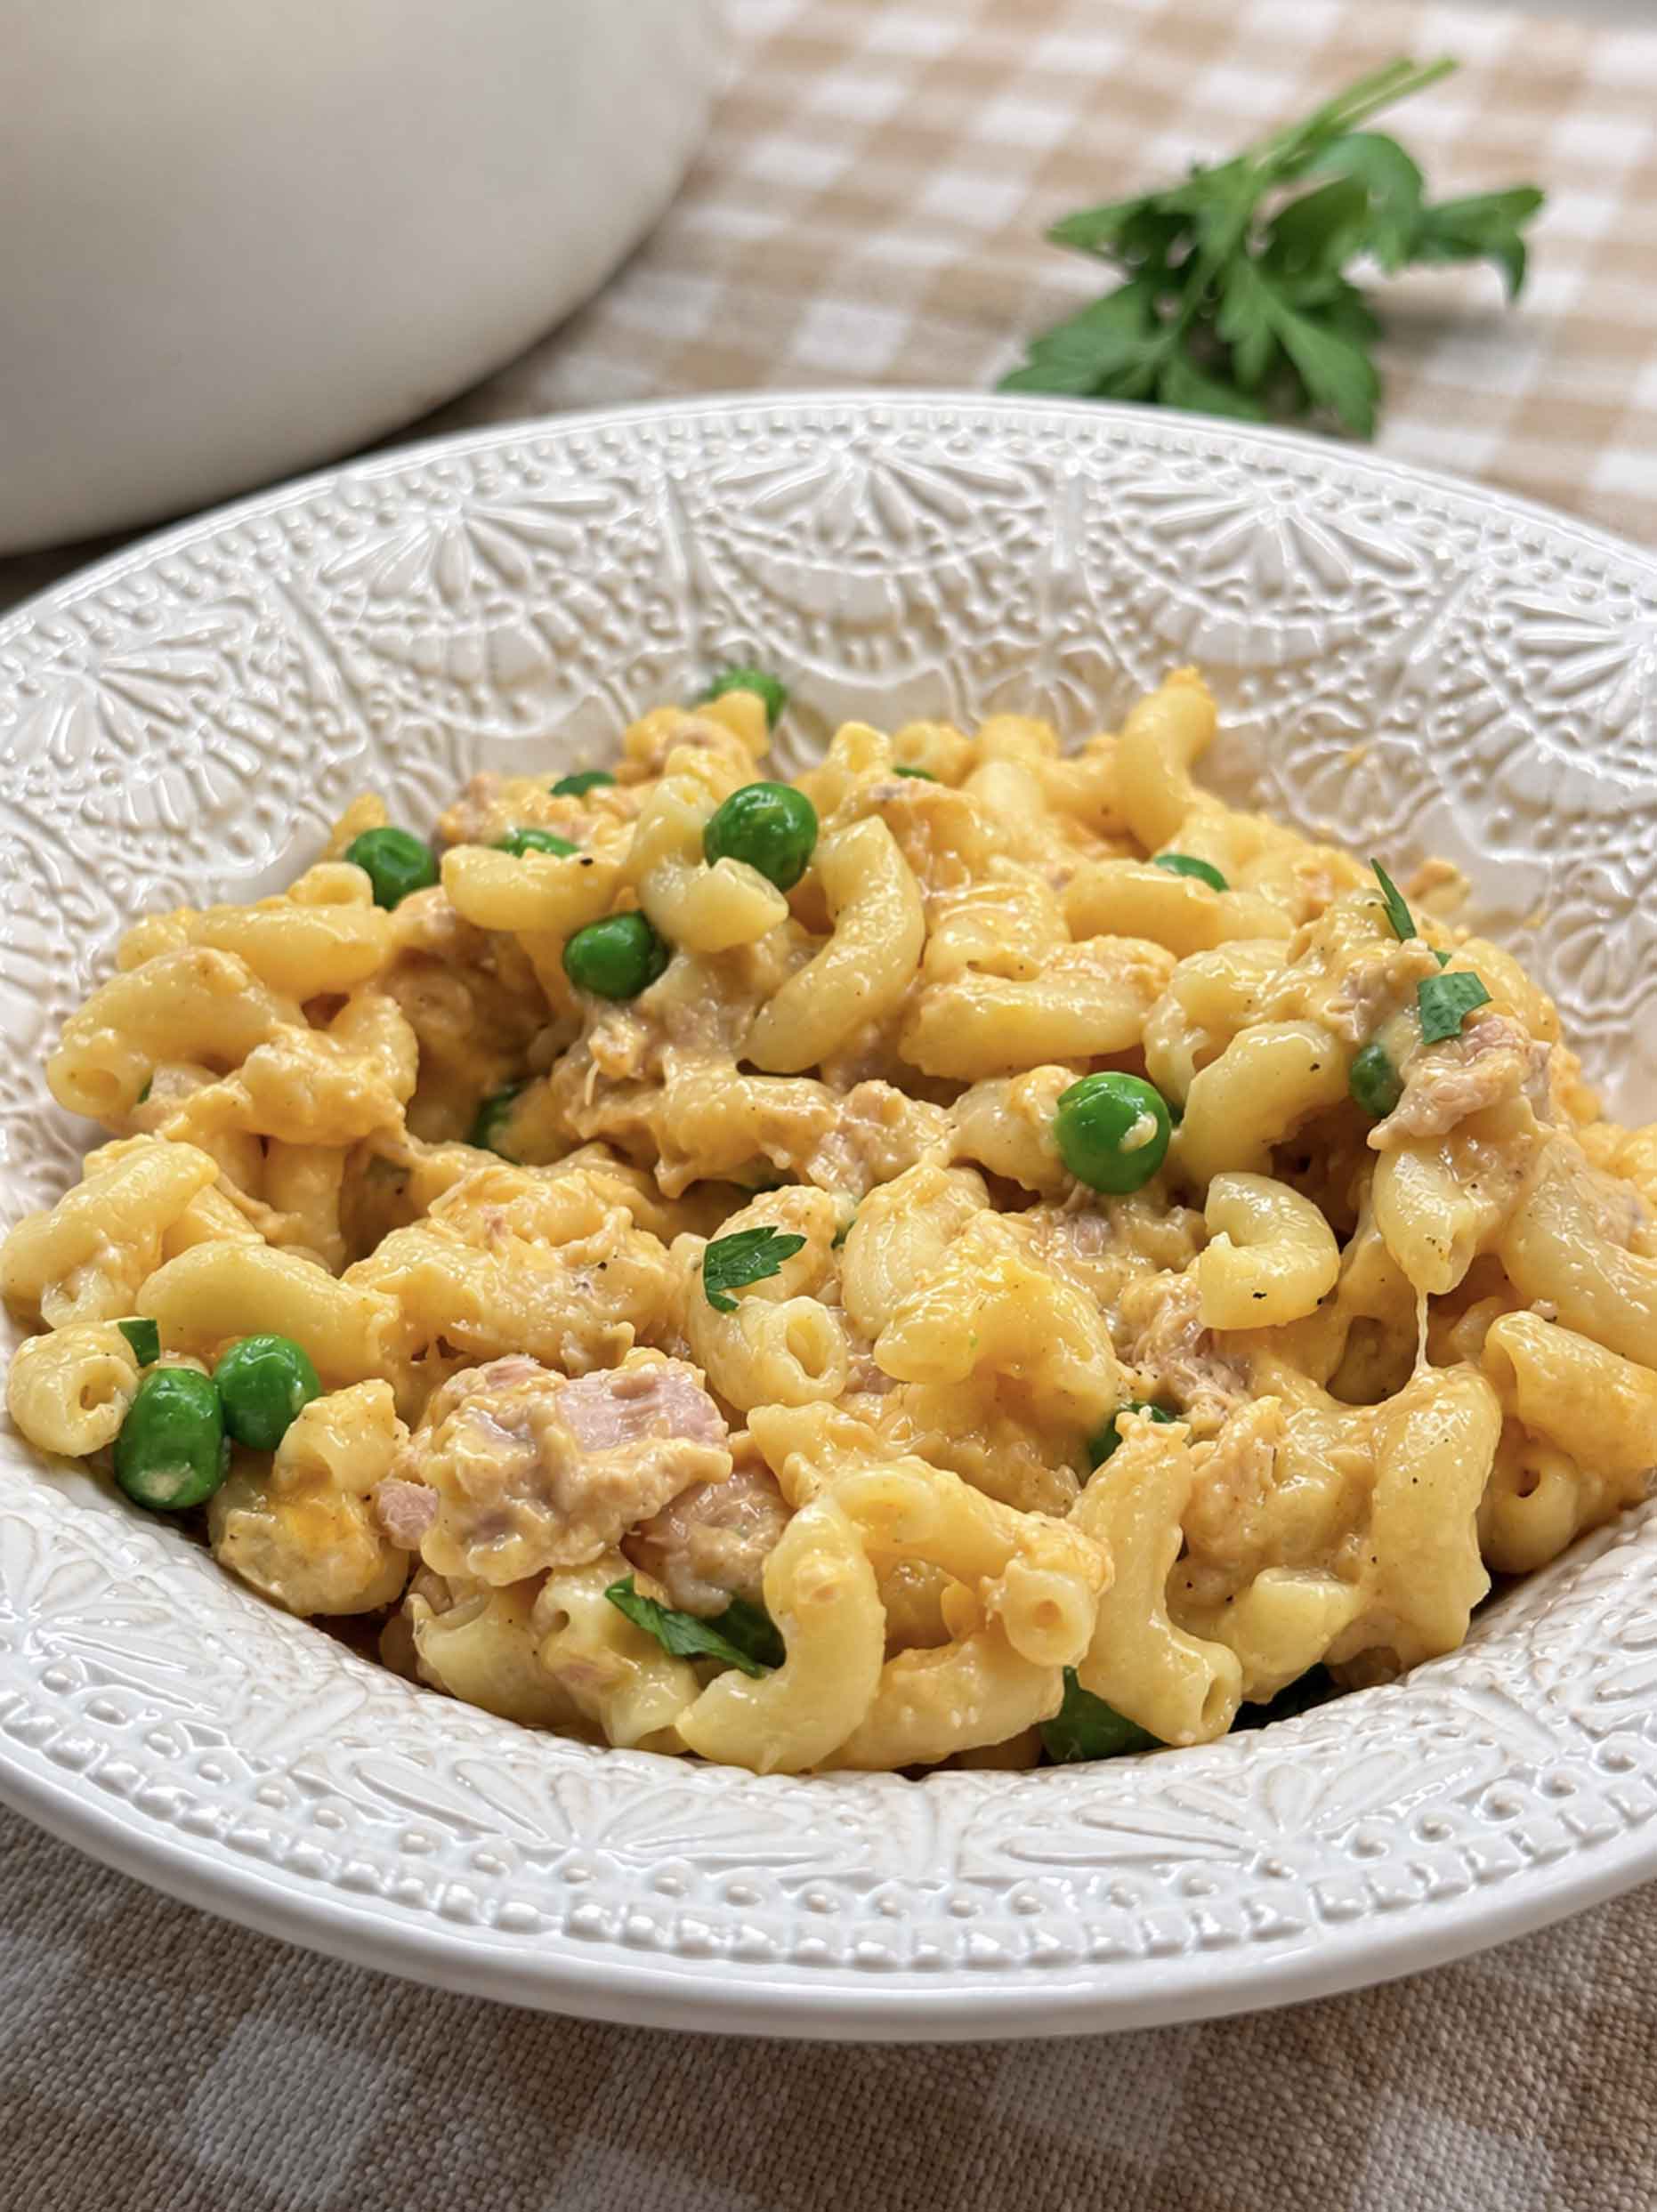
Why I Love This Tuna Pasta So Much

I think I could eat tuna noodle casserole several times a week. And while I already have an Easy Tuna Noodle Casserole recipe we love here on the farm, that one is the baked kind with a crumb topping and a cream sauce you make first. It’s easy, but sometimes I need even easier. And THIS recipe is the other faster, easier version. No oven, no second pot of boiling water, and nothing to drain.
This whole creamy tuna pasta recipe banks on the fact that dry pasta can cook right in the milk and water instead of in a big pot of salted water you pour down the sink. All that starch the pasta gives off stays in the pot with everything else, and starch then thickens the sauce instead of needing a roux. So by the time the pasta is tender you already have a creamy sauce, and the cheddar just completes it.
This pasta is just so easy and simple, yet so creamy and comforting … just what is needed on a chilly evening. I made this again last night and we ate it while we played a game together. I looked up to ask Greg how he liked the pasta, and his bowl was cleaned … that tells me everything.
Let’s dig in!

Tips and Notes Before You Start
- Use a heavy pot, not a thin one. Milk scorches fast on a thin bottom. I recommend a 10″ wide Dutch oven because it spreads the heat so there’s no scorching. If you don’t have a Dutch oven, just make sure you’re using another heavy pot.
- Bagged shredded cheddar is fine here. Grating a block melts a little smoother, yes, but it’s not that big of a deal in a quick, easy dish like this. Use whichever one you actually have.
- Mustard powder makes it better. It sharpens the cheddar and keeps the whole thing from tasting flat. It will not taste like mustard, I promise.
- It thickens as it sits, which is normal. A splash of warm milk loosens it right back up.

Want to Save This Recipe?
Enter your email below and we’ll send it straight to your inbox! Plus you’ll get new recipes each week!
What You’ll Need to Make Creamy Tuna Pasta
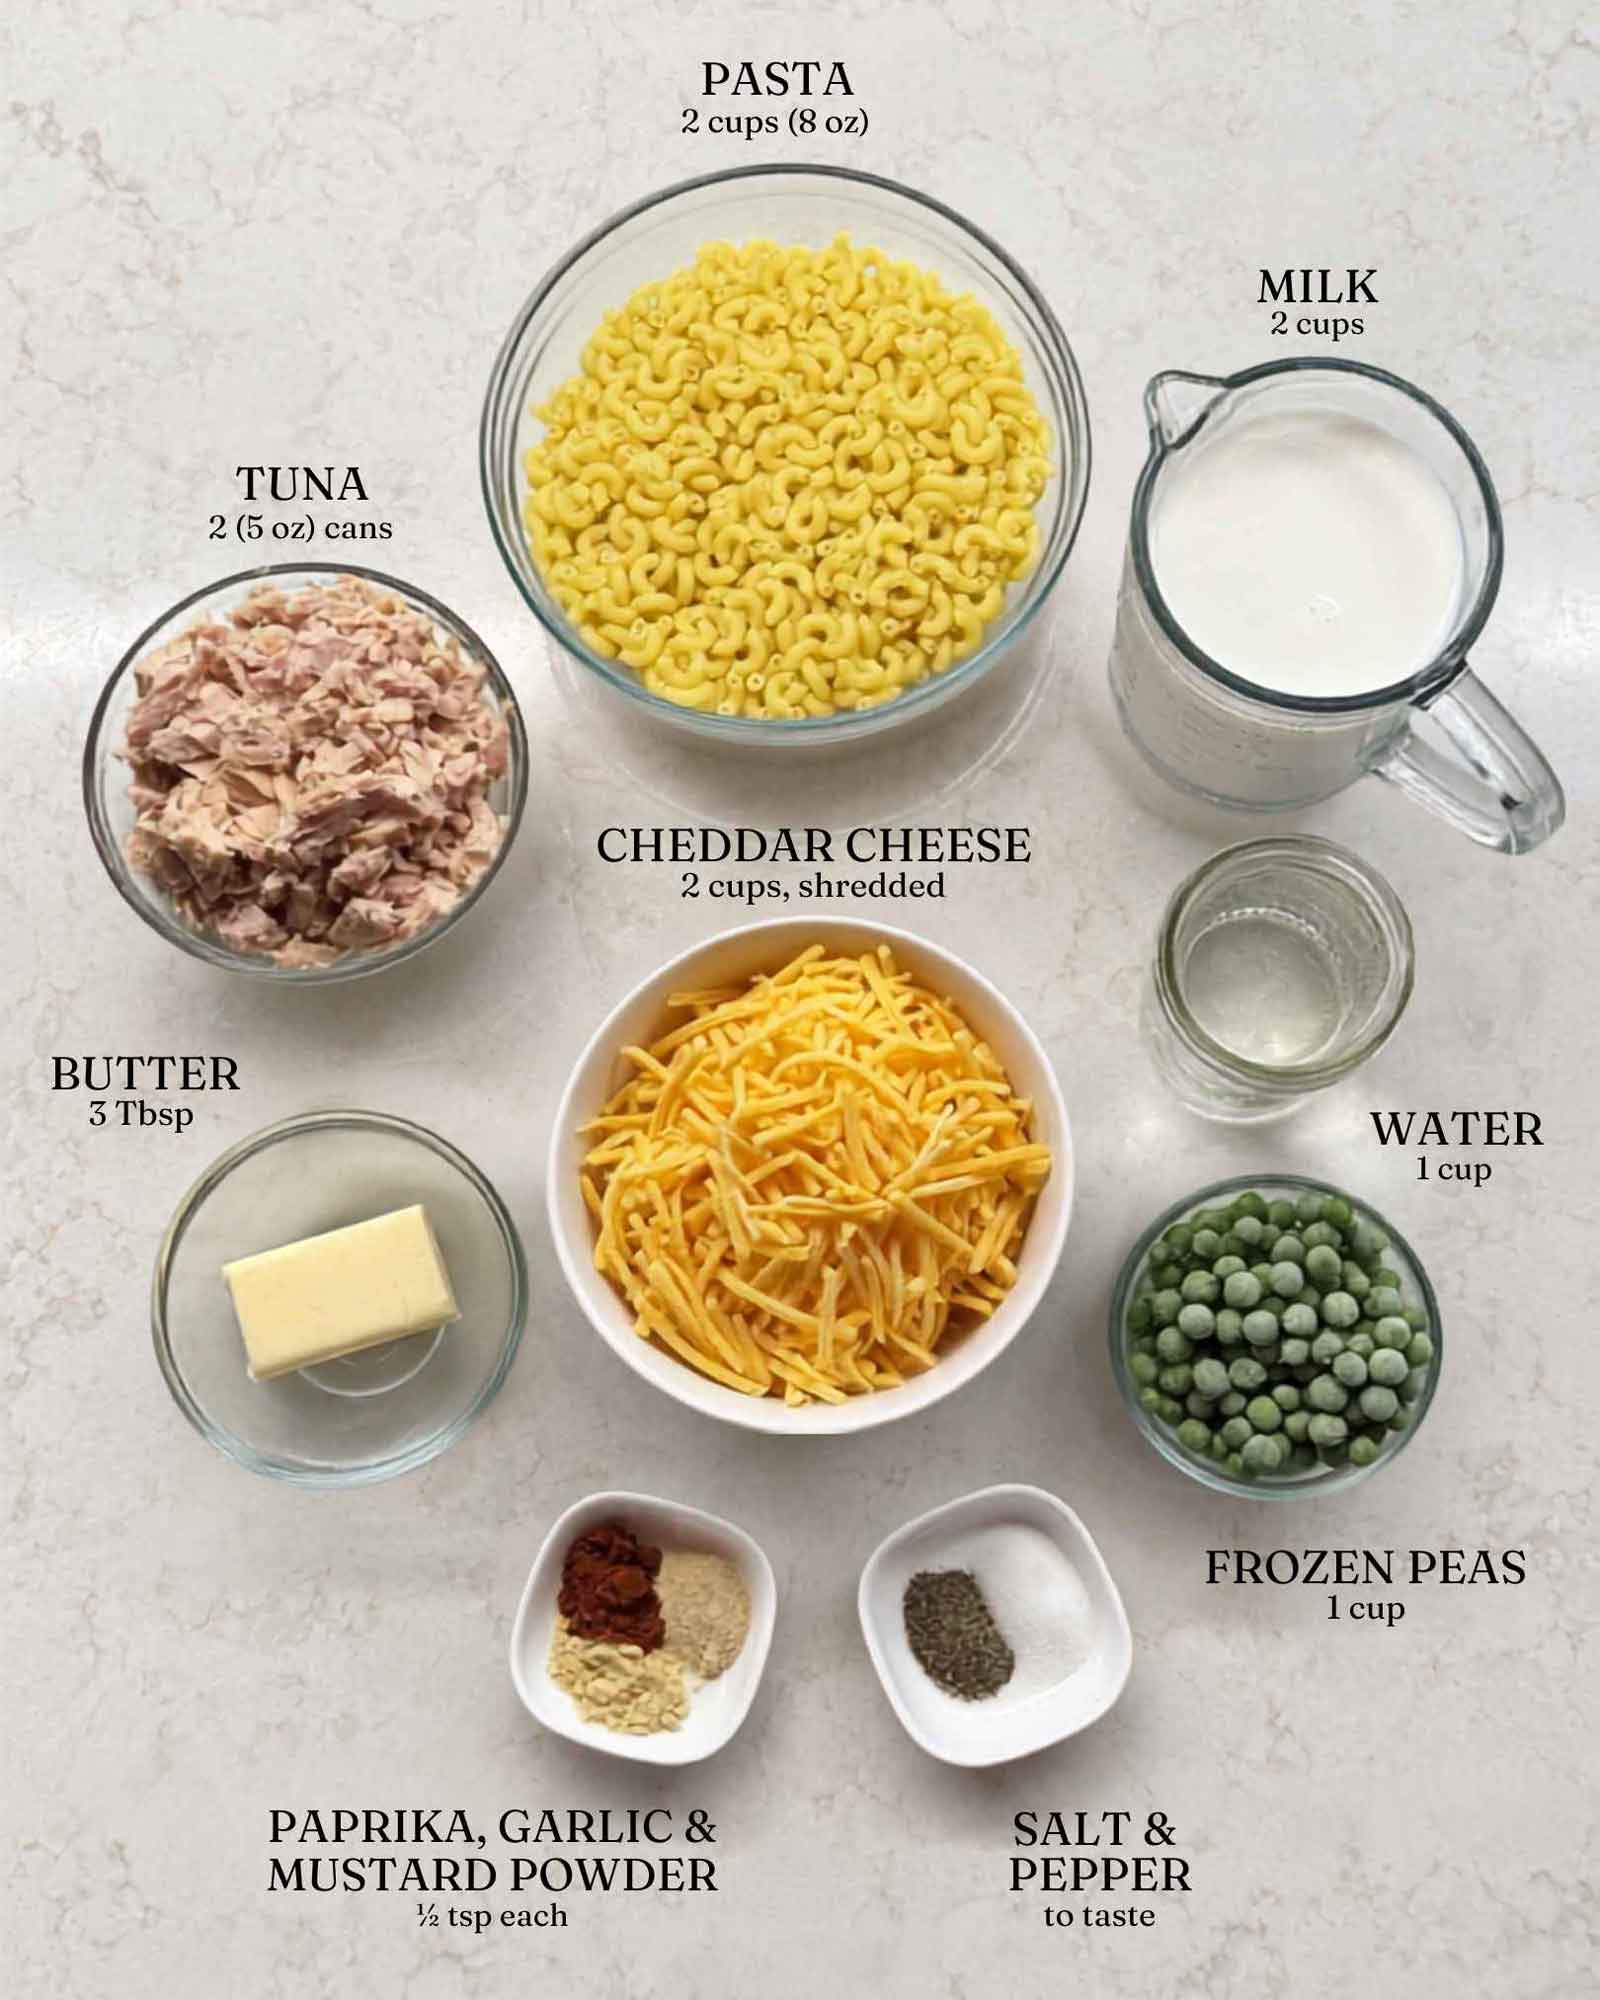
Small elbow macaroni. Size matters here, because the pasta and the liquid have to finish at roughly the same time. If you don’t have small elbows, any other pasta shape that can cook in 8 minutes or less will work, such as tiny shells, ditalini, small rotini, mini penne, or stars.
Canned tuna. Drained well and flaked with a fork. Press the lid down and really get the water out, because anything left in the can thins your sauce. If you use pouches instead, there’s nothing to drain and you can tip them straight in.
Whole milk and water. The water keeps the mixture from being so rich that it scorches, and the milk is what turns starchy pasta water into an actual sauce. Two percent will work if that’s what’s in the fridge, though the sauce will come out a little thinner.
Seasonings. Be careful not to skip the salt, because pasta cooked in an unsalted liquid tastes flat no matter how much you add at the end.
Shredded cheddar. Sharp cheddar gives you more flavor, mild melts a bit creamier, and either one works.
Frozen peas. They go in at the very end and just need a couple of minutes under the lid to warm through.
What if my pasta takes longer than 8 minutes to cook?
First, consider swapping for egg noodles before anything else. Medium or wide egg noodles usually cook in 6 to 8 minutes, they’re easy to find, and they need no changes to the recipe.
If you want a pasta shape that needs 11 to 13 minutes, like penne or farfalle, you can do it with two small changes. First, add another 1/2 cup of water at the start, because a longer simmer means more liquid disappears before the pasta is tender. Second, hold back 1 cup of the milk and stir it in during the last 5 minutes. The milk is the part that scorches if cooked too long, so the less time it spends against the bottom of a hot pot, the better.
If you do go with a longer-cooking pasta, stir a little more often too, every 2 to 3 minutes instead of 3 to 4, and keep a mug of warm water next to the stove. If the pot looks dry before the pasta is tender, splash some in. Go by a taste test rather than the clock … every stove simmers a little differently.
The one thing I’d skip is long pasta like spaghetti, or thick shapes like rigatoni. They need more room to move than this pot gives them, and they cook unevenly when crowded in like this.
How to Make Creamy Tuna Pasta
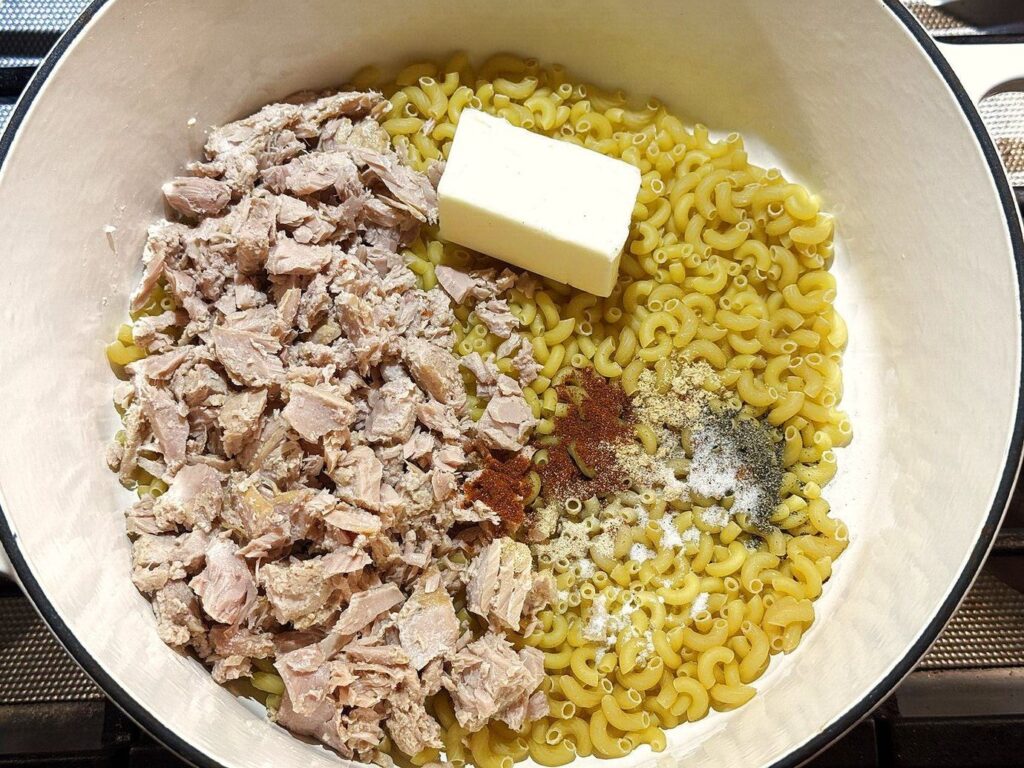
Step 1: Everything goes in the pot cold
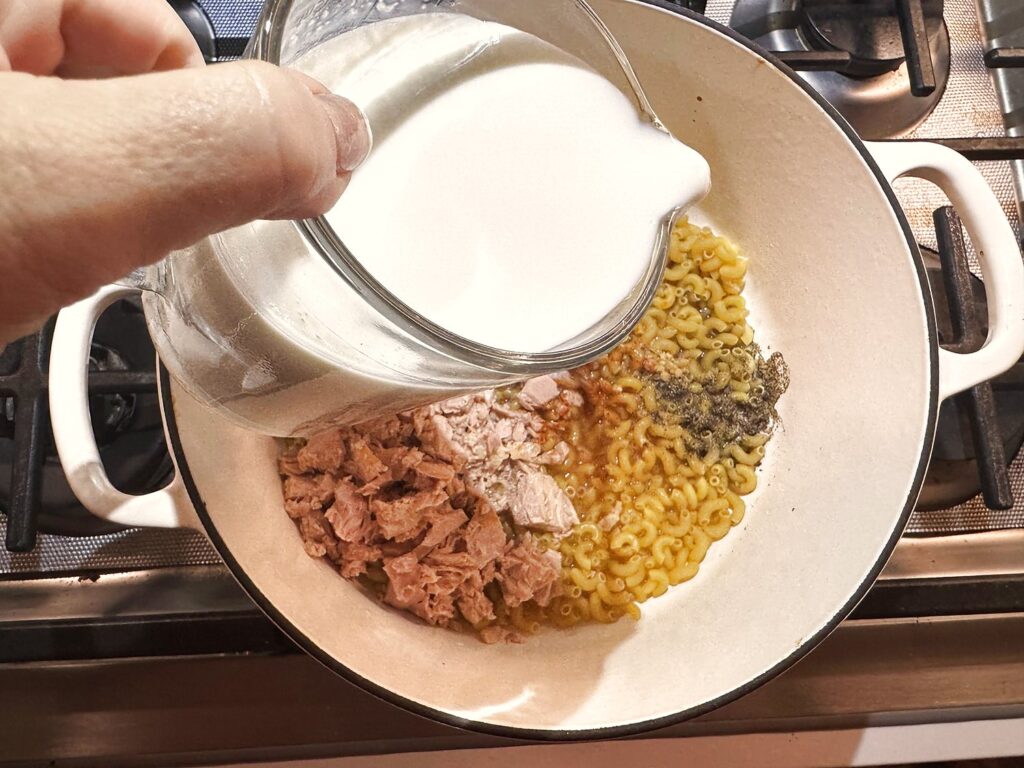
Drain both cans of tuna really well and flake them with a fork. Then add the dry macaroni, the tuna, the butter, the paprika, the garlic powder, the mustard powder, the salt, and the pepper to your Dutch oven. No heat yet, no stirring needed. That’s genuinely all there is to this step.
Step 2: Pour in the milk and the water
Add the milk first, then the water. Give it a stir so the macaroni settles into the liquid rather than sitting in a dry clump on top. The liquid will look like far too much for that little bit of pasta, and that’s fine. Most of it is going to disappear into the noodles.
Step 3: Bring it to a boil, then cover and drop the heat
Bring everything to a boil over medium-high heat, stirring frequently on the way up. That stirring matters here, because milk sitting still against a hot pan is exactly how you get a scorched layer on the bottom.
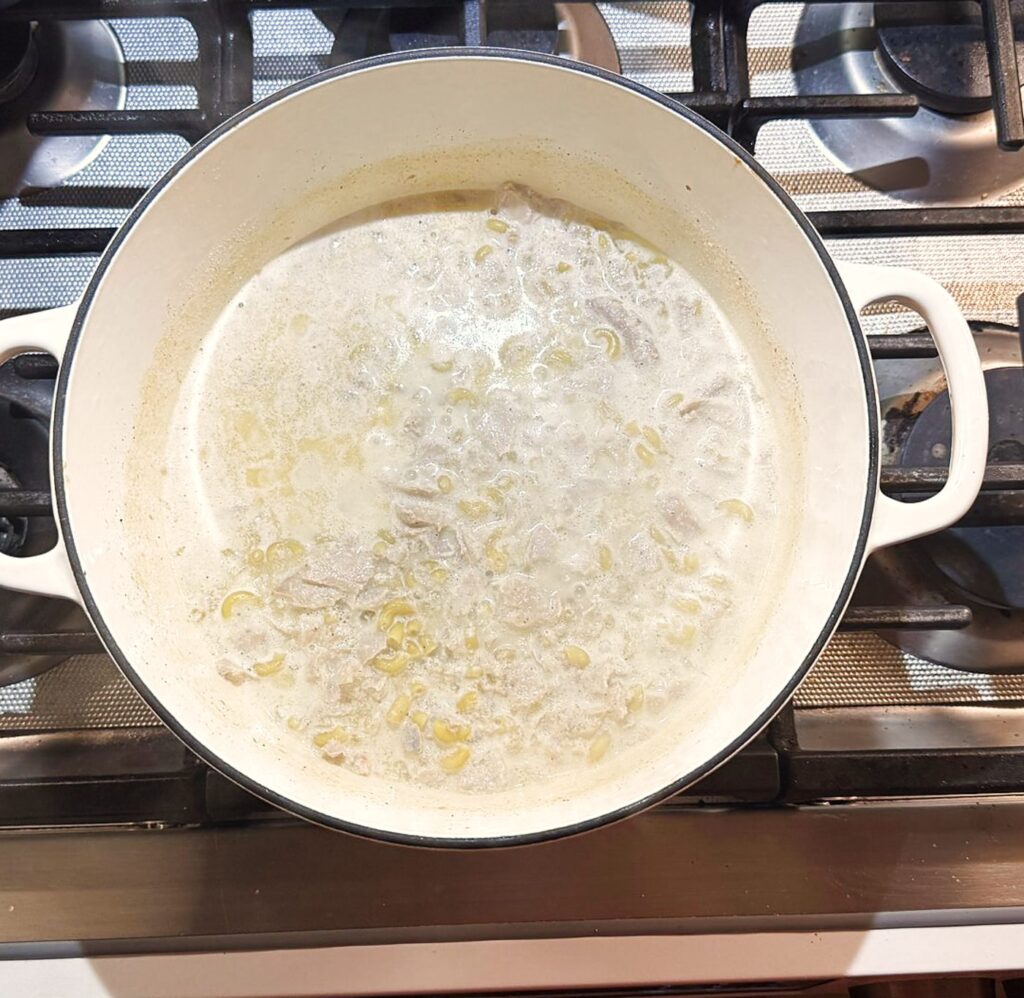
The second it’s boiling, stir well, put the lid on, and turn the heat down to low or medium-low so it holds a gentle simmer. You want it barely bubbling, not thrashing around. If yours takes a few minutes longer to come to a boil than you expected, that’s totally normal, and it depends a lot on your stove.
Step 4: Cook until the macaroni is tender
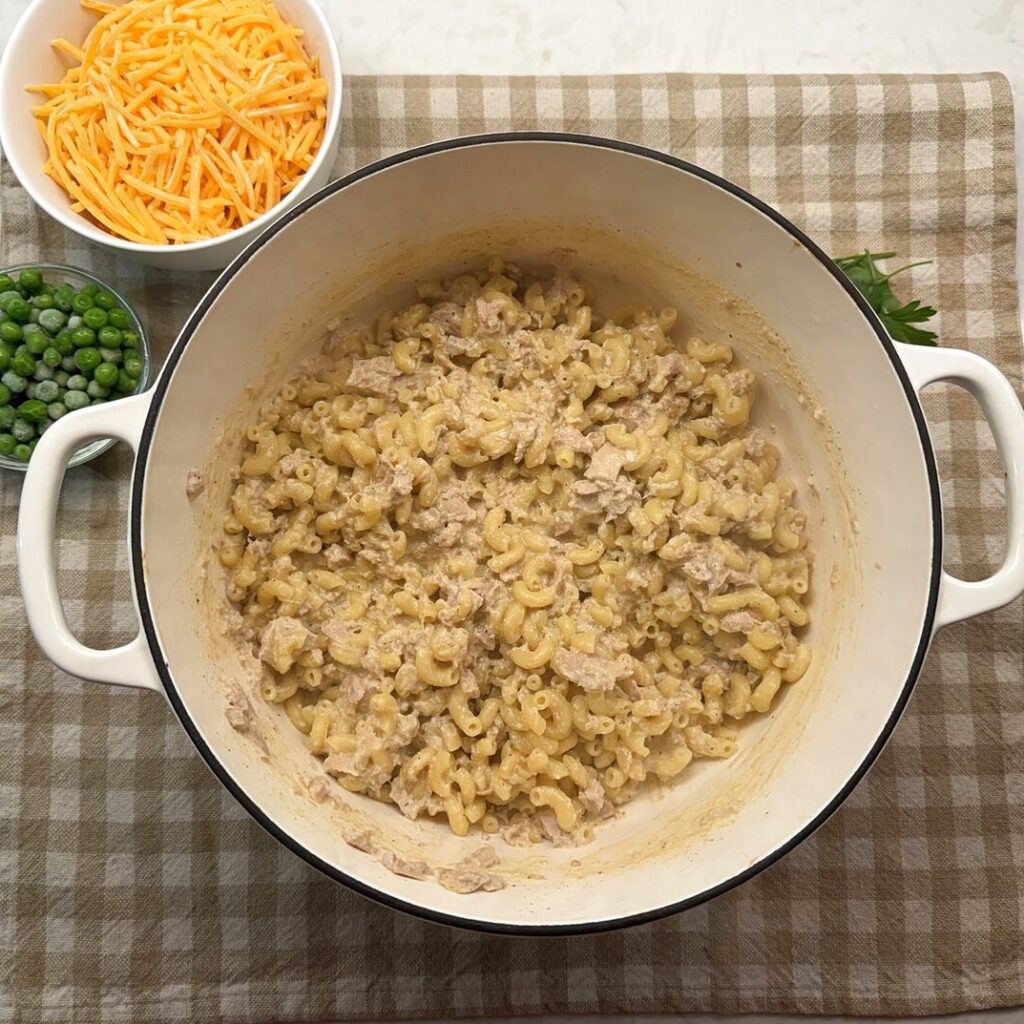
Let it simmer for 8 to 12 minutes, depending on your pasta. Start checking at whatever time the box says. Every 3 or 4 minutes, take the lid off and stir it thoroughly, scraping right across the bottom of the pot so nothing sticks. One common mistake is stirring just the top; the sticking happens underneath where you can’t see it.
When the macaroni is tender and most of the liquid is absorbed, take the pot off the heat. It should still look a little loose and saucy at this point. Don’t worry if it seems too wet, because it thickens twice more, once when the cheese goes in and again as it sits.
Step 5: Off the heat, stir in the cheddar
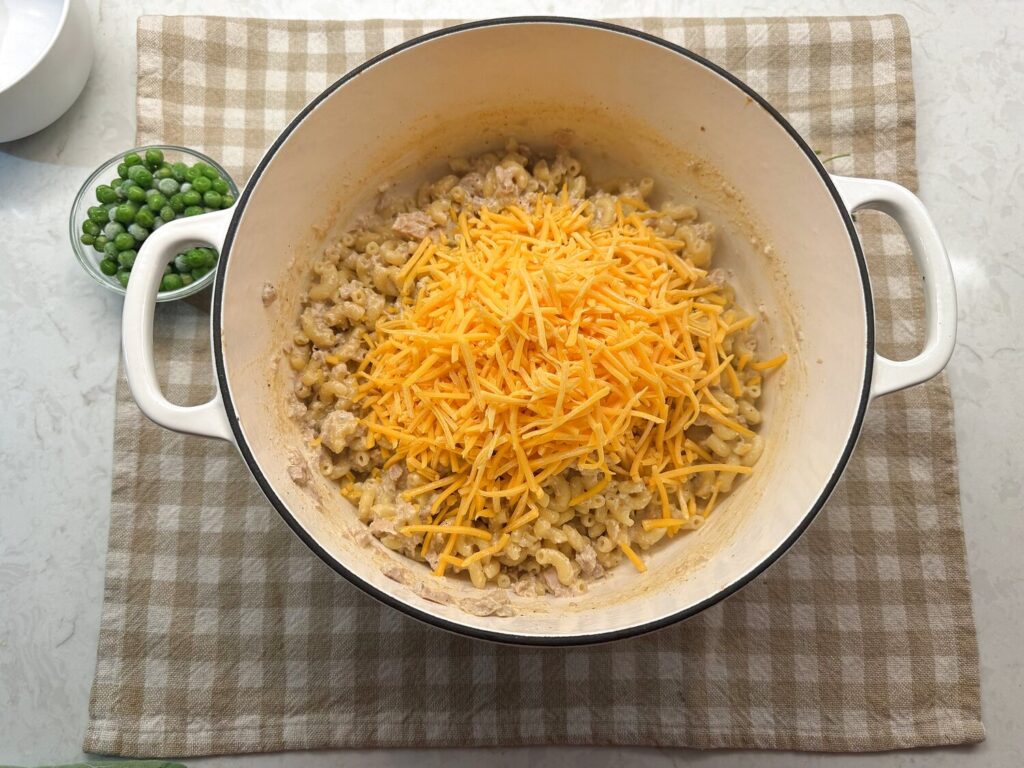
Add the shredded cheddar a handful at a time and stir until it’s melted and smooth. The reason this happens off the heat is that cheese held at a simmer will separate and go grainy on you, and the residual heat in the pot is plenty to melt it. Be careful not to put the pot back on the burner to hurry it along.
Step 6: Fold in the frozen peas
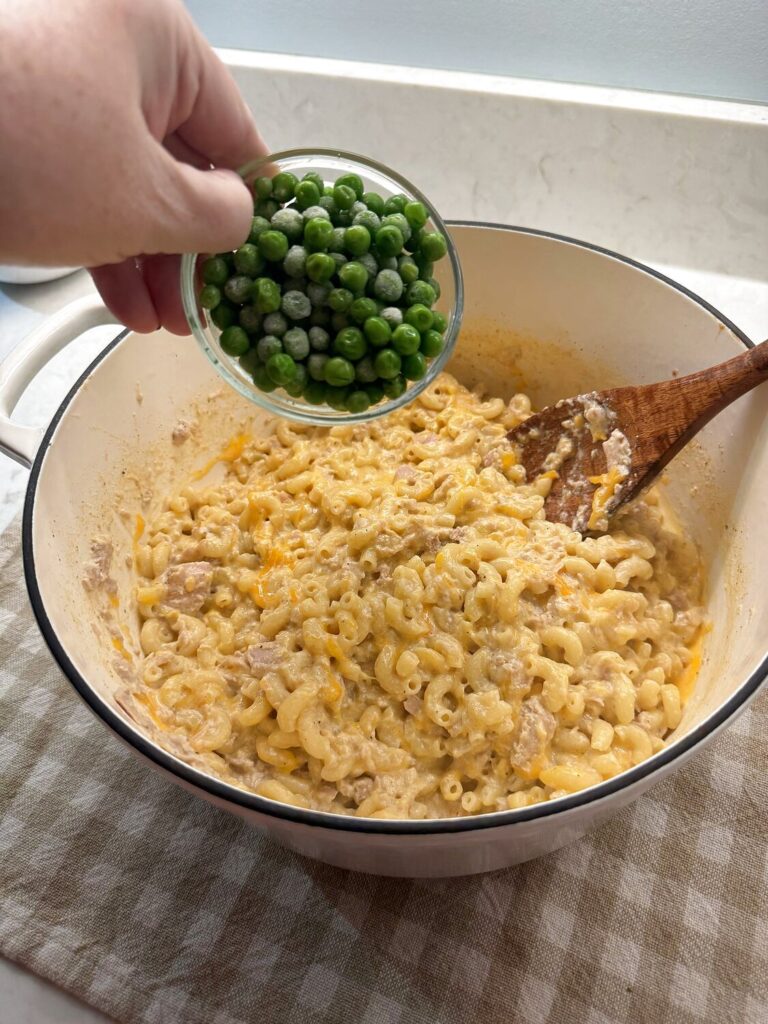
Fold in the frozen peas, put the lid back on, and let the pot stand for 2 to 3 minutes. That’s all the time they need to warm through, and doing it this way keeps them bright and whole instead of cooking them down to mush.
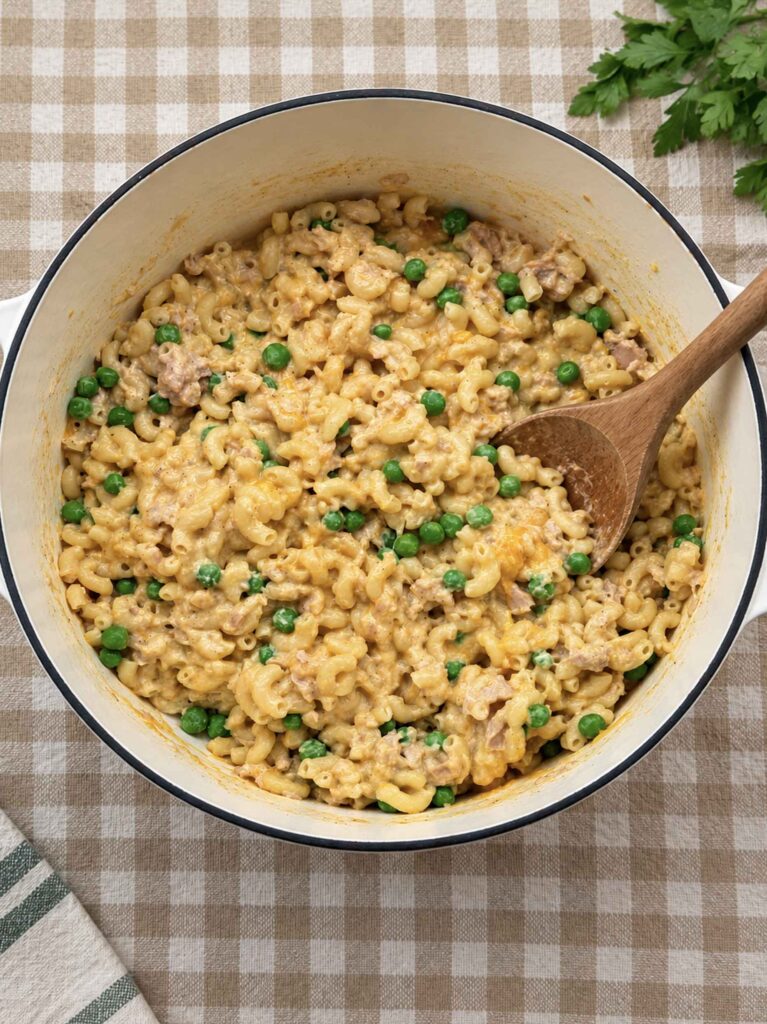
Now taste it. This is the moment to add more salt, pepper, garlic powder, or paprika, and it usually does want a little more salt than you think. If the pasta is thicker than you like, stir in warm milk a tablespoon or two at a time until it loosens up.
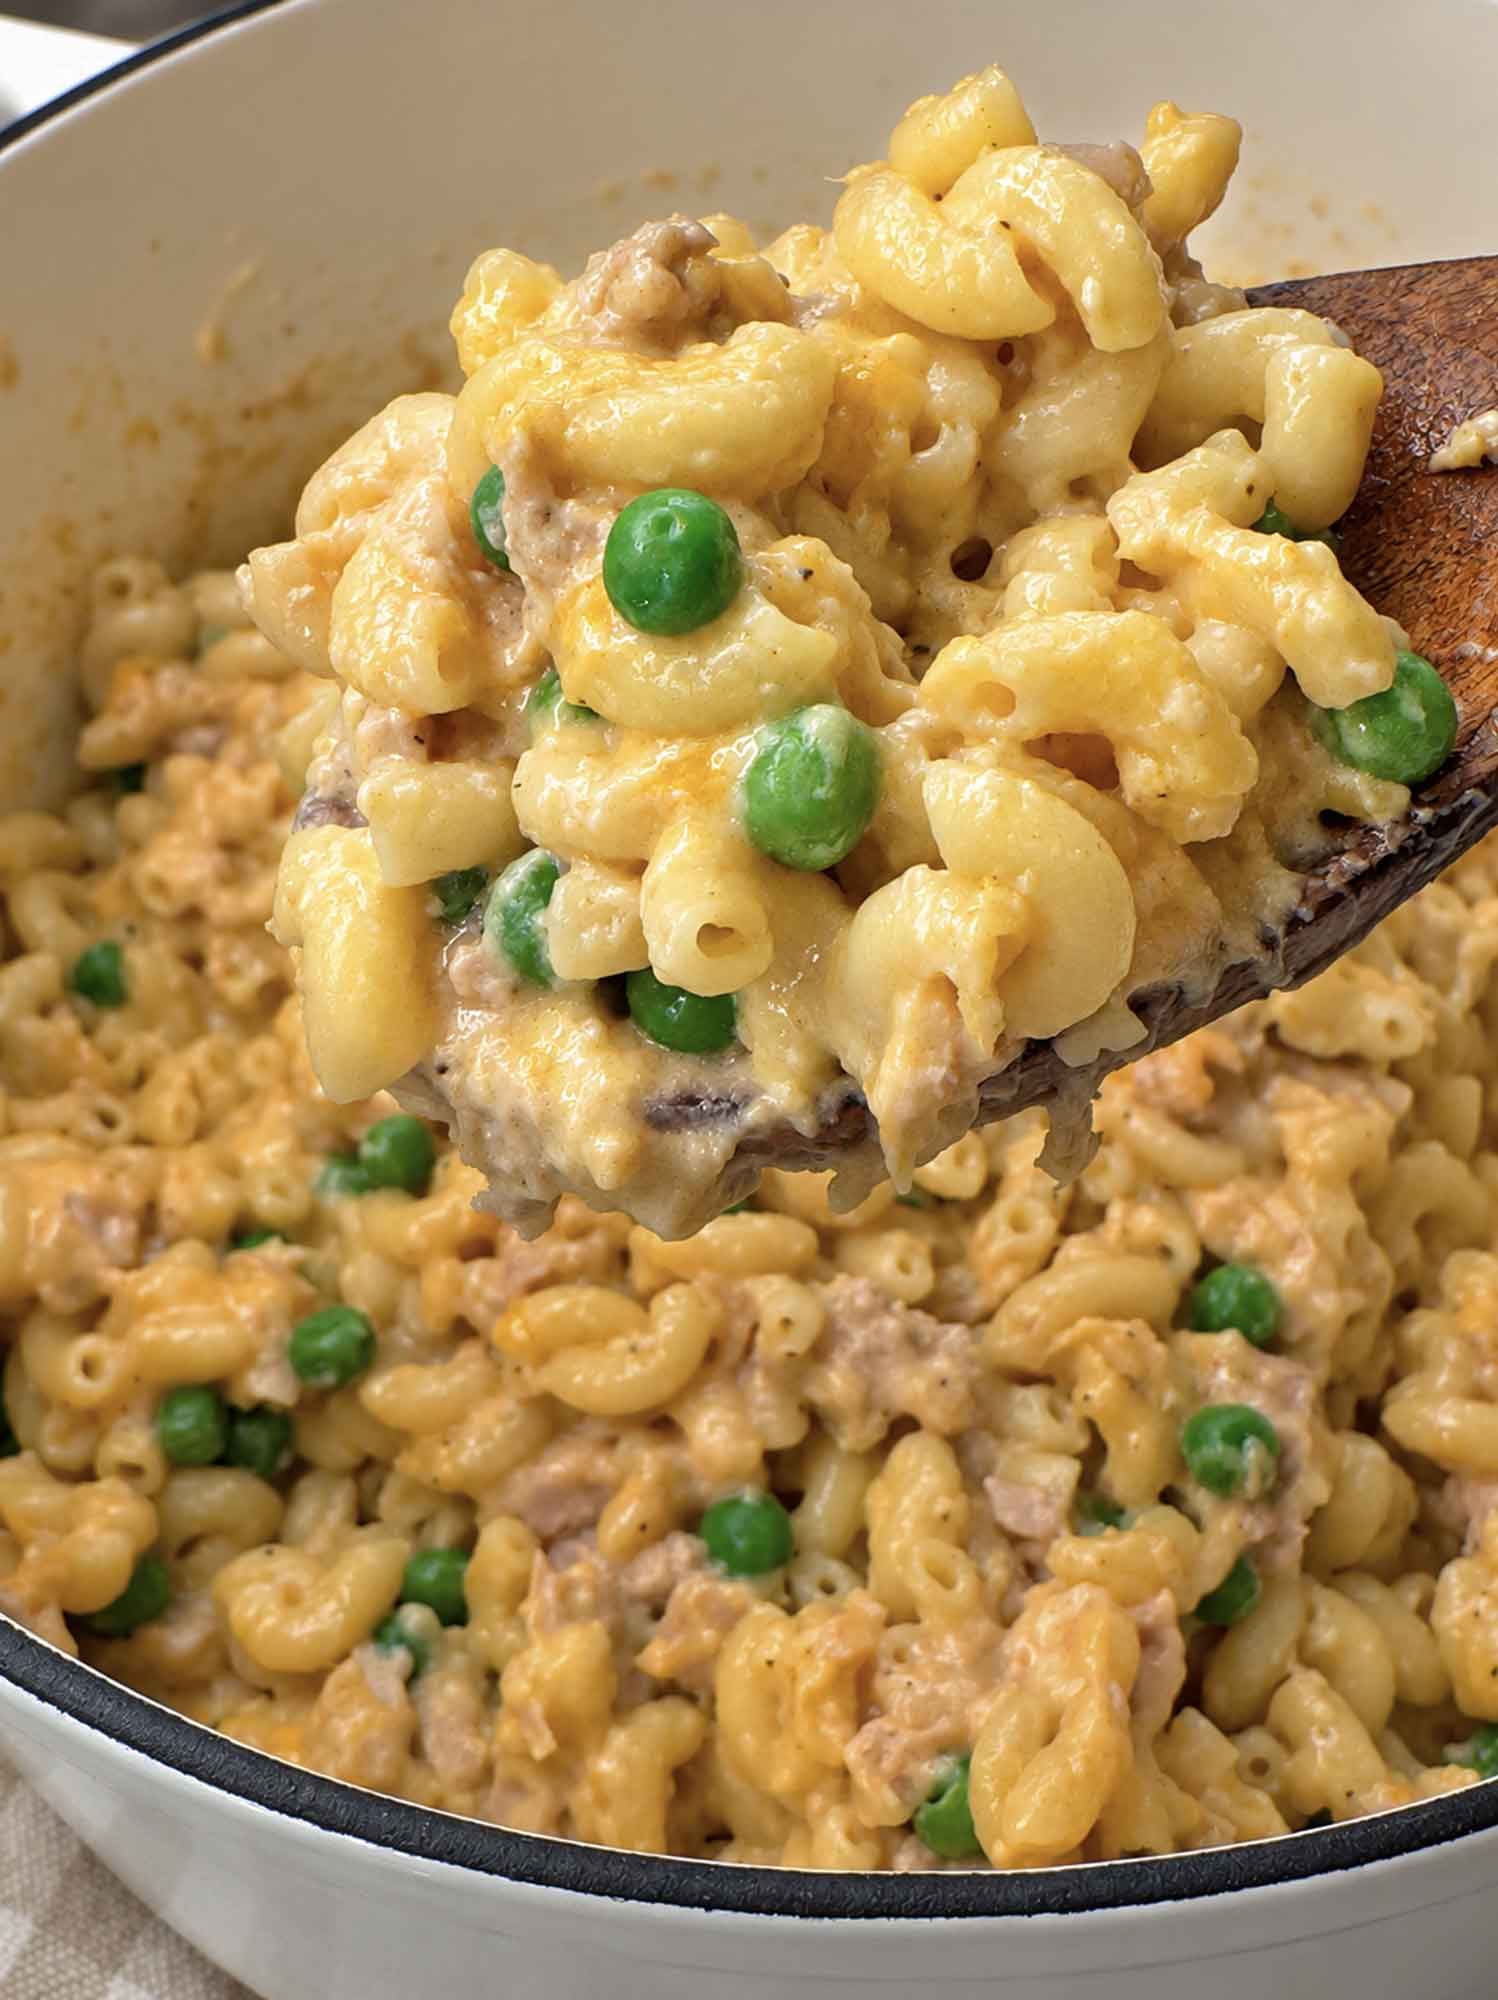
How to Store and Reheat Creamy Tuna Pasta
Leftovers keep in an airtight container in the fridge for 3 to 4 days. They will firm up in there, because the starch and the cheese both set as they cool, and that’s normal.
To reheat, warm it gently on the stove or in the microwave with a splash of milk stirred in, a tablespoon at a time, until it comes back to the consistency you want. Low and slow is the way to go; high heat is what makes a cheese sauce turn oily.
As for the freezer, I’d lean toward keeping this one in the fridge. There’s no flour in the sauce doing the holding, just pasta starch and melted cheese, and that combination has a reputation for separating after a freeze. I haven’t put a container of it in my own freezer yet, so take that as my hunch rather than my results. I’ll circle back and update this after I test my frozen portion.
Frequently Asked Questions
Why is my tuna pasta too thick?
It kept cooking after you stopped watching, or it sat a few minutes before you served it. Both are easy fixes: stir in warm milk a tablespoon at a time until it loosens.
Can I make this in a skillet instead?
A deep skillet with a lid will work if it holds everything comfortably. I’d stay away from a thin one, though, because the heavy bottom is what protects the milk from scorching.
Can I leave out the peas?
Of course. The recipe works fine without them, and frozen corn or chopped steamed broccoli fold in the same way at the same point.
Can I make it ahead?
This one is at its best fresh, when the sauce is still loose and glossy. If you need a head start, drain and flake the tuna and shred the cheese earlier in the day, and the actual cooking is only about 20 minutes.
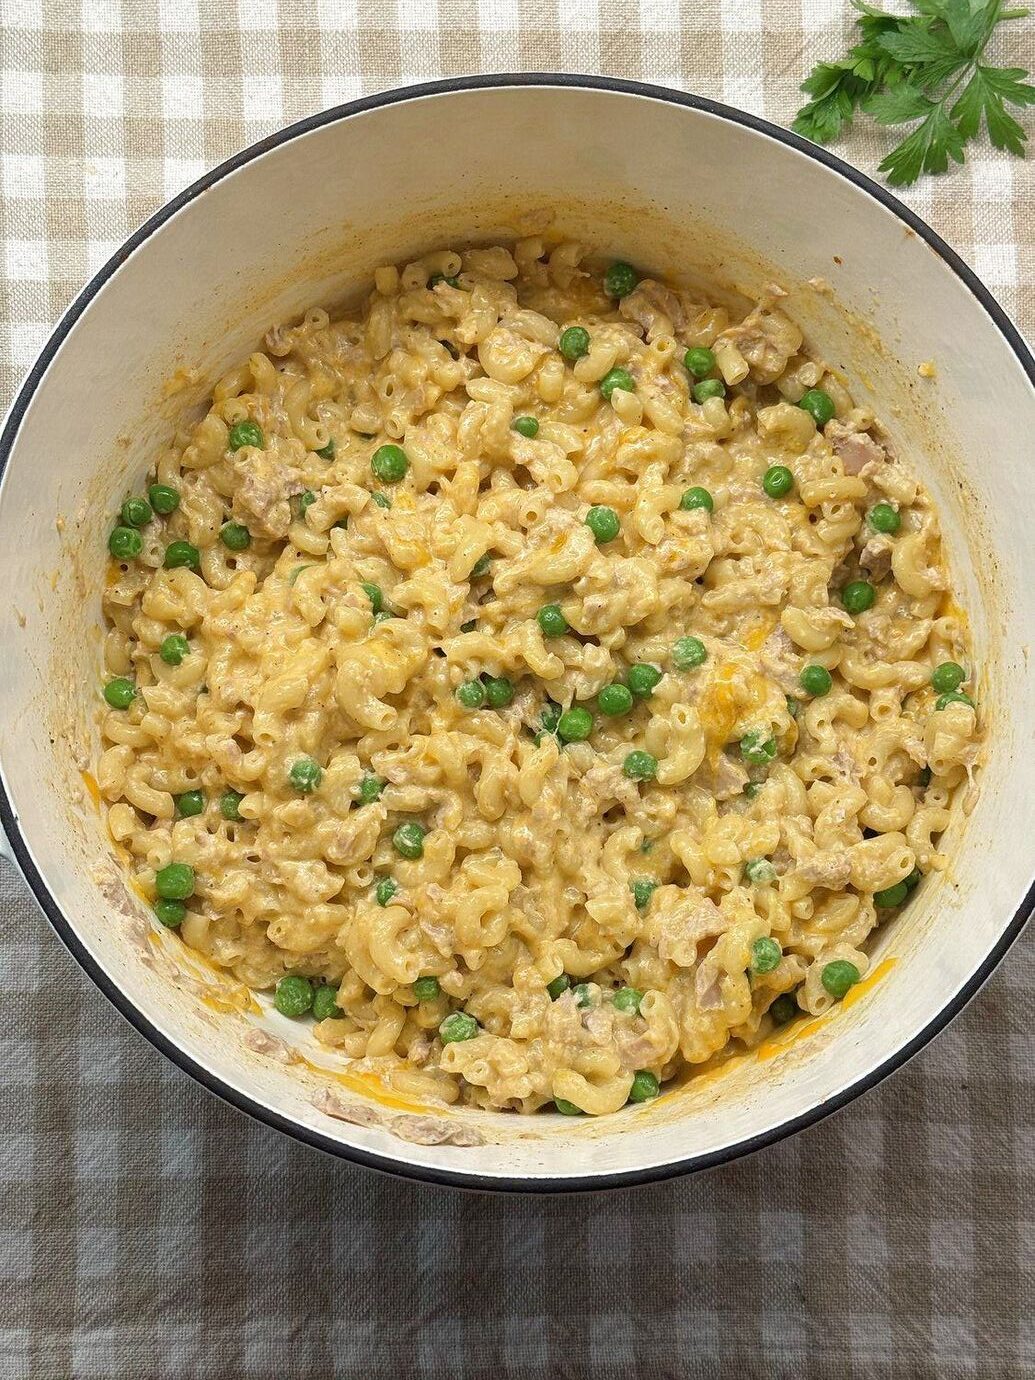
Creamy Tuna Pasta (One Pot)
Equipment
- 1 Large Dutch oven with a lid about 10 inches across
Ingredients
Ingredients
- 2 cups small elbow macaroni (about 8 ounces), or another small pasta that cooks in 8 minutes or less
- 2 (5-ounce) cans tuna drained well and flaked
- 2 cups whole milk
- 1 cup water
- 3 tablespoons butter unsalted
- 1/2 teaspoon paprika
- 1/2 teaspoon garlic powder
- 1/2 teaspoon mustard powder (optional)
- 1/2 teaspoon salt , plus more to taste
- 1/4 teaspoon black pepper
- 2 cups cheddar cheese shredded
- 1 cup frozen peas
- Up to 1/4 cup warm milk if needed
- 2 tablespoons fresh parsley (or 2 teaspoons dried), optional
Instructions
- Drain both cans of tuna thoroughly and flake with a fork.
- Add the dry macaroni, flaked tuna, butter, paprika, garlic powder, mustard powder (if using), salt, and pepper to a large Dutch oven. Pour in the milk and the water, and stir so the macaroni is submerged.
- Bring to a boil over medium-high heat, stirring frequently so the milk doesn’t scorch.
- Once boiling, stir well, cover, and reduce the heat to low or medium-low so the liquid holds a gentle simmer.
- Cook until the macaroni is tender, about 8 to 12 minutes depending on the pasta, stirring thoroughly every 3 to 4 minutes and scraping across the bottom of the pot. Begin checking at the package’s suggested cooking time.
- When the macaroni is tender and most of the liquid has been absorbed, remove the pot from the heat. The mixture should still look slightly loose; it thickens as the cheese goes in and as it rests.
- Off the heat, stir in the shredded cheddar a handful at a time until completely melted and creamy.
- Fold in the frozen peas. Cover and let stand 2 to 3 minutes, just until the peas are heated through.
- If the pasta is thicker than you would like, stir in warm milk a tablespoon or two at a time. Taste and add more salt, pepper, garlic powder, or paprika as desired.
- Serve immediately, garnished with parsley if you like.
Nutrition
Notes
- Pasta: Check the package and use a shape that cooks in 8 minutes or less, or it will drink more liquid than the recipe provides.
- Tuna: Canned tuna should be drained well. Pouch tuna has almost no liquid and goes straight in.
- Storage: Refrigerate up to 3 to 4 days. Reheat gently with a splash of milk. I’d lean toward the fridge over the freezer, since a cheese sauce with no flour in it tends to separate.
Happy cooking!
Love,
Jennifer
Tried this recipe?
Tap the stars in the recipe card to leave a quick rating. Your rating helps other home cooks know this recipe works in a real kitchen, not just mine.
And as a thank-you for your feedback, you will receive a free printable copy of my Maker Home Companion Cookbook, featuring my most popular recipes, each one formatted on a SINGLE, easy-to-use page, a perfect kitchen companion for easy meal prep. Click here to learn more about this cookbook and how you can get your copy!
More Comfort Food Recipes I Think You’ll Love



Meet Jennifer
Jennifer cooks and experiments in the kitchen at Maker Farm, where she focuses on simple pantry cooking, homemade staples, and practical recipes that make everyday meals easier. Over the years she has tested many ways to make cooking simpler and more dependable, and shares the methods that work best in her own kitchen, occasionally showing them on her Heart to Home at Maker Farm vlog.