

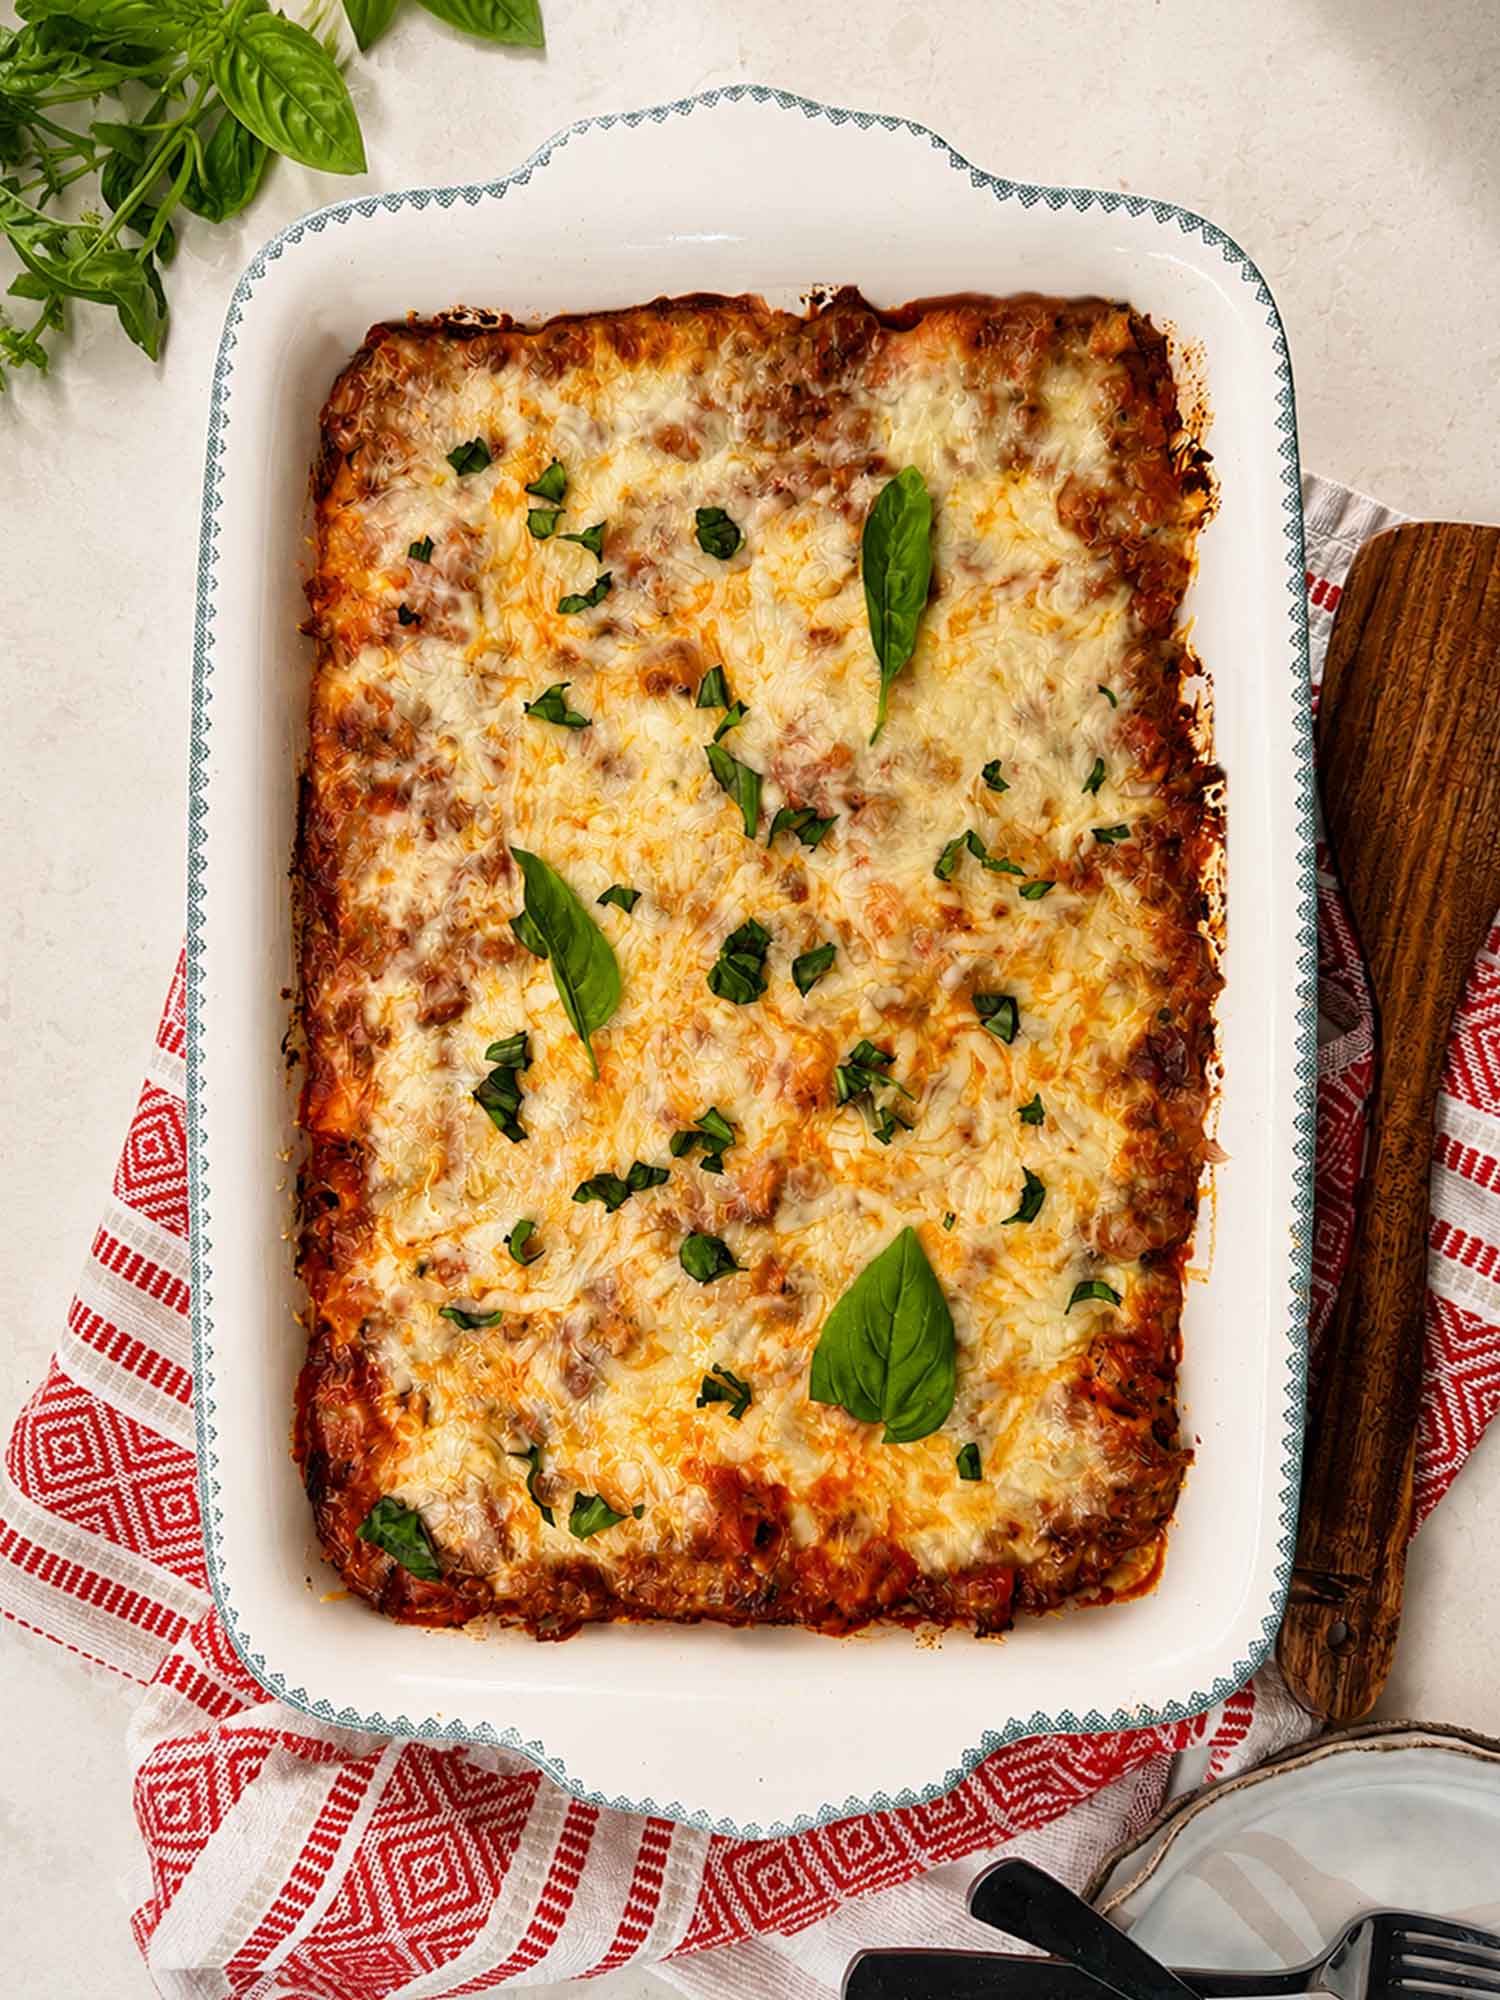
This easy cheesy baked ziti is saucy (not dry), full of melty mozzarella and a creamy layer of fresh cheese, and baked in one 9×13 pan until the top is golden and bubbly. You toss al dente ziti with a rich tomato sauce and browned meat, layer in the cheeses, and bake it covered, then uncovered to brown. It comes together in about an hour, feeds a crowd of 8, freezes well, and reheats beautifully.
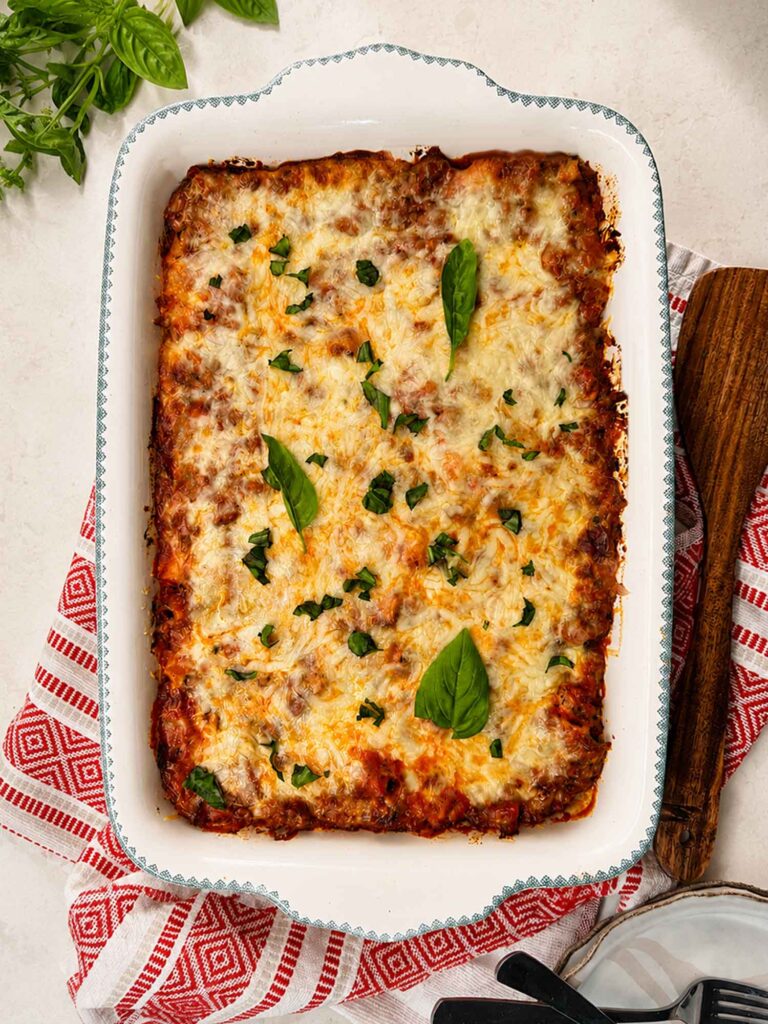
The Easiest Ever Baked Ziti

This saucy dish is a favorite here at Maker Farm, and I like to make it two ways: one assembled and baked the same night, and another one for the freezer to make as an easy meal later on.
To keep this super easy, it has just 8 ingredients. And, rather than relying on ricotta cheese, which I rarely have, I developed this recipe to use other fresh, soft cheeses like cream cheese or cottage cheese instead, both of which I can get lactose free. But you can swap in ricotta cheese if you prefer a more traditional dish.
I stir both ground beef and a little Italian sausage into the sauce for the meat lover in my house, but you can do whatever you want. And because I keep basil growing in the garden all summer, I love tearing a few fresh leaves over the top right before it hits the table.
Let’s dig in!


Want to Save This Recipe?
Enter your email below and we’ll send it straight to your inbox! Plus you’ll get new recipes each week!
What Makes Great Baked Ziti?
Baked ziti is one of those cozy dinners that looks impossible to mess up, and it mostly is. But the difference between a pan that comes out saucy and tender and one that comes out dry and gluey really comes down to just a few things. Here is what I pay attention to every time.
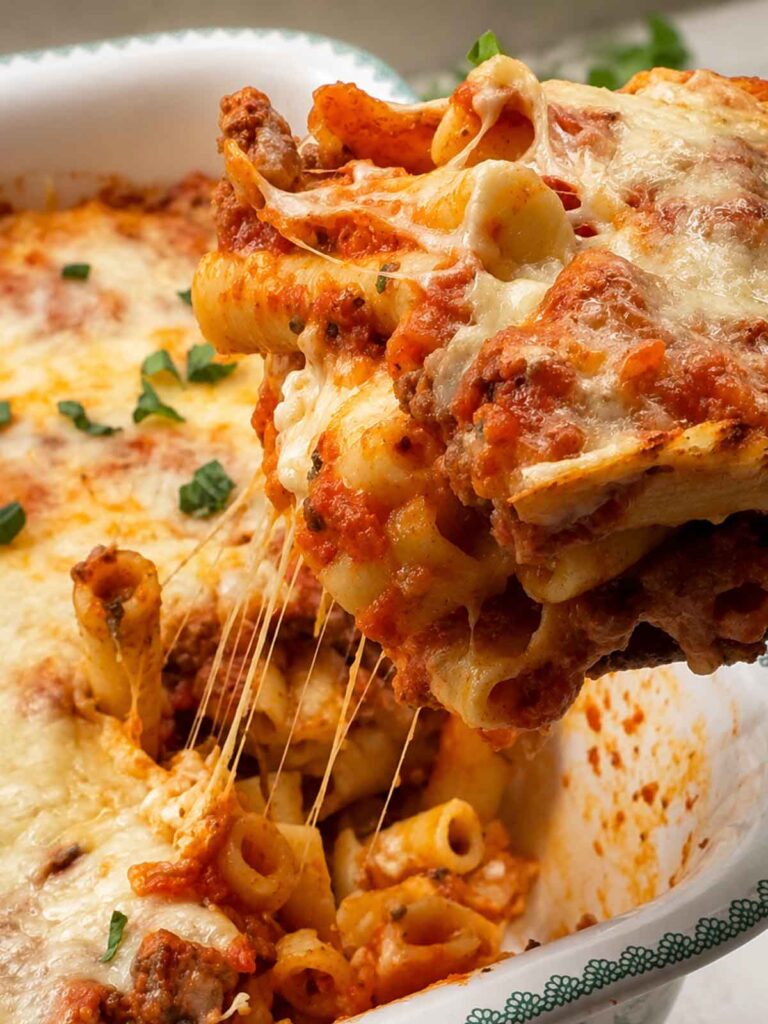
Undercook the pasta. Cook your ziti about 2 minutes shy of al dente, so it still has a firm bite when you drain it. This helps because the pasta keeps soaking up sauce in the oven, and noodles that were already soft going in turn mushy by the time it is done. Be careful not to cook it to package directions here… it will keep cooking as it bakes.
Keep the sauce a touch looser than you think. A sauce that looks perfect in the pot will thicken as it bakes and the pasta drinks it in. So I go a little saucier on purpose, and I save a splash of the starchy pasta water to loosen things if the mixture looks tight before it goes in the pan. Dry baked ziti is almost always a sauce problem, not an oven problem.
Cover first, then uncover to brown. Baking covered with foil for the first stretch traps the steam and keeps everything moist while it heats through. Then you pull the foil off for the last 15 to 20 minutes so the cheese on top can turn golden and bubbly. If you bake it uncovered the whole time, the top dries out before the middle is even hot (ask me how I know).
How do I keep baked ziti from drying out?
If dry baked ziti is your worry, use enough sauce, undercook the pasta, spoon a little extra sauce over the top before the final cheese layer, and cover with foil for the first part of baking. When you reheat leftovers, add a splash of water or sauce before they go back in the oven. That is really all there is to it, and it works every single time.
Baked Ziti Ingredients and Swaps
One of the reasons I love this recipe is that the ingredient list stays short, and most of it is regular grocery store stuff. The full amounts are in the recipe card below, so let’s just talk about why each one is here and what you can swap.
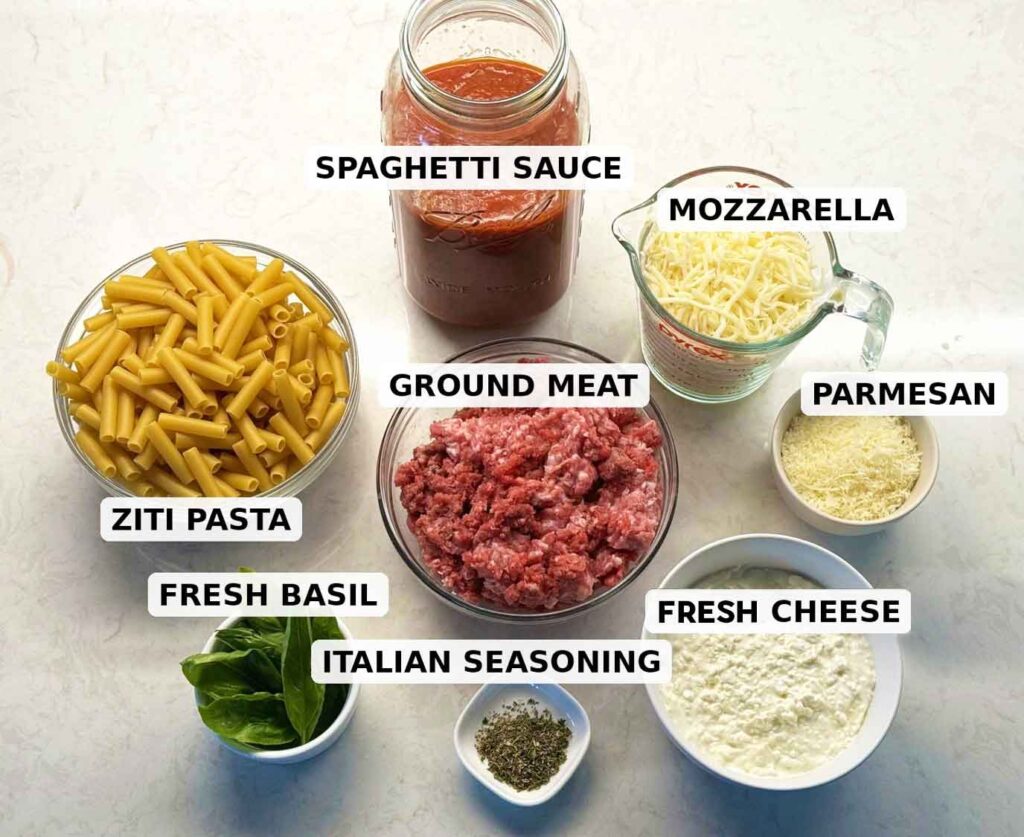
- Ziti pasta. Ziti is the classic here, but penne or rigatoni work just as well. You want a tube shape with ridges so it grabs the sauce and holds pockets of cheese. About one pound feeds a full 9×13 pan.
- Ground beef and Italian sausage. I use one pound of ground beef (85/15 gives you enough fat that it actually tastes like something) plus a half pound of Italian sausage for a little extra flavor. The sausage is optional… all beef is completely fine, and so is leaving the meat out entirely for a cheesy meatless ziti.
- Spaghetti sauce. This is where I keep things easy. I use a batch of my homemade spaghetti sauce when I have one in the freezer, but two 24-ounce jars of your favorite marinara or spaghetti sauce work beautifully and keep the shopping simple. Store-bought is the easy default here, and the homemade route is there if you want it. Two jars may seem like a lot, but it’s how we keep the baked ziti saucy and not dry.
- Cream and/or cottage cheese. This is my creamy layer instead of ricotta. Eight ounces of softened cream cheese or cottage cheese (or a combination) gives you those rich, silky pockets running through the pasta, and it melts smoother than ricotta ever does. More on swaps in a second.
- Mozzarella and Parmesan. Two cups of shredded mozzarella for that classic melty, stretchy pull, and a half cup of grated Parmesan for a salty, savory backbone. I like to shred my own mozzarella from a block when I can, since it melts creamier than the pre-shredded bags.
- Fresh basil. A handful of fresh basil leaves, torn over the top after baking. If you have a plant going, this is the moment it earns its keep. No fresh basil? A sprinkle of Italian seasoning stirred into the sauce covers the herby note just fine.
Can I make baked ziti without ricotta?
Yes, and this recipe is built that way on purpose. I use cream cheese instead of ricotta because it melts into silky, creamy layers rather than staying a little grainy the way ricotta can. If you would rather use what is traditional, ricotta swaps in one-for-one.
Cottage cheese is my other favorite swap, and it gives you a lighter, higher-protein layer with a little more tang. Use about 8 oz of cottage cheese in place of the 8 ounces of cream cheese. Give it a quick pulse in the blender first if you want it silky, or leave it as-is if you don’t mind a little texture. Full-fat (4%) gives you the richest result, and if yours looks especially watery, a few minutes in a strainer helps.
Can I use ground beef instead of sausage?
Absolutely. Use all ground beef (I’d stick with 85/15) and you will not miss a thing. If you want that sausage-y flavor without buying sausage, add a little extra garlic, a pinch of fennel seed, and some Italian seasoning to the beef as it browns. That mimics the warmth Italian sausage brings.
A quick note on salt
Salt your pasta water generously, but remember that not all salt measures the same. If you use Diamond Crystal kosher salt, you will want roughly 1.5 to 2 times as much by volume as you would fine sea salt or table salt, because the crystals are lighter and less dense. Taste your sauce before you build the pan, since jarred sauces and Parmesan both bring their own salt to the party.
How to Make Baked Ziti (Step-by-Step)
We’re really making this in a few easy stages: cook the pasta, build the meat sauce, mix the creamy layer, then layer and bake. None of it is hard, I promise. Here is the overview so you can see the whole picture, and the recipe card below has the full measured version to cook from.
Step 1: Brown the Meat and Make the Sauce
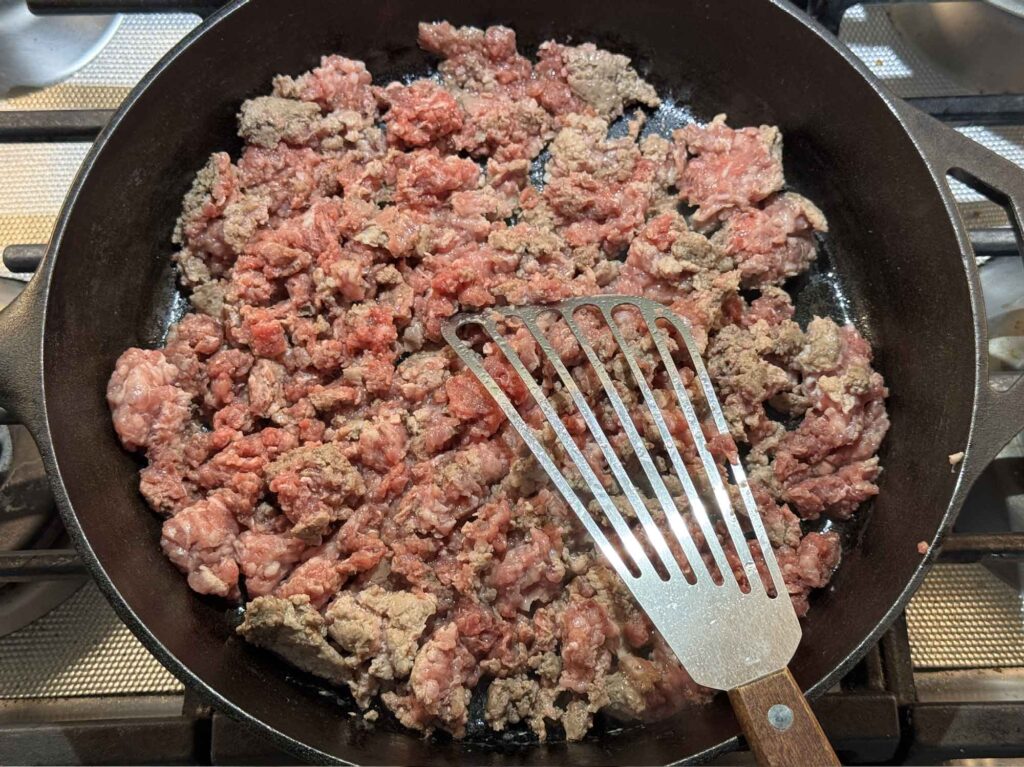
Brown the ground beef and sausage in a large skillet, breaking it up as it goes, and season it with salt and pepper as it cooks. In the last minute, stir in the Italian seasoning and a pinch of red pepper flakes if you like a little heat. Drain off most of the fat, then stir in your spaghetti sauce and warm it through. You want it loose and glossy, not thick and dry, so add a splash of pasta water if it needs it.
Step 2: Cook and Toss the Ziti
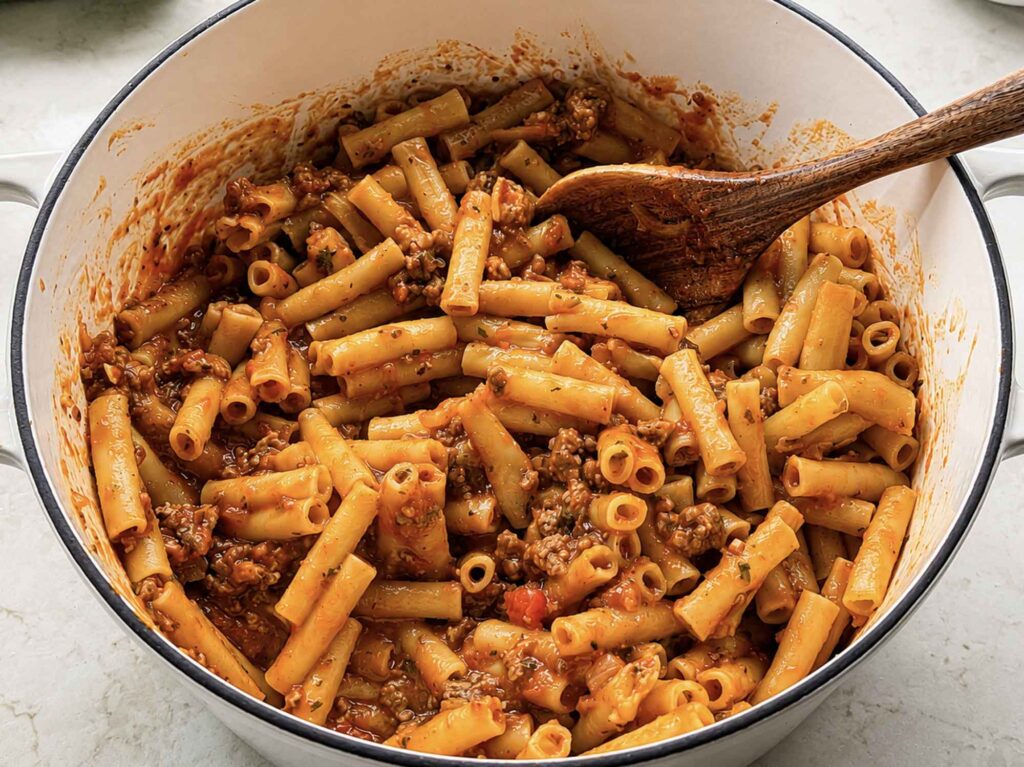
Boil the ziti about 2 minutes shy of al dente, so it is bendy but still firm in the center. Be careful not to take it all the way… it keeps cooking in the oven, and fully cooked noodles turn mushy. Reserve a little pasta water, drain (don’t rinse, that starchy coating helps the sauce cling), then toss the ziti with most of the meat sauce until every piece is coated.
Step 3: Spread the Creamy Layer
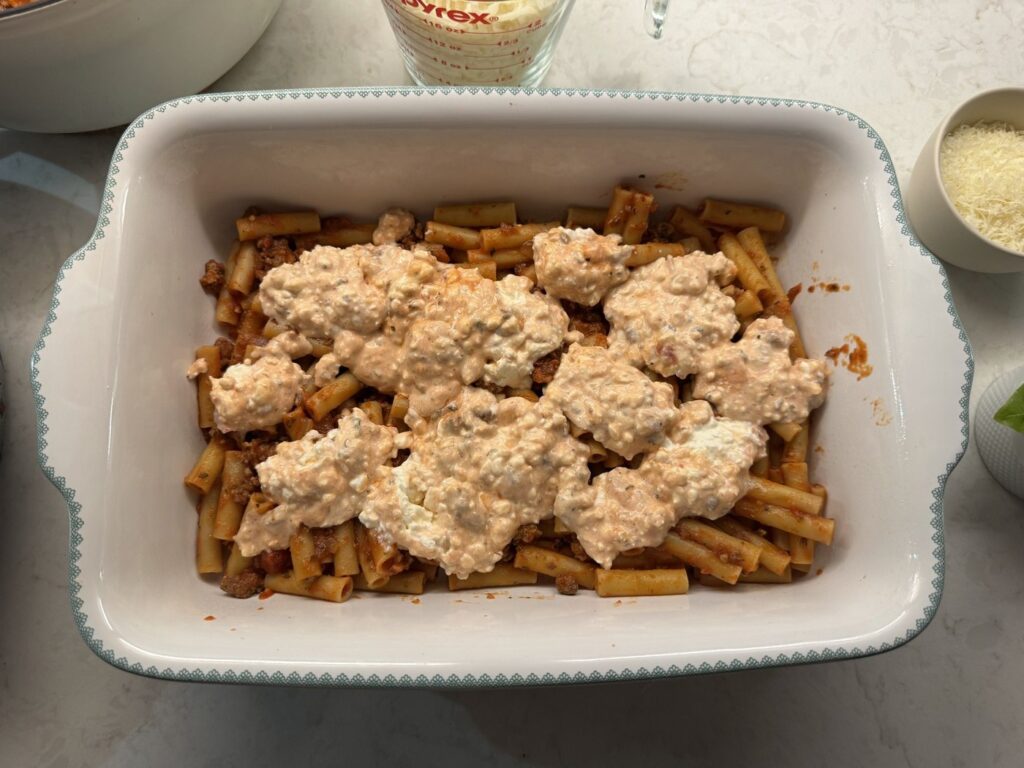
Stir a ladle of the warm sauce into the softened cream cheese until it loosens into a spreadable, creamy mixture. This helps because cold cream cheese clumps, and warming it lets it spread instead of sitting in stubborn lumps. Spread half the pasta in a greased 9×13 pan, then dot and spread the creamy layer over the top.
Step 4: Top with the Cheeses
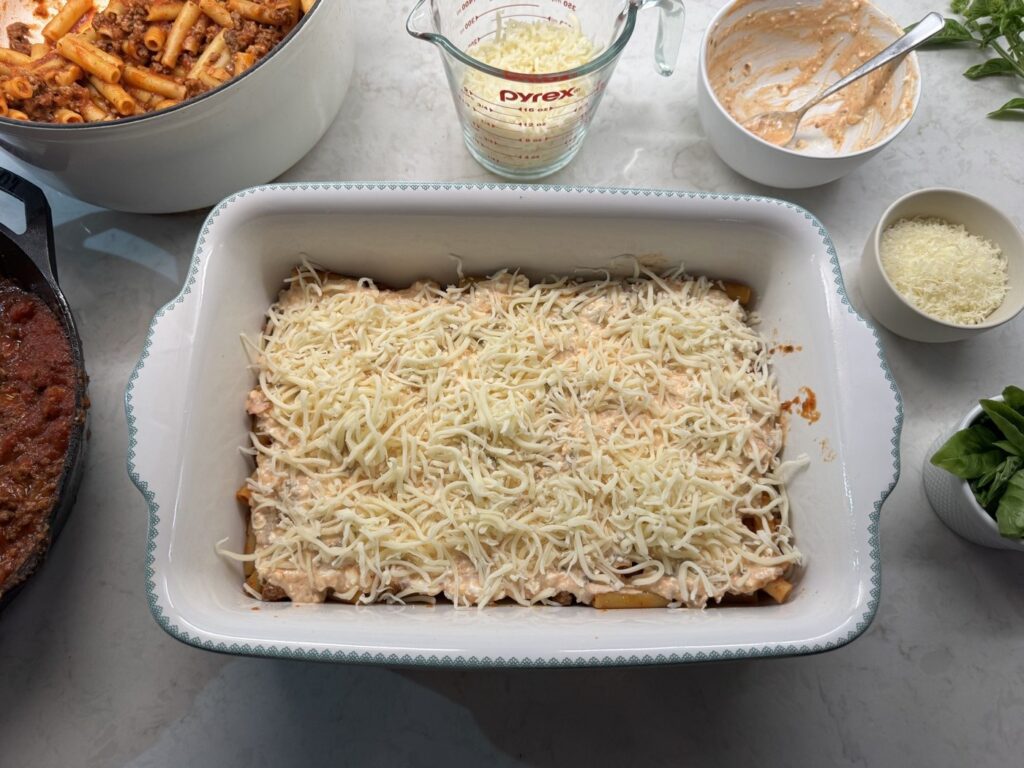
Add the rest of the pasta and spoon the remaining sauce over the top so nothing dries out. Prefer it extra saucy? Spoon a little more marinara over the pasta before the cheese. Scatter on the mozzarella, then finish with all the Parmesan.
Step 5: Cover and Bake
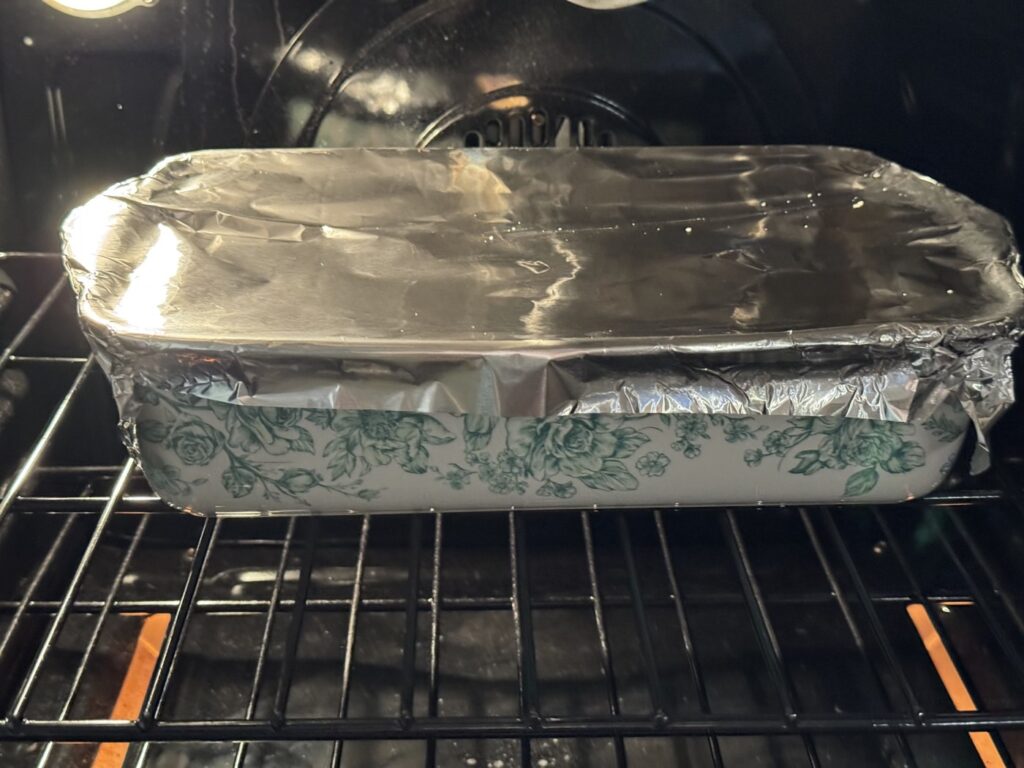
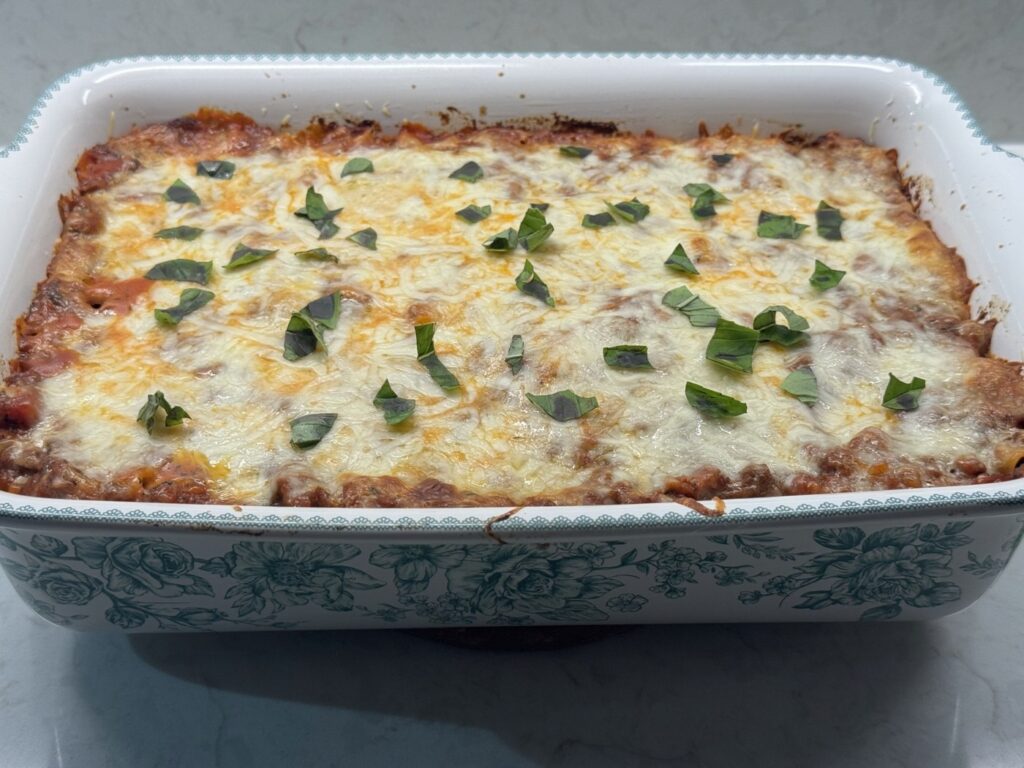
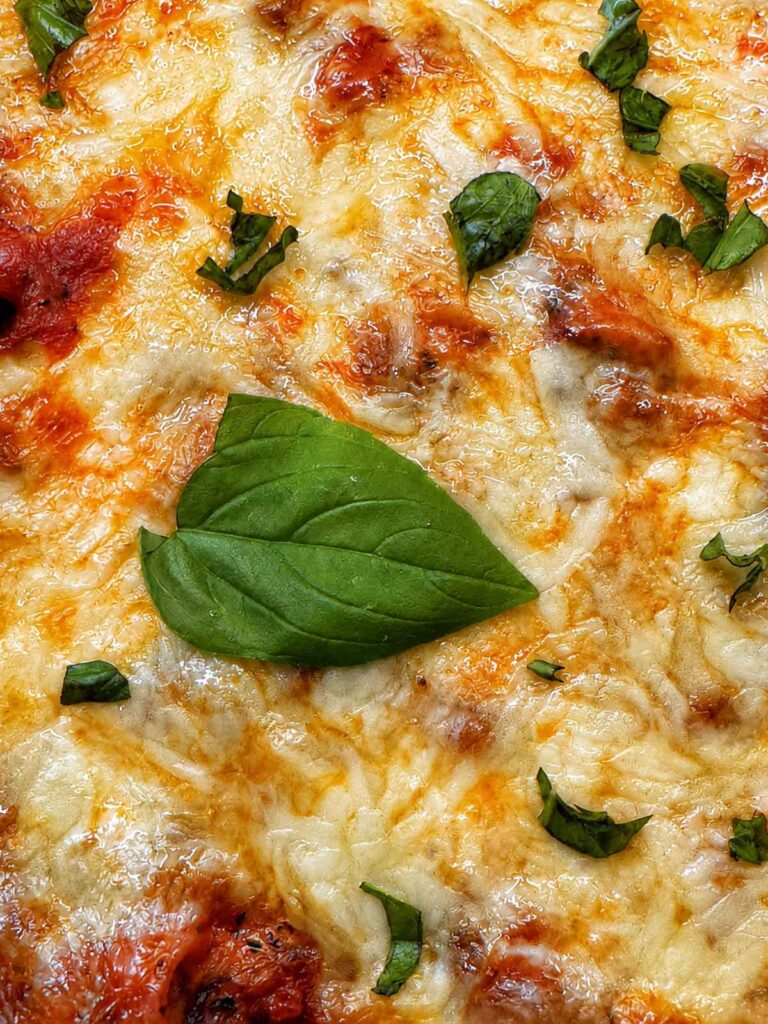
Cover with foil and bake at 350°F for 20 to 25 minutes, until it is hot and steamy through the middle. Uncover and bake another 15 to 20 minutes, until the cheese is melted, bubbly, and golden in spots.
Step 6: Rest and Garnish
Let it rest 10 minutes so the layers set, then tear fresh basil over the top. Resting helps because the layers firm up and slice cleanly instead of sliding apart.
Make-Ahead, Storage, and Freezing
This is the part that makes baked ziti such a lifesaver. It was practically built to be made ahead, and it holds up in the freezer better than almost anything else I make. Here is how I handle each version, with a 9×13 pan as my assumption… an 8×8 will run shorter on all these times, and a doubled batch will run longer.
Making it ahead (in the fridge)
Assemble the whole thing right up to baking, cover it tightly, and refrigerate for up to 24 to 48 hours. When you’re ready, bake it straight from the fridge and add about 10 minutes to the covered time, since it is starting cold. This is the version I lean on most for busy weeks.
Freezing it unbaked
Assemble it in a freezer-safe pan, wrap it well in foil and then a layer of plastic or a large freezer bag, and freeze for up to 3 months. You can bake it straight from frozen: keep it covered with foil at 350°F for about 60 to 75 minutes, then uncover for the last 15 to 20 to brown the top. Don’t worry if the very center takes a little longer… it is totally normal for a frozen pan.
Freezing it baked
Already baked it? Let it cool completely, then portion it into containers (or freeze the whole pan) for up to 3 months. To reheat from frozen, cover with foil and warm at 350°F for 45 to 60 minutes, then uncover for the last 10 to re-crisp the top. Add a splash of water or sauce before it goes in if it looks dry.
Reheating leftovers
From the fridge, a single portion reheats in the microwave in a couple of minutes, or cover it and warm it in a 350°F oven for 15 to 20 minutes. Either way, add a spoonful of sauce or a splash of water first. Baked pasta always tightens up in the fridge, and that little bit of moisture brings back the saucy texture.
Freeze the sauce separately
If you like meal-prep flexibility, make a big batch of the meat sauce and freeze it on its own for up to 3 months. Thaw it overnight in the fridge, then all you have to do on cooking day is boil pasta and assemble. It shaves a good chunk off the day-of prep, and it is a nice way to use up a double batch of my homemade spaghetti sauce.
Easy Cheesy Baked Ziti Recipe
Ingredients
- 1 pound (16 oz) ziti pasta (penne or rigatoni work too)
- 1 1/2 pounds ground meat (I usually use 1 lb of 85/15 ground beef and 1/2 pound of Italian sausage)
- 1 teaspoon Italian seasoning
- 1 batch (about 4 to 5 cups) homemade spaghetti sauce OR two 24-oz jars marinara or spaghetti sauce
- 8 oz fresh cheese (softened cream cheese, cottage cheese, and/or ricotta cheese)
- 2 cups (8 oz) shredded mozzarella divided
- 1/2 cup (about 1.5 oz) grated Parmesan
- 8 to 12 fresh basil leaves torn (optional)
- 1 tsp red pepper flakes (optional, if you want some heat)
Instructions
- Preheat the oven to 350°F and lightly grease a 9×13 baking pan.
- Bring a large pot of well-salted water to a boil. Cook the ziti about 2 minutes shy of al dente, so it is still firm in the center. Reserve 1/2 cup of the pasta water, then drain (do not rinse).
- Meanwhile, brown the ground meat in a large skillet over medium heat, breaking it up as it cooks, 6 to 8 minutes. Season with Italian seasoning and red pepper flakes if using. Drain off most of the fat.
- Stir the spaghetti sauce into the meat and warm it through for 3 to 5 minutes. Add a splash of the reserved pasta water if it looks thick; you want it a little loose. Taste and adjust the salt.
- In a bowl, stir a ladle of the warm sauce (or a splash of pasta water) into the cheese until smooth and spreadable.
- Toss the drained pasta with about three-quarters of the meat sauce until well coated.
- Spread half the pasta in the prepared pan. Dot and spread the cheese mixture over it, then scatter with 1 cup of the mozzarella.
- Add the remaining pasta, spoon the rest of the sauce evenly over the top, and finish with the remaining 1 cup mozzarella and all the Parmesan.
- Cover with foil and bake for 20 to 25 minutes, until hot and steamy through the center.
- Uncover and bake another 15 to 20 minutes, until the cheese is melted, bubbly, and golden in spots.
- Let it rest 10 minutes so the layers set, then tear fresh basil over the top and serve.
Nutrition
Notes
- Cook the pasta 2 minutes shy of al dente. It keeps cooking in the oven, and this is the single best way to prevent mushy baked ziti.
- Keep the sauce a touch looser than you think, and spoon a little extra over the top layer so it does not dry out.
- Make ahead: assemble, cover, and refrigerate up to 48 hours; add about 10 minutes to the covered bake time from cold.
- Freeze unbaked: wrap well and freeze up to 3 months; bake from frozen, covered, at 350°F for 60 to 75 minutes, then uncover 15 to 20 minutes.
- Reheat: add a splash of water or sauce first so leftovers stay saucy.
What to Serve with Baked Ziti
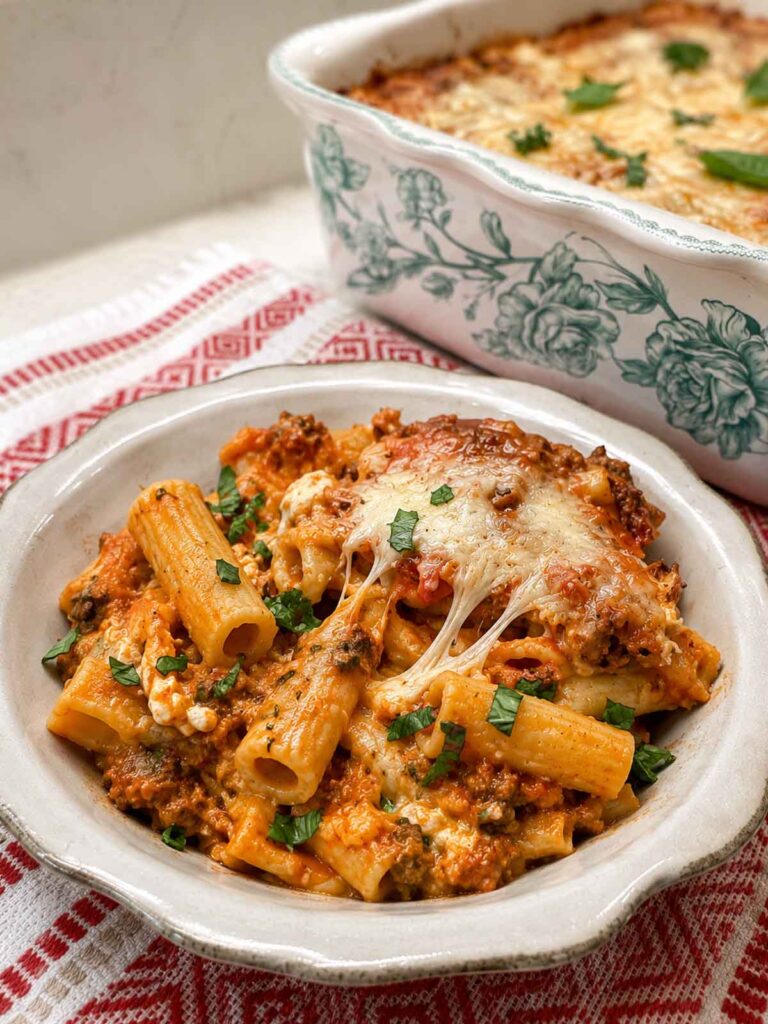
This pan is hearty enough to stand on its own, but a crisp green salad and some warm garlic bread turn it into a proper Sunday-supper spread. If you’re feeding a crowd, it plays nicely next to my easy lasagna recipe on a buffet, and on nights when I want a change of pace I’ll do a creamy chicken alfredo instead for that same cozy, pasta-night feeling.
Save any leftovers, as they might even be better on day two, once everything has had a night to settle together. Reheated with a splash of sauce, they are SO GOOD. If you make this, tap the stars to leave a rating and tell me how it turned out in the comments below. I always love hearing how it went in your kitchen.
Happy cooking!
Love,
Jennifer
Tried this recipe?
Tap the stars in the recipe card to leave a quick rating. Your rating helps other home cooks know this recipe works in a real kitchen, not just mine.
And as a thank-you for your feedback, you will receive a free printable copy of my Maker Home Companion Cookbook, featuring my most popular recipes, each one formatted on a SINGLE, easy-to-use page, a perfect kitchen companion for easy meal prep. Click here to learn more about this cookbook and how you can get your copy!


Meet Jennifer
Jennifer cooks and experiments in the kitchen at Maker Farm, where she focuses on simple pantry cooking, homemade staples, and practical recipes that make everyday meals easier. Over the years she has tested many ways to make cooking simpler and more dependable, and shares the methods that work best in her own kitchen, occasionally showing them on her Heart to Home at Maker Farm vlog.
My husband and I really liked this dish. However I changed somethings as I didn’t have some of the stuff your recipe called for. The things I changed were penne for ziti, bolognese sauce for the marinara and the cracker barrel Italiano for the mozzarella. The next time I make it I will use ricotta cheese instead of cream cheese as my husband found it a little rich. There was enough leftover that I could freeze it for 3 other meals.
I didn’t have Ziti so I used penne for my pasta and I never had marinara sauce but I had bolognese spaghetti sauce. I also added mushrooms to the sauce, it was good and I had enough to freeze for 3 meals. My husband had 2 helpings of the pasta dish and he said that he really liked it. My next recipe to try will be your apple crisp.
Penne works great for Ziti! Thank you for the feedback, Brenda. 🙂
Jennifer, this is a hit out of the ballpark! I made this for dinner tonight and it was fabulous! I used penne as I have never been able to find gluten free ziti, but that’s ok! We have homemade spaghetti sauce we made last year so I combined that with alfredo sauce as my daughter wanted more of a ‘rose’ sauce for a change. For the meat I used ground chicken and Italian Turkey sausage. I did use ricotta and I think that is the ‘fresh cheese’ of choice for your recipe based on how wonderful it tasted. This time we had more people for dinner that usual, but when I make it again, I will definitely split it into two; one for the freezer as this will be very helpful to cook after a busy working day! Once again, I thank you and look forward to trying more recipes and excited to see new ones!
Hooray! Thank you!
It was really good. Very cheesy and filling! I think I might like it better with ricotta, I used cream cheese.