
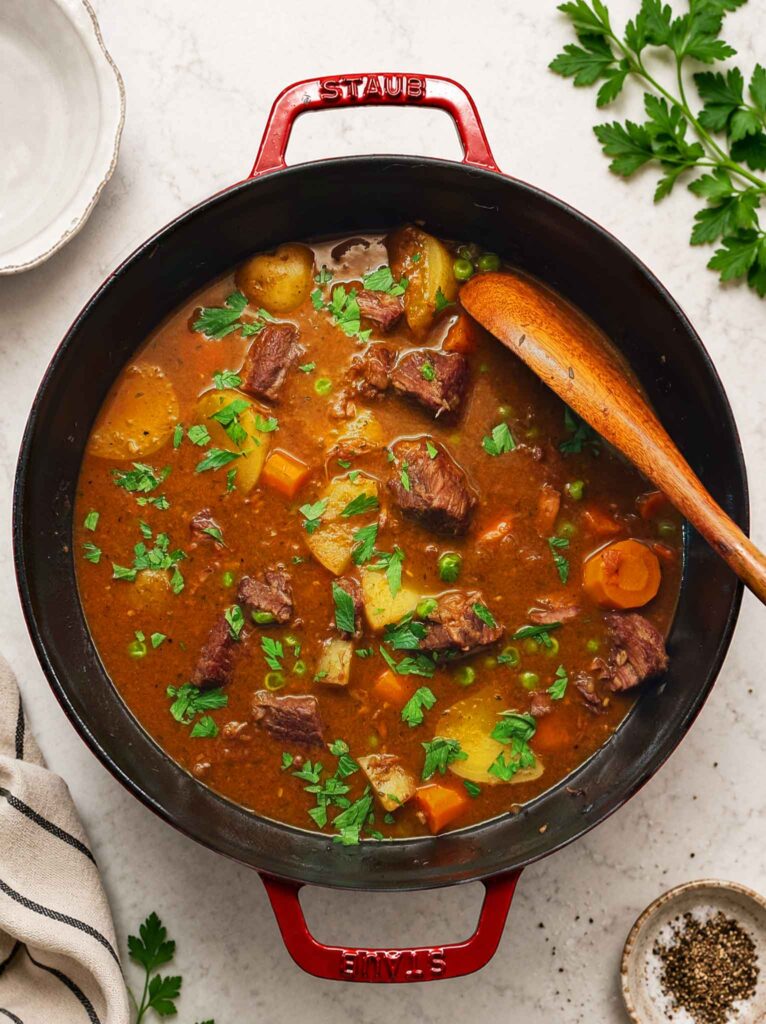
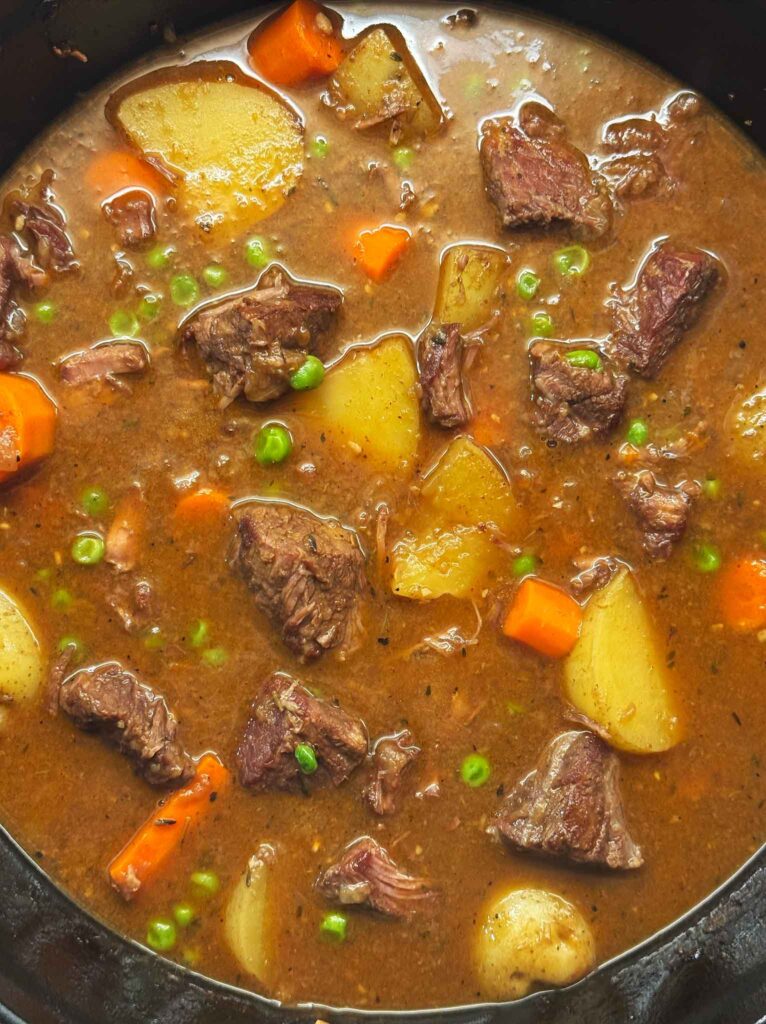
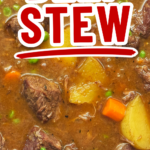
This old fashioned beef stew is filled with chunks of beef roast browned deep and dark, then slow braised in a rich gravy of red wine, beef broth, and Worcestershire with carrots and Yukon Gold potatoes. It all happens in one Dutch oven, from searing to the long braise in a 325°F oven, and gets dinner on the table faster than using a slow cooker.
Beef Stew At A Glance
Prep
30 min
COOK
2 hours 45 min
Total
3 hours 15 min
Serves
6
Pan
Large Dutch oven
A Tender Stew That Doesn’t Take All Day

I love slow cooked beef stew, but I don’t love having to start it in the morning with the crockpot. I just don’t think that far enough ahead most days. That’s one of the reasons I have a pantry beef stew recipe that relies only on canned goods. But sometimes I want to make a really GOOD stew the traditional way, and for that I pull out my Dutch oven.
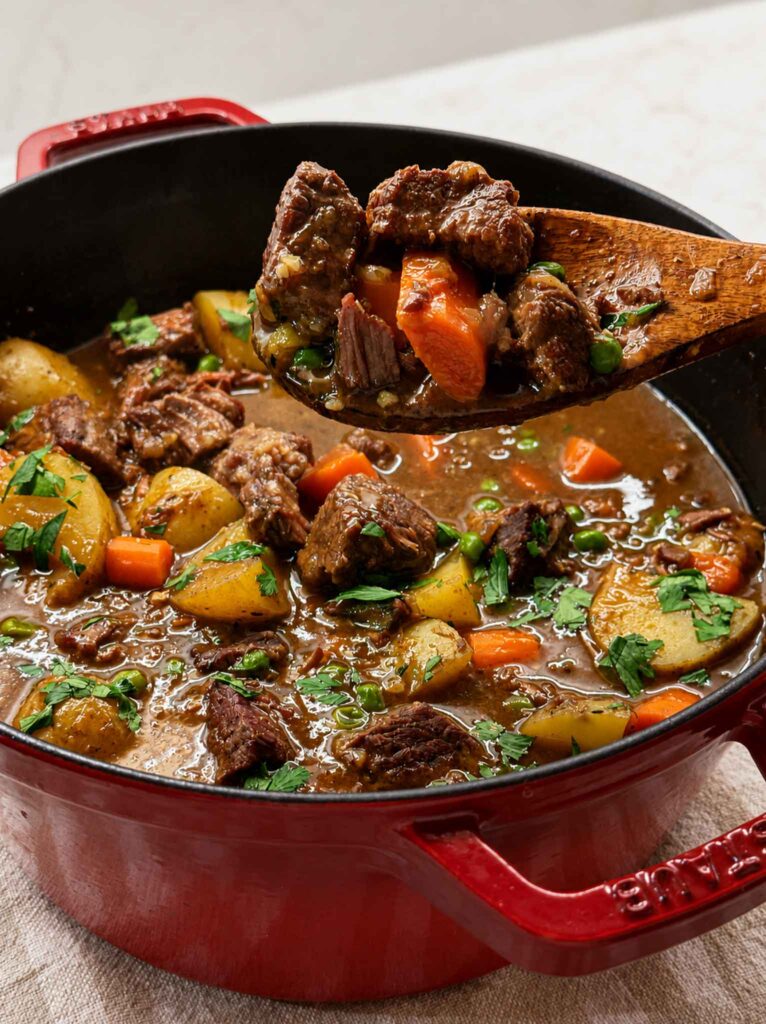
The beef comes out SO tender, and the gravy has a depth you just can’t get from a crockpot. Part of that is the browning, and part is that everything cooked in one pot, so every bit of flavor stayed right where it belonged. For a meal meant to be special, I think the Dutch oven wins hands down. That said, not everyone has an afternoon to spend near the oven, so I’ve included a crockpot version further down.
I made this stew for my husband Greg, who spent his entire Saturday building me new canning shelves in the pantry. I wanted to thank him with a real dinner, not a fast one. This hit the spot!
Let’s dig in!

Tips and Notes Before You Start
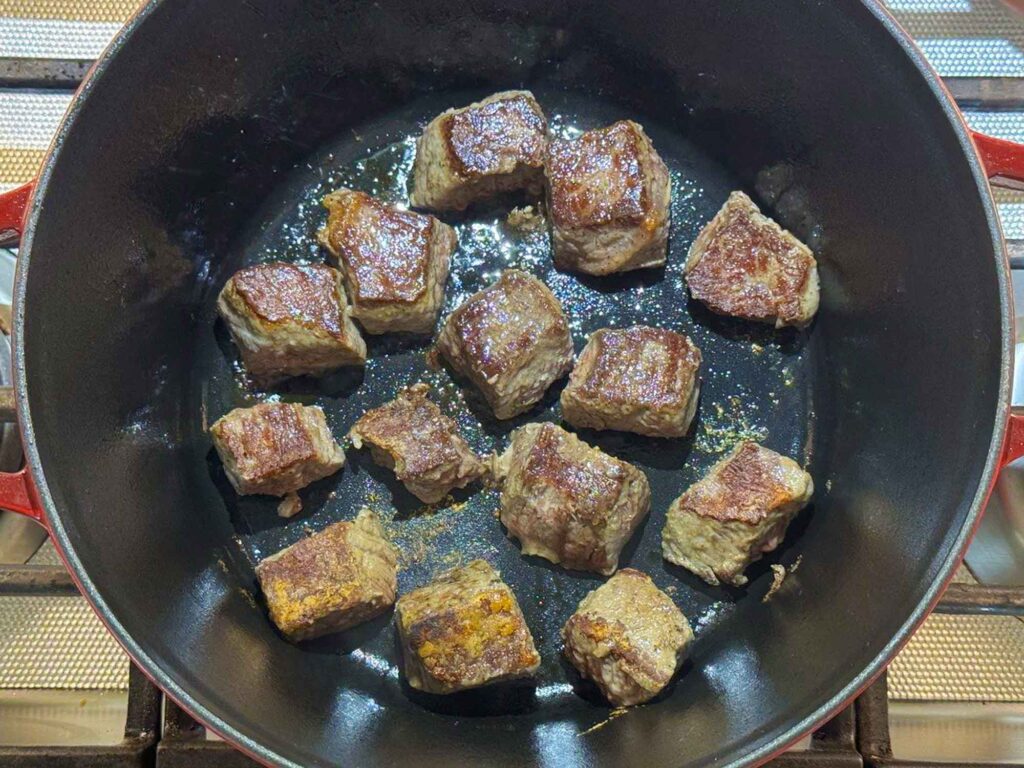
- Pay attention to the meat. Give the browning step its full ten minutes. It’s the difference between good stew and really good stew.
- Veggie size. Cut the carrots and potatoes bigger than you think, so they stay recognizable instead of dissolving into brown soup.
- The time is worth it. This is a slow, hands-off afternoon rather than a quick weeknight dinner, but almost all the work is in the first half hour.
- Easy cleanup. One pot does everything, from searing to braise, so there’s very little mess at the end.
- Make ahead. It’s even better the next day, which makes it a great dish to cook a day ahead.
The Best Cut of Meat for Beef Stew
Here are your best meat options, roughly in order, to help as you’re trying to choose:
- Chuck roast: probably the best all-around choice. Well-marbled, flavorful, and very forgiving.
- English roast / cross-rib roast: excellent for this recipe; a little leaner than some chuck roasts but still very good for braising. (This is what I used, because it’s what I could find while standing in the grocery store.)
- Chuck tender roast / mock tender: works well, though leaner and a little less luxurious than regular chuck.
- Boneless beef short ribs: fantastic and richer, but usually more expensive.
- Bottom round roast: usable, but leaner and less forgiving; I’d rank it below chuck.
- Stew meat: convenient, but quality varies because the package can contain mixed cuts. It’s better to buy a whole roast and cube it yourself, if possible.
I would avoid very lean cuts like eye of round, top round, sirloin tip, or tenderloin for this particular stew. They can cook up drier or firmer instead of becoming succulent.
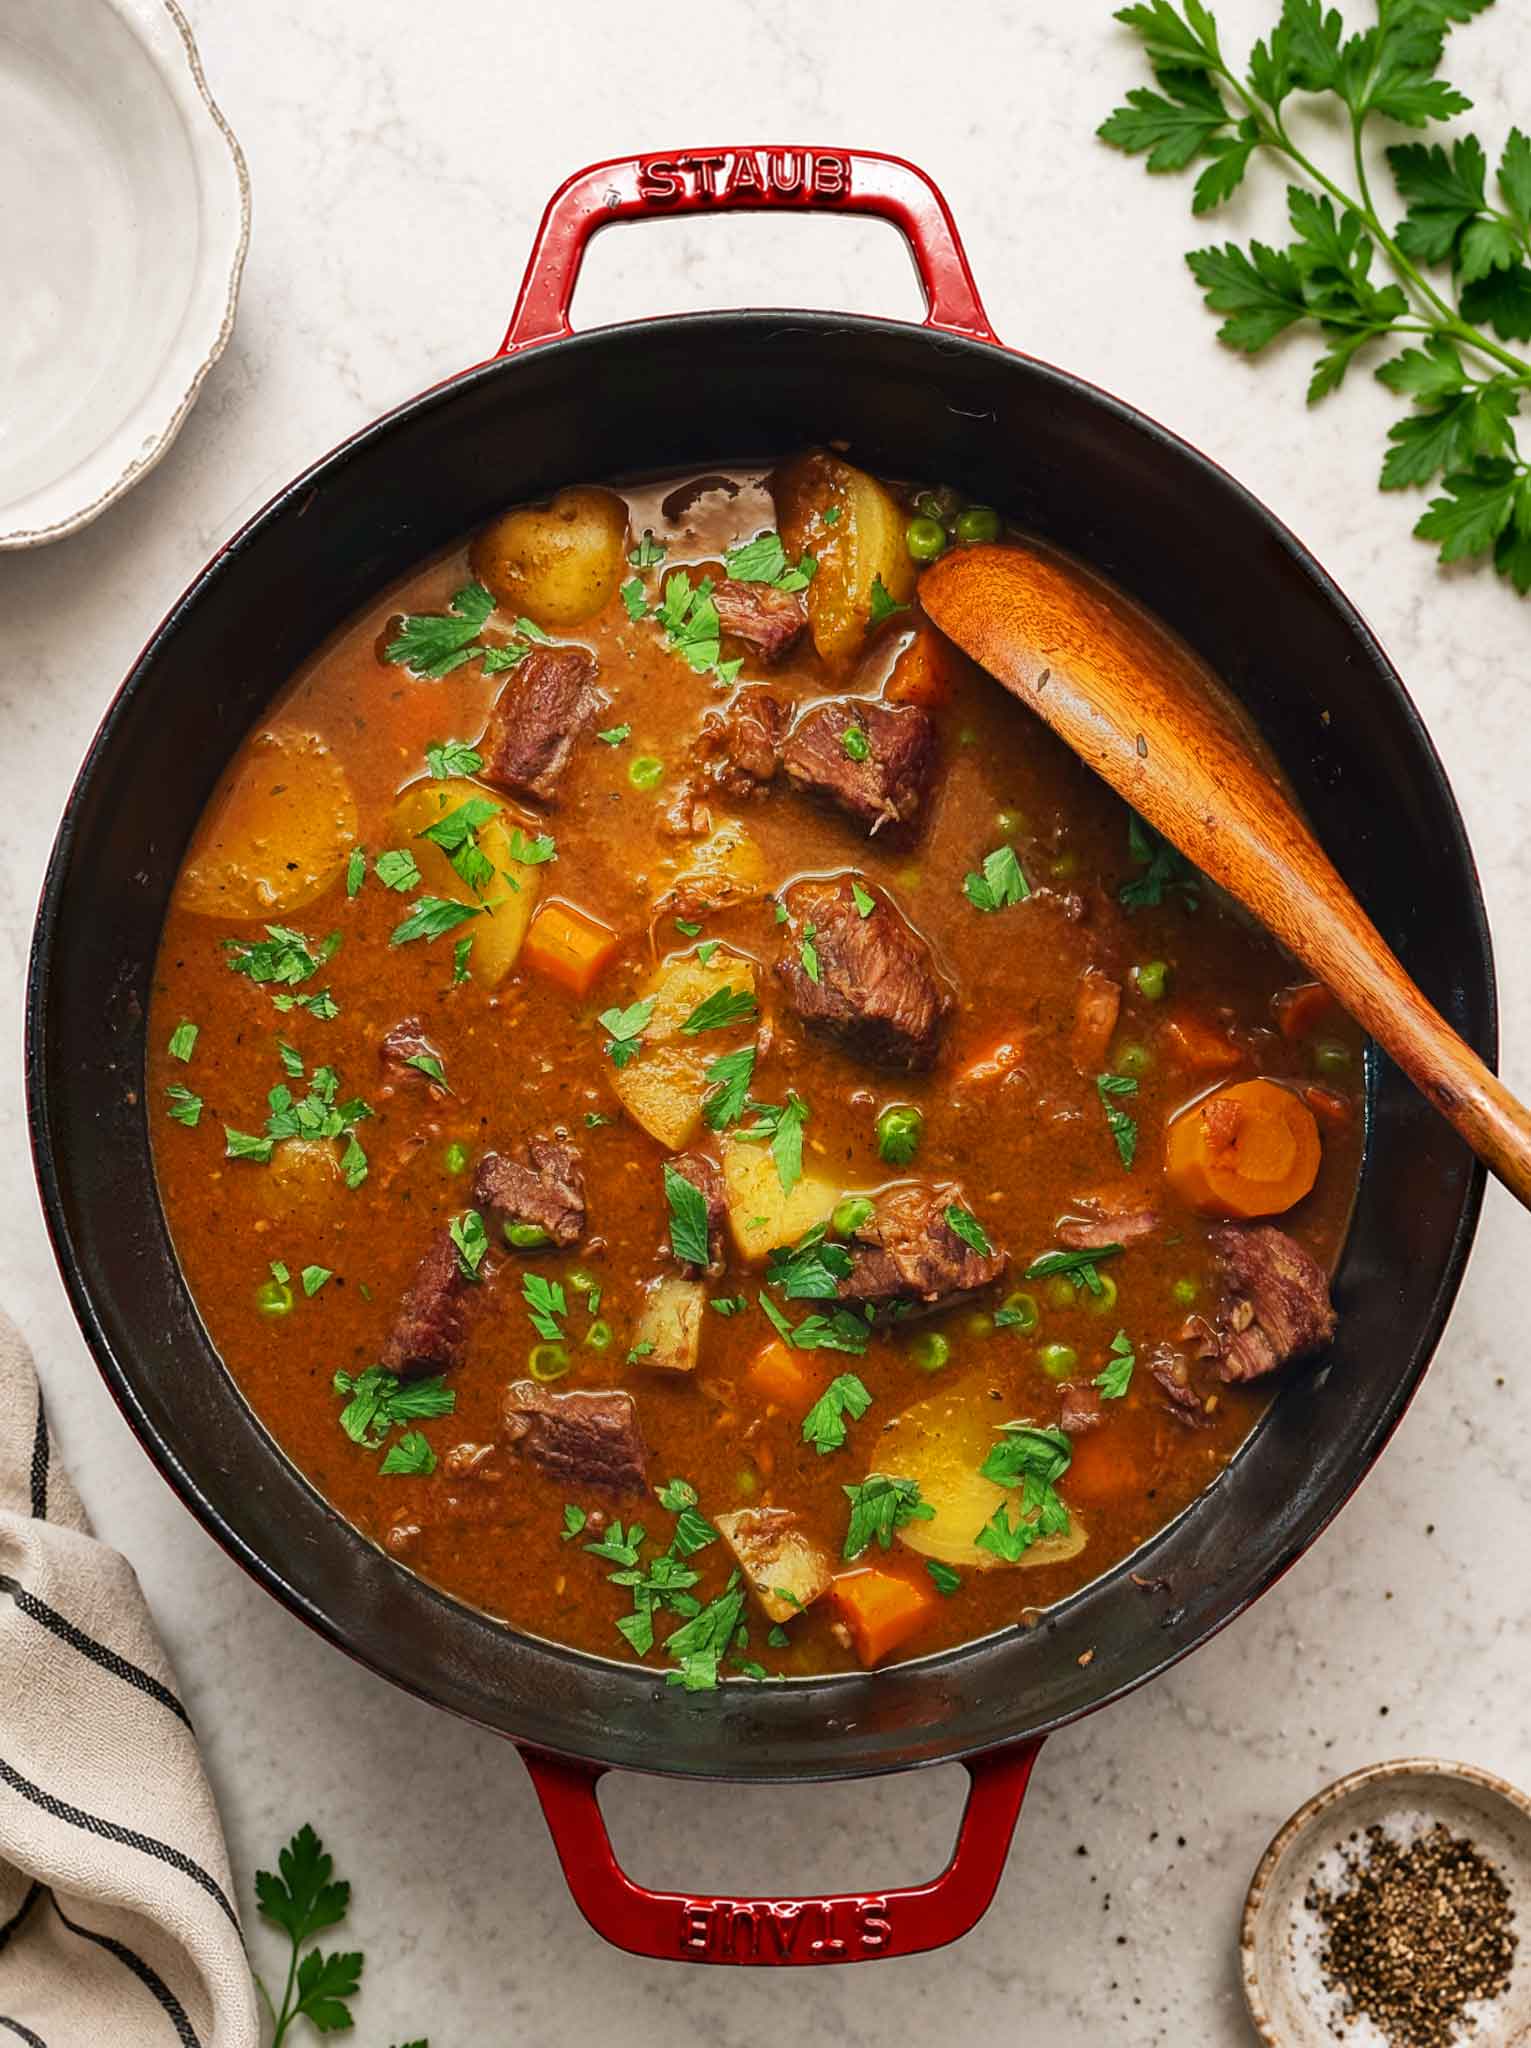
Old Fashioned Beef Stew Recipe
Equipment
- 1 large Dutch oven
Ingredients
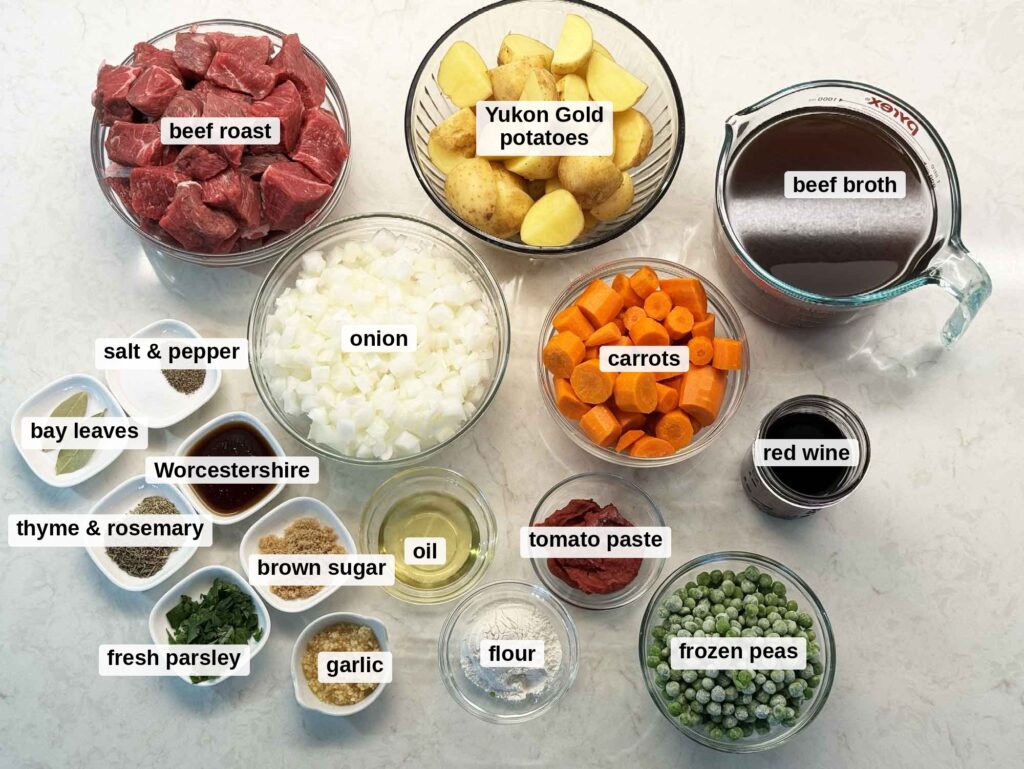
- 2 1/2 pounds beef stew or roast meat (cut into roughly 1 1/2-inch chunks)
- 1 1/2 teaspoons kosher salt plus more to taste
- 3/4 teaspoon black pepper
- 3 tablespoons all-purpose flour
- 2 tablespoons avocado or canola oil divided
- 1 large yellow onion chopped
- 3 garlic cloves minced
- 2 tablespoons tomato paste
- 1/2 cup dry red wine, such as Cabernet, Merlot, or Pinot Noir (or 1/2 cup extra beef broth plus 1 teaspoon red wine vinegar)
- 4 cups beef broth
- 1 tablespoon Worcestershire sauce
- 1 teaspoon dried thyme
- 1/2 teaspoon dried rosemary
- 2 bay leaves
- 1 teaspoon brown sugar
- 4 medium carrots, cut into thick pieces
- 1 1/2 pounds Yukon Gold potatoes, cut into 1 1/2-inch chunks
- 1 cup frozen peas
- 1 to 2 tablespoons chopped fresh parsley
Instructions
- Heat the oven to 325°F. Pat the beef dry, season with salt and pepper, then toss with the flour until lightly coated.
- Heat 1 tablespoon of the oil in a Dutch oven over medium-high to high heat. Brown the beef in 2 to 3 batches, leaving room between pieces and letting each batch sit undisturbed several minutes to form a dark crust. Transfer to a plate.
- Reduce heat to medium. Add the remaining oil and the onion and cook about 5 minutes, until softened. Add the garlic and tomato paste and cook 1 to 2 minutes more, stirring, until the paste turns a darker brick red.
- Pour in the wine and scrape every browned bit from the bottom of the pot. Simmer 3 to 4 minutes, until reduced by about half.
- Add the beef broth, Worcestershire, thyme, rosemary, bay leaves, and brown sugar. Return the beef and any juices to the pot and bring just to a simmer.
- Cover and transfer to the 325°F oven for 1 1/2 hours.
- Stir in the carrots and potatoes. Cover and cook another 60 to 75 minutes, until a piece of beef breaks apart easily with a fork.
- Remove the bay leaves. Stir in the frozen peas and cook uncovered on the stovetop about 5 minutes. If the gravy is thinner than you want, simmer uncovered another 10 to 15 minutes, or mash 1 to 2 potato chunks into the broth to thicken it.
- Taste and add more salt and pepper as needed. Stir in the parsley and serve.
Nutrition
Notes
How to Make Beef Stew in a Crockpot
The Dutch oven is my top choice for a special dinner, but a slow cooker works great if you want to set it and walk away. Don’t skip browning the beef, so plan to use a skillet for the first steps, then move everything to the slow cooker.
Brown the floured beef in batches in a skillet. Cook the onion, garlic, and tomato paste in the same pan, then deglaze with the wine. Pour everything into the slow cooker. Add the broth, Worcestershire, thyme, rosemary, bay leaves, brown sugar, beef, carrots, and potatoes. The slow cooker is gentle enough that the vegetables will hold up. Cook on low for 7 to 8 hours or high for 4 to 5 hours. Stir in the peas for the last 15 minutes.
Slow cookers trap steam, so the gravy will be thinner than the oven version. To thicken it, mash a few potato chunks into the stew. Or, mix 1 tablespoon of cornstarch with 2 tablespoons of cold water to make a slurry. Stir it in and cook on high for 10 minutes until glossy. Be careful not to add dry cornstarch directly, or it will clump.
How to Store, Reheat, and Make Beef Stew Ahead
Cool the stew, then keep it in a covered container in the fridge for up to 4 days. Reheat it low and slow on the stovetop with the lid on. If the gravy thickened in the fridge, add a splash of broth to thin it. Leftover stew is one of the few things I like more the next day because the flavors have time to blend.
To use this stew as a make-ahead dinner, cook it fully a day early, chill it overnight, and reheat it gently before serving. The gravy thickens as it sits. A stew made Saturday and served Sunday truly tastes better than one served right away. If you are cooking for people on a busy day, this is the one thing I suggest making ahead.
Can I freeze beef stew?
Yes, it freezes well for up to 3 months. Cool it completely first so steam does not get trapped, then freeze it in portions and thaw it in the fridge overnight.
FREEZING Tip

Potatoes can get a bit grainy after freezing. If you plan to freeze it, leave the potatoes out, freeze just the beef and gravy, and add fresh potatoes when you reheat it.
What to Serve With Beef Stew
This is a full dinner in one bowl, so it just needs something to soak up the gravy. We like it with warm homemade bread or biscuits and butter, which is worth the effort. My easy no-knead bread takes almost no hands-on work, and sourdough discard biscuits bake while the stew finishes on the stovetop. A simple green salad on the side is nice too, if only so you can feel virtuous about the second helping. Haha.
I hope you love this stew as much as we did!
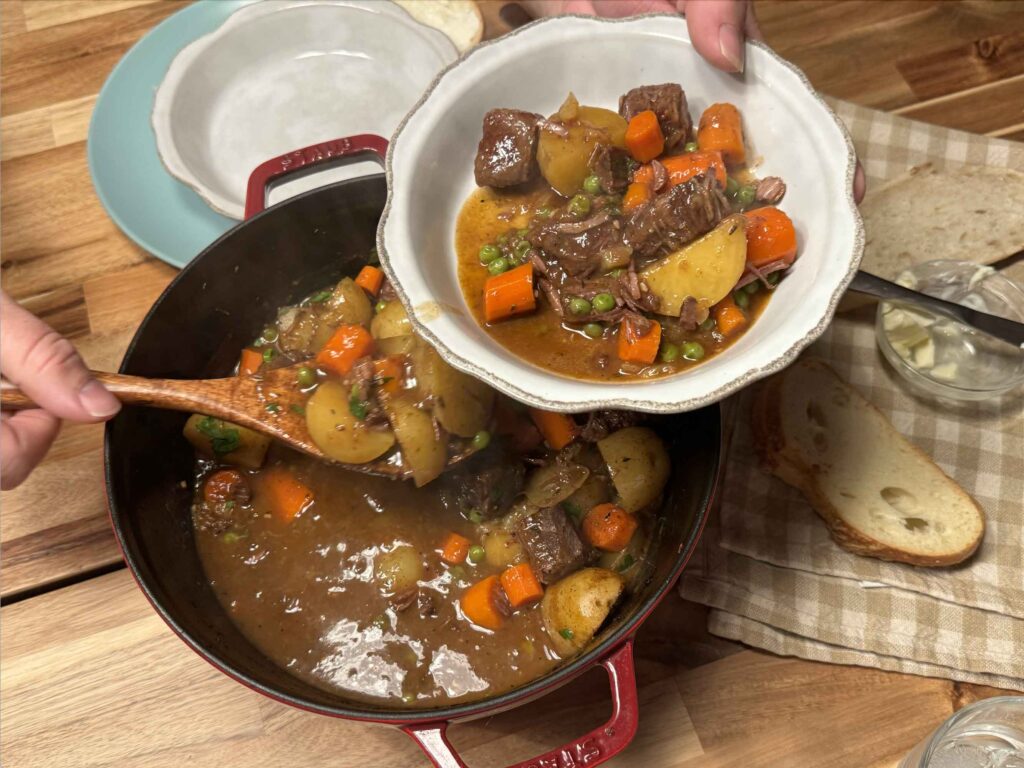
Real-life Photo: Here’s a dinner-table shot with my phone of my husband Greg dishing me up a bowl of beef stew. I wanted to show you a real life view of what this meal looks like beyond the pretty photos I like to share here.
If you make this, please let me know how it turned out!
Love,
Jennifer

Tried this recipe?
Tap the stars in the recipe card to leave a quick rating. Your rating helps other home cooks know this recipe works in a real kitchen, not just mine.
And as a thank-you for your feedback, you will receive a free printable copy of my Maker Home Companion Cookbook, featuring my most popular recipes, each one formatted on a SINGLE, easy-to-use page, a perfect kitchen companion for easy meal prep. Click here to learn more about this cookbook and how you can get your copy!
More Meals You Will Love:

Meet Jennifer
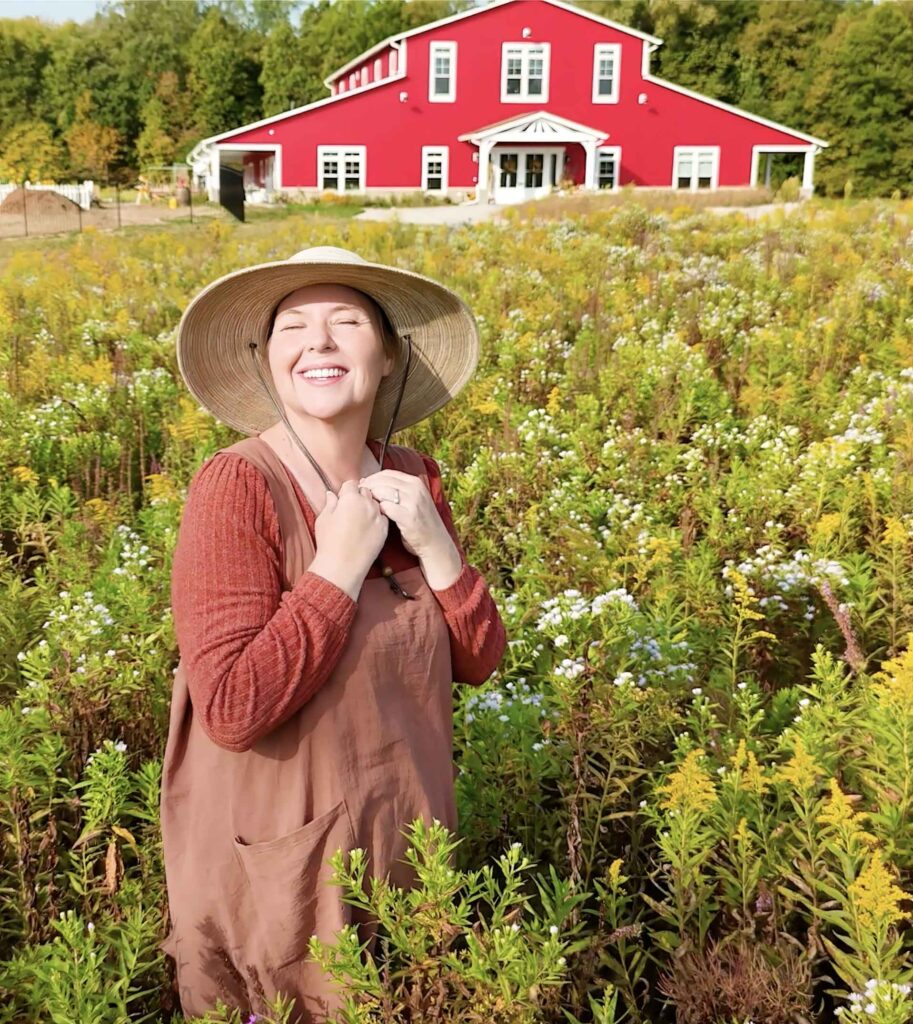
Jennifer cooks and experiments in the kitchen at Maker Farm, where she focuses on simple pantry cooking, homemade staples, and practical recipes that make everyday meals easier. Over the years she has tested many ways to make cooking simpler and more dependable, and shares the methods that work best in her own kitchen, occasionally showing them on her Heart to Home at Maker Farm vlog.
I made this recipe but I added mushrooms. I also added more beef broth in place of the wine. My husband said that he really liked it.
Mushrooms are a great addition, as is more broth instead of wine. Thank you for the feedback, Brenda!
I made this beef stew for dinner tonight and it was absolutely delicious! Even my husband remarked about the “depth of flavor” and how it great it tasted. Definitely will be making this again. Thanks, Jennifer!
Great receipe for beef stew, family loved it. The only substitute was to add Pillsbury buttermilk biscuits to the last 15 minutes. Will make again !
Thanks Jennifer