

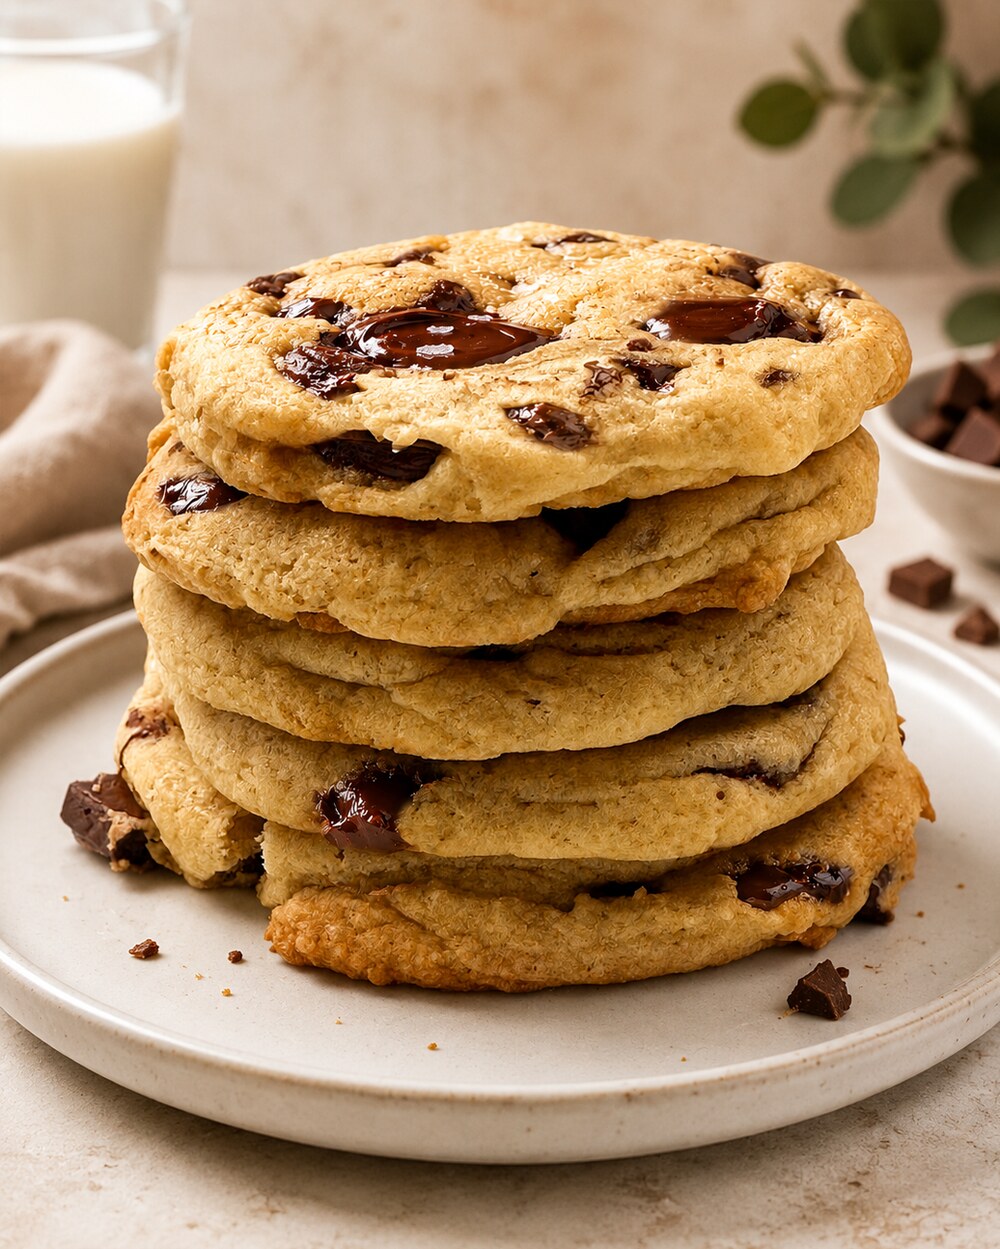
These soft and thick sourdough chocolate chip cookies are bakery-style cookies made with sourdough starter (discard or active), brown and white sugar, an extra egg yolk, and plenty of chocolate chunks. You cream, chill, scoop into tall mounds, and bake at 350°F for about 12 minutes, until the edges are set and the centers still look a little underdone. Ah-mazing!
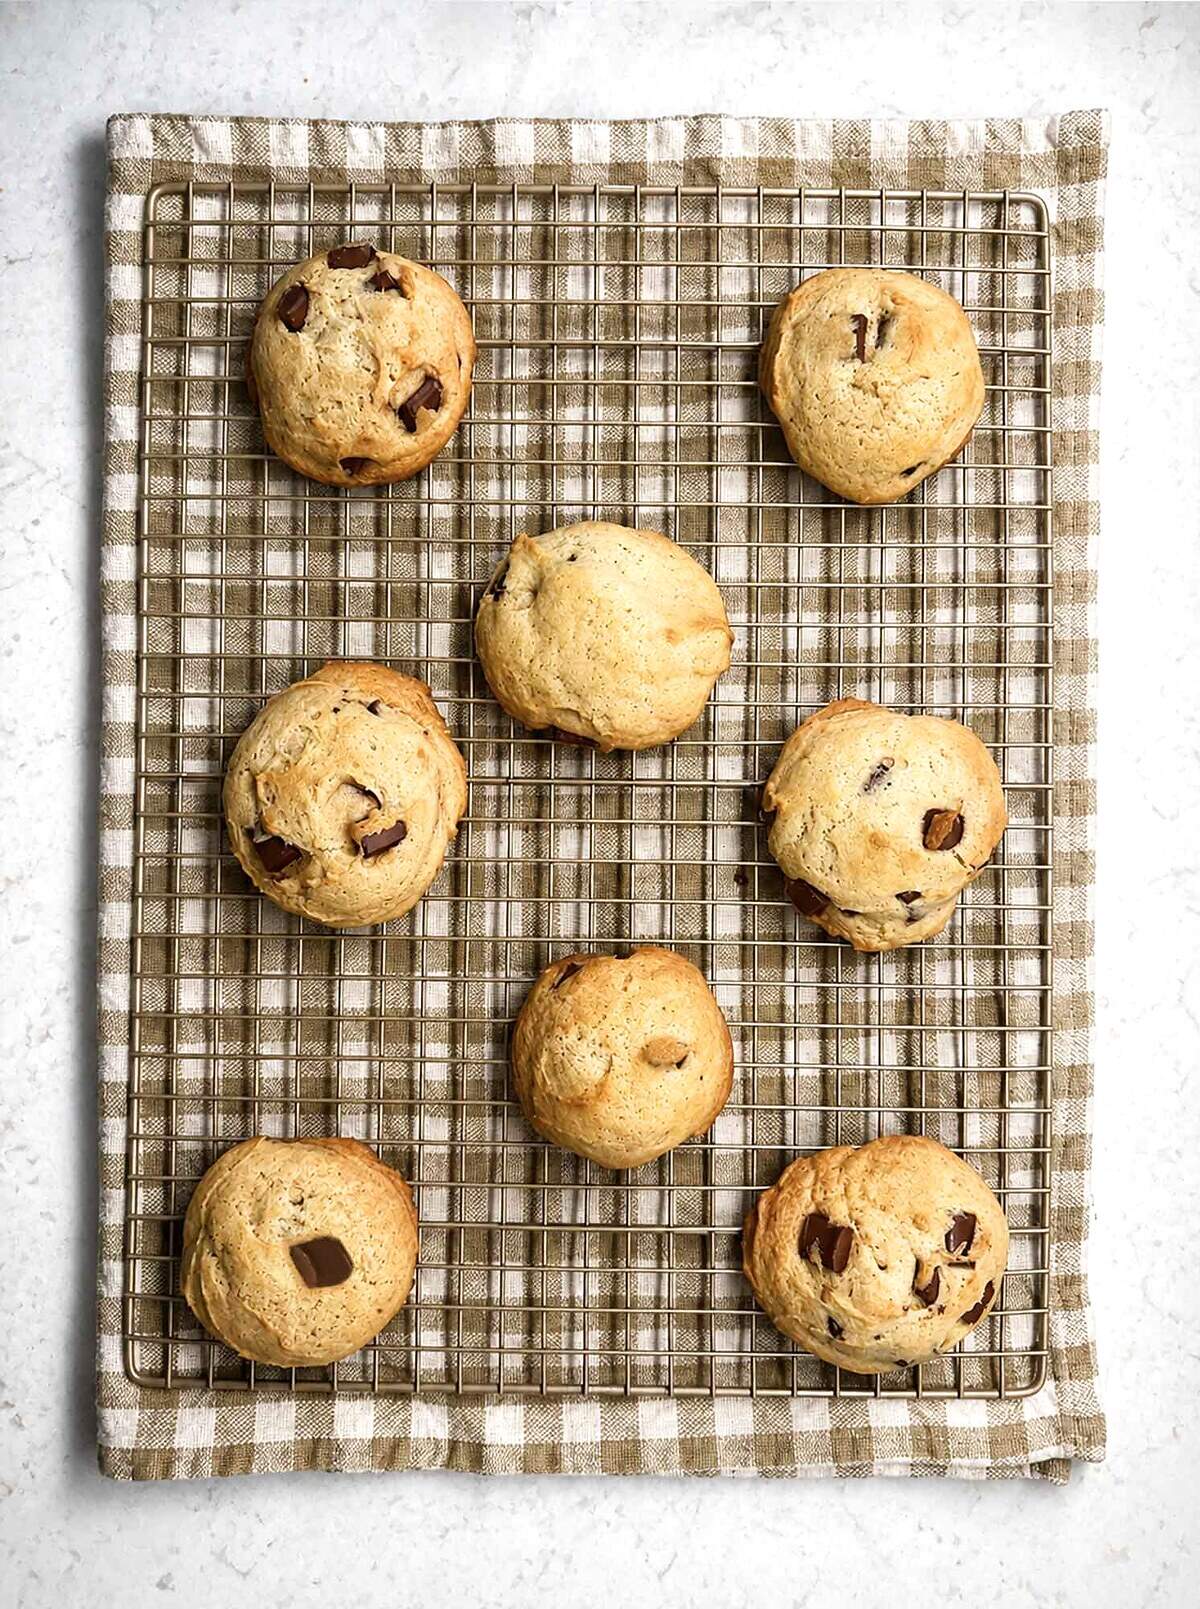
These Cookies Have “Secrets” That Make Them So Soft and Thick

I love soft cookies, and the softer the better. I’ve been known to reject perfectly-good cookies if they are hard and crunchy. So I work hard at figuring out how to make cookies soft and chewy without just becoming cake-like.
The ingredients really make a difference. Adding sourdough starter to my cookies makes them super soft and chewy, improving the texture and adding moisture. An extra egg yolk (on top of one whole egg) adds fat and helps with that chewy, dense middle. And light brown sugar holds onto moisture where white sugar alone would dry them out, so using both gives you soft centers with edges that still crisp up a little.
On top of all that, I love to freeze these as ready-to-bake dough balls. Baking cookie dough from frozen is one of the best ways to guarantee a soft, thick and ultra-chewy center. Plus, it is SO nice to pull a couple of frozen dough balls straight from the freezer and have warm cookies in about fifteen minutes. No stale cookies going hard on the counter, no pressure to finish a full batch, just that fresh-from-the-oven taste any night we feel like it.
Enjoy!


Want to Save This Recipe?
Enter your email below and we’ll send it straight to your inbox! Plus you’ll get new recipes each week!
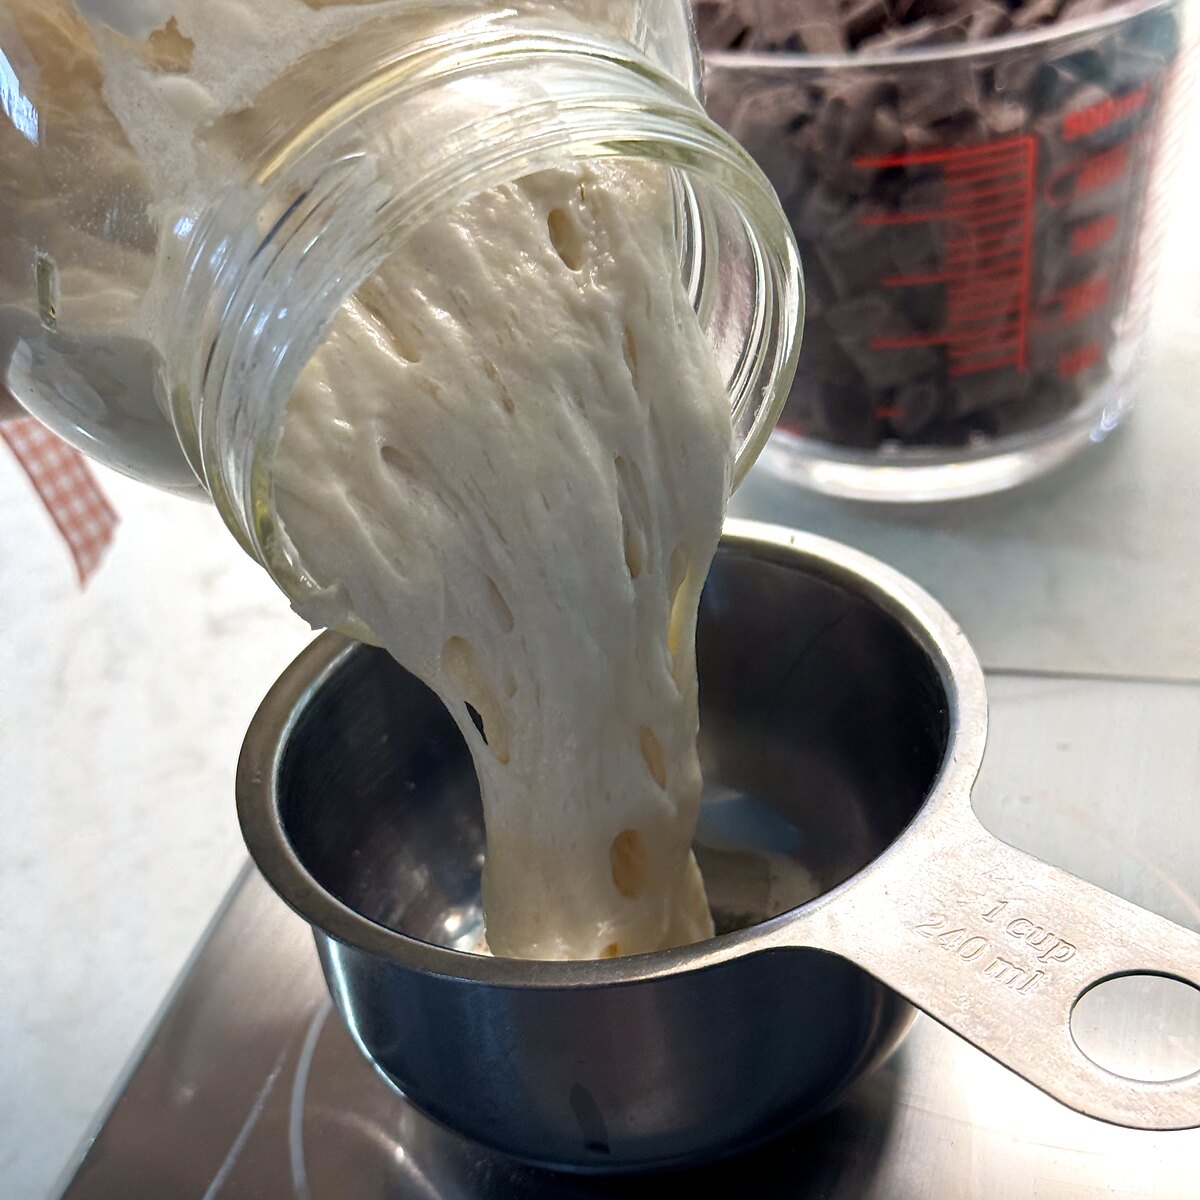
Do I need to feed my sourdough discard first?
Nope, and that is the whole point. Discard is the unfed starter you would normally pour off before feeding, so straight from the fridge is perfect here. It does not need to be bubbly or active, which means these cookies are a great use for the stuff you would otherwise throw away.
Here is the nice part though: active, fed starter works just as well, so use whichever you have. They do bake up a little differently, and it is worth knowing which you prefer. Active starter, the bubbly kind you have just fed, makes the cookies a little thicker and a little less tangy. That is actually what I used for the batch you see here. Discard, the unfed kind, makes them a little flatter and gives you more of that gentle sourdough tang. There is no wrong choice, and both are SO good, so just reach for whatever is in your jar.
Ingredient Notes and a Few Easy Swaps
Everything on this list is pantry-friendly, and most of it you probably have on hand already. Except maybe the chocolate chunks, because if you’re like me, you ate them straight out of the bag already and they are all gone. Haha.
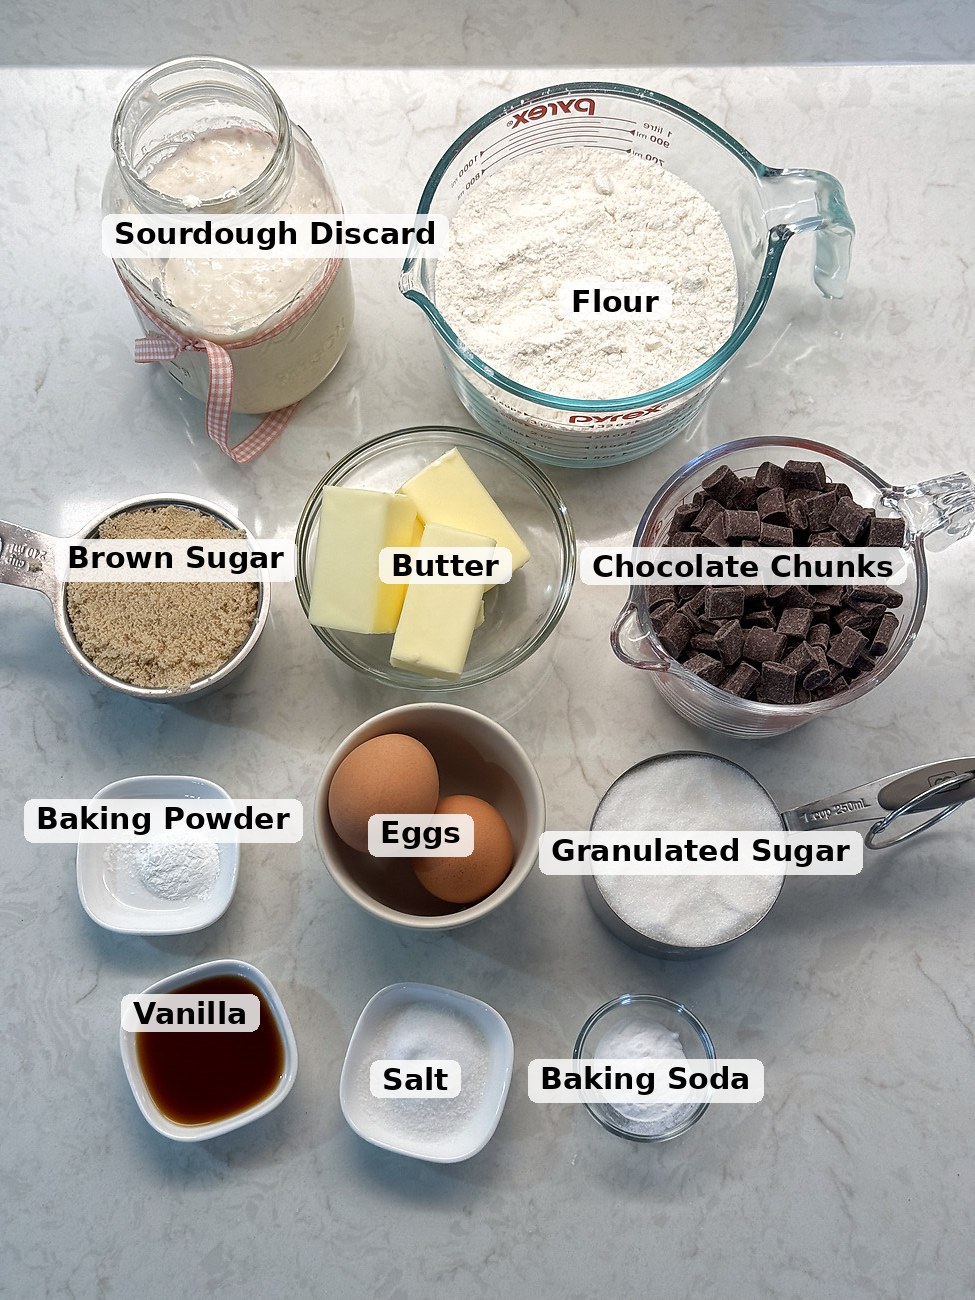
- Unsalted butter, softened. Softened, not melted. If it is too warm or greasy the cookies will spread thin, so you want it soft enough to dent with a finger but still cool to the touch.
- Sourdough discard. Unfed discard, room temperature or cold, both work. Give it a stir first if it has separated. If you need to make a starter (all you need is flour and water), see my sourdough starter guide for beginners.
- Light brown sugar and granulated sugar. The brown sugar is for chew and moisture, the white sugar helps the edges set. I would not swap all one for the other.
- One whole egg plus one yolk. The lone yolk is a small thing that makes a big difference in how rich and dense they bake up. Do not skip it.
- Chocolate chips or chunks. Whatever you love. Chunks or a roughly chopped chocolate bar melt into gorgeous pools, chips hold their shape more.
- Flour, baking soda, baking powder, and salt. A little of both leaveners gives you lift without going cakey.
How to Make Cookies (Step by Step)
We are really making these in two easy stages: mixing the dough, then chilling it before it ever sees the oven. I will walk you through both, and I promise it is simpler than a lot of cookie recipes you have tried.
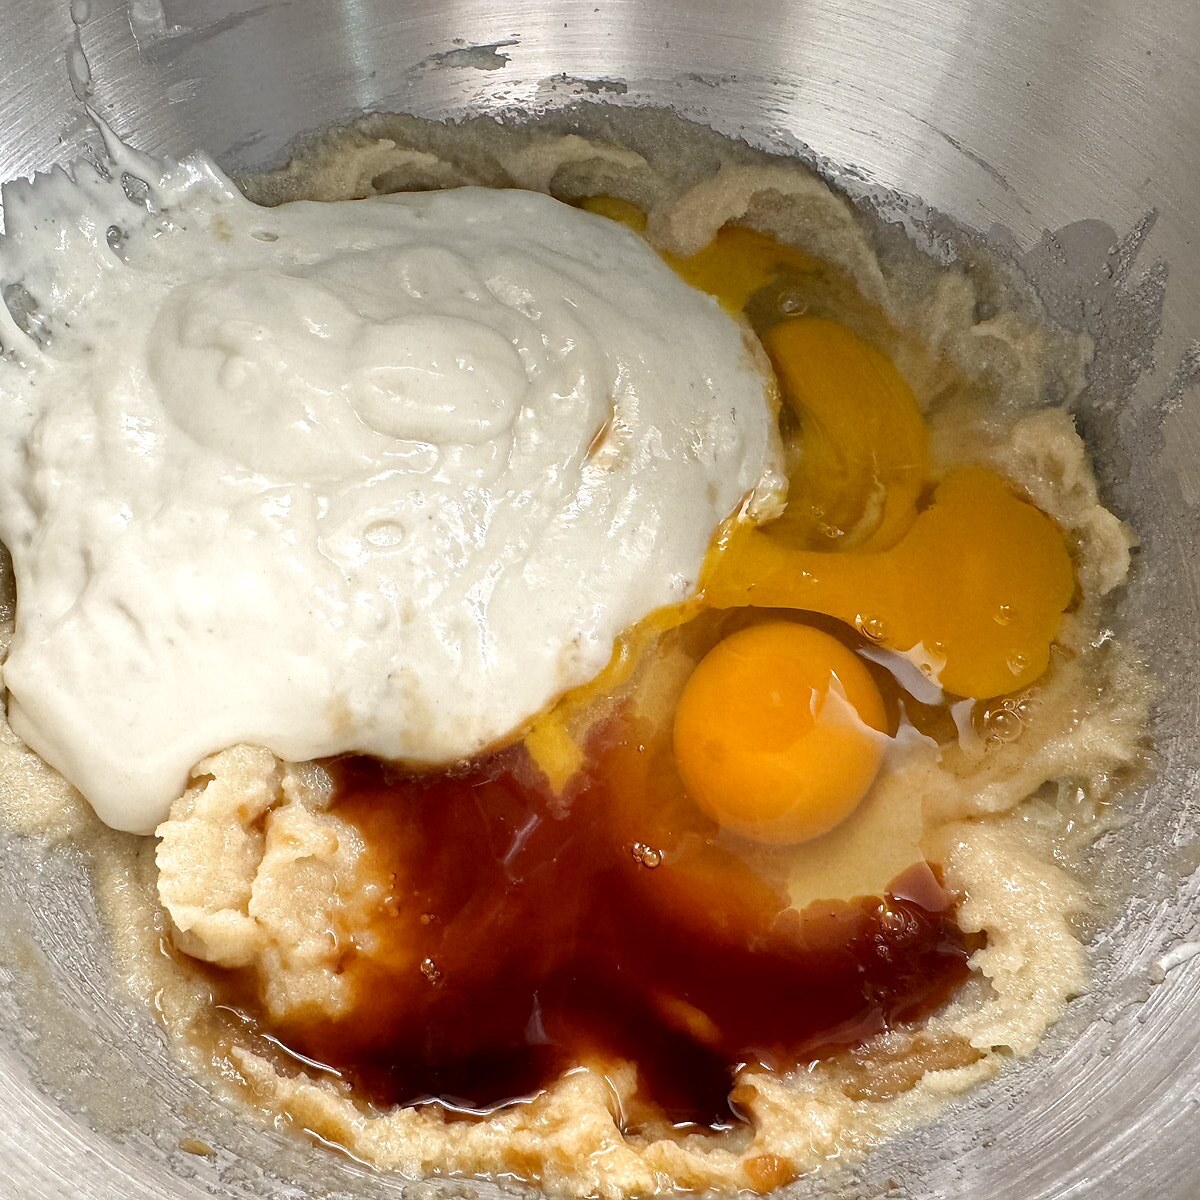
Start by creaming the softened butter with both sugars until the mixture looks light and fluffy, about 2 minutes. You are not just blending here, you are beating air in, and that air is part of what gives you a taller cookie. Then add the whole egg, the extra yolk, the sourdough discard, and the vanilla, and mix until smooth. I used my stand mixer, but you can also just do this by hand.
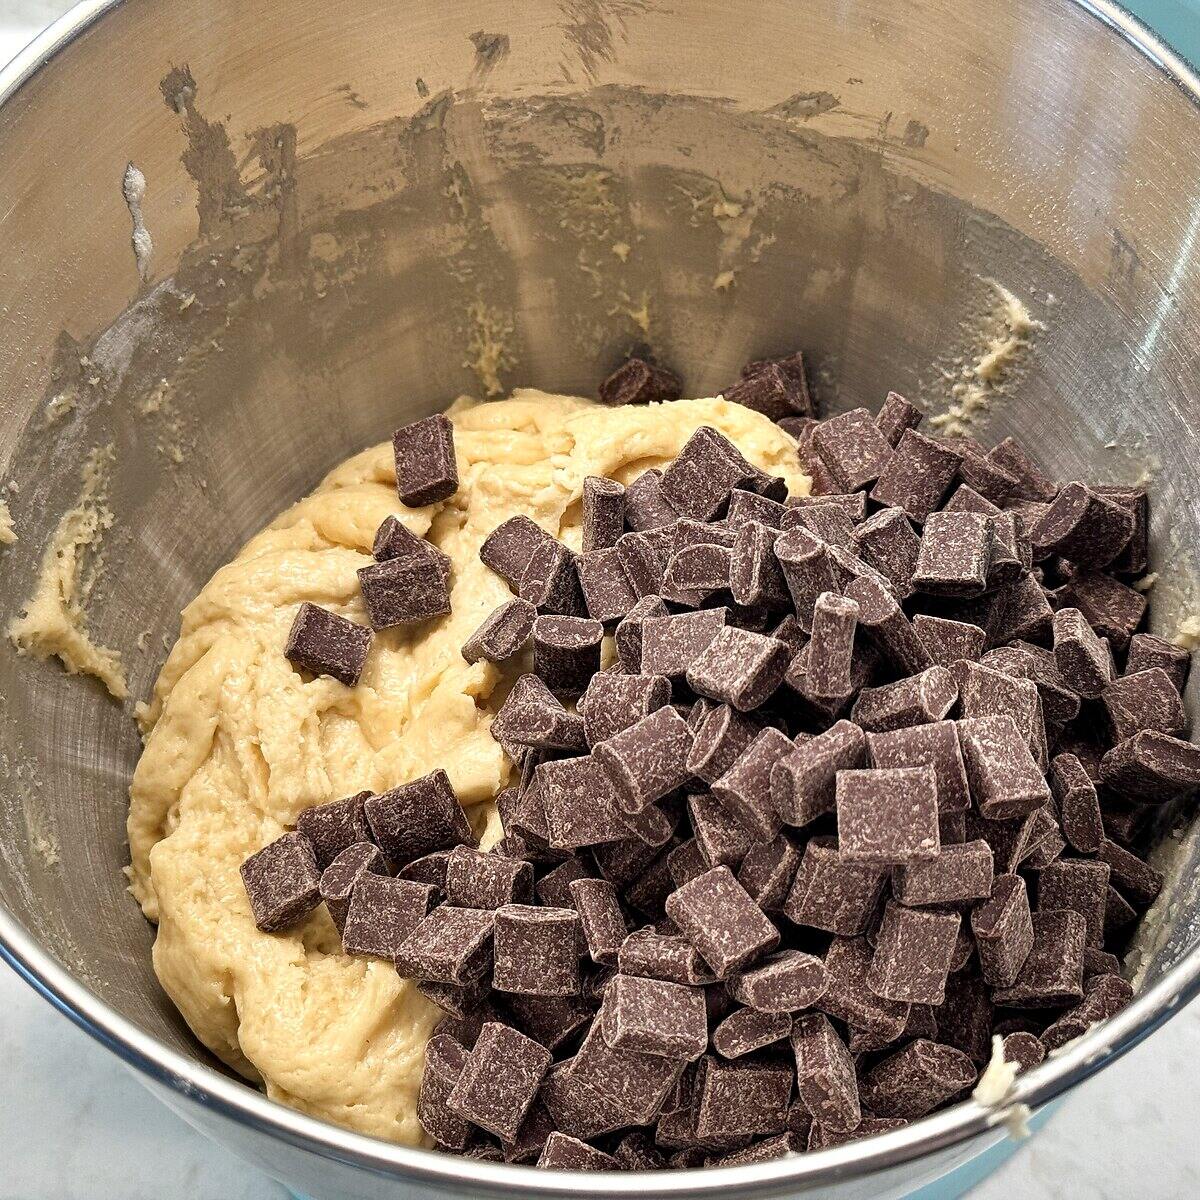
In a separate bowl, whisk together the flour, baking soda, baking powder, and salt so the leaveners are evenly spread. Add the dry ingredients to the wet and mix just until they disappear. One common mistake is overmixing once the flour goes in, which develops the gluten and can make cookies tough, so stop as soon as you no longer see dry streaks. Stir in the chocolate chunks by hand and you are done with the messy part.
Why We Chill The Dough

Chilling is the step people want to skip, and it is the one I would beg you to keep. Chill for at least 2 hours, and overnight is even better. This helps because the cold firms the butter back up so the cookies hold their height instead of spreading into flat puddles, the flour has time to fully hydrate for a better texture, and the flavor (including that subtle sourdough tang) deepens as it rests. If you bake warm dough, it will run. Ask me how I know.
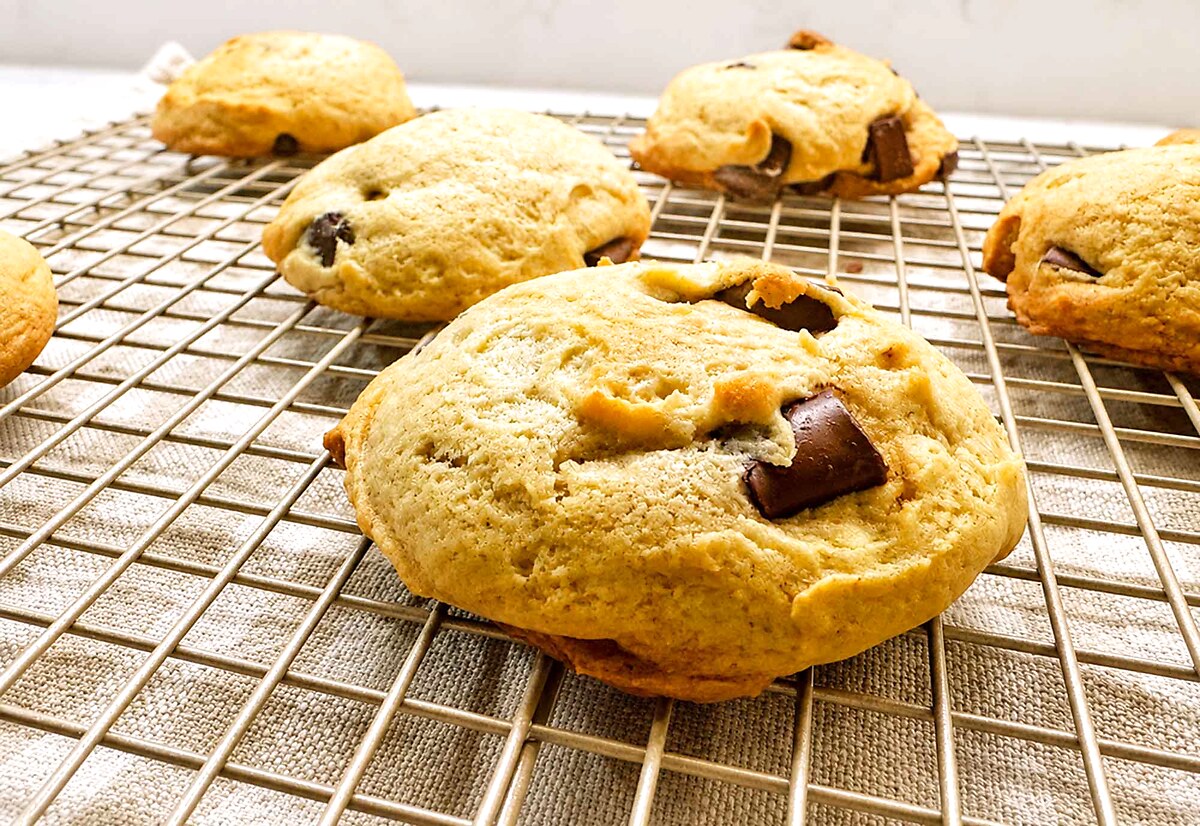
When you are ready, preheat the oven to 350°F and line a baking sheet with parchment paper. Scoop big mounds, about 3 tablespoons each. For tall, fluffy bakery-style cookies, keep the mounds tall and do not flatten them. If you like a flatter, more classic cookie, gently press each one down with a spatula. It is completely up to you and how you like them.
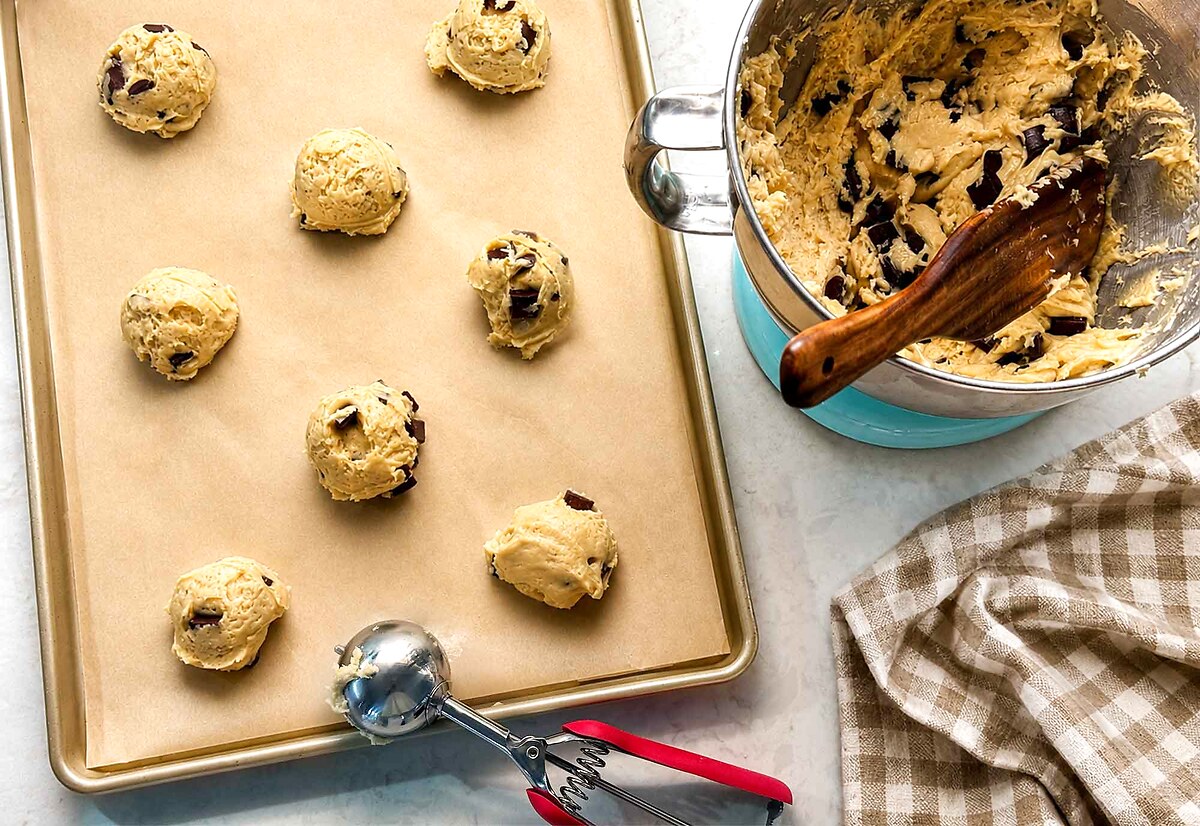
Bake for 11 to 13 minutes, until the edges are set but the centers still look slightly soft and a touch underdone. They will not look fully done in the middle, and that is exactly right. Pull them anyway. Then let them cool on the baking sheet for 10 to 15 minutes before you move them. Be careful not to rush this, because the cookies keep cooking from the sheet’s heat and firm up as they sit. Move them too soon and the soft centers can fall apart on you.
Want a flatter, chewier cookie?
Baked as tall mounds, these come out soft and domed, and a lot of us love them just like that. But if you want a flatter, chewier cookie, you have a couple of easy ways to get there. You can press the mounds down before they go in, or, my favorite, let them bake for about 6 or 7 minutes until the outsides are just set, then gently press the tops down with the back of a spatula and slide them back in to finish. I prefer this method because it brings some of the chocolate to the surface for more melty pools.
Greg likes them best flattened this way, and I think I finally figured out why. A slightly flatter cookie has more surface touching the hot pan, so the sugars caramelize a little more. This helps because that extra caramelization gives you deeper, almost toffee-like flavor, where a tall, puffy cookie tends to stay pale and soft in the middle. Be careful not to smash them flat, just ease them down a little and let the oven do the rest.
Sourdough Chocolate Chip Cookie Recipe
Ingredients
- 1 cup unsalted butter softened
- 1 cup light brown sugar packed
- 3/4 cup granulated sugar
- 1 large egg
- 1 large egg yolk
- 3/4 cup sourdough discard
- 2 teaspoons vanilla extract
- 3 cups all-purpose flour
- 1 teaspoon baking soda
- 1/2 teaspoon baking powder
- 1 1/4 teaspoons salt
- 2 cups chocolate chips (or chocolate chunks)
Instructions
- Cream the softened butter, brown sugar, and granulated sugar together until light and fluffy, about 2 minutes.
- Add the egg, egg yolk, sourdough discard, and vanilla. Mix until smooth.
- In a separate bowl, whisk together the flour, baking soda, baking powder, and salt.
- Add the dry ingredients to the wet ingredients and mix just until combined.
- Stir in the chocolate chips.
- Cover and chill the dough for at least 2 hours. Overnight is even better.
- Preheat oven to 350°F. Line a baking sheet with parchment paper.
- Scoop large mounds of dough, about 3 tablespoons each. Keep them tall rather than flattening them if you like big, fluffy cookies, or press them with a spatula if you want flatter cookies.
- Bake for 11 to 13 minutes, until the edges are set but the centers still look slightly soft and underdone.
- Let the cookies cool on the baking sheet for 10 to 15 minutes before moving them.
To freeze
Chill the dough until scoopable, portion into large 3-tablespoon mounds, and place on a parchment-lined baking sheet. Keep them mounded if you like fluffy cookies, or press them into pucks for flatter cookies, then freeze until firm, about 1 to 2 hours. Transfer to a freezer bag or airtight container. Bake from frozen at 350°F for 13 to 16 minutes, until the edges are set and the centers still look soft. Let the cookies cool on the baking sheet for 10 to 15 minutes before moving. Frozen cookie dough balls are best within 2 to 3 months, though they will usually still bake fine longer if they are well wrapped.
Nutrition
Notes
Freezing and storing your cookies
This is the way we actually eat these, so I want to give you the details. Once the dough is chilled and scoopable, portion it into 3-tablespoon mounds, freeze them firm on a tray for an hour or two, then tuck them into a freezer bag.
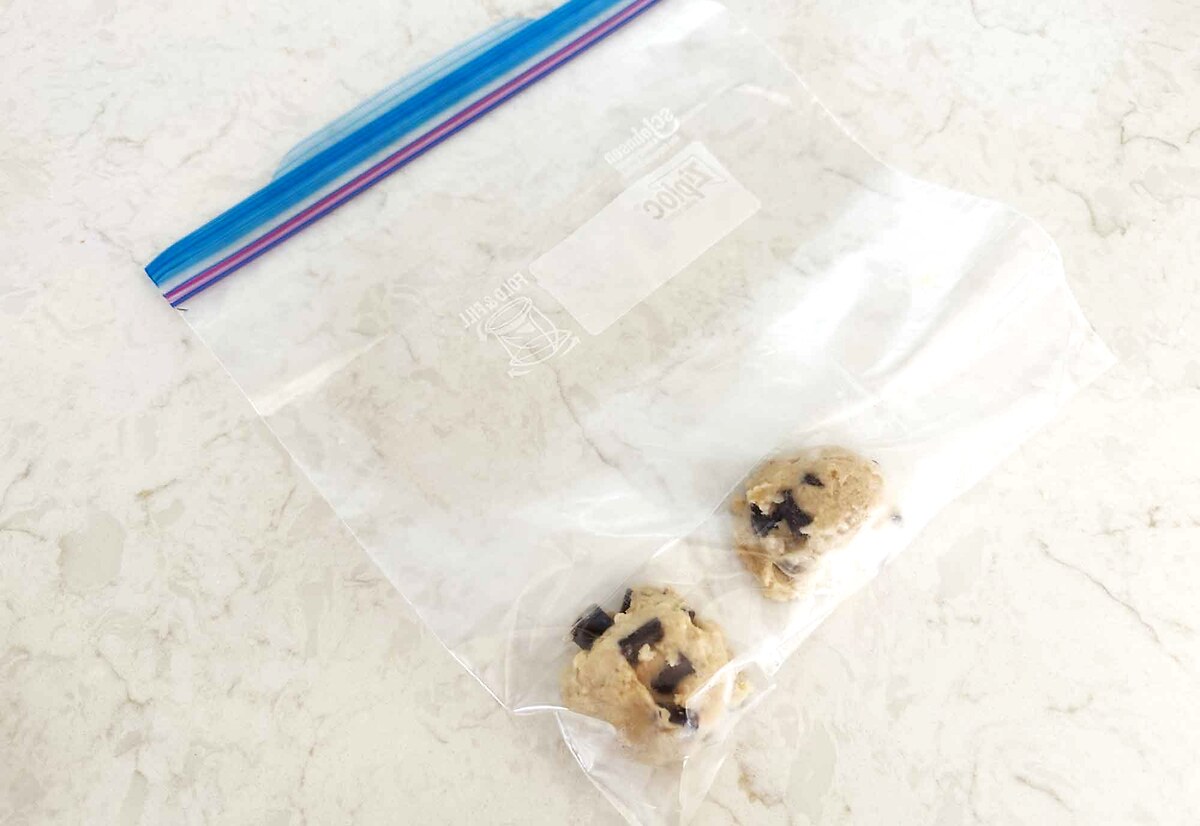
Baking from frozen only adds a couple of minutes, so bake frozen at 350°F for 13 to 16 minutes, again pulling them when the edges are set and the centers still look soft. Keep them domed or flatten if you wish, your choice. They are best within 2 to 3 months, though well-wrapped dough usually bakes up just fine past that.
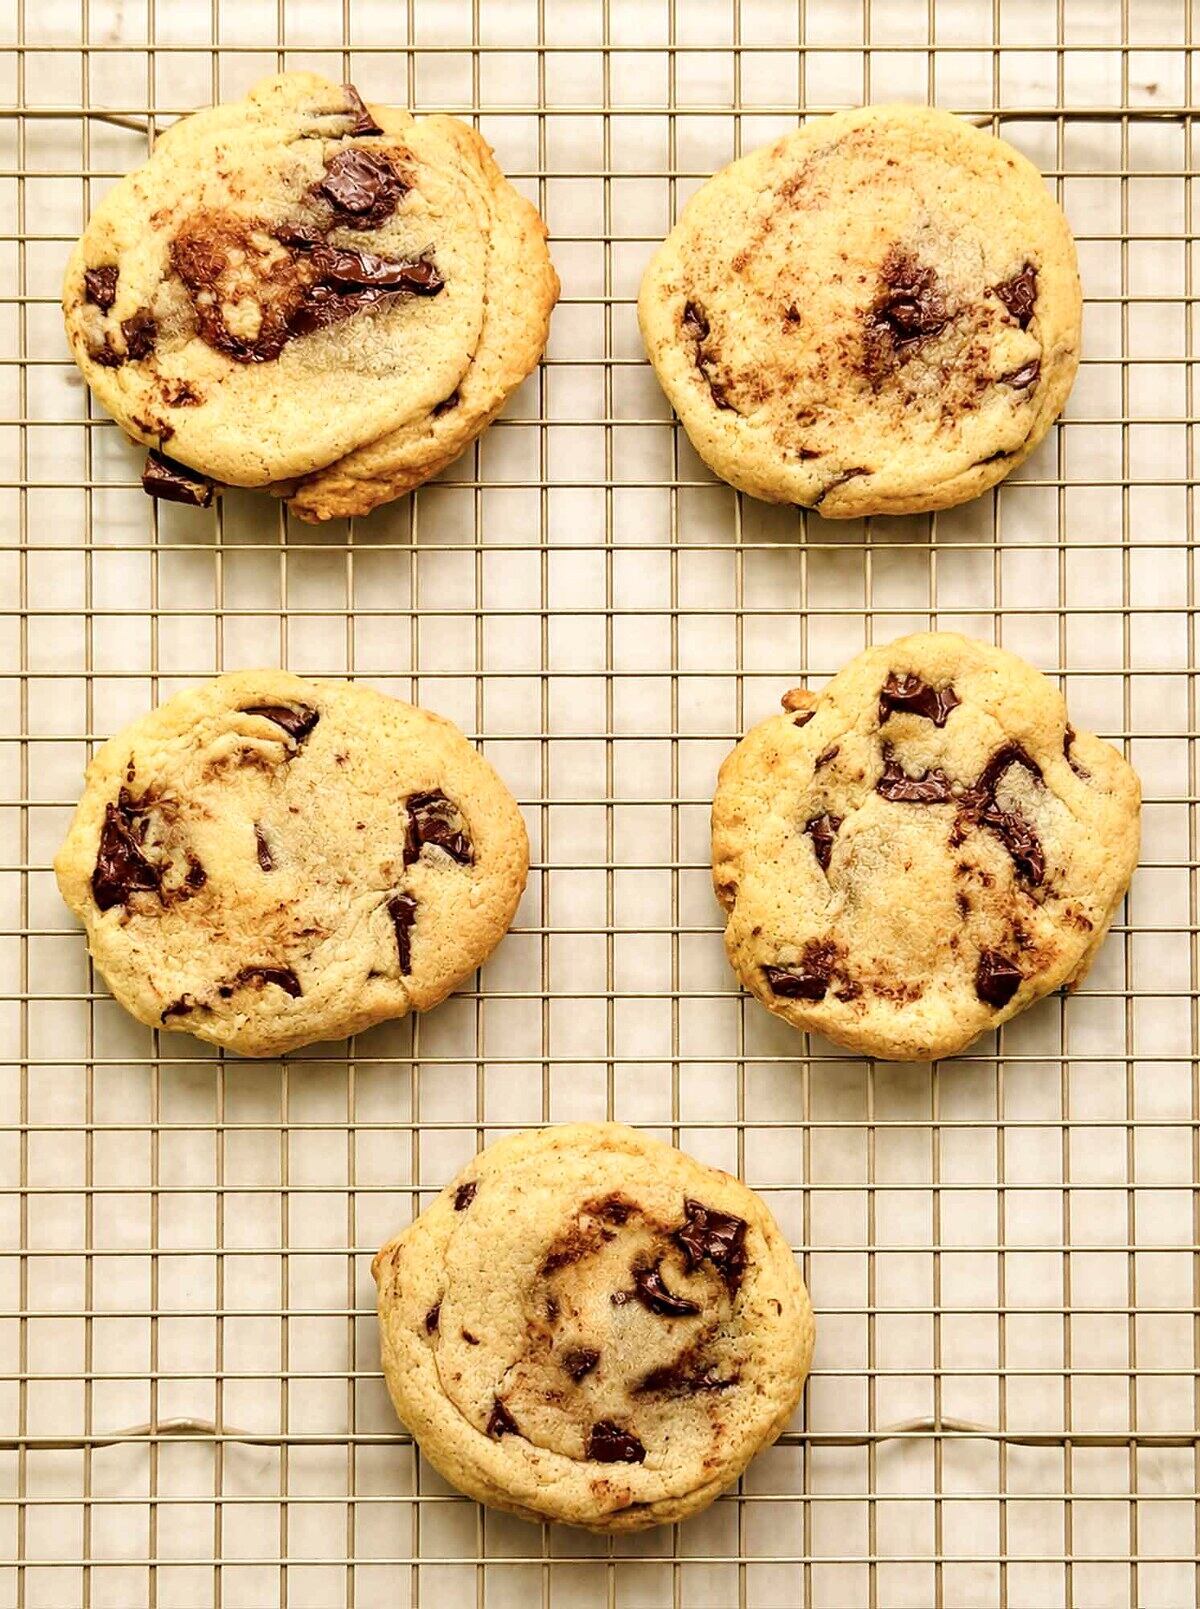
If you would rather store baked cookies, keep them in an airtight container at room temperature. The sourdough discard really does help them stay soft, so they hold up better than a lot of chocolate chip cookies do. A slice of sandwich bread dropped in the container is an old trick that keeps them from drying out.
Common Questions
Why did my cookies spread flat?
Almost always it is warm dough or warm butter. If the butter was closer to melted than softened, or if the dough did not get its full chill, the cookies spread before they can set. Pop the scooped dough back in the fridge for 20 minutes and try again with the next tray.
Why are my cookies cakey instead of chewy?
Usually that is too much flour. Spoon the flour into your measuring cup and level it off rather than scooping straight from the bag, which packs in extra. Make sure you did not skip the egg yolk either, since that fat is part of what keeps them dense and chewy.
Can I skip the chill time?
You can, but I would not, for all the reasons up above. If you are truly in a hurry, 30 minutes in the freezer is better than nothing, but the full 2 hours is worth the wait.
Can I make these if I don’t have a sourdough starter?
These are sourdough cookies at heart, so you do need a little starter or discard for that gentle tang and tender texture. But if you love the idea of these cookies and want to make them without a starter, it is possible … in place of the discard, just add about 3/4 cup more all-purpose flour (~90 g) and about 6 tablespoons water (~90 g). Since plain flour and water are not tangy the way discard is, add a pinch more baking powder, about 1/4 teaspoon, to keep the same spread and browning. You’ll lose the gentle tang and the sourdough character, so at that point these are just a really good soft chocolate chip cookie. If you want to keep a little of that tang, swap the 6 tablespoons of water for 6 tablespoons of plain yogurt or buttermilk (and you can skip the extra baking powder then, since those bring their own tang).
These are the cookies I always have waiting in the freezer, and I hope they become that for you too. Bake a couple tonight and let me know how they turn out.
Happy baking!
Love,
Jennifer
Tried this recipe?
Tap the stars in the recipe card to leave a quick rating. Your rating helps other home cooks know this recipe works in a real kitchen, not just mine.
And as a thank-you for your feedback, you will receive a free printable copy of my Maker Home Companion Cookbook, featuring my most popular recipes, each one formatted on a SINGLE, easy-to-use page, a perfect kitchen companion for easy meal prep. Click here to learn more about this cookbook and how you can get your copy!


Meet Jennifer
Jennifer cooks and experiments in the kitchen at Maker Farm, where she focuses on simple pantry cooking, homemade staples, and practical recipes that make everyday meals easier. Over the years she has tested many ways to make cooking simpler and more dependable, and shares the methods that work best in her own kitchen, occasionally showing them on her Heart to Home at Maker Farm vlog.