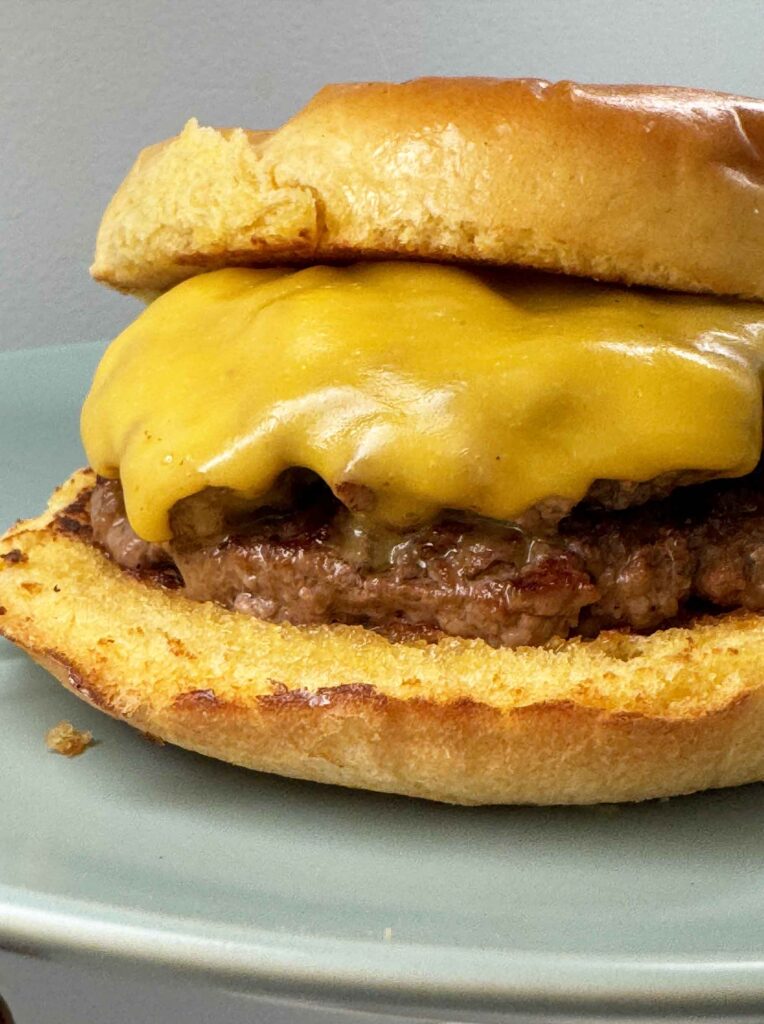
These diner-style smash burgers are thin, juicy, and seared until the edges are crisp and browned, then topped with melty American cheese and tucked into toasted buns. They cook fast in a hot cast iron skillet or griddle, and the simple smash-and-sear method gives them that classic diner-style flavor at home.

I developed this easy smash burger recipe at home in a hot cast iron skillet, using 80/20 ground beef, a hard first smash, American cheese, and toasted buns. The goal was a thin burger with crisp browned edges, juicy beef, and a simple method that works without a restaurant griddle. After testing, these burgers browned well, stayed tender, and got the best kind of approval at our dinner table when Greg took one bite and said, “Those are darn fine.” He used a slightly different word, but I’m keeping it family-friendly here.
ALMOST LIKE THE DINER!

The biggest difference between my recipe and what might be made at a restaurant is batch size. In my skillet, two small patties at a time worked best. Any more than that cooled the pan down too much and the burgers started steaming instead of searing.
These burgers make great use of one pound of ground beef and are featured in my Best Ground Beef Dinner Recipes guide.
What is a Smash Burger?
This is a super-thin burger made by pressing a loose ball of ground beef firmly onto a very hot skillet or griddle as soon as it hits the surface. That hard first smash gives the meat full contact with the pan, creating deeply browned, crispy edges while the inside stays juicy – locking in the juice before the meat dries out. Unlike a thicker burger patty, a smash burger cooks VERY fast and is usually served stacked (double or triple) with melted American cheese, a toasted bun, and whatever toppings or condiments you like.
What You Need to Make Them
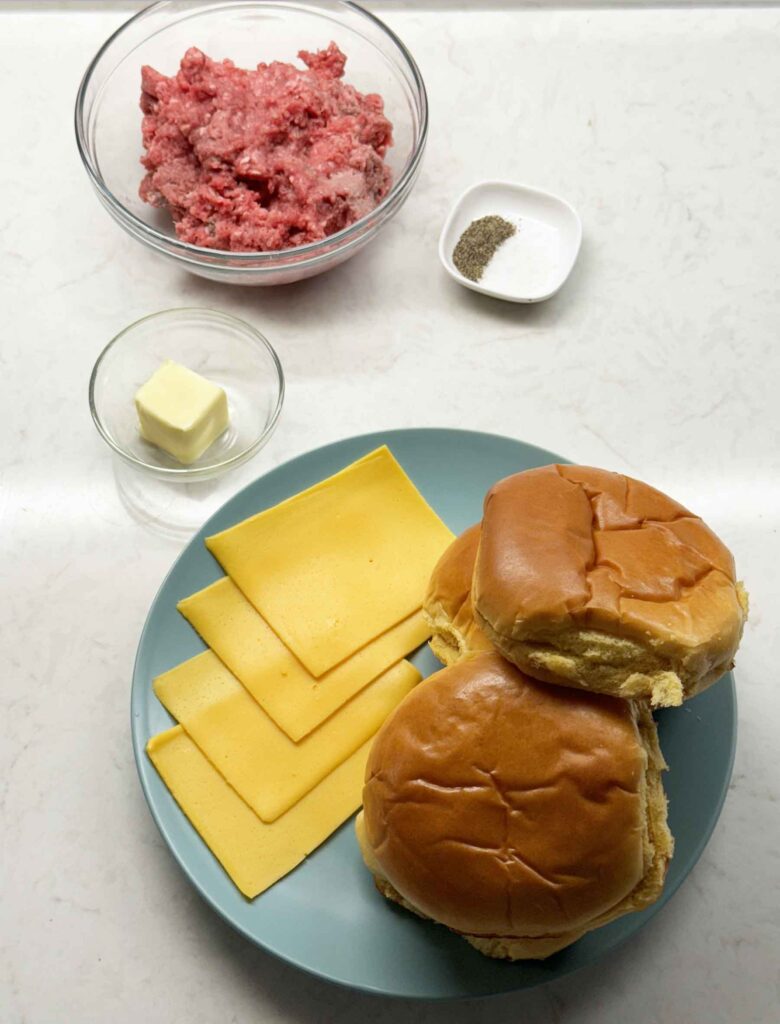
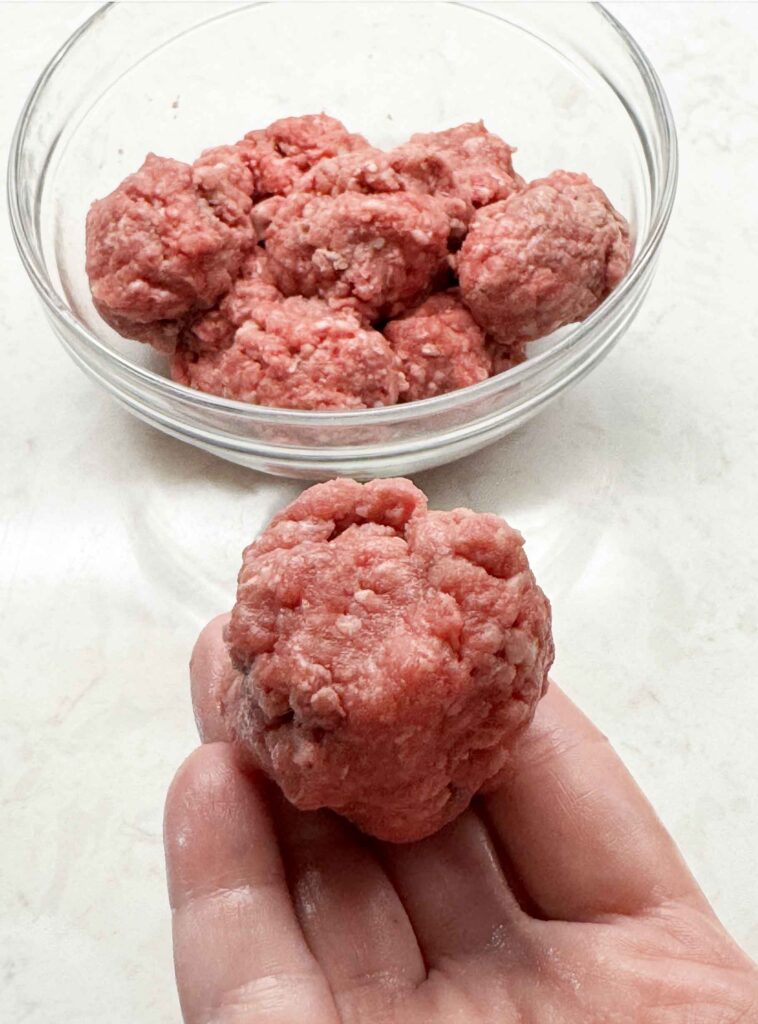
Ground Beef – The most important ingredient for smash burgers is 80/20 ground beef. That little bit of extra fat helps the patties stay juicy and gives them the crisp, browned edges that make a smash burger so good. I like to divide the beef into loose balls instead of shaping firm patties ahead of time, because the loose meat spreads and sears better when it hits the hot pan.
Cheese – You’ll also want American cheese, which melts quickly and gives smash burgers that classic diner-style flavor. You can use cheddar, Colby Jack, or another sliced cheese if you prefer, but American cheese gives the smoothest, meltiest finish.
Buns – Choose something soft like brioche buns, potato buns, or classic hamburger buns, and toast them before assembling so they hold up to the juicy burger.
What about toppings?

I keep my smash burgers simple on purpose. Lettuce, tomato, onion, and pickles are all good optional toppings, but a smashburger is really about the crispy-edged beef, melted cheese, and toasted bun. Too many toppings can hide the crust you worked to create. So add ’em if you want, but know that they are not necessary either.
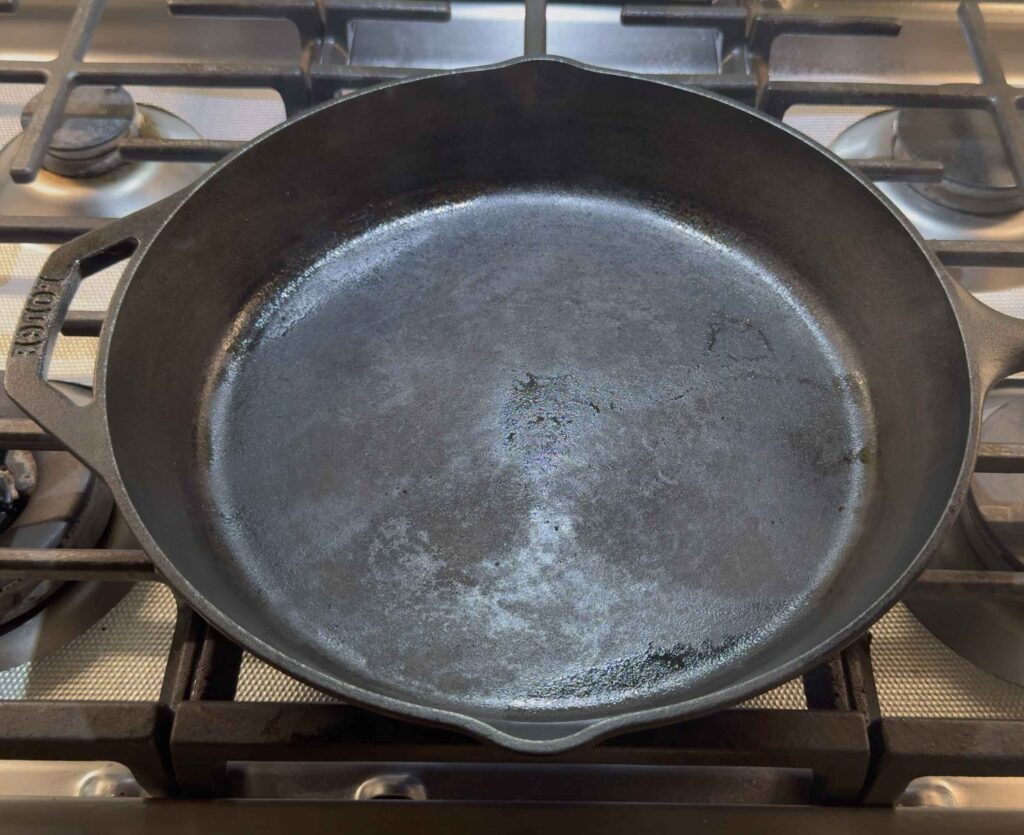
The right cooking surface – A cast iron skillet or flat-top griddle is the key tool here. Cast iron gets very hot and holds that heat well, which helps the beef brown fast instead of steaming.
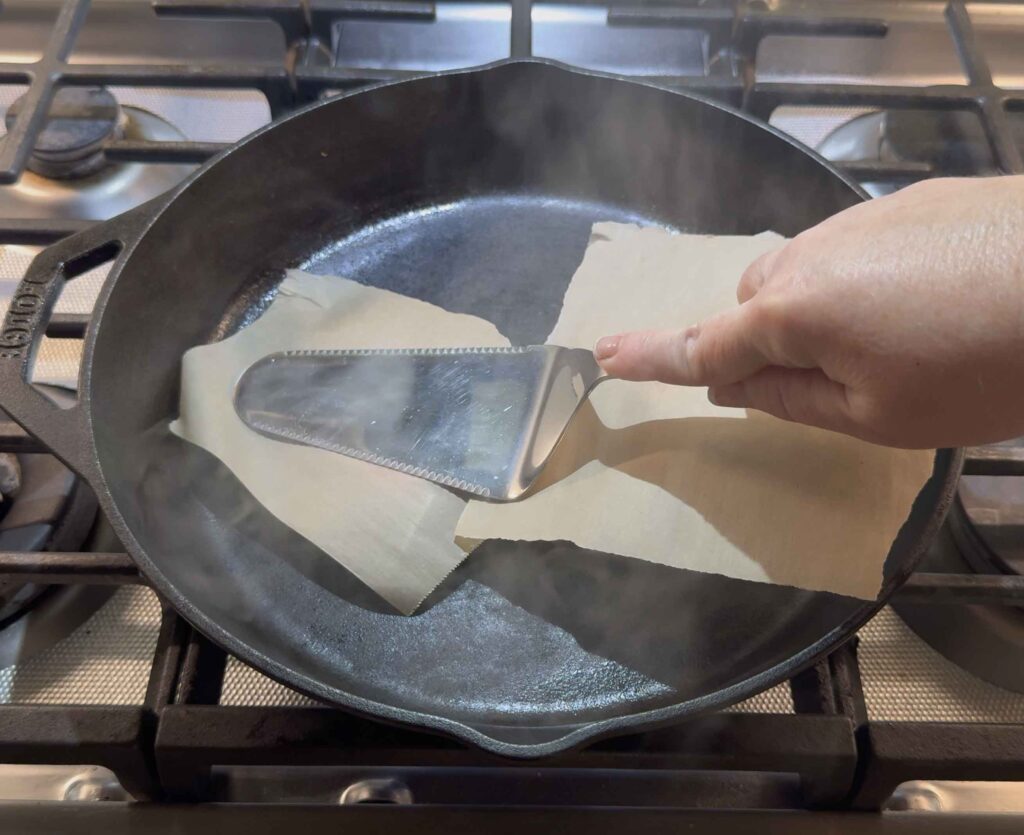
Something to press with – You’ll also need a stiff metal spatula, a burger press, or another smaller cast iron pan to smash the beef firmly against the pan. The goal is full contact with the hot surface, so press hard right away, then leave the patty alone until it’s ready to flip. I used a smaller cast iron pot that fit inside my skillet to smash my burgers, and it worked great because it was heavy.
How to Make Smash Burgers
The trick to a good smash burger is to work quickly and let the pan do the browning. The whole process moves fast, so have your buns, cheese, seasonings, and any toppings you want ready before the beef hits the pan.
Heat up your cast iron skillet or griddle on high for about 6-10 minutes until it is very hot. You’ll know when it’s ready when you put a tiny pinch of beef on it and it makes a sharp, loud sizzle right away. If it gently hisses or goes gray instead of brown, wait longer.
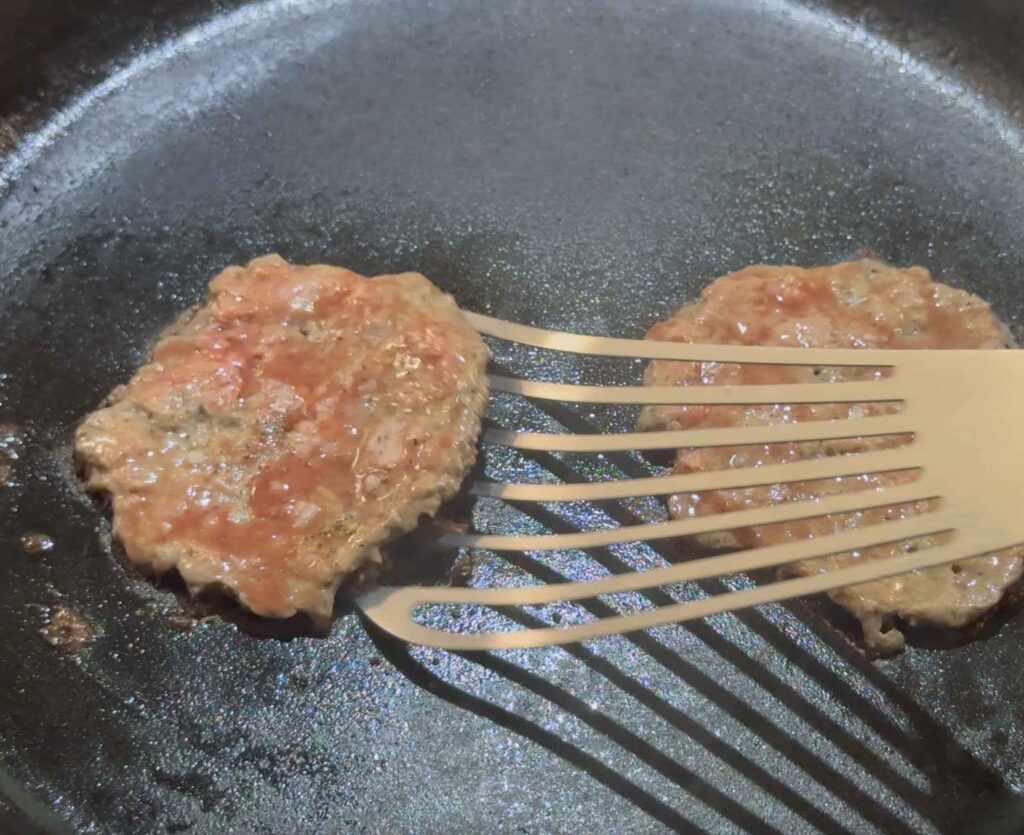
When you’re ready to cook, start with or or two loose balls of ground beef, then press them firmly onto a very hot cast iron skillet or griddle so the meat makes full contact with the surface. Once smashed, the edges should begin turning brown and lacy within about 60–90 seconds.
FLIPPING TIP
Don’t flip based only on the timer. Look for browned, lacy edges and a patty that releases when you scrape firmly underneath it. If the crust tears badly, give it another 15 to 30 seconds before trying again.
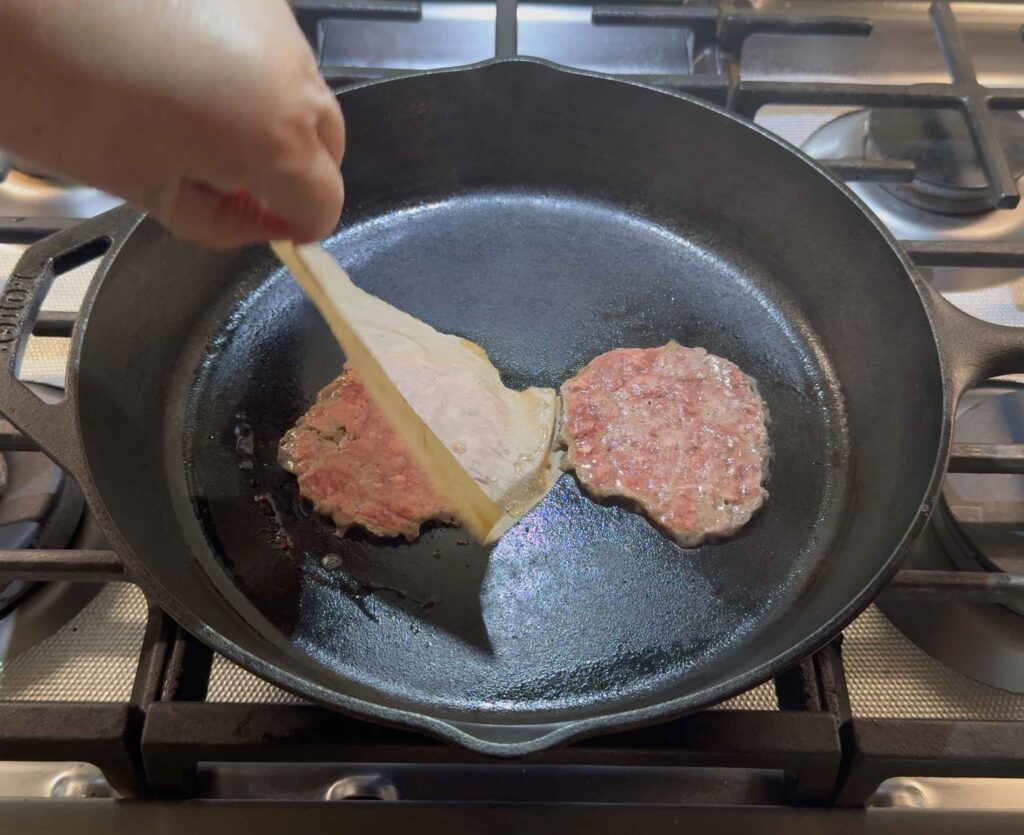
Once the patties are smashed, leave them alone until the edges are browned and crisp. Scrape firmly under each patty to keep that crust intact (it may feel “stuck” to the surface), flip once, add cheese, and let the burgers finish quickly before stacking them on toasted buns.


Best Smash Burger Recipe
Equipment
- 1 large skillet use a cast iron skillet, griddle, or flat-top
- 1 stiff metal spatula
- parchment paper torn or cut into 4×4" squares
- 1 Heavy burger press, small skillet, or second spatula for smashing
Ingredients
For the Burgers
- 1 pound ground beef preferably 80/20
- 1 teaspoon kosher salt
- 1/2 teaspoon black pepper
- 4 slices American cheese
- 4 soft burger buns preferably brioche buns or potato buns
- 2 tablespoons butter softened, for the buns
Optional Toppings
- Thinly sliced dill pickles
- Thinly sliced onion
- Shredded lettuce
- Tomato slices
- Ketchup
- Yellow mustard
Instructions
Prepare your tools and ingredients
Get out everything you need so it's ready to go quickly. Divide the ground beef into loose portions, about 2 ounces each (so that would be 8 portions if you're using 1 lb of meat). Gently shape each portion into a rough ball, but do not pack it tightly.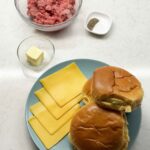
Heat the pan
Heat a cast iron skillet or griddle over medium-high to high heat until very hot. You want the beef to sizzle hard the moment it touches the pan.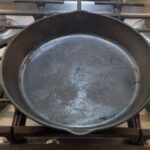
Toast the buns
Butter the cut sides of the buns and toast them on the hot skillet or griddle until golden. Set aside.
Smash the patties
Place 2 beef balls on the hot surface, leaving plenty of room between them. Immediately cover each one with a small square of parchment paper and press down firmly with a burger press, smaller skillet, or stiff spatula until very thin, about 1/4 inch thick. Hold the press down for about 10 seconds so the meat makes full contact with the hot pan. Smash only once, then leave the burger alone until it is ready to flip (pressing later pushes out the juices).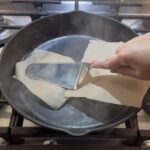
Season and sear
Remove the parchment and season the patties with salt and pepper. Cook without moving them for about 1 1/2 to 2 minutes, or until the edges are deeply browned and crisp.
Flip and add cheese
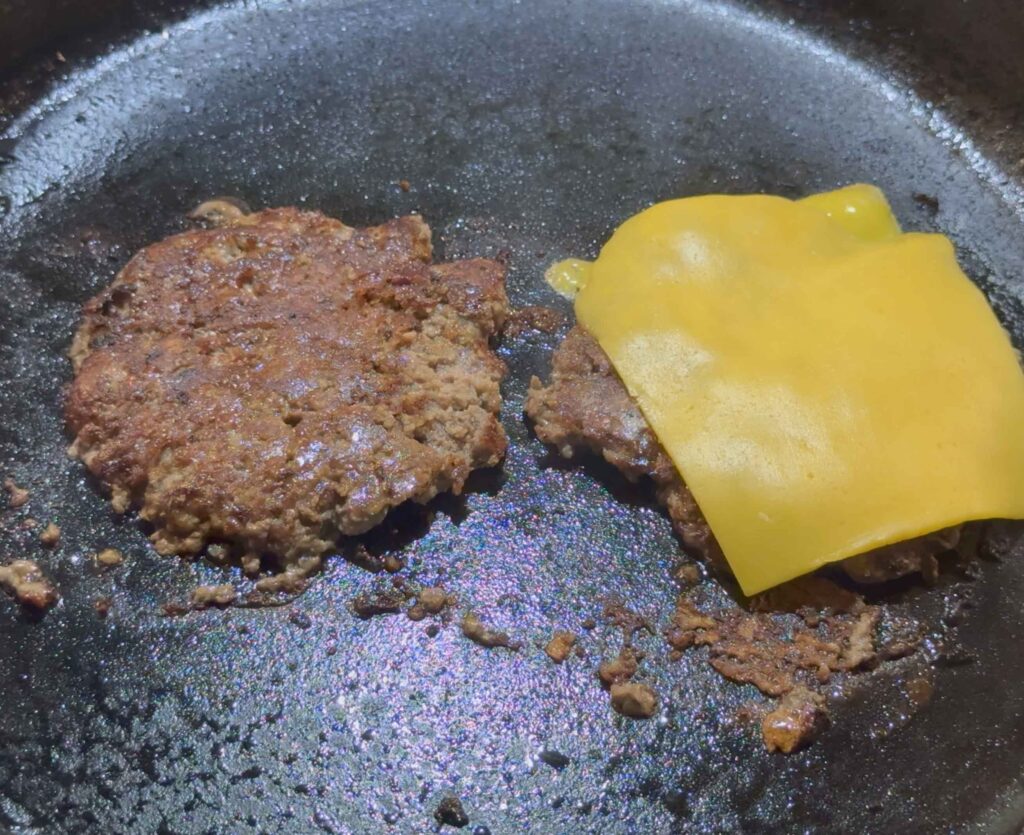
Scrape under each patty firmly with the spatula so you keep the browned crust attached to the burger. Flip the patties, add cheese to half of them, and cook for another 30 to 60 seconds. Stack one plain patty on top of one cheese-topped patty, or use cheese on both if you want extra cheesiness.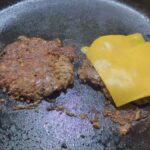
Assemble
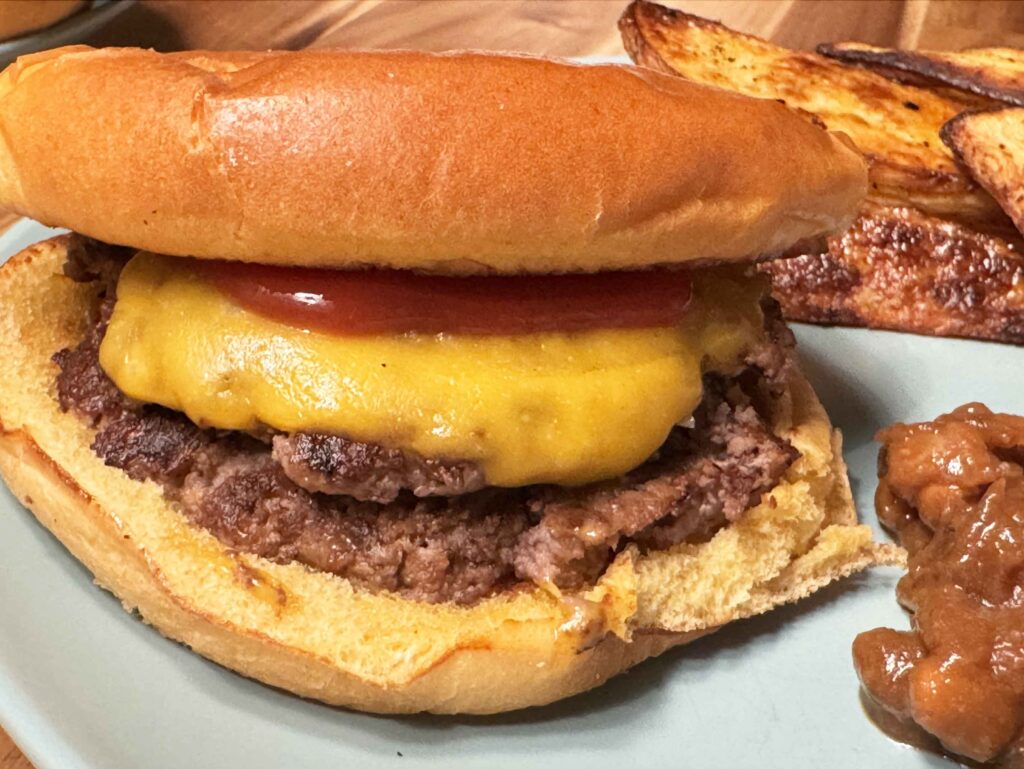
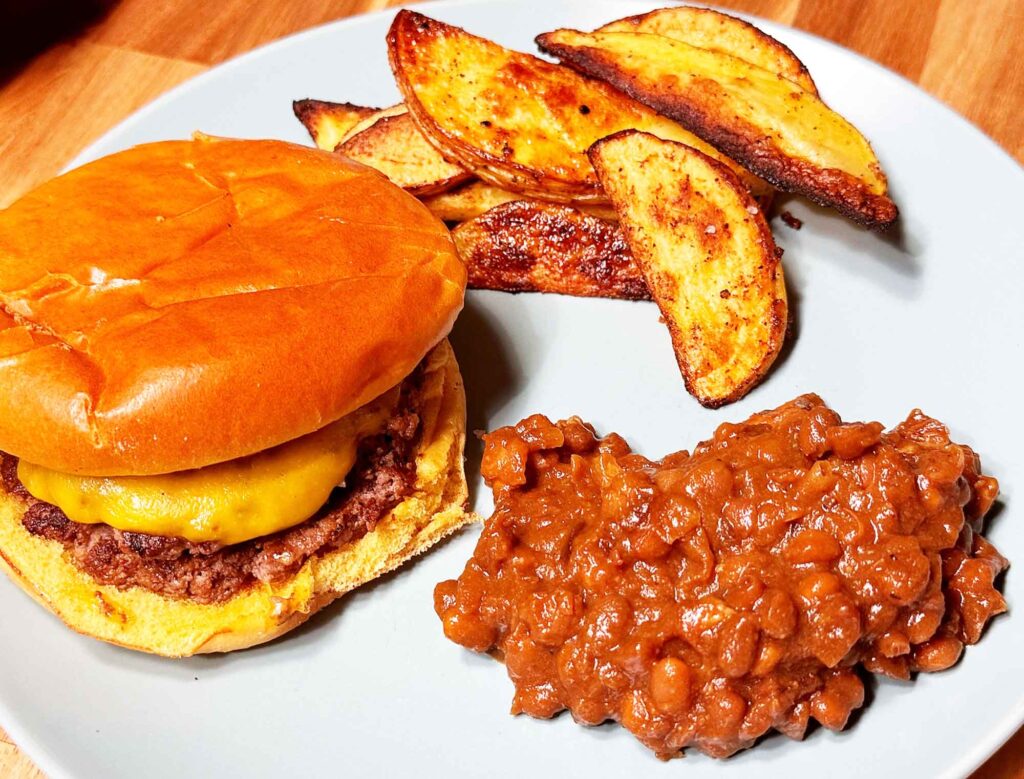
Place a double stack on each bottom bun, add the top bun, any toppings you wish, and serve immediately.
Nutrition

Troubleshooting Smash Burgers
If your first smash burger doesn’t turn out quite like you hoped, these tips will help you make the rest better!
My burgers didn’t get crispy edges.
Your pan probably was not hot enough, or the patties were too thick. Heat the cast iron skillet or griddle until the beef sizzles hard on contact, then smash the meat very thin right away. Once smashed, let the patties cook undisturbed so the crust can form.
My burgers stuck to the pan.
A little sticking is normal at first because that browned crust is forming. Use a thin, sturdy metal spatula and scrape firmly under the patty before flipping. If the crust tears badly, the burger may need another 15–30 seconds before you flip it.
My burgers turned out dry.
Use 80/20 ground beef and avoid overcooking. Smash burgers cook very quickly because they are thin, so they usually only need a couple of minutes on the first side and less than a minute after flipping. Do not press the patties again after the first smash, or you’ll squeeze out the juices.
My burgers steamed instead of seared.
The pan may be too crowded. Cook only one or two patties at a time in a skillet so the heat stays high and the moisture can evaporate quickly. If liquid starts pooling in the pan, let the skillet heat back up before cooking the next batch.
My cheese didn’t melt.
Add the cheese right after flipping, while the patty is still very hot. American cheese melts fastest, but you can also cover the pan briefly with a lid or metal bowl for 10–20 seconds to help firmer cheeses soften.
My buns got soggy.
Toast the cut sides before assembling. A toasted bun gives the burger more structure and helps it hold up to the juicy patties, melted cheese, and sauce.
Storage and Reheating
Smash burgers are best right after cooking, when the edges are still crisp and the cheese is freshly melted. If you do have leftovers (as we did — we could barely manage to finish one each), store the cooked patties separately from the buns and toppings so the bread does not get soggy. Let the patties cool, then refrigerate them in an airtight container for up to 3 days.
To reheat, warm the patties in a skillet over medium heat for a few minutes, just until heated through. This helps bring back some of the browned edge texture better than the microwave. If the patties already have cheese on them, use medium-low heat and cover the pan briefly so the cheese softens without overcooking the burger.
For the best leftover burger, toast a fresh bun, reheat the patty separately, then assemble it with sauce and toppings right before serving. I do not recommend freezing fully assembled smash burgers, but you can freeze cooked patties if needed. Wrap them tightly, freeze for up to 2 months, and reheat from thawed for the best texture.
What to Serve With It
We love to make fresh oven fries to go with our smash burgers! Other good options include baked beans, potato salad, and coleslaw.

Tried this recipe?
Tap the stars in the recipe card to leave a quick rating. Your rating helps other home cooks know this recipe works in a real kitchen, not just mine.
And as a thank-you for your feedback, you will receive a free printable copy of my Maker Home Companion Cookbook, featuring my most popular recipes, each one formatted on a SINGLE, easy-to-use page, a perfect kitchen companion for easy meal prep. Click here to learn more about this cookbook and how you can get your copy!
")
")


Meet Jennifer
Jennifer cooks and experiments in the kitchen at Maker Farm, where she focuses on simple pantry cooking, homemade staples, and practical recipes that make everyday meals easier. Over the years she has tested many ways to make cooking simpler and more dependable, and shares the methods that work best in her own kitchen, occasionally showing them on her Heart to Home at Maker Farm vlog.
Very good and easy!!!
May God bless you and Greg with many delicious burgers together.
So happy to hear, Dolores! Thank you!
Recipe is good.
I had a comment aside from the actual food prep descriptions. I am not opposed to people voicing their honest take on recipes , but I was disappointed to see the foul language used. Many people think nothing of it, but it offensive to me. Just wanted to share my thoughts with you.
Thank you for sharing your thoughts, Linda, and I’m glad you enjoyed the recipe. I understand that not everyone uses the same language. Greg’s rating was a real quote from our kitchen, and I included it because it was his HONEST reaction to the meal. I do try to keep Maker Farm warm, welcoming, and family-friendly, so I appreciate you letting me know how it came across to you.
After thinking about this a bit, I decided to change the word on the blog post but reference that I did it. That’s the most honest way I can think to communicate his reaction.