

Saucy, cheesy, and soft all the way through, this chicken enchiladas recipe tastes like you worked a lot harder than you did. The shortcut is canned chicken from the pantry, homemade or from a store, so there’s nothing to cook before you start rolling. A few pantry staples, one baking dish, and dinner is ready in about 40 minutes.
CHICKEN ENCHILADAS At A Glance
Prep
15 min
Bake
20 min
Total
40 min
Serves
4
Pan
9×13 baking dish
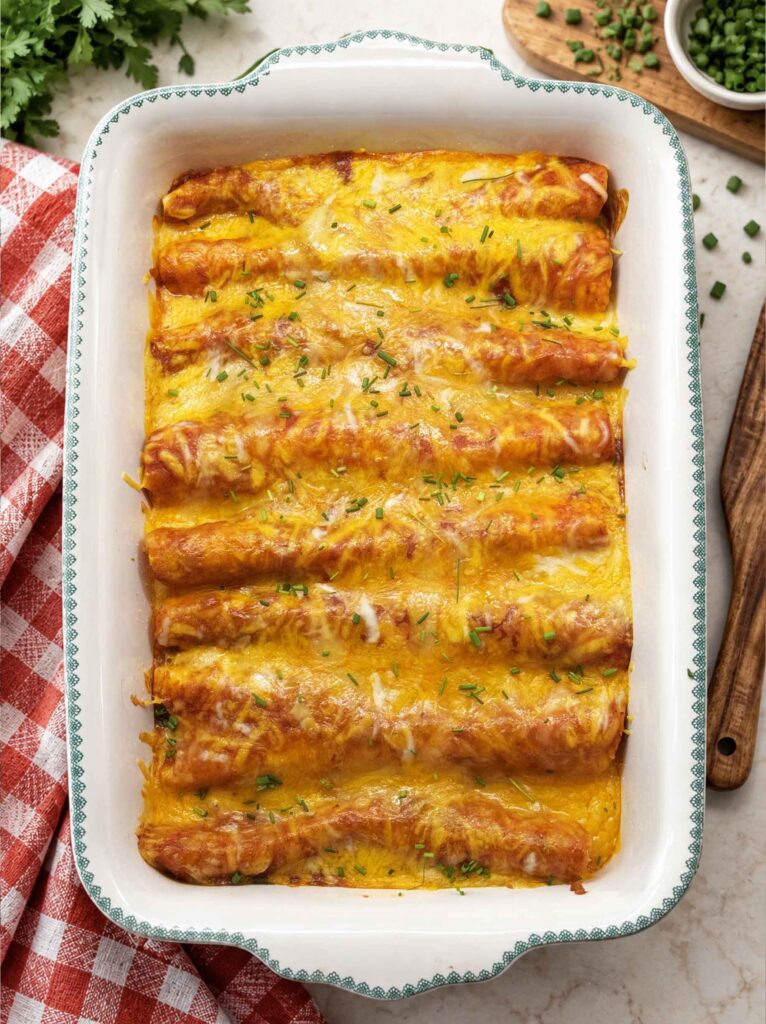
The Pantry Shortcut That Makes These a Weeknight Dinner

The slowest part of most enchiladas is the chicken. You poach it, let it cool, shred it, and only then can you start. Canned chicken skips all of that. It’s already cooked and already tender, so you just drain it, shred it with two forks, and you’re ready to roll. Can your own chicken in advance, or get your favorite brand from the store … or just used leftover chicken from a previous meal.
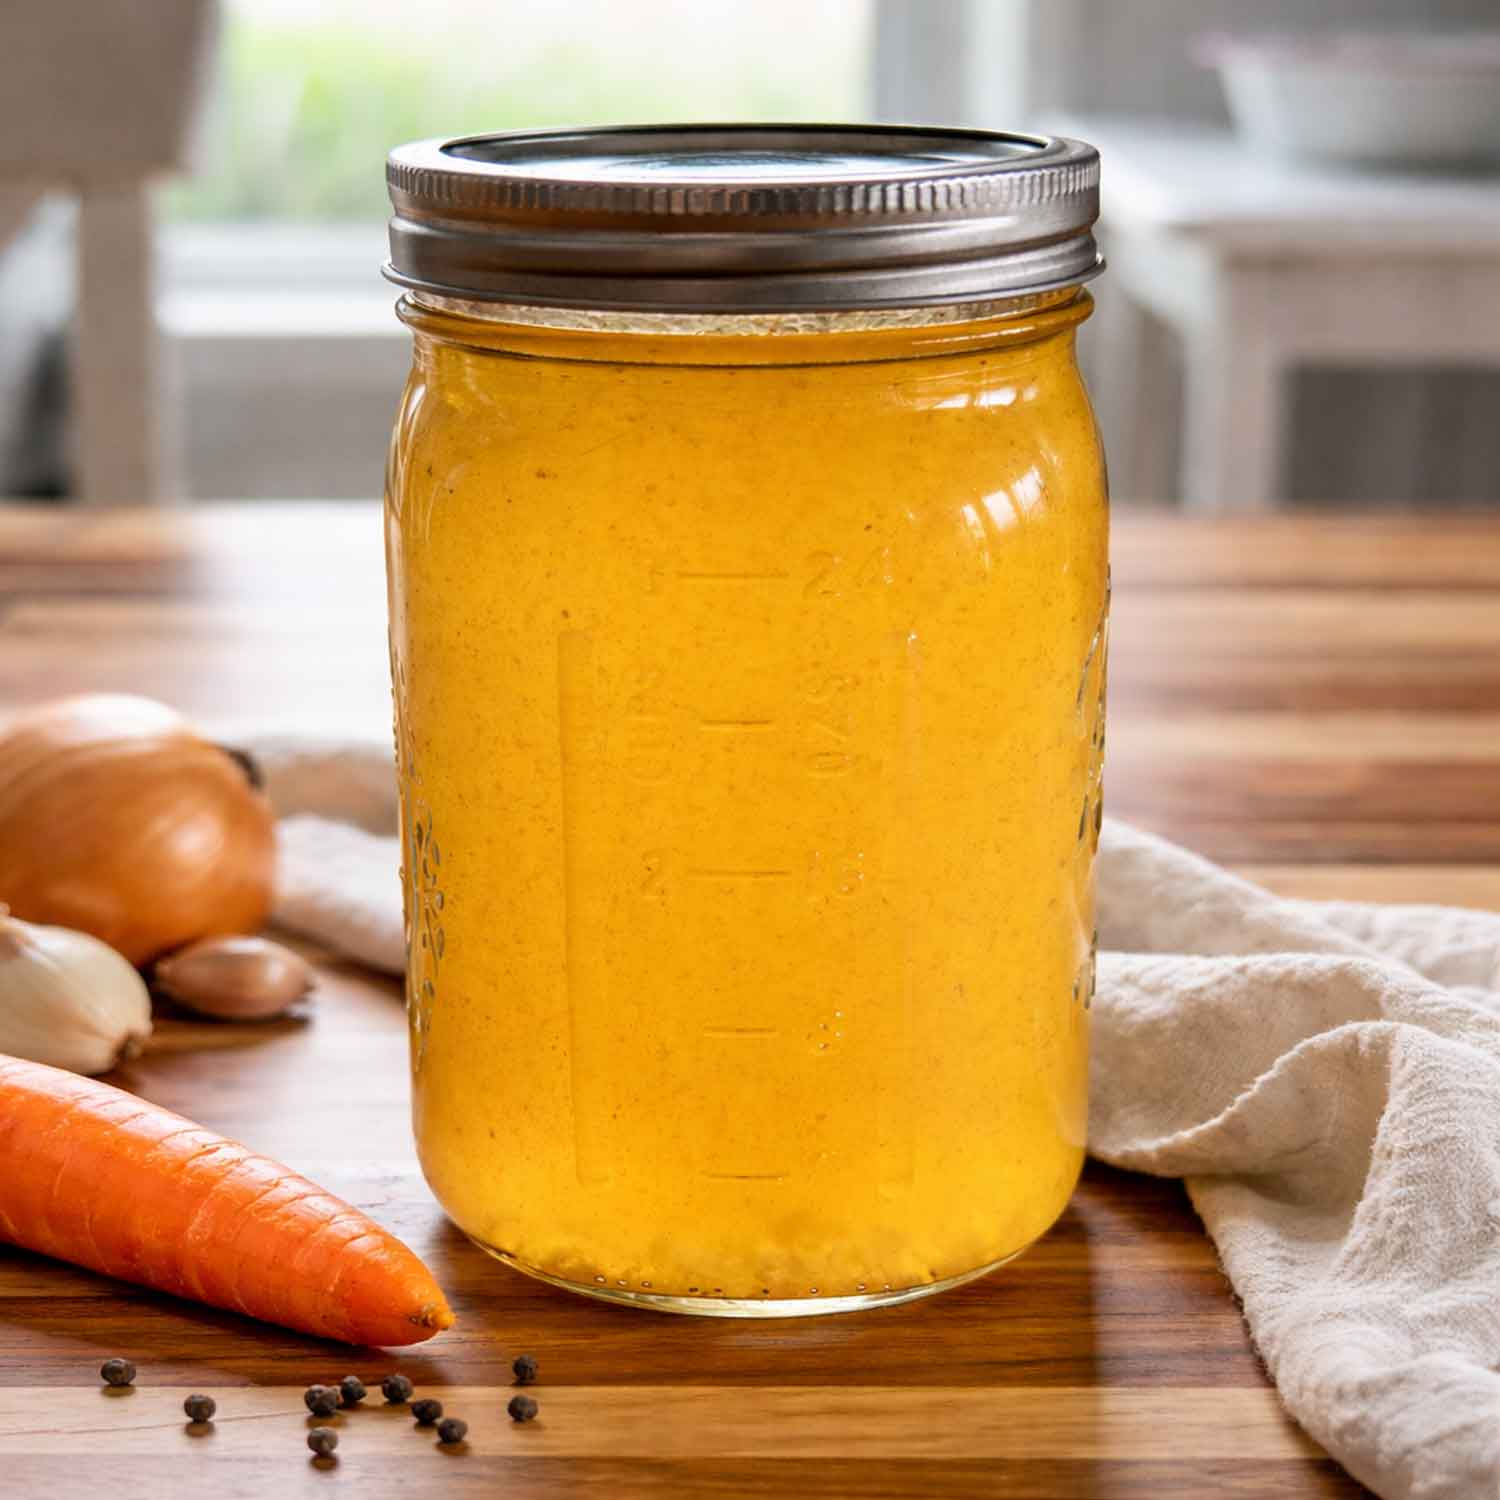
The sauce is where the flavor comes from, so that’s where I put my effort. I used my homemade red enchilada sauce, which is the comfort food kind: tomato-forward, smooth, and mild. As a supertaster, I’m not a fan of a lot of heat, and this sauce gives you all the enchilada flavor without the burn (but feel free to add the heat if you like it). A good store-bought sauce works too, and I’ll tell you how much to grab.
Also check out my easy beef enchilada casserole … which needs no tortillas at all!
Let’s dig in!

Tips and Notes Before You Start
- Drain the chicken well. Canned chicken is packed in water, and any extra liquid ends up in the bottom of your dish.
- Don’t add salt. Canned chicken, enchilada sauce, and cheese are all salted already.
- Warm the tortillas first. Cold flour tortillas can tear when you roll them. Thirty seconds in the microwave fixes that.
- Store-bought sauce is fine. Homemade is nice if you have it, but a can you like works just as well.
- Cover the ends with sauce. Any tortilla that’s left bare can dry out and turn stiff in the oven.
- You can make them ahead. Assemble, cover, and refrigerate, then bake when you’re ready.

Want to Save This Recipe?
Enter your email below and we’ll send it straight to your inbox! Plus you’ll get new recipes each week!
What You’ll Need for Easy Chicken Enchiladas
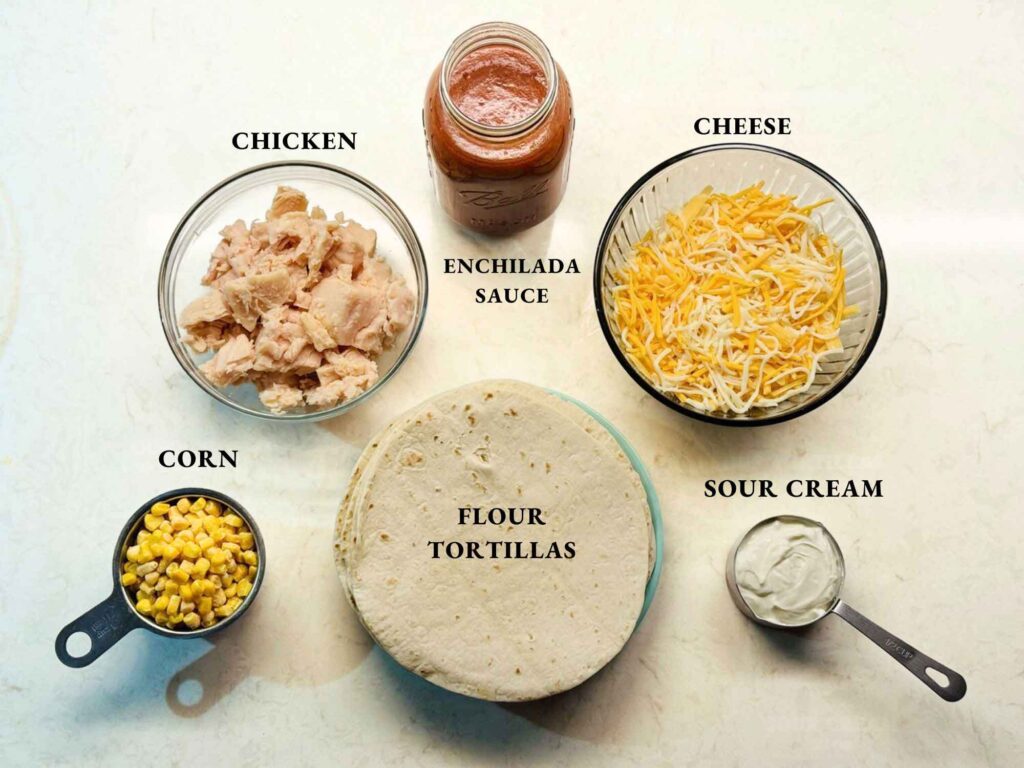
Canned chicken. Leftover rotisserie chicken or any cooked, shredded chicken works the same way if that’s what’s in your fridge.
Red enchilada sauce. I used my homemade enchilada sauce, which held a little over 3 cups, and poured on every drop. If you’re buying it, a 28-ounce can (about 3 1/2 cups) is the easiest match. Two 10-ounce cans only give you 2 1/2 cups, so grab a third.
Flour tortillas. I recommend you use the 8″ size ones, because that lets eight enchiladas fit snugly in a 9×13 dish in a single row. Bigger burrito-size tortillas are too long for the pan, and the little street-taco size won’t hold much filling.
Shredded cheese. Half goes into the filling and half goes on top. I used a bagged four-cheese Mexican blend, and it melted beautifully. Plain shredded cheddar works too if that’s what you have.
Sour cream. Canned chicken can be a little dry and stringy on its own, and the sour cream makes the filling creamy and rich so every bite stays moist. Full-fat or light both work.
Frozen corn. It adds a little sweetness that goes really well with a mild red sauce, plus some texture against the soft chicken. There’s no need to cook it first, because it heats through in the oven. Drained canned corn works too. Just make sure it’s dry, since wet corn is the fastest way to a watery filling.
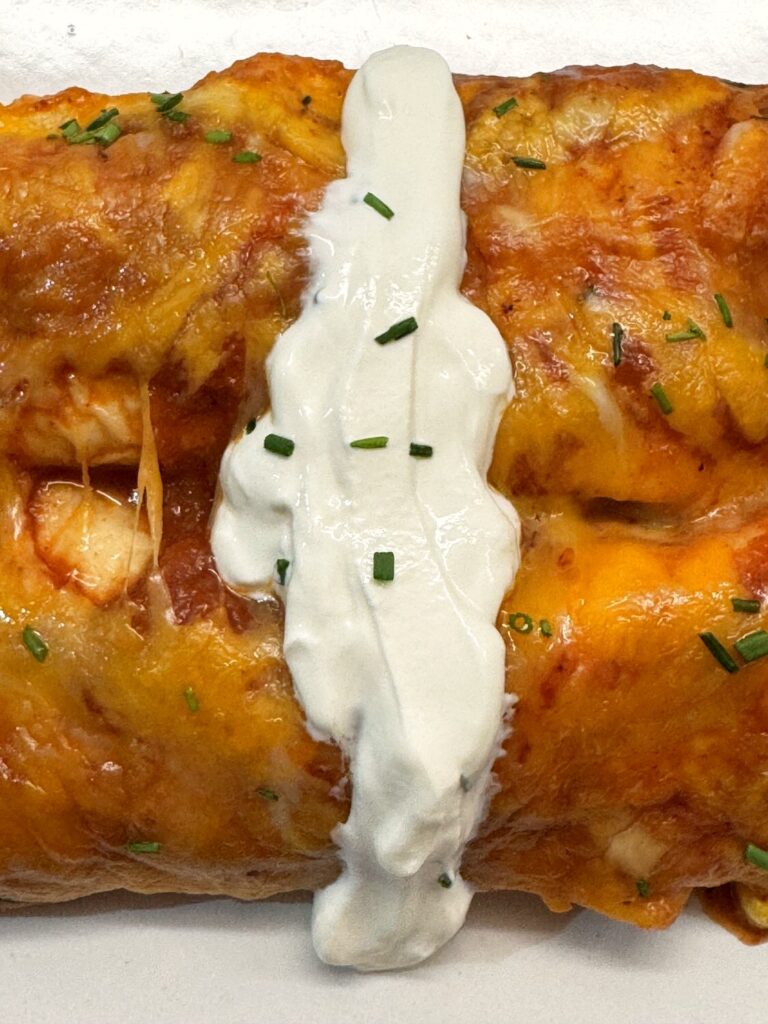
For topping (optional). I sprinkled chopped fresh chives over the whole pan and added a stripe of extra sour cream to each plate. Sliced green onions or cilantro work too, and you can skip the toppings entirely.
Can I Use Corn Tortillas Instead?

You can, but corn tortillas need a little more care. They crack when you roll them cold, so warm them in a skillet or microwave until they’re soft and pliable first. They also stay a bit firmer after baking than flour tortillas do. I haven’t made this version with corn yet, so I’d start with the same bake time and check them.
How to Make Easy Chicken Enchiladas
Step 1: Make the filling
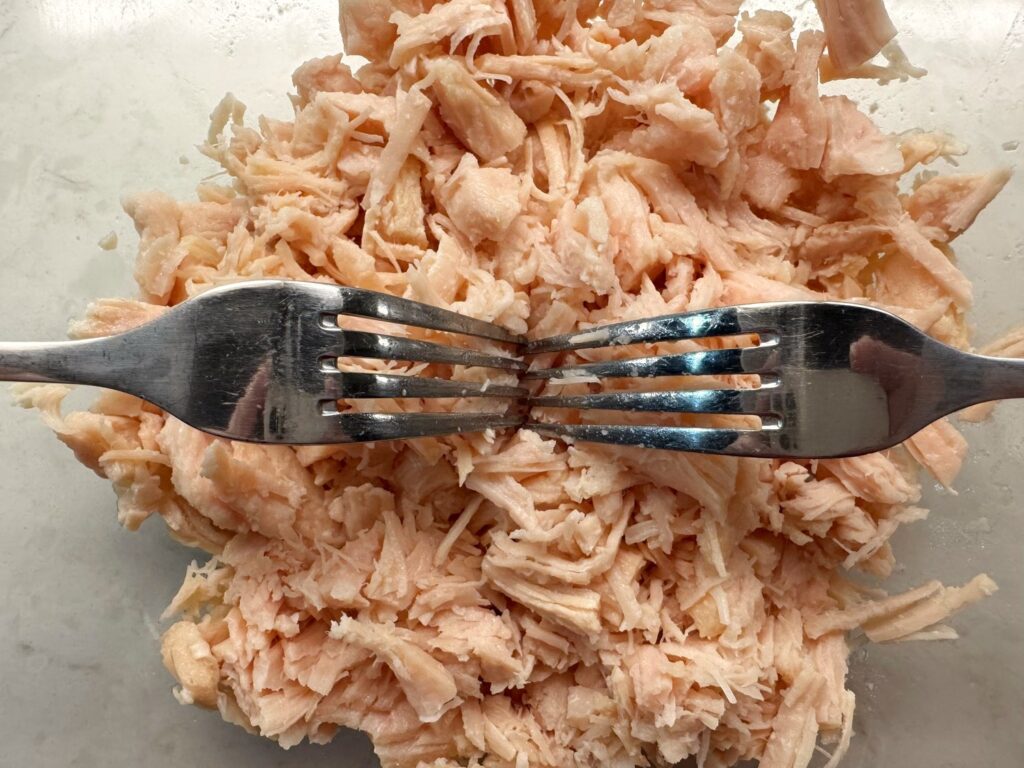
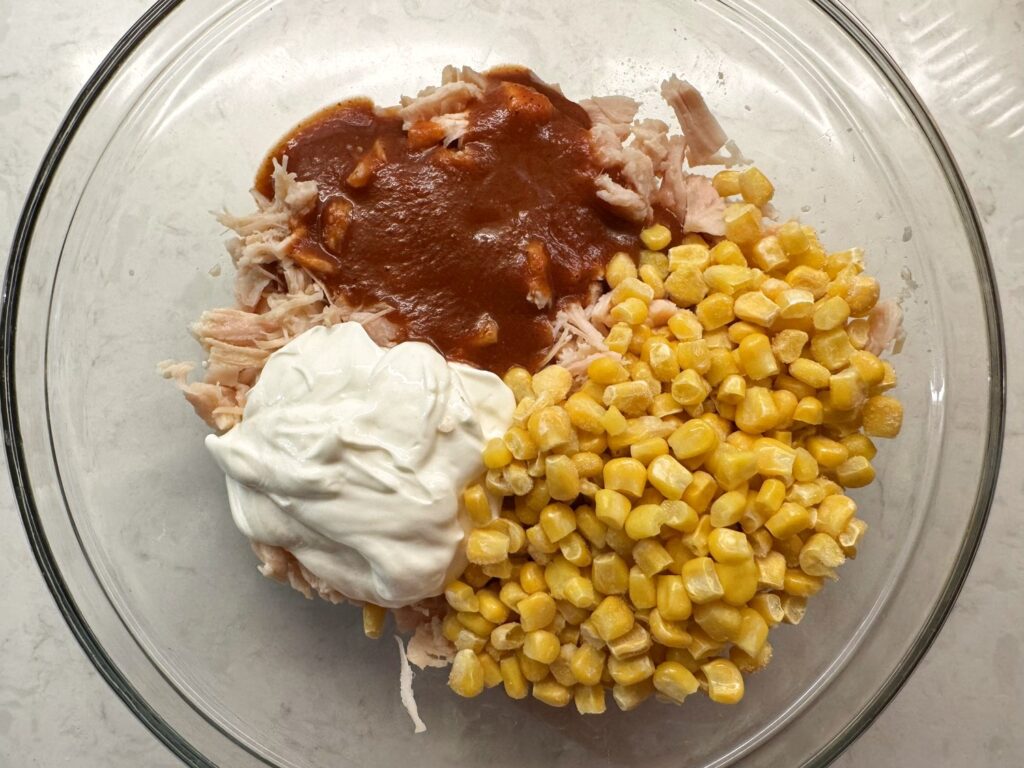
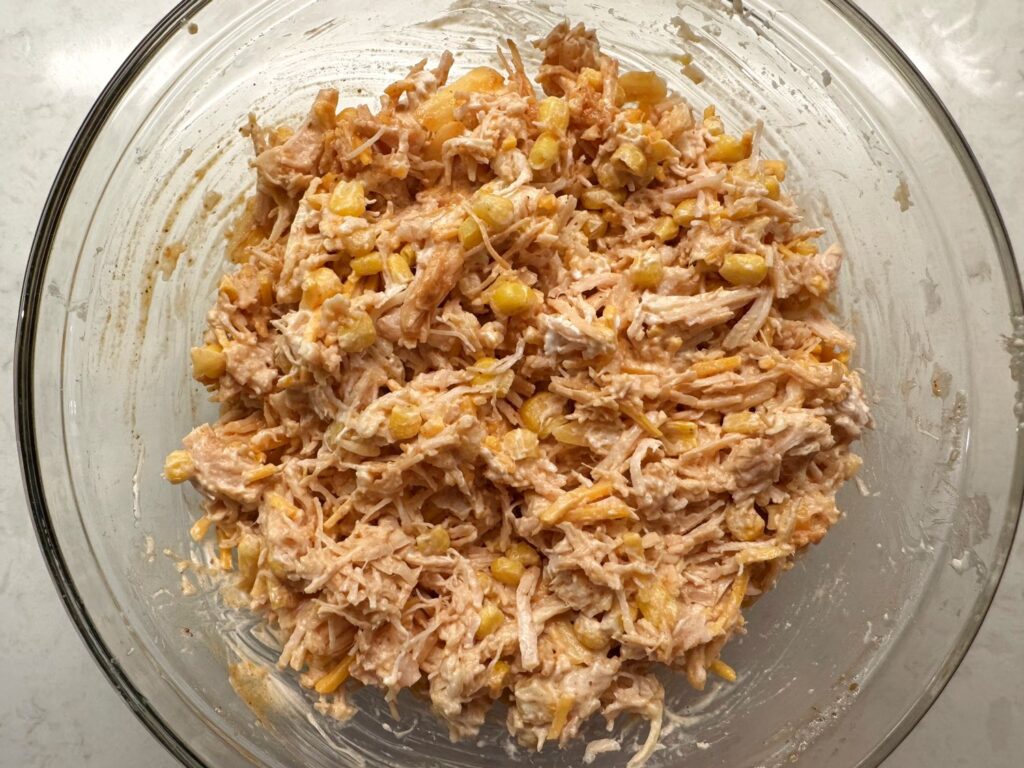
Heat your oven to 350°F. Drain the chicken well, then shred it in a big bowl with two forks, pulling them in opposite directions. Canned chicken falls apart easily, so this only takes a minute. Stir in 1/2 cup of the enchilada sauce, the sour cream, the corn, and 1 1/2 cups of the cheese. Give it a taste before you start rolling. If it seems dry, add another splash of sauce.
You want the filling creamy and moist but not runny. Keeping the filling thick helps because a drier filling keeps the tortillas from going soggy on the bottom before the enchiladas even get into the oven.
Step 2: Sauce the bottom of the dish
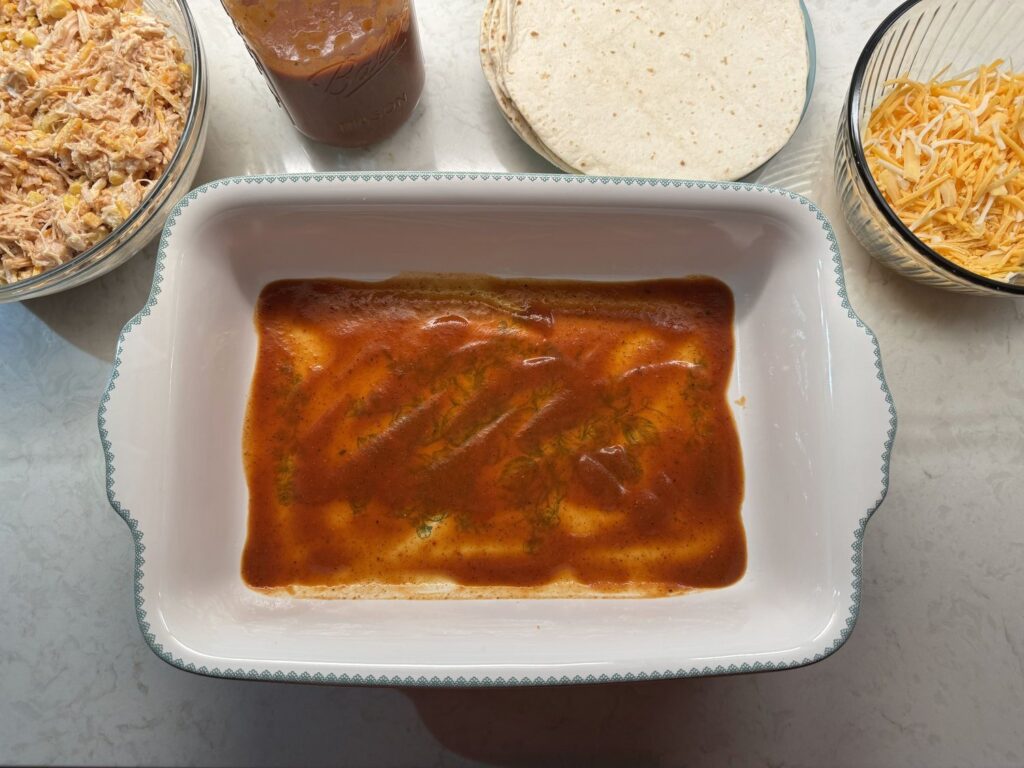
Spread about 1/2 cup of sauce across the bottom of a 9×13 baking dish. It doesn’t need to be thick, just enough to coat. That thin layer keeps the enchiladas from sticking and gives the undersides some flavor too.
Step 3: Warm the tortillas and roll
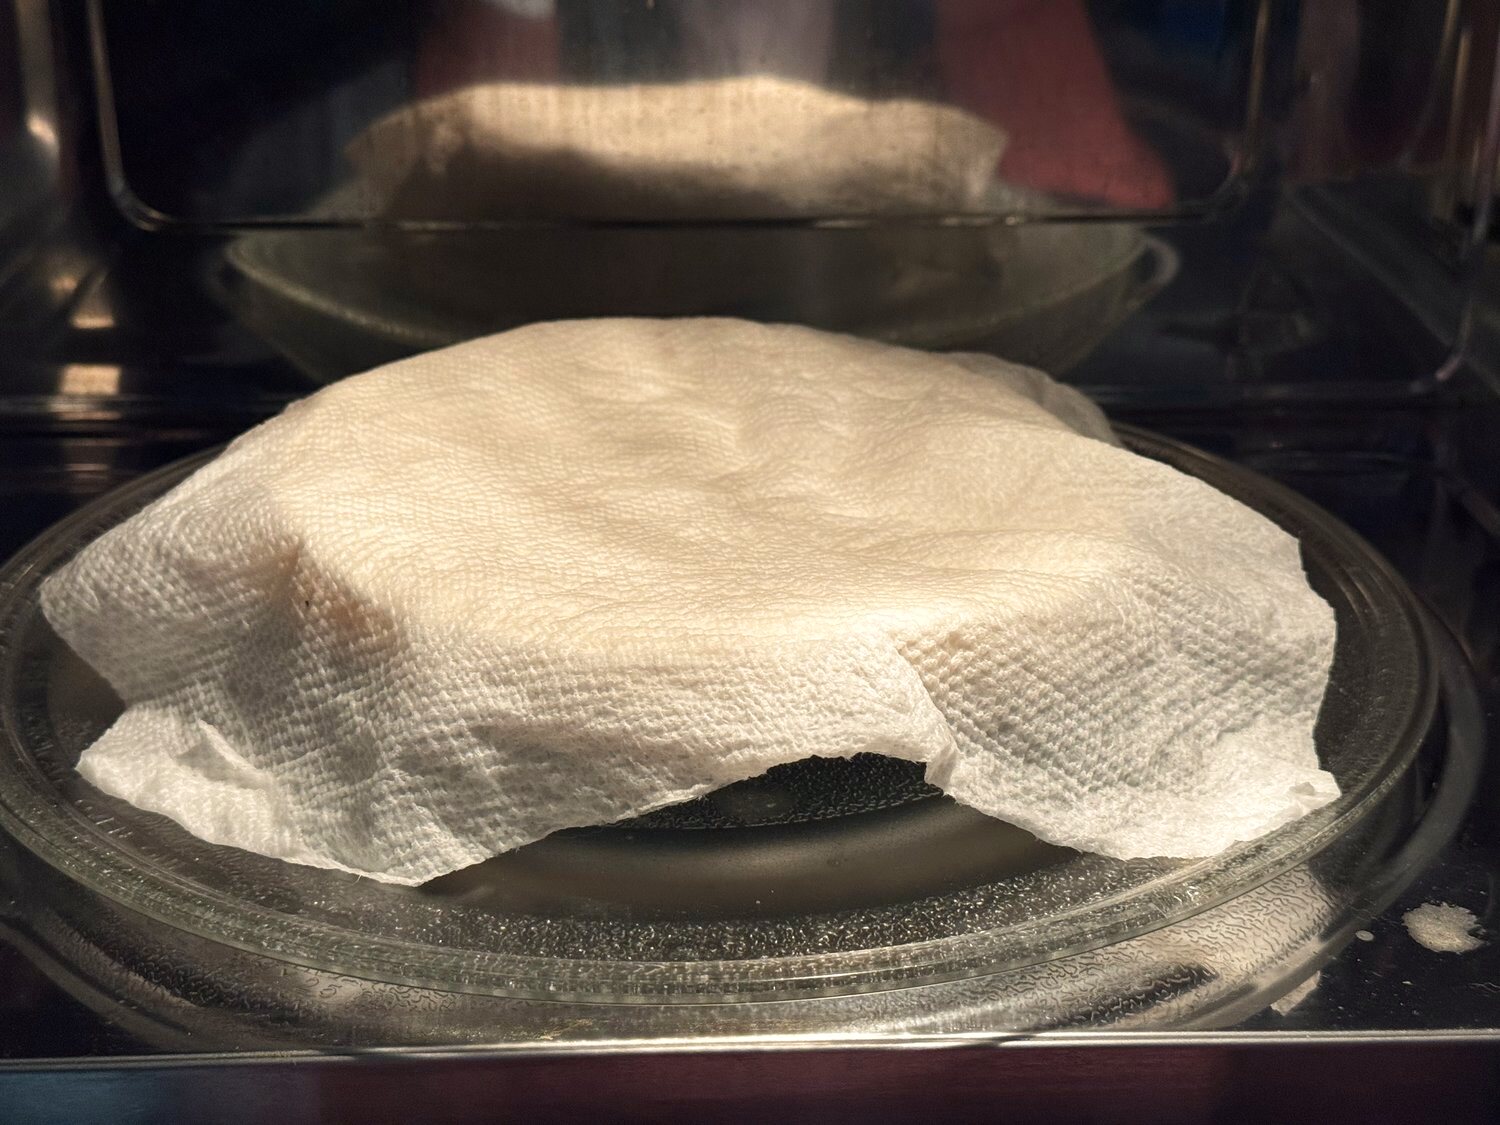
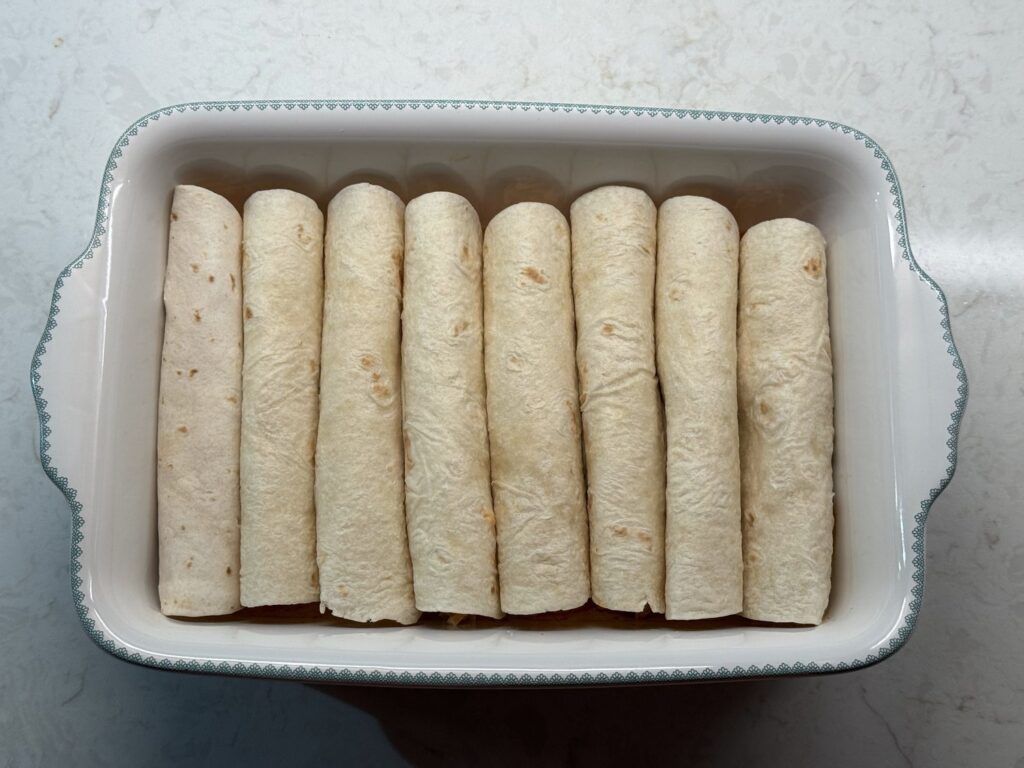
Stack the tortillas on a plate, cover them with a damp paper towel, and microwave for about 30 seconds, until they’re warm and bendy. Working one at a time, spoon a generous 1/3 cup of filling in a line down the middle, roll it up snugly, and set it seam side down in the dish.
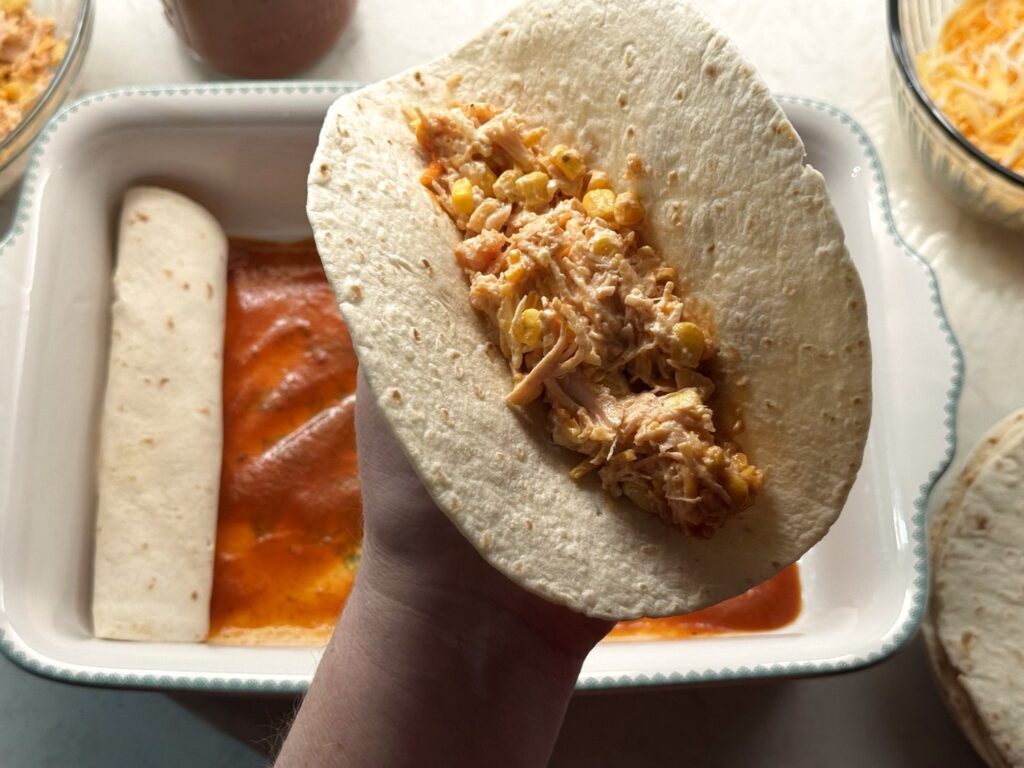
Don’t worry if you have a spoonful or two of filling left at the end. Just tuck it in along the sides of the dish. One common mistake is overfilling, which makes the tortillas split or unroll. If they won’t close without a fight, take a little filling back out.
Step 4: Sauce, cheese, and bake
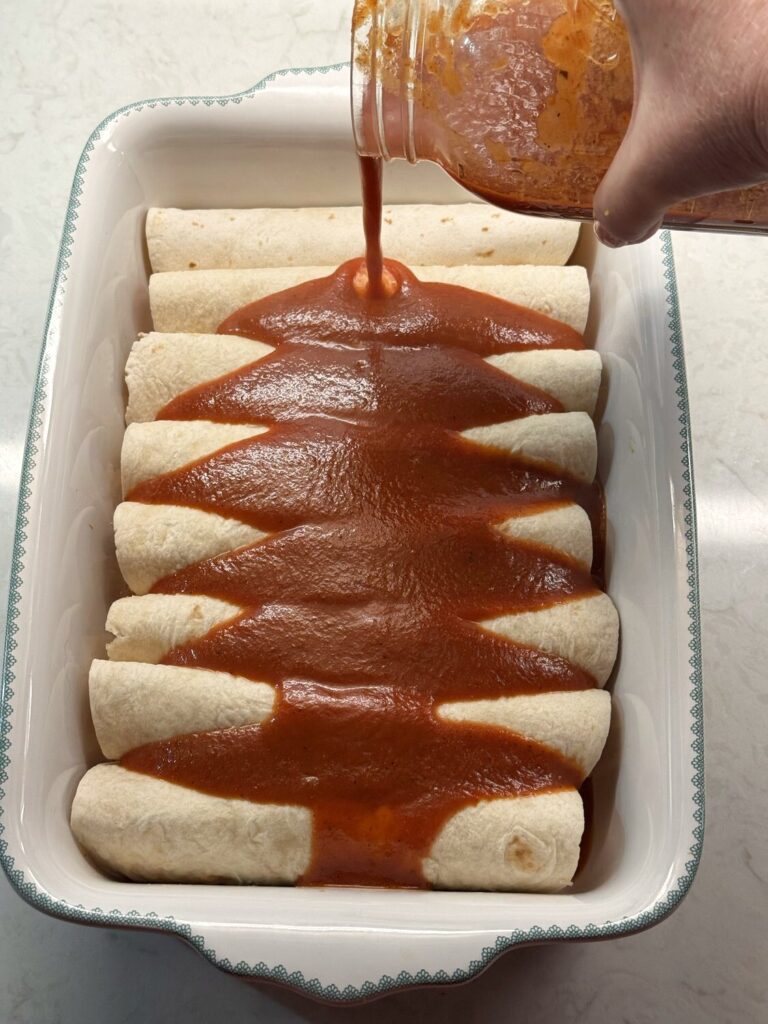
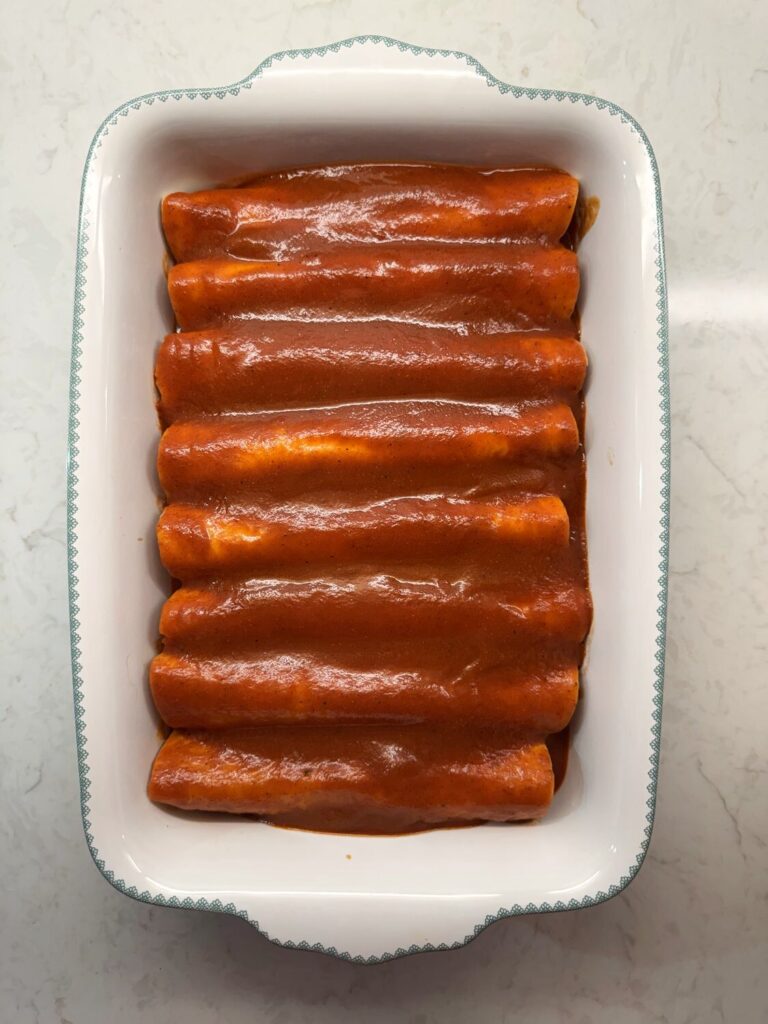
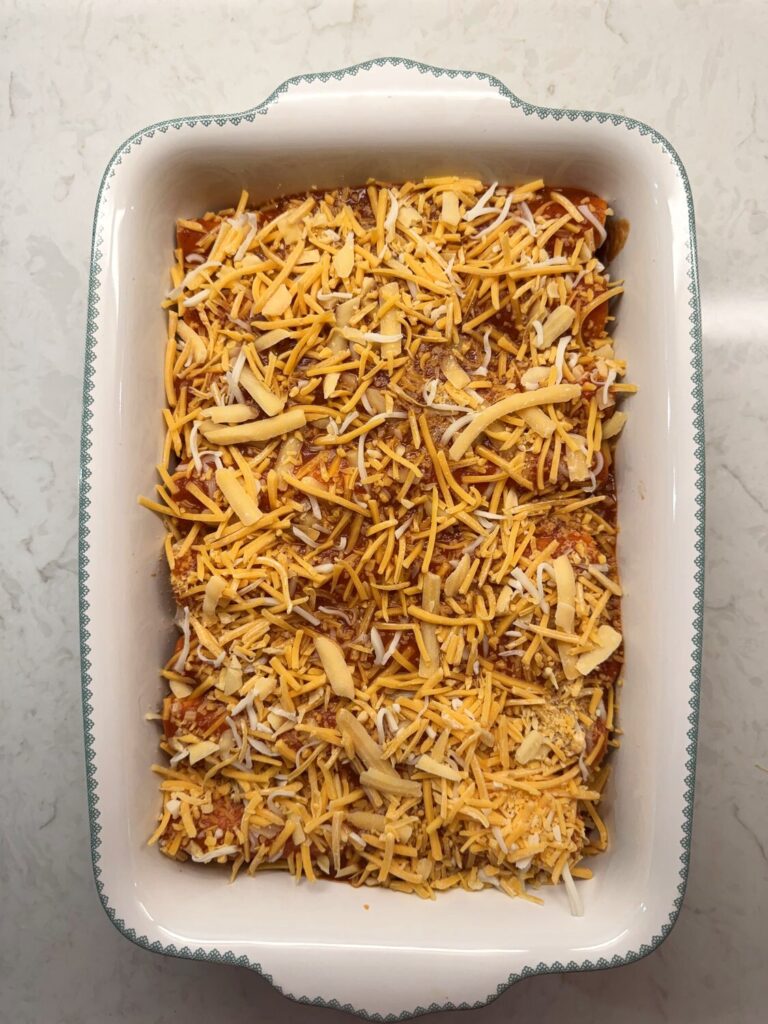
Pour the remaining sauce, about 2 cups, over the enchiladas. Use a spoon to push it out to the ends so every bit of tortilla is covered. Sprinkle the rest of the cheese over the top.
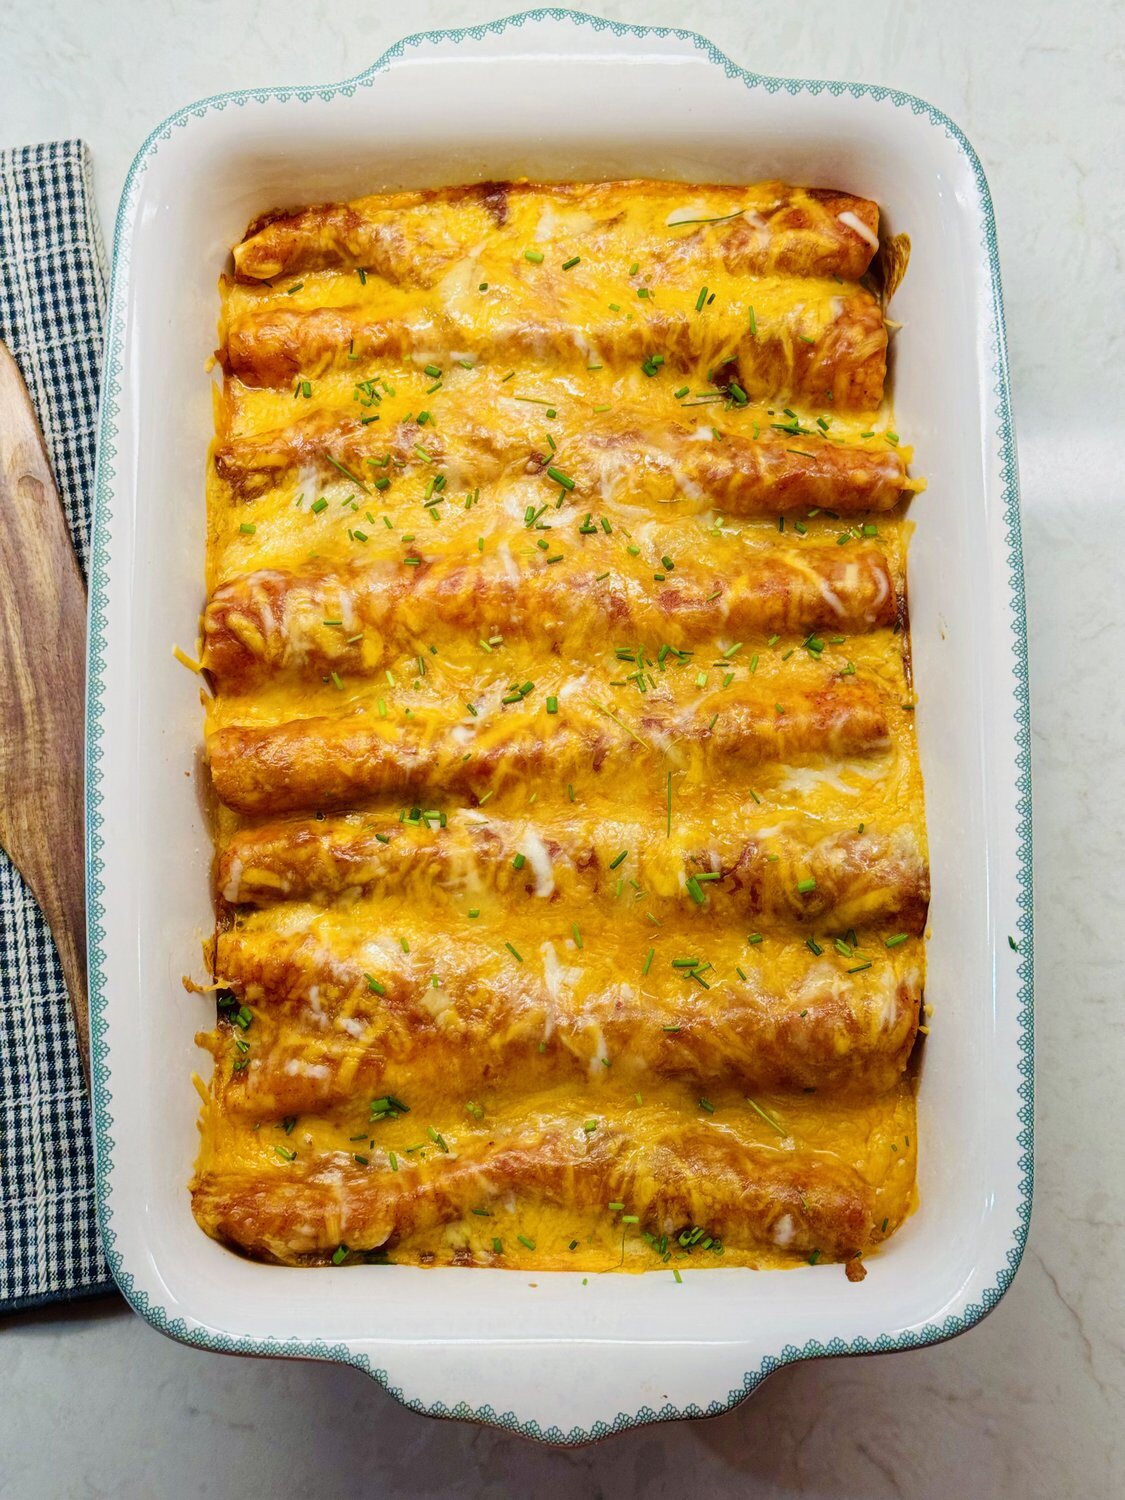
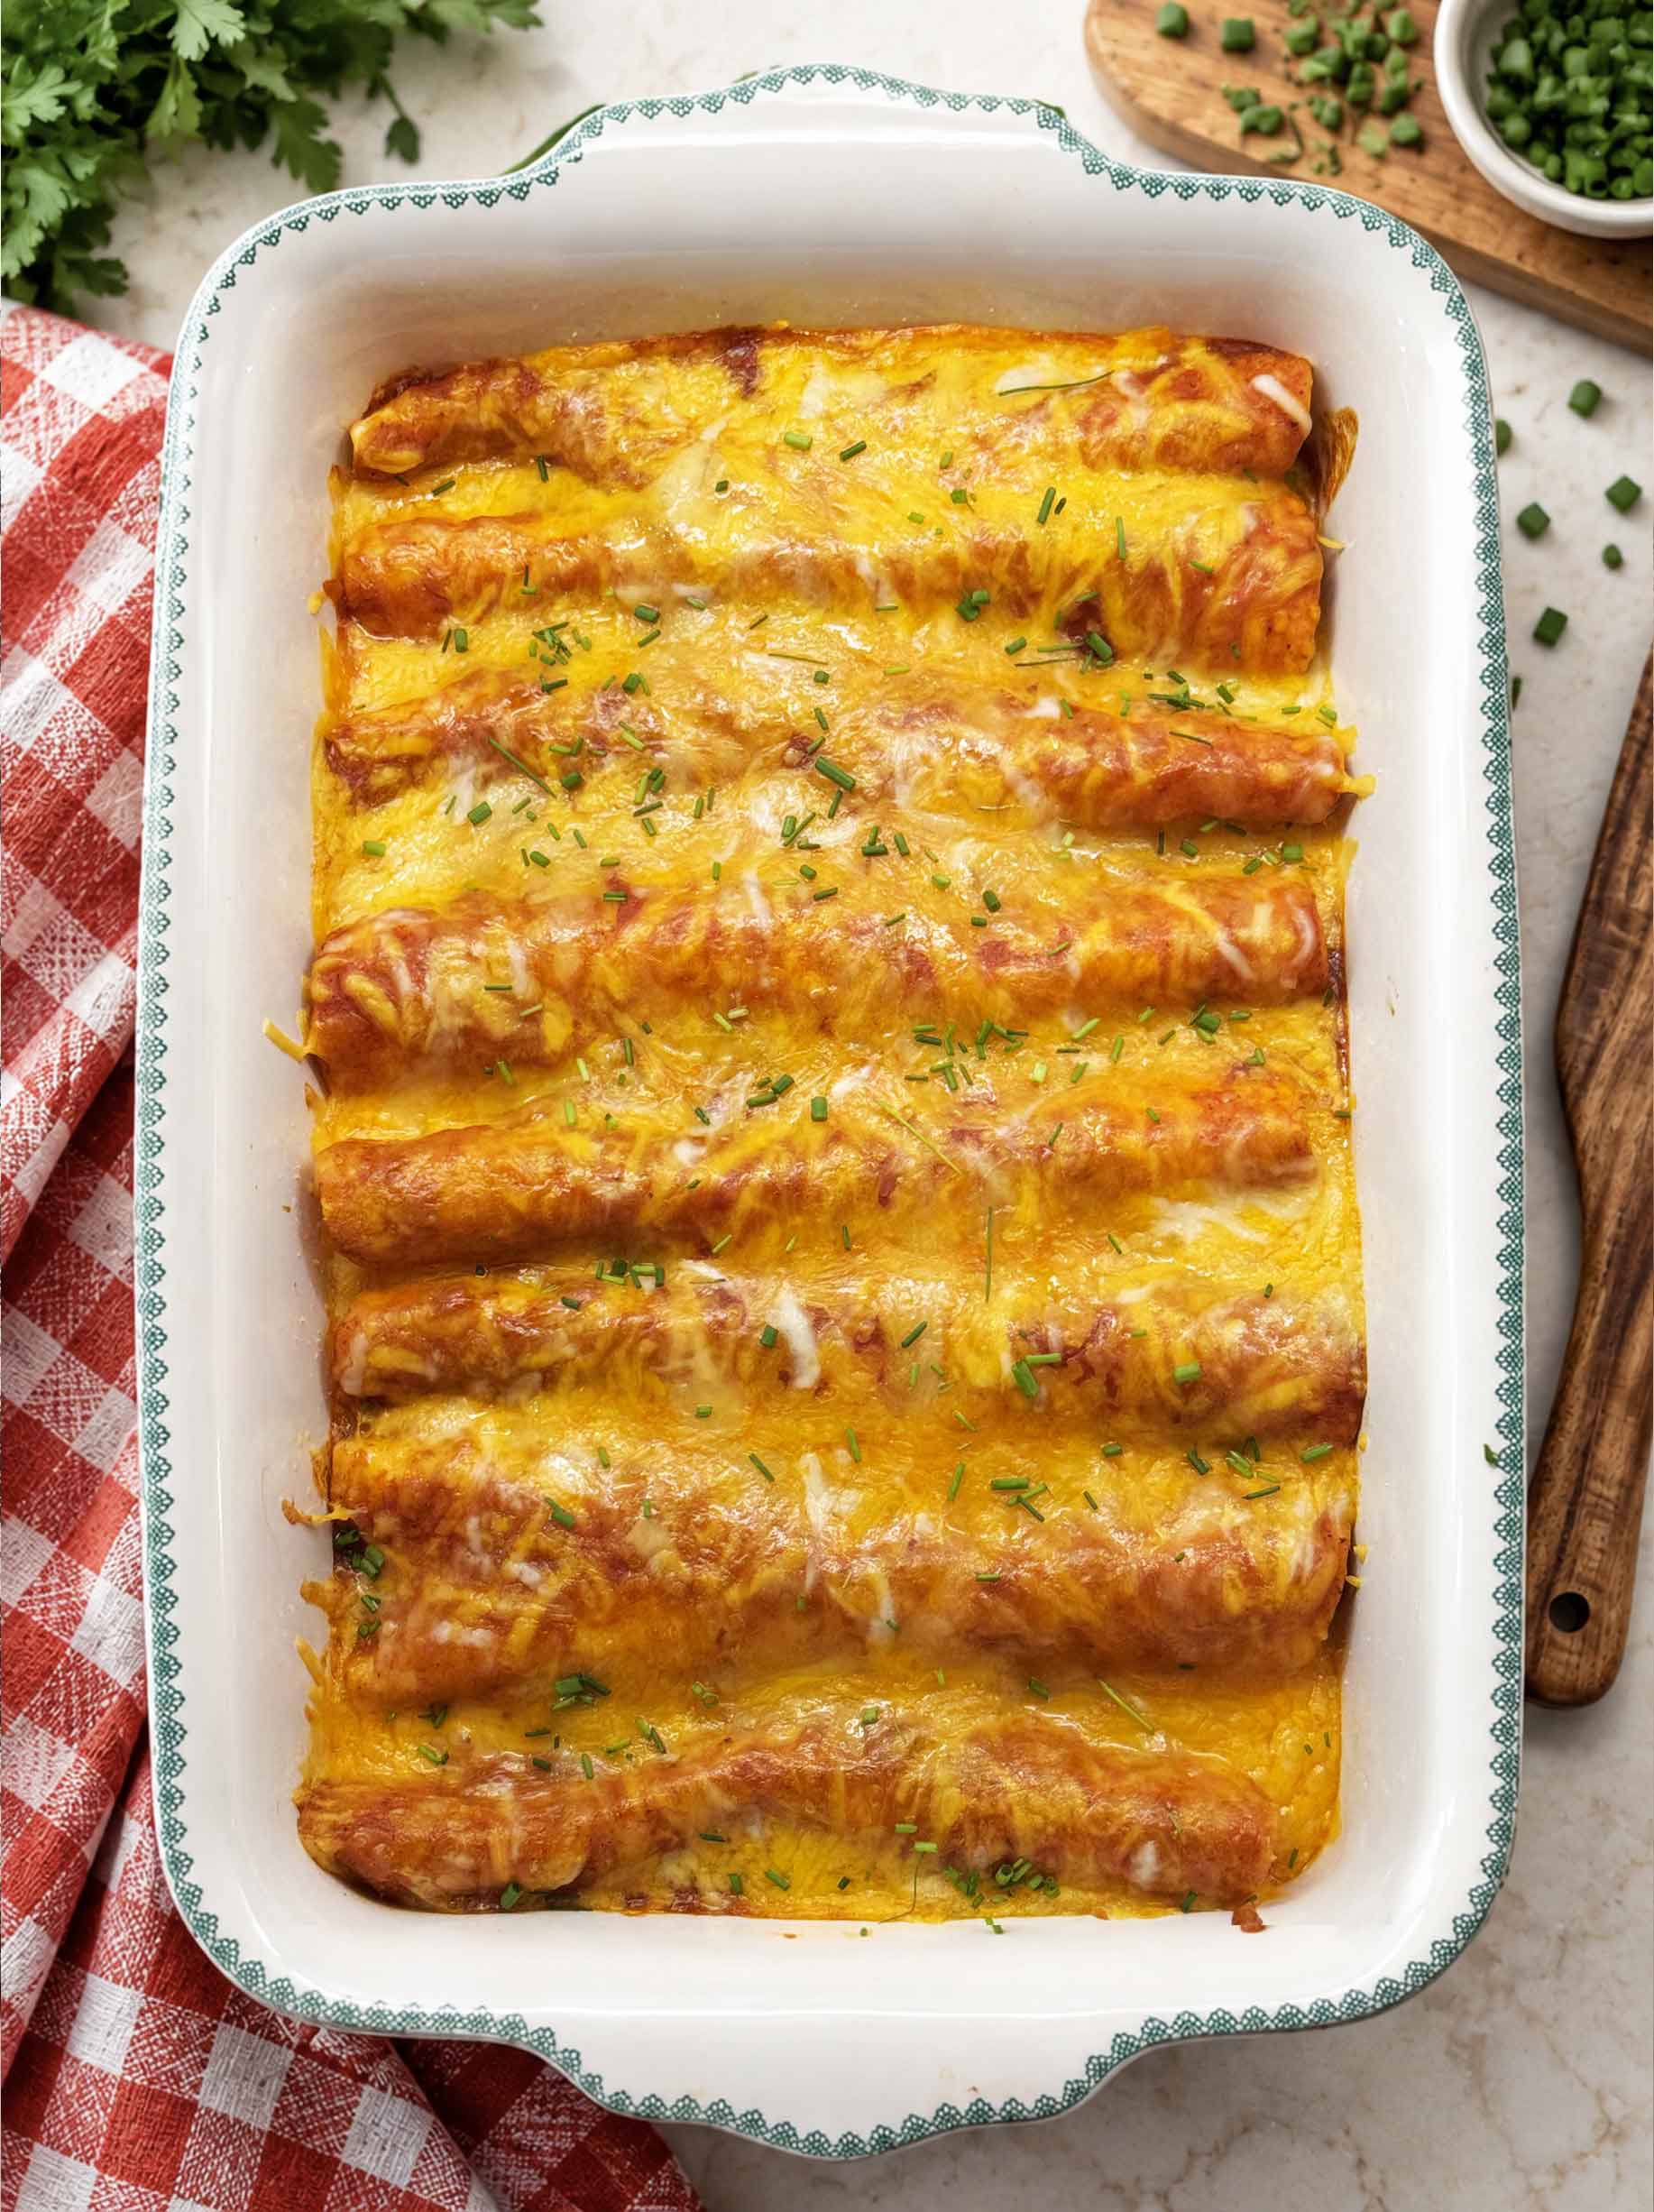
Bake uncovered for 20 minutes, until the sauce is bubbling around the edges and the cheese is melted. Everything inside is already cooked, so you’re really just heating it through and melting the cheese.
Step 5: Let them rest
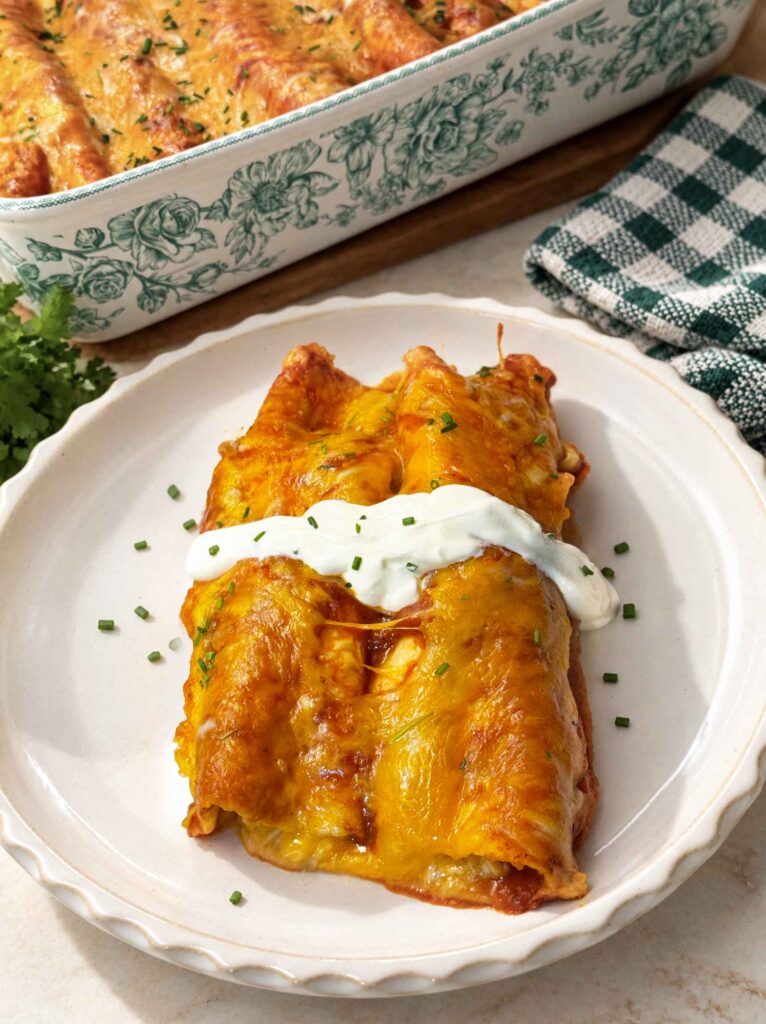
Let the pan sit for about 5 minutes before you serve. I know it’s hard to wait. The sauce thickens up a little as it cools, and the enchiladas hold together much better when you lift them out.
Can I Make Chicken Enchiladas Ahead?
Yes. Assemble them all the way through the cheese, cover the dish, and refrigerate for up to a day. Since the dish goes in cold, give it about 10 extra minutes in the oven. I haven’t timed this myself yet, so check that the center is hot before you serve.
How to Store, Reheat, and Freeze Enchiladas
Leftovers keep in the fridge, covered, for 3 to 4 days. The tortillas soak up more sauce overnight and get even softer. Warm single servings in the microwave, or cover the dish with foil and reheat at 350°F for 15 to 20 minutes.
For freezing, wrap the baked and cooled enchiladas tightly and freeze for up to 3 months, then thaw overnight in the fridge before reheating. I haven’t frozen this pan yet, so take that as general guidance rather than my results.
Frequently Asked Questions
Why are my enchiladas soggy?
Usually the chicken wasn’t drained well, or the filling had too much sauce in it. Press the chicken dry and keep the sauce in the filling to about 1/2 cup.
Why did my tortillas crack?
They were probably cold. Warming them for 30 seconds under a damp paper towel makes them soft enough to roll.
Is canned chicken already cooked?
Yes, it’s fully cooked in the can. That’s what makes this recipe so quick, since the oven only needs to heat everything through.
Are these spicy?
Not with my homemade sauce, which is mild. Store-bought sauces vary, so pick a mild one if you’re cooking for anyone sensitive to heat.
Easy Chicken Enchiladas Recipe
Equipment
- 9×13 baking dish
Ingredients
Ingredients
- 2 cans chunk chicken breast , well drained
- 3 cups red enchilada sauce , homemade or store-bought
- 1/2 cup sour cream
- 1 cup frozen corn , thawed and patted dry
- 3 cups shredded Mexican-style cheese blend or cheddar divided
- 8 tortillas flour tortillas , 8-inch
- Optional toppings: extra sour cream and chopped fresh chives (or green onions or cilantro)
Instructions
- Heat the oven to 350°F.
- In a large bowl, shred the drained chicken with two forks. Stir in 1/2 cup of the enchilada sauce, the sour cream, the corn, and 1 1/2 cups of the cheese.
- Spread 1/2 cup of sauce over the bottom of a 9×13 baking dish.
- Cover the tortillas with a damp paper towel and microwave about 30 seconds, until soft.
- Spoon a generous 1/3 cup of filling down the center of each tortilla, roll it up snugly, and place it seam side down in the dish.
- Pour the remaining sauce (about 2 cups) over the enchiladas, spreading it to cover the ends. Sprinkle with the remaining 1 1/2 cups cheese.
- Bake uncovered for 20 minutes, until the sauce bubbles at the edges and the cheese is melted.
- Let rest 5 minutes, then serve with toppings if you like.
Nutrition
Notes
- Sauce: One batch of homemade red enchilada sauce makes about 3.5 cups. For store-bought, use a 28-ounce can or three 10-ounce cans.
- Corn: Frozen (thawed) or drained canned both work. Pat it dry so the filling doesn’t get watery.
- Chicken: Any cooked shredded chicken works, including rotisserie. Use about 3 cups.
- Salt: None needed. The chicken, sauce, and cheese are all salted.
- Corn tortillas: Warm them until pliable before rolling so they don’t crack.
- Lactose free: Use lactose-free shredded cheese and sour cream, or aged cheddar if you tolerate it.
- Gluten free: Use gluten-free or corn tortillas and a gluten-free enchilada sauce.
- Make ahead: Assemble, cover, and refrigerate up to 1 day. Add about 10 minutes to the bake time.
- Storage: Refrigerate up to 3 to 4 days. Freeze baked, cooled enchiladas up to 3 months.
How to Trust This Recipe
I know it’s hard to know what is authentic these days, so this is a real photo from chicken enchilada night here on Maker Farm, with the pan fresh out of the oven. I like sharing one everyday “normal” image like this so you can see what the food looked like, not just the pretty and polished pictures.
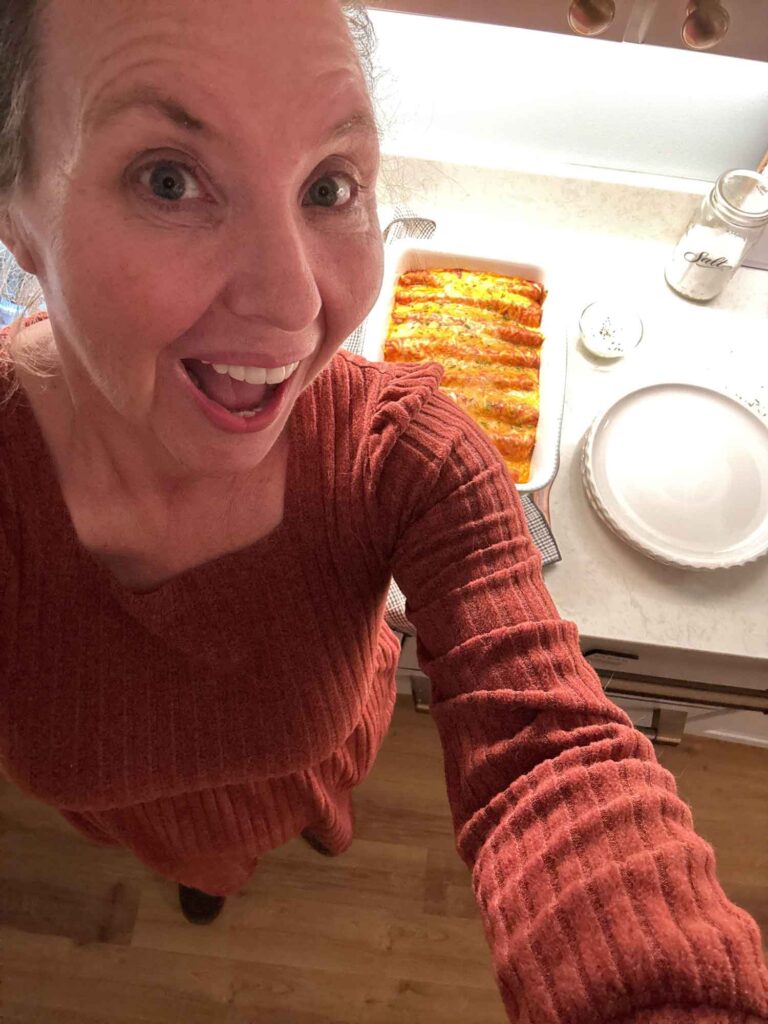
This image was captured with ProofMode on my iPhone, which creates signed records with C2PA (Content Credentials) showing the original photo came from a real capture on my device at a real place (Maker Farm). In plain English: I really made this recipe, and this is a real photo of it. The full proof photo file is available here, along with directions on how to verify it.
If you try these, let me know whether you went homemade or store-bought on the sauce. And if you’ve got a favorite topping, I’d love to hear it.
Happy cooking!
Love,
Jennifer
Tried this recipe?
Tap the stars in the recipe card to leave a quick rating. Your rating helps other home cooks know this recipe works in a real kitchen, not just mine.
And as a thank-you for your feedback, you will receive a free printable copy of my Maker Home Companion Cookbook, featuring my most popular recipes, each one formatted on a SINGLE, easy-to-use page, a perfect kitchen companion for easy meal prep. Click here to learn more about this cookbook and how you can get your copy!


Meet Jennifer
Jennifer cooks and experiments in the kitchen at Maker Farm, where she focuses on simple pantry cooking, homemade staples, and practical recipes that make everyday meals easier. Over the years she has tested many ways to make cooking simpler and more dependable, and shares the methods that work best in her own kitchen, occasionally showing them on her Heart to Home at Maker Farm vlog.
This recipe saved the day! After a busy day, this only required a few simple ingredients, was quick to prepare, and made a delicious and warming meal with hardly anything to clean up, and leftovers for tomorrow.
My family loves chicken enchiladas and this recipe was a hit! Add to that how easy it was to make, and this recipe has been added to my favorites in my recipe box. Thank you Jennifer!
Keep up the great work ! I love your style, your content, your explanations and details, your photos, your personal additions, glimpses into life at Maker Farm…..all of it ! Thank you.
Cynthia Atwood
Thank you, Cynthia!