
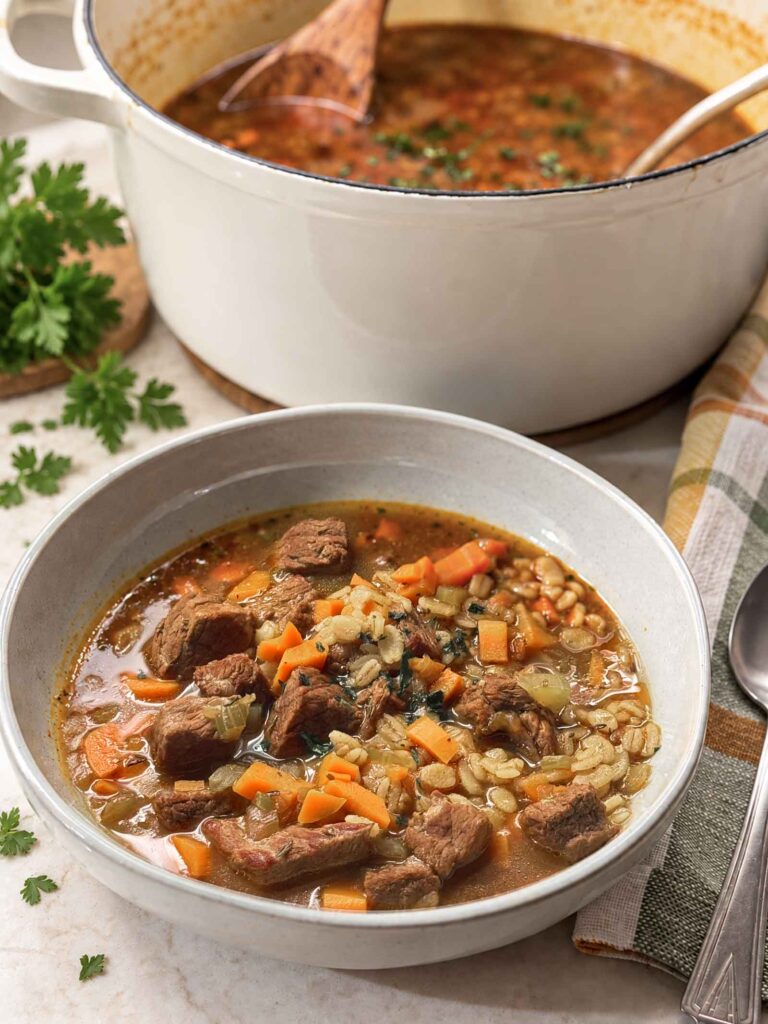
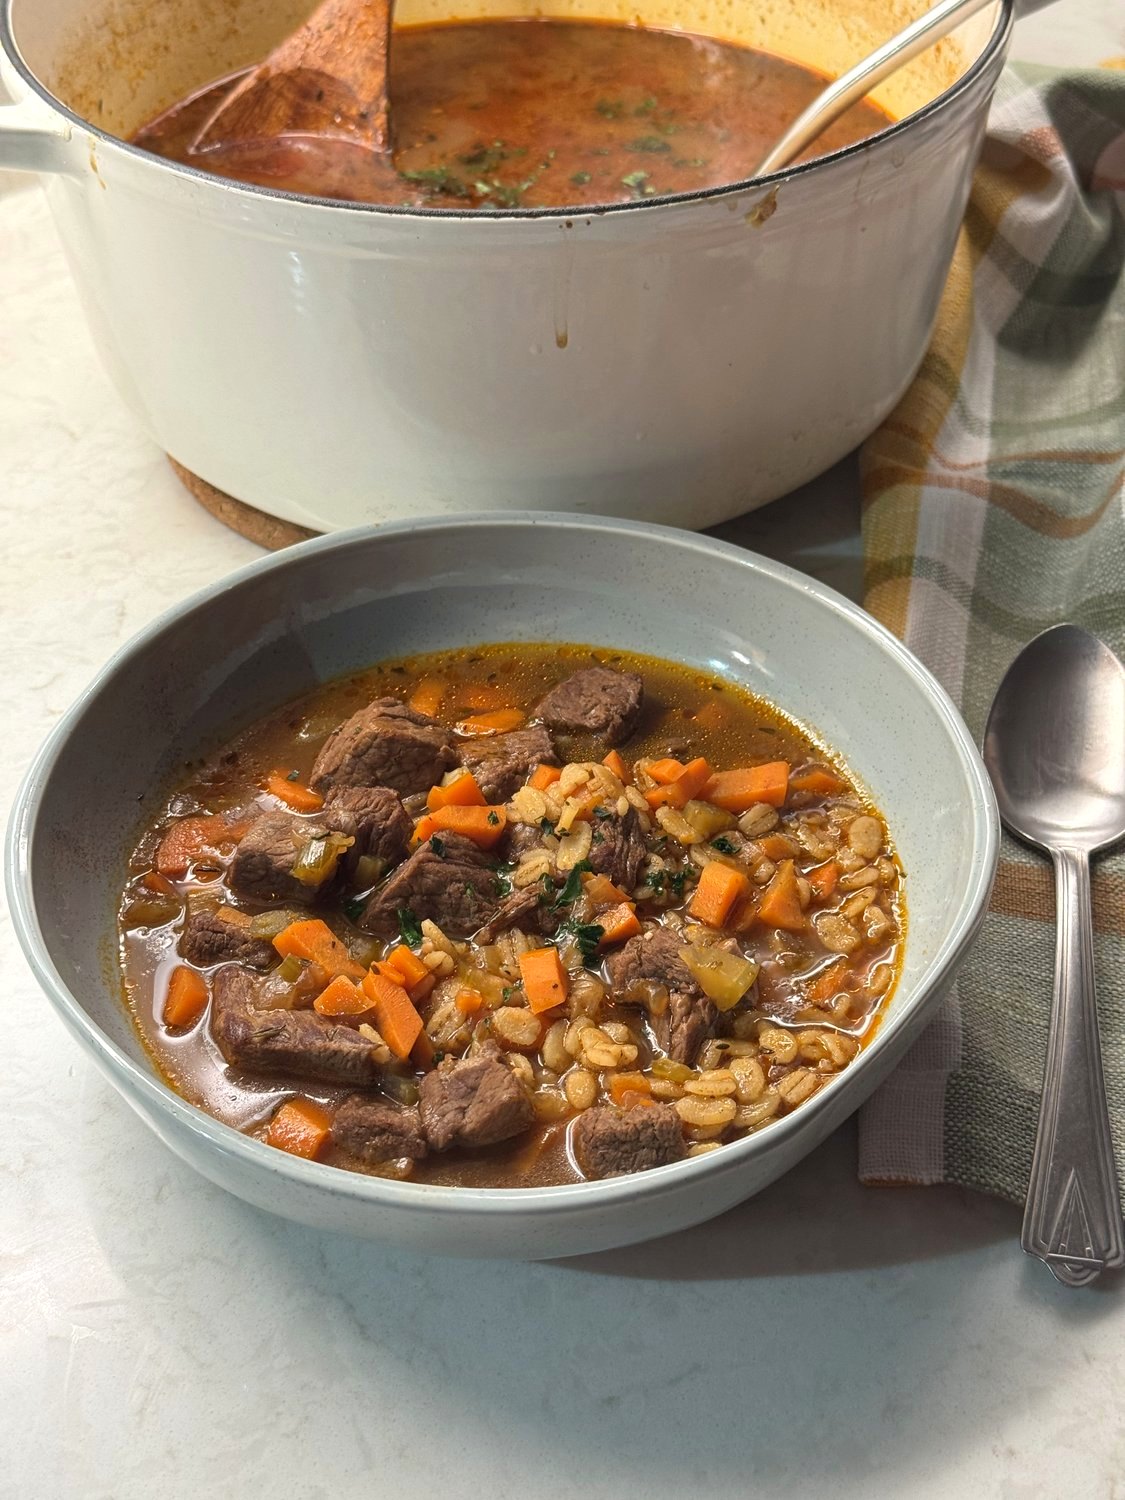
This beef barley soup recipe has chewy barley and a rich, beefy broth with enough body to call it dinner, all made from scratch. It all happens in one pot with everyday ingredients, and most of the time is hands-off.
Beef Barley Soup At A Glance
Prep
20 min
COOK
90 min
Total
110 min
Serves
6
Pan
Large pot or Dutch oven
The Soup Recipe That Made Me a Soup Fan

It’s autumn, and the nights are getting chillier. That means I want warm comfort food for dinner, and this recipe is perfect. Before I began making it, I wasn’t a huge fan of brothy soups. But this one changed all that.
I had actually planned to make this soup with leftover Mississippi pot roast. But my husband Greg liked it so much all the leftovers were gone. So I used stew meat and made it from scratch instead, and I’m so glad I did. But you can make it with cooked meat if you have it, too.
Let’s dig in!

Tips and Notes Before You Start
- Don’t skip the browning. The browned bits on the bottom of the pot are where this soup gets its flavor. They’re what a gravy packet tries to imitate, but you can get the real thing.
- Give the beef room to cook. Spread the meat in a single layer, and brown it in batches if it won’t all fit. A crowded pot steams the beef instead of browning it.
- Keep the beef bite-size. Some packages of stew meat come in big 1 1/2 to 2 inch chunks. For soup, pieces about 1 inch or a little smaller fit on a spoon and get tender faster.
- Quick barley goes in last. It only needs about 10 minutes. If you add it at the start, it turns soft and soaks up most of the broth.
- Salt at the end. Broth brands vary a lot, so taste after the barley is done. Mine needed about 1/2 teaspoon with low-sodium broth.
- Expect thicker leftovers. Barley keeps drinking up broth in the fridge. Just add a splash of broth or water when you reheat it.

Want to Save This Recipe?
Enter your email below and we’ll send it straight to your inbox! Plus you’ll get new recipes each week!
What You’ll Need
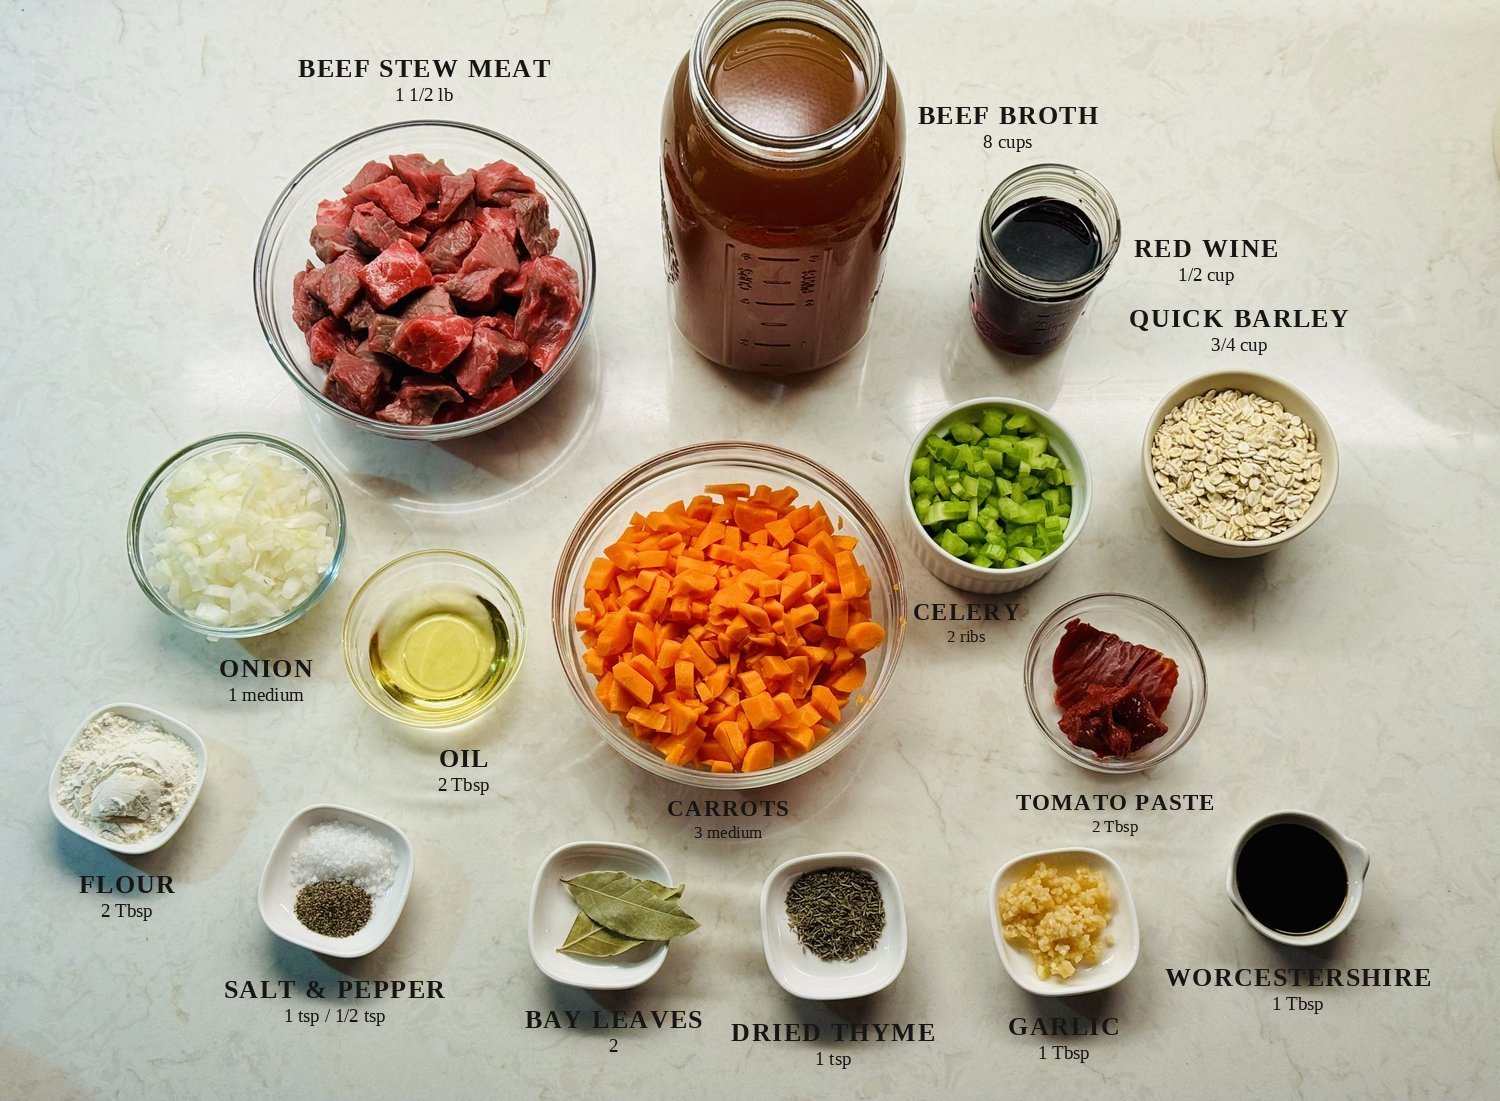
Beef stew meat. Stew meat is usually cut from chuck or round, and chuck is the one you want, because its marbling and connective tissue melt into tender bites over a long simmer. If your package has some very lean, dark red pieces mixed in, that’s probably round, and those may take a little longer.
Flour. This gets tossed with the beef to help it brown, give the broth a little body so the soup eats like a meal, and keep the pieces from clumping together in the pot.
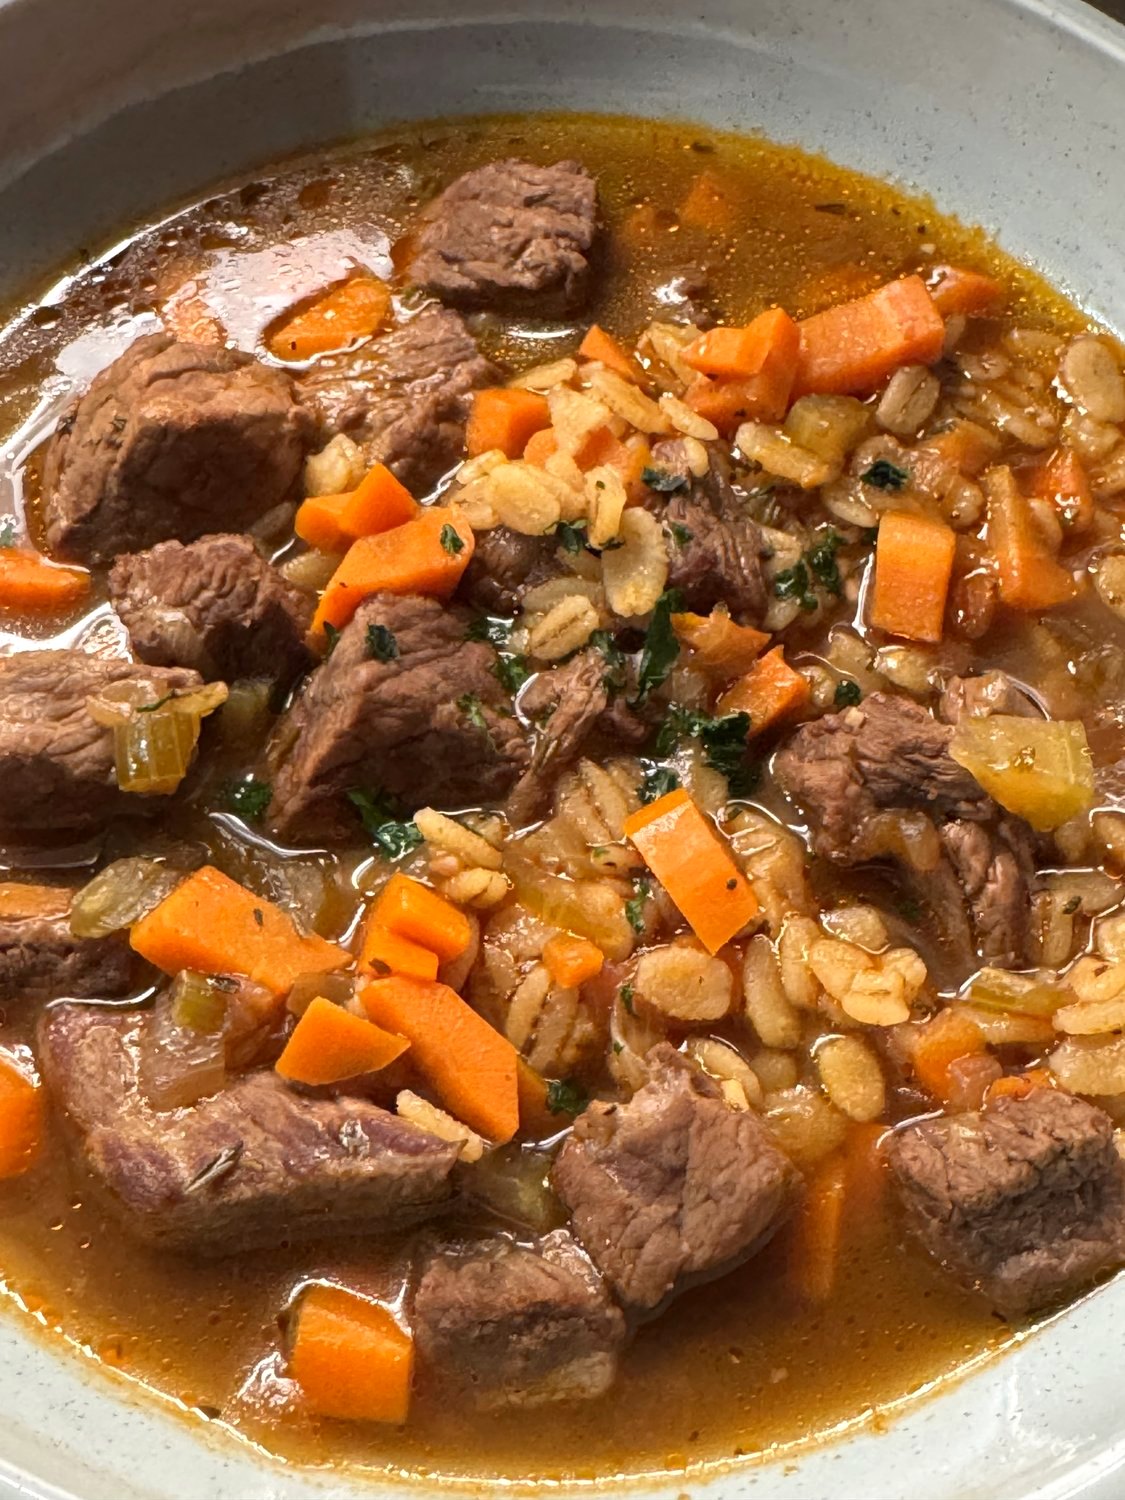
Quick pearl barley. Quick barley is easier for most people to find at the store (including me!), so that’s what we’re using here and it works great. Quick barley has been steamed and pressed flat, a lot like quick oats, which is why it’s done in about 10 minutes instead of 45 or more. That’s also why it looks a little different from the round, plump barley in most barley soup photos. Don’t worry if yours looks flatter, with a thin dark line down the middle of each grain. That’s normal. It’s sometimes labeled “quick cooking barley.” I used the Quaker brand.
Can I use Regular Pearl Barley?

Yes, and if you can find it, regular pearl barley gives you rounder, chewier grains. It just goes in earlier, since it needs about 45 to 60 minutes. Simmer the beef for 20 minutes first, then add the regular barley and simmer until both are tender. You’ll probably need an extra cup of broth too, since regular barley absorbs more as it cooks.
Onion, carrots, and celery. Dice them small, so every spoonful gets a little of everything.
Low-sodium beef broth. Low-sodium gives you control over the salt, which matters here because the broth reduces a bit as it simmers. If you only have regular broth, use 6 cups of broth plus 2 cups of water, cut the salt on the beef to half, and taste before adding any at the end.
Dry red wine (optional). I love red wine in anything with beef. It adds a rich depth to the broth. If you’d rather skip it, swap it 1:1 for broth instead.
How to Make Beef Barley Soup from Scratch
Step 1: Coat the beef in flour
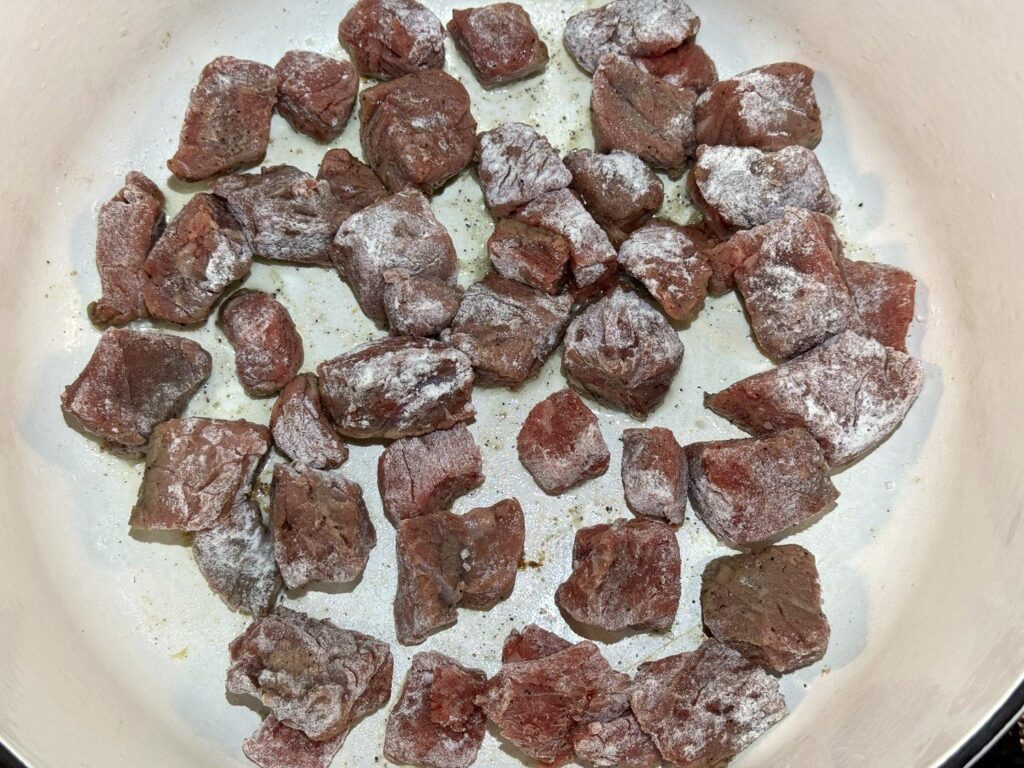
If any pieces of stew meat are bigger than about 1 inch, cut them down, and trim off any big pieces of fat or gristle. Pat the beef dry with paper towels, then toss it in a bowl with the flour, 1 teaspoon salt, and 1/2 teaspoon pepper until every piece is lightly coated.
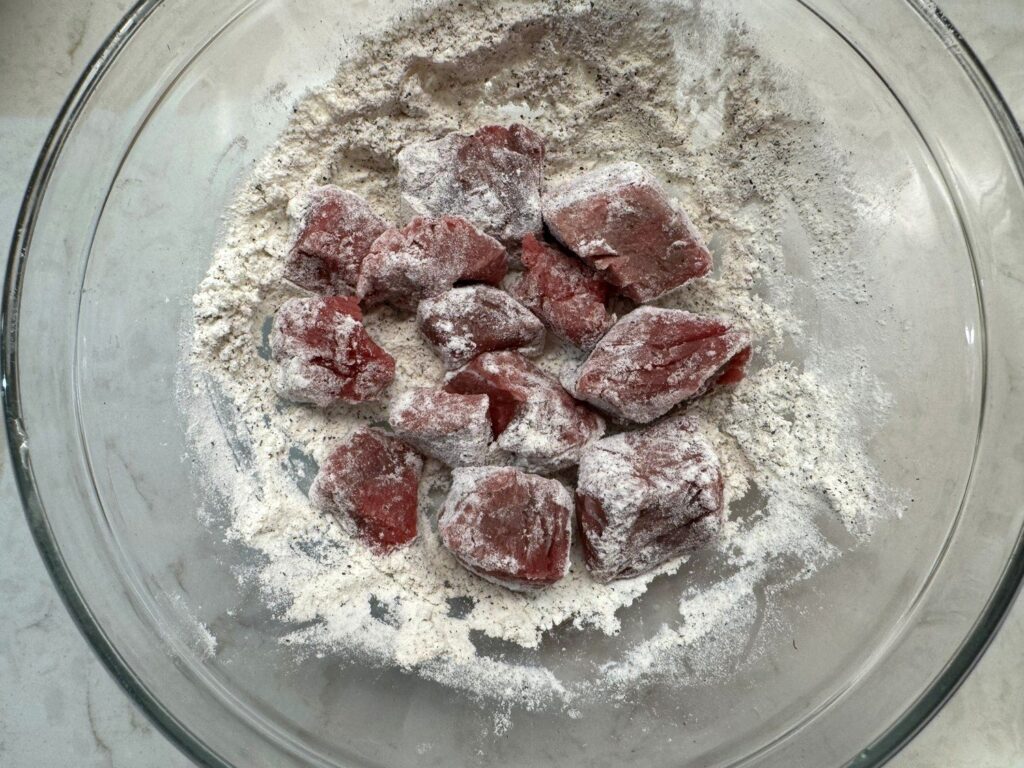
Patting it dry matters more than you’d think. Wet beef steams in the pot, and the flour turns gummy instead of browning.
Step 2: Brown the beef
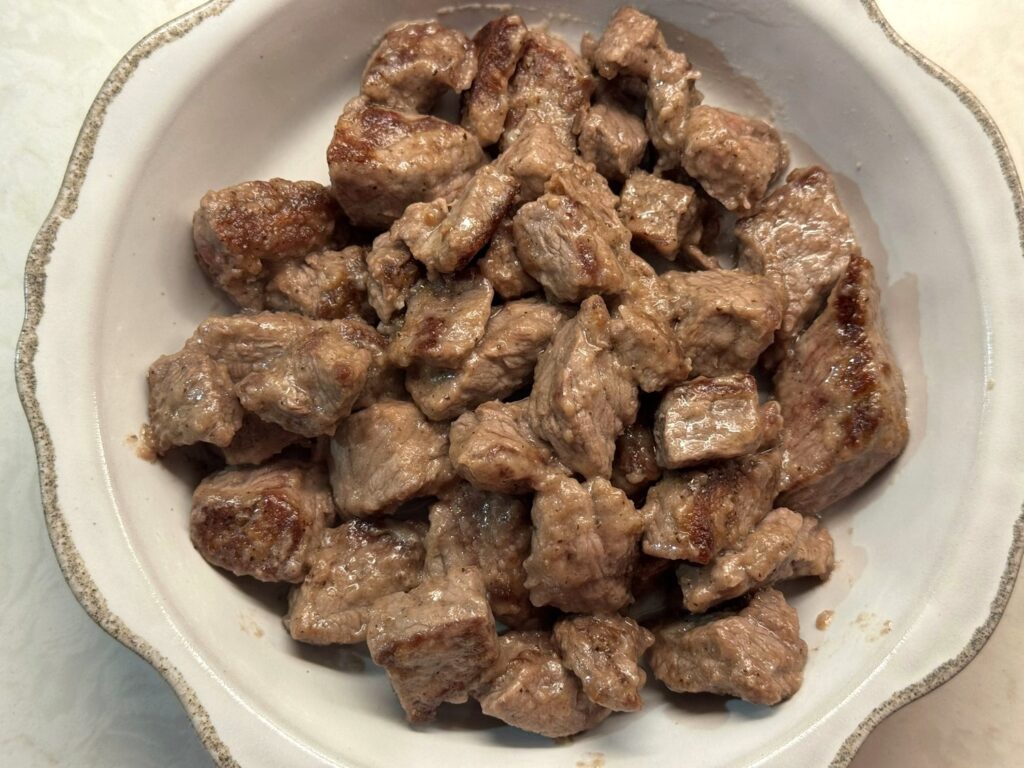
Heat 1 tablespoon of oil in your Dutch oven over medium-high heat. Add the beef in a single layer, with a little space between the pieces. If it won’t all fit, do it in two batches. Let it sit for 2 to 3 minutes before you stir, so it can brown, then turn and brown the other sides. Move it to a plate, adding the second tablespoon of oil if you’re doing another batch.
Don’t worry if the bottom of the pot looks dark and crusty by the end. That’s the flavor a gravy packet tries to copy, and we’ll scrape it all up in a minute. If it starts to smell scorched, just turn the heat down a notch.
Step 3: Soften the vegetables
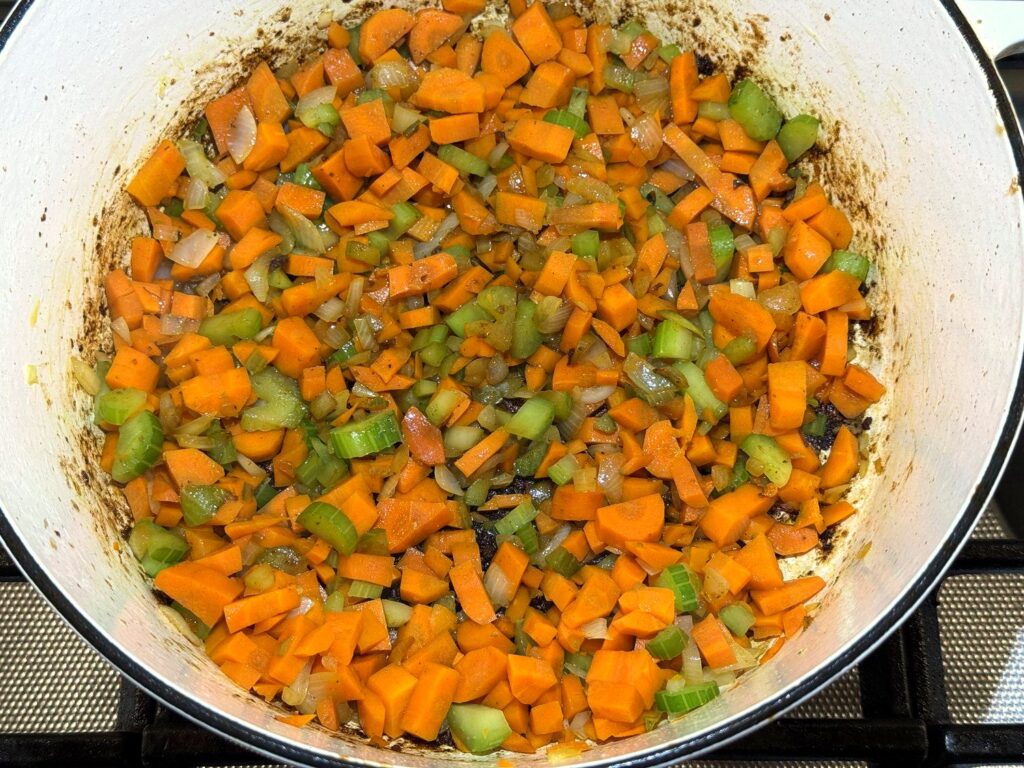
Lower the heat to medium and add the onion, carrots, and celery. Cook for about 5 minutes, stirring now and then, until the onion is soft. The moisture from the vegetables will start loosening the browned bits on the bottom.
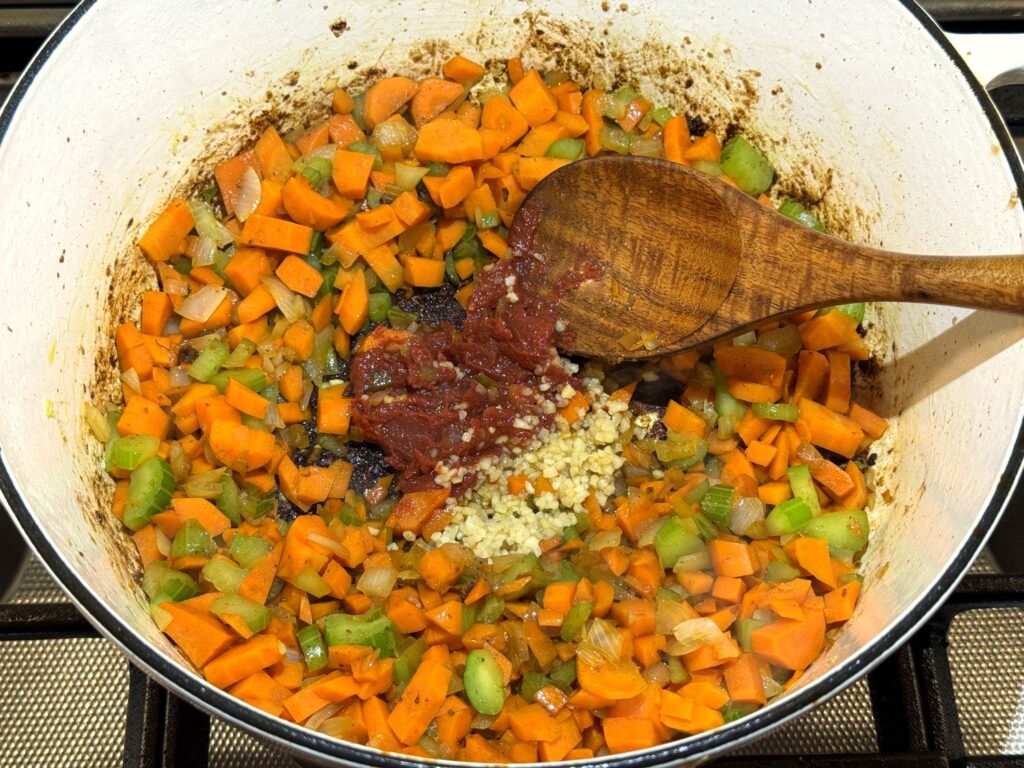
Stir in the garlic and tomato paste and cook for another 1 to 2 minutes, until the tomato paste turns a shade darker. Be careful not to let the garlic burn, since that makes the whole pot taste bitter.
Step 4: Scrape up the browned bits and add the broth
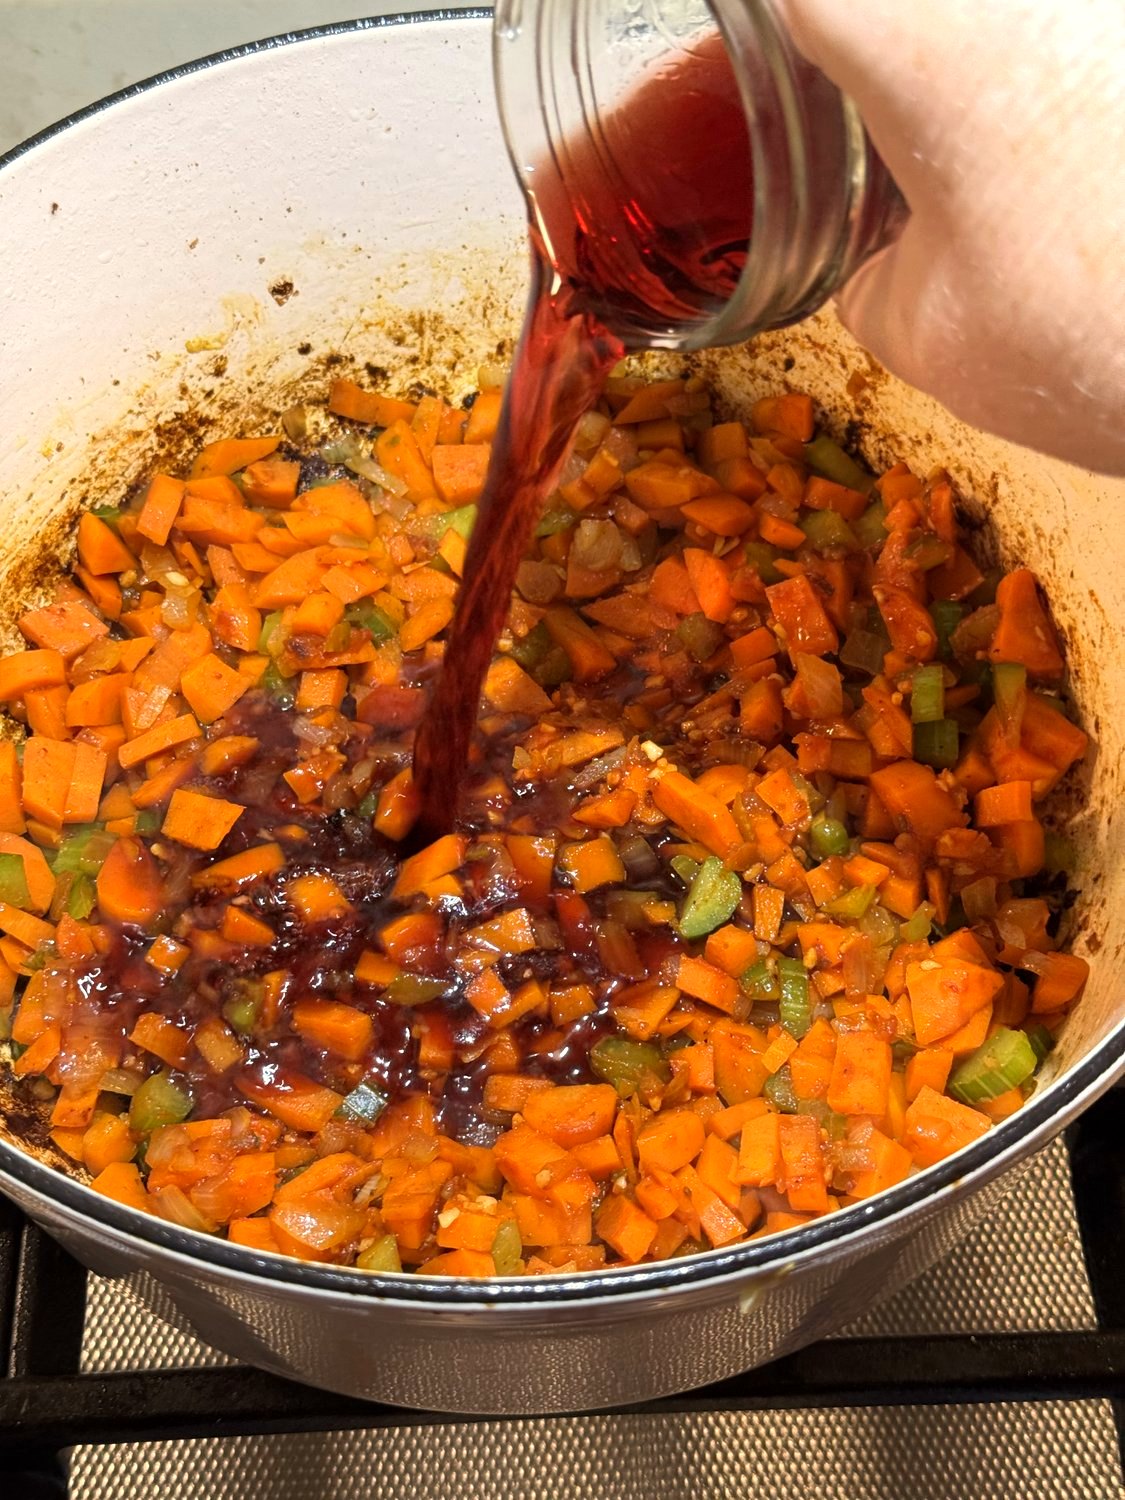
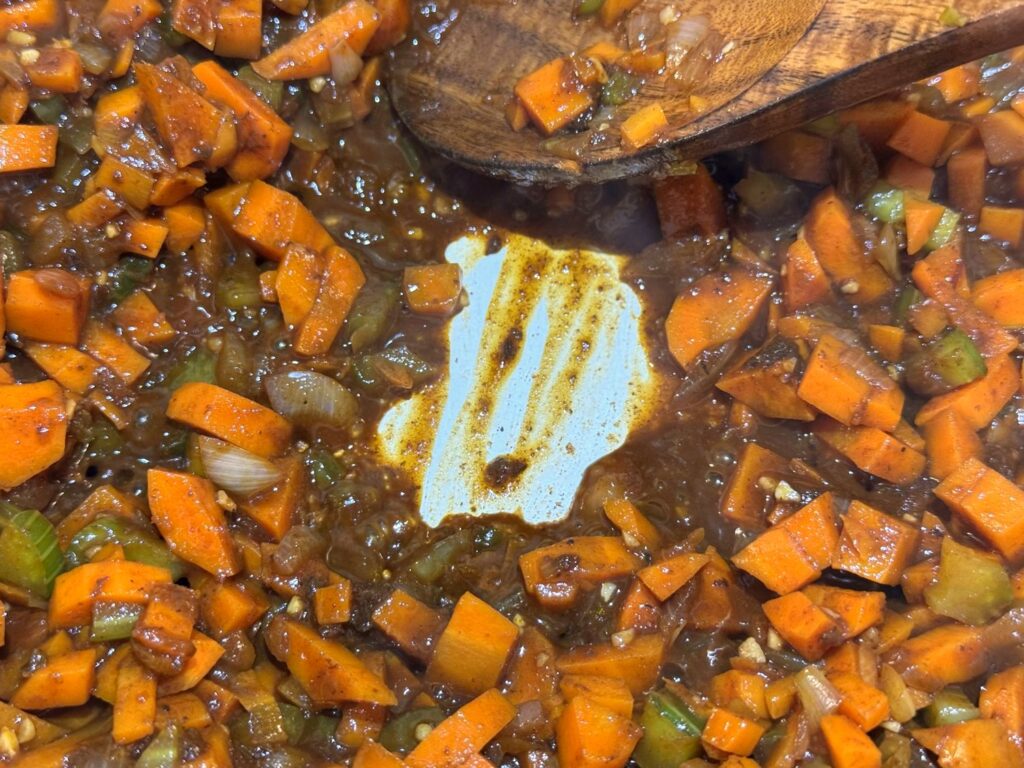
Pour in the red wine (or 1/2 cup of the broth) and scrape the bottom of the pot with a wooden spoon until all those browned bits come loose. Let it bubble for a minute or two.
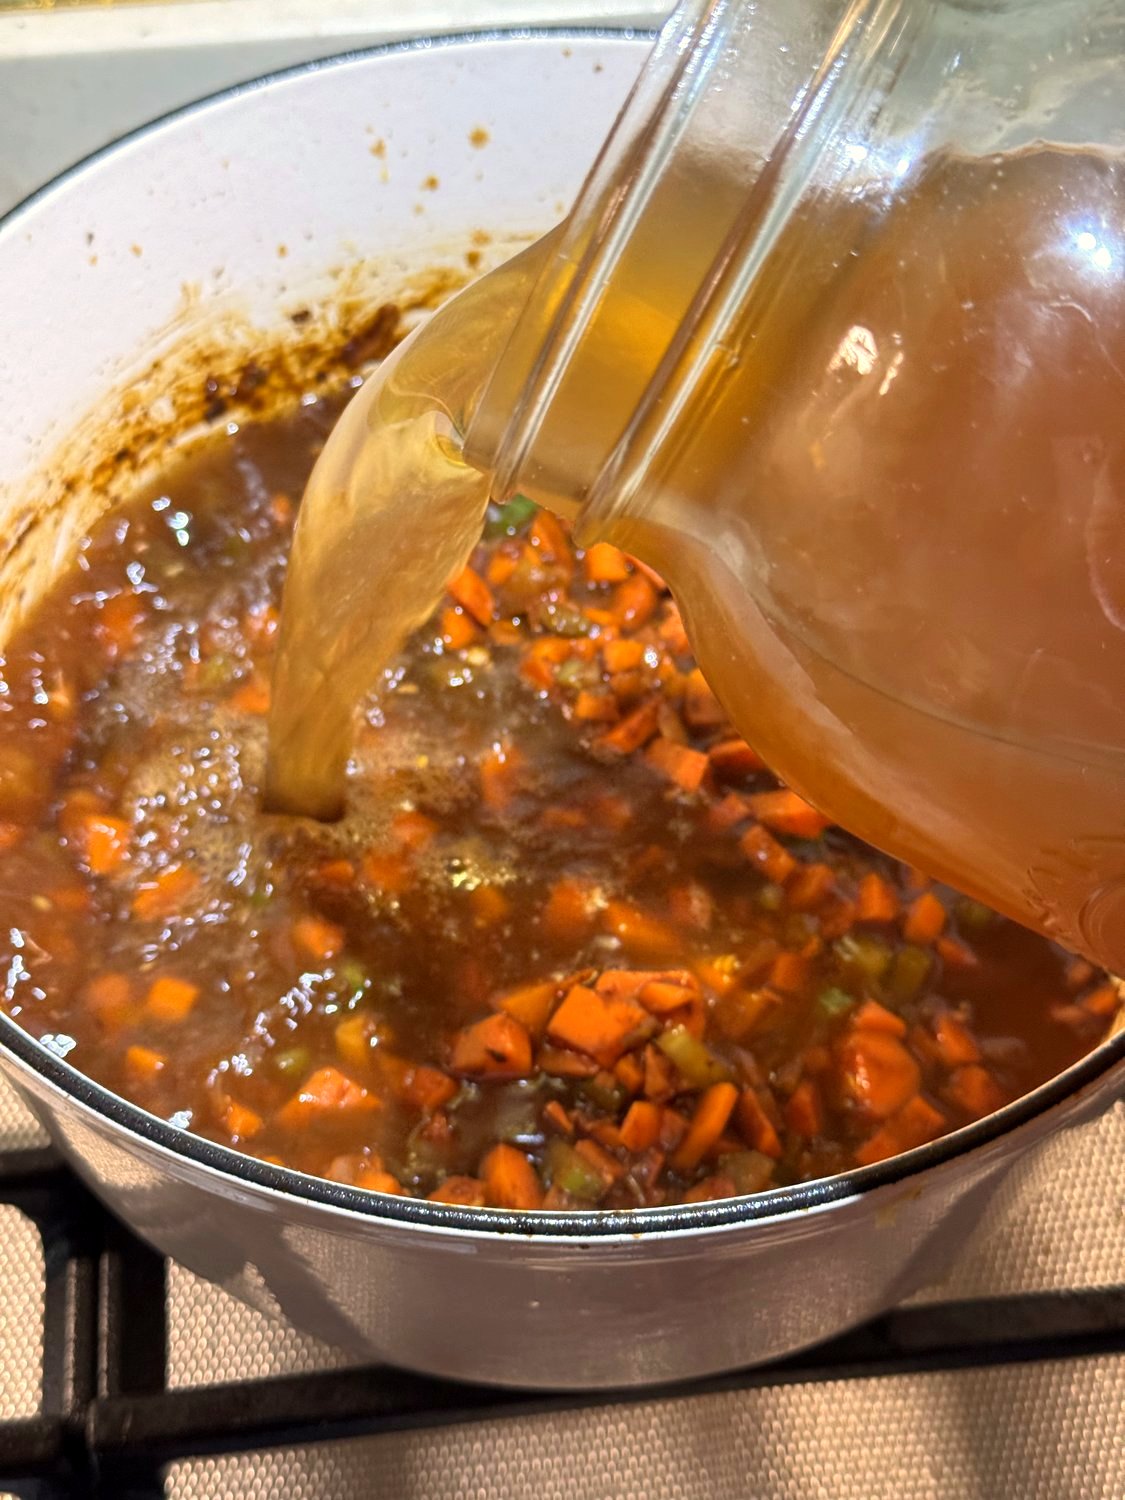
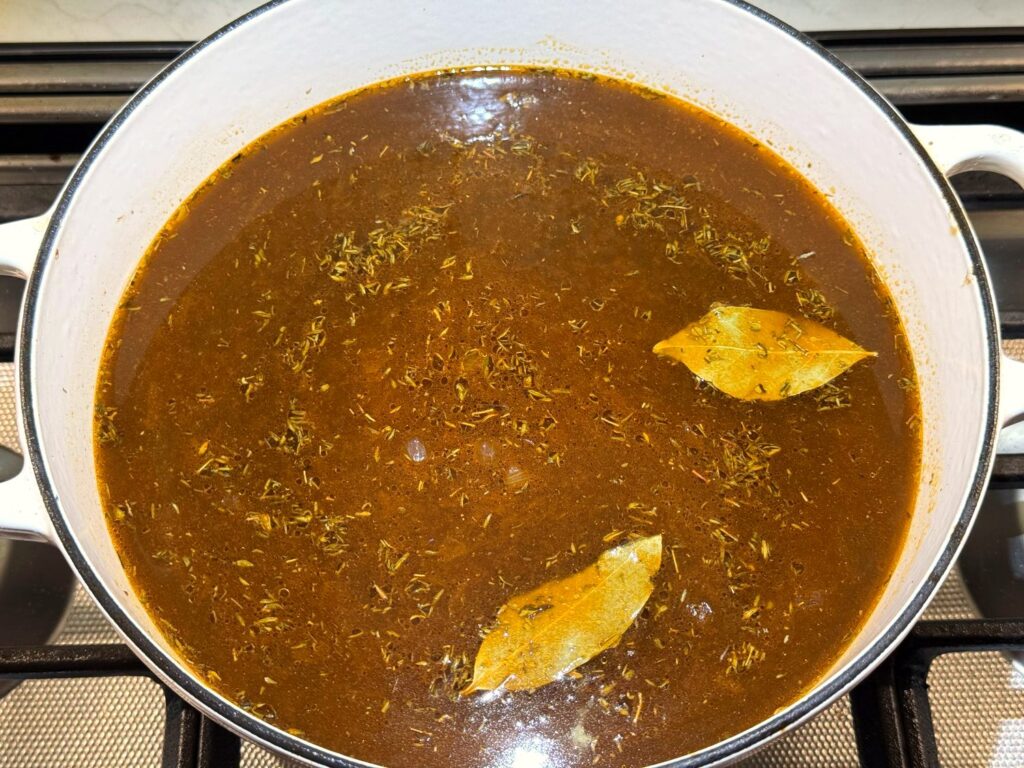
Add the broth, Worcestershire, thyme, and bay leaves, then return the beef and any juices from the plate to the pot. Bring it to a boil.
Step 5: Simmer until the beef is tender
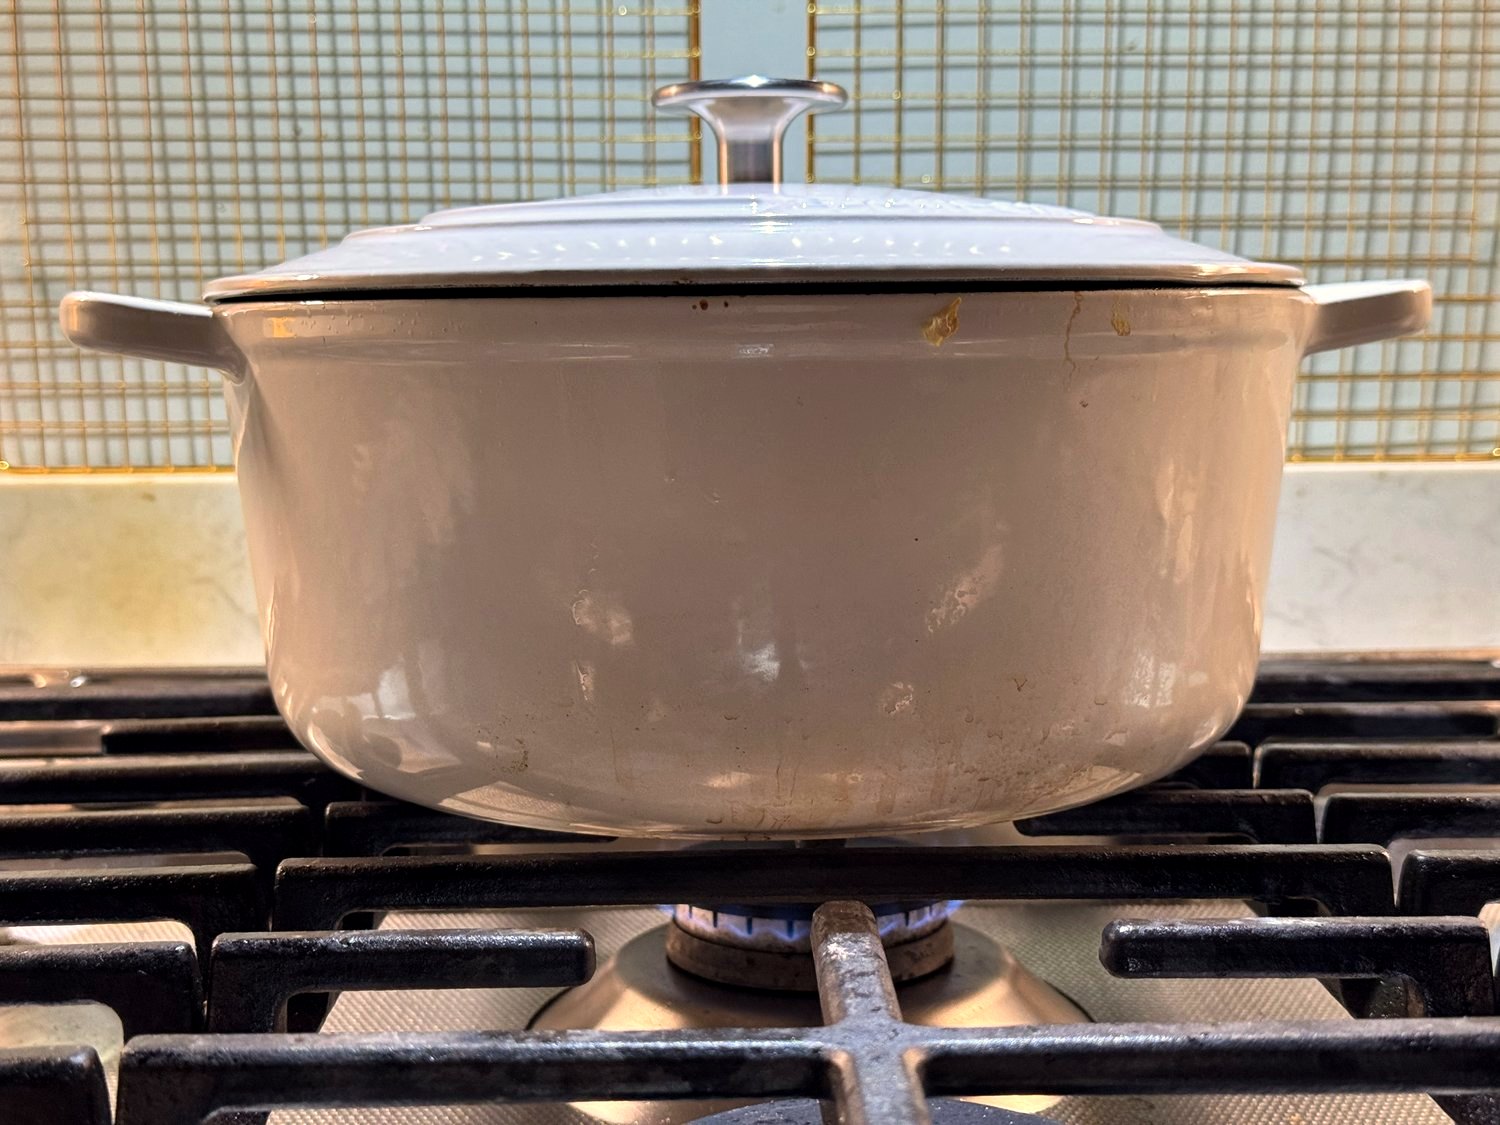
Turn the heat down to low, cover the pot, and let it simmer gently for about 1 hour, stirring once or twice. You want small, lazy bubbles. A hard, rolling boil tightens up the beef and makes it tough. This hour is when the beef flavors the broth and the broth flavors the beef.
Start checking at about 50 minutes. Fish out a piece of beef and press it with a fork. It should give easily. If it’s still chewy, give it another 15 minutes and check again. Tough stew meat almost always needs more time, not less, because the connective tissue has to break down before the meat gets tender.
Step 6: Add the quick barley
Once the beef is tender, stir in the quick barley. Cover and simmer for about 10 to 12 minutes, stirring once or twice so it doesn’t settle and stick to the bottom. It’s done when it’s tender but still a little chewy.
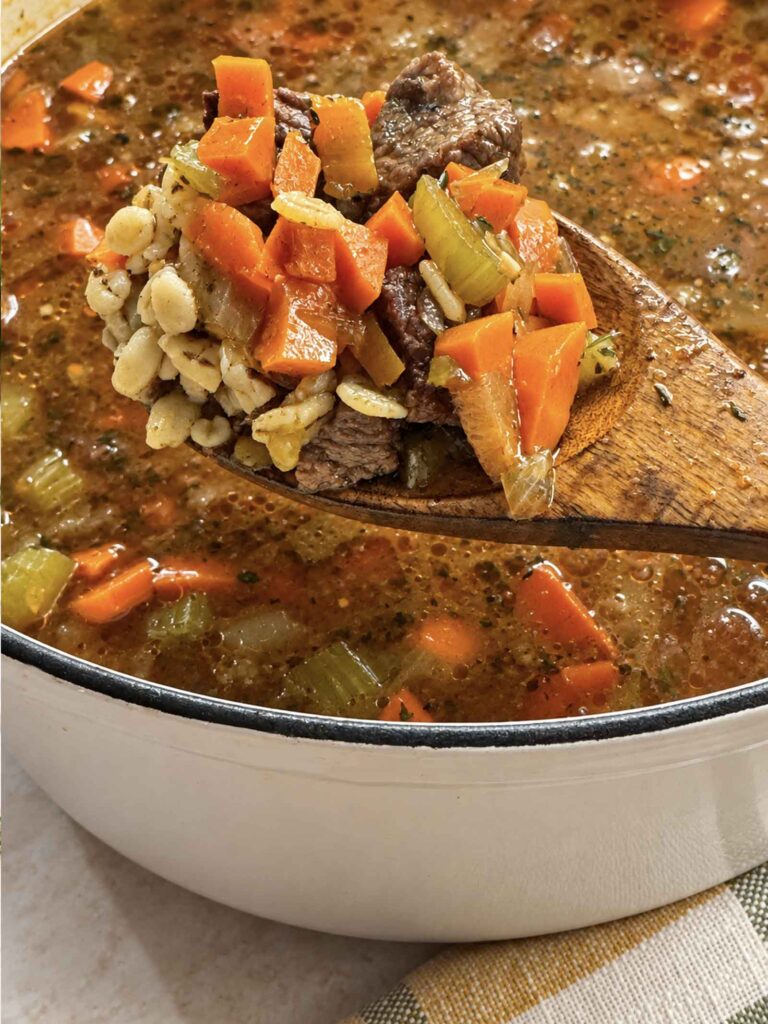
Take out the bay leaves, then taste. This is when you add salt, a little at a time, until the broth tastes beefy and full. Mine needed about 1/2 teaspoon. If the soup is thicker than you like, add a splash more broth or water.
Can I Use Leftover Pot Roast?
Yes, and it’s a shortcut that keeps the from-scratch flavor, because a pot roast has already done the browning and simmering for you. Skip Steps 1 and 2, and cook the vegetables in 1 tablespoon of oil. Stir the 2 tablespoons of flour in with the tomato paste, and add any leftover juices or gravy along with the broth (they’re full of flavor). Simmer for about 20 minutes in Step 5, then stir in about 3 cups of bite-size pot roast with the barley so it just heats through. Simmered any longer, tender pot roast falls apart into shreds.
Leftover juices can be salty, so taste before you add any salt. If your beef didn’t come with any juices, a packet of brown gravy mix whisked into the broth will fill in. I haven’t made it this way yet (Greg made sure of that), so treat the timing as a starting point.
How to Store, Reheat, and Freeze Beef Barley Soup
Let the soup cool, then store it in an airtight container in the fridge for up to 4 days. The barley keeps soaking up the broth as it sits, so the leftovers will be thicker.
To reheat, warm it in a pot over medium-low or in the microwave, adding broth or water a little at a time until it’s the consistency you like. Taste again after you thin it, since you may want a pinch more salt.
It freezes for up to 3 months. Thaw it overnight in the fridge. The barley will be a little softer after freezing.
Beef Barley Soup FAQs
Can I make beef barley soup in the crock pot?
Yes. Brown the beef and soften the vegetables on the stove first, so you keep those browned bits, then scrape everything into the slow cooker with the broth, Worcestershire, and herbs. Cook on LOW for 7 to 8 hours or HIGH for 4 hours, until the beef is tender, then stir in the quick barley and cook on HIGH for 20 to 30 minutes.
Can I make beef barley soup in the Instant Pot?
Brown the beef and vegetables on Sauté, scrape up the browned bits, then add the broth and seasonings and pressure cook for about 20 minutes with a 10-minute natural release. Stir in the quick barley and simmer on Sauté until tender.
Can I use ground beef?
Yes, and it’s much faster. Brown 1 pound of ground beef in place of the stew meat, drain the fat, and skip the flour coating (stir the flour in with the tomato paste instead). Simmer the soup for about 20 minutes, then add the barley. The flavor is lighter, but it’s a good weeknight version.
Is beef barley soup gluten free?
No. Barley contains gluten, and so does the flour. For a gluten-free version, swap the barley for brown rice and use a gluten-free flour blend or cornstarch to thicken it.
Beef Barley Soup from Scratch (No Gravy Packet)
Equipment
- 5 1/2-quart or larger Dutch oven or heavy soup pot
- Wooden spoon
Ingredients
- 1 1/2 pounds beef stew meat , cut into 1-inch or smaller pieces
- 2 tablespoons all-purpose flour
- 1 1/2 teaspoons salt divided (1 teaspoon for the beef, about 1/2 teaspoon to finish)
- 1/2 teaspoon black pepper
- 2 tablespoons vegetable oil divided
- 1 medium onion , diced
- 3 medium carrots , peeled and diced
- 2 ribs celery , diced
- 1 tablespoon garlic , minced (about 3 cloves)
- 2 tablespoons tomato paste
- 1/2 cup dry red wine optional, or use 1/2 cup beef broth
- 8 cups low-sodium beef broth
- 1 tablespoon Worcestershire sauce
- 1 teaspoon dried thyme (or 1 tablespoon fresh thyme leaves)
- 2 bay leaves
- 3/4 cup quick pearl barley
Instructions
- Pat the beef dry with paper towels. In a bowl, toss it with the flour, 1 teaspoon salt, and the pepper until evenly coated.
- Heat 1 tablespoon oil in a Dutch oven over medium-high heat. Add the beef in a single layer (in batches if needed, using the second tablespoon of oil) and brown about 2 to 3 minutes per side. Transfer to a plate.
- Reduce the heat to medium. Add the onion, carrots, and celery and cook, stirring occasionally, for about 5 minutes, until the onion is soft.
- Stir in the garlic and tomato paste and cook 1 to 2 minutes, until the paste darkens slightly.
- Add the wine (or 1/2 cup broth) and scrape up the browned bits from the bottom of the pot. Simmer 1 to 2 minutes.
- Add the broth, Worcestershire, thyme, and bay leaves. Return the beef and its juices to the pot and bring to a boil.
- Reduce the heat to low, cover, and simmer gently for about 1 hour, stirring once or twice, until the beef is fork tender. Start checking at 50 minutes, and simmer longer if needed.
- Stir in the quick barley. Cover and simmer 10 to 12 minutes, stirring once or twice, until the barley is tender.
- Remove the bay leaves. Taste and season with about 1/2 teaspoon salt (more or less to taste) and pepper. Thin with a little broth or water if desired.
Nutrition
Notes
- Leftover pot roast: Skip steps 1 and 2 and cook the vegetables in 1 tablespoon oil. Stir the flour in with the tomato paste, add any leftover juices or gravy with the broth, and simmer 20 minutes. Stir in about 3 cups bite-size pot roast with the barley. Taste before salting.
- Regular broth: If you don’t have low-sodium broth, use 6 cups regular beef broth plus 2 cups water, reduce the salt on the beef to 1/2 teaspoon, and taste before adding any at the end.
- Regular pearl barley: Simmer the beef 20 minutes, then add regular pearl barley and about 1 extra cup of broth, and simmer 45 to 60 minutes more, until the beef and barley are both tender.
- Slow cooker: Do steps 1 through 5 on the stove, then transfer to a slow cooker with the broth, Worcestershire, and herbs. Cook on LOW 7 to 8 hours or HIGH 4 hours. Stir in the quick barley and cook on HIGH 20 to 30 minutes.
- Gluten free: Barley and flour both contain gluten. Use brown rice in place of barley and cornstarch or a gluten-free flour blend.
- Storage: Refrigerate in an airtight container for up to 4 days, or freeze for up to 3 months. The soup thickens as the barley absorbs the broth.
- Reheating: Warm on the stove over medium-low or in the microwave, adding broth or water until it reaches the consistency you like. Taste and adjust the salt.
How to Trust This Recipe
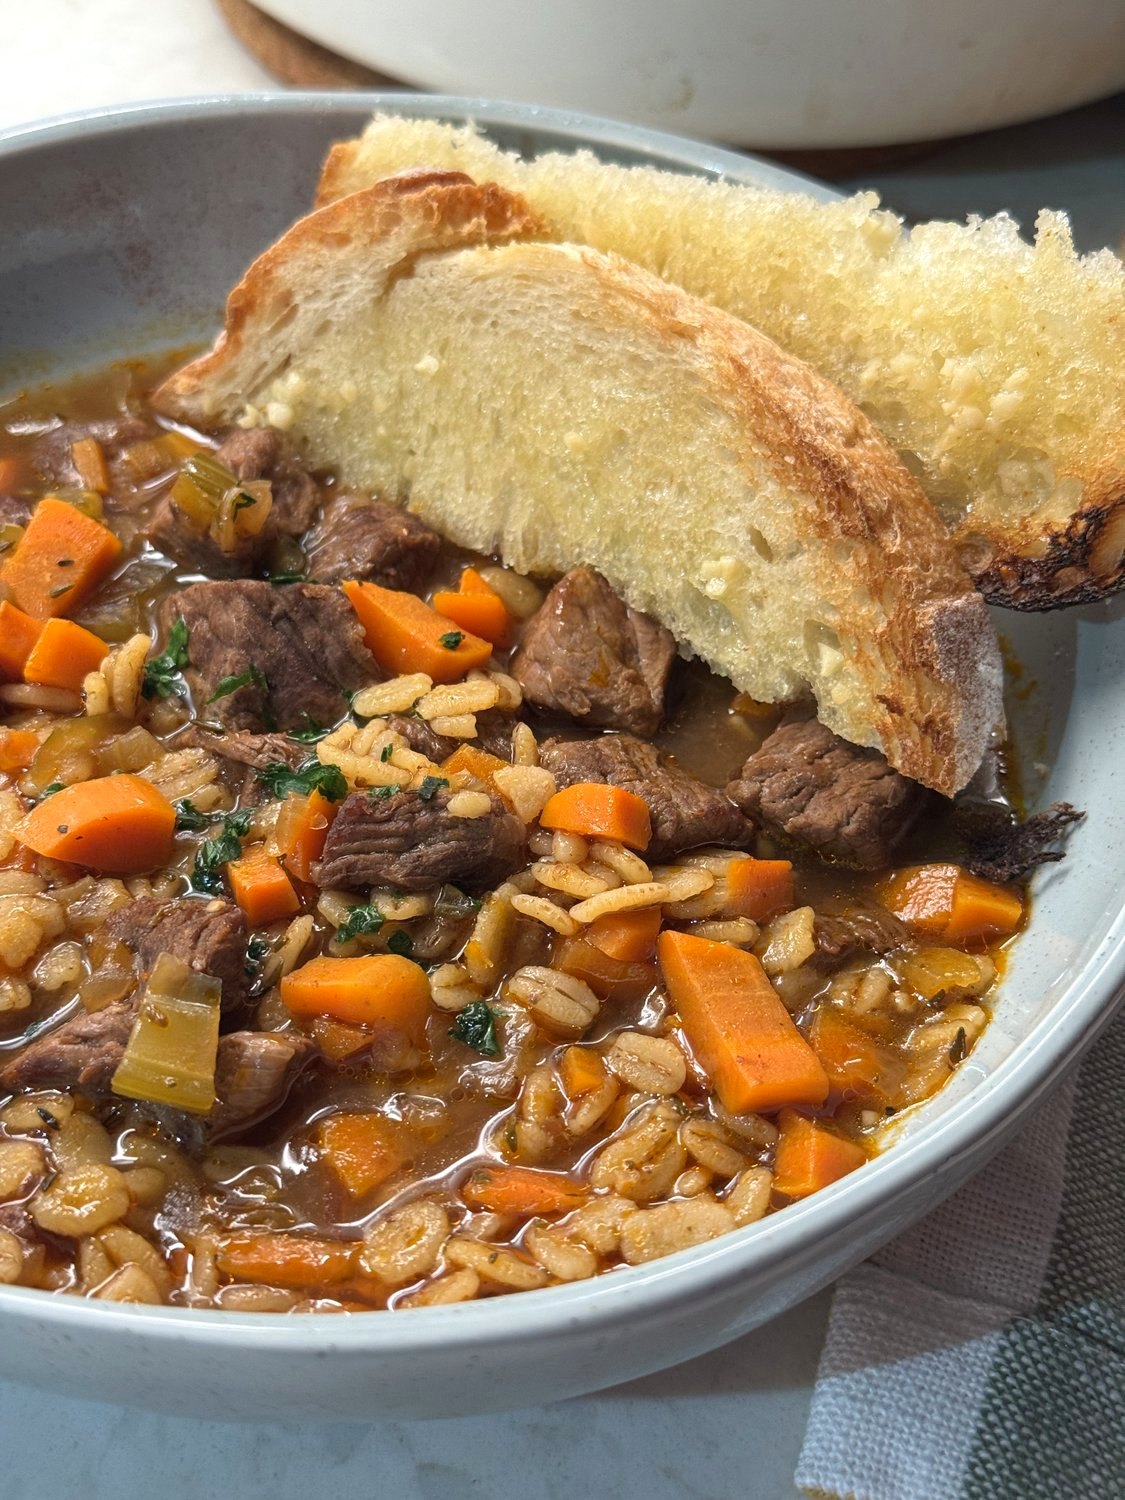
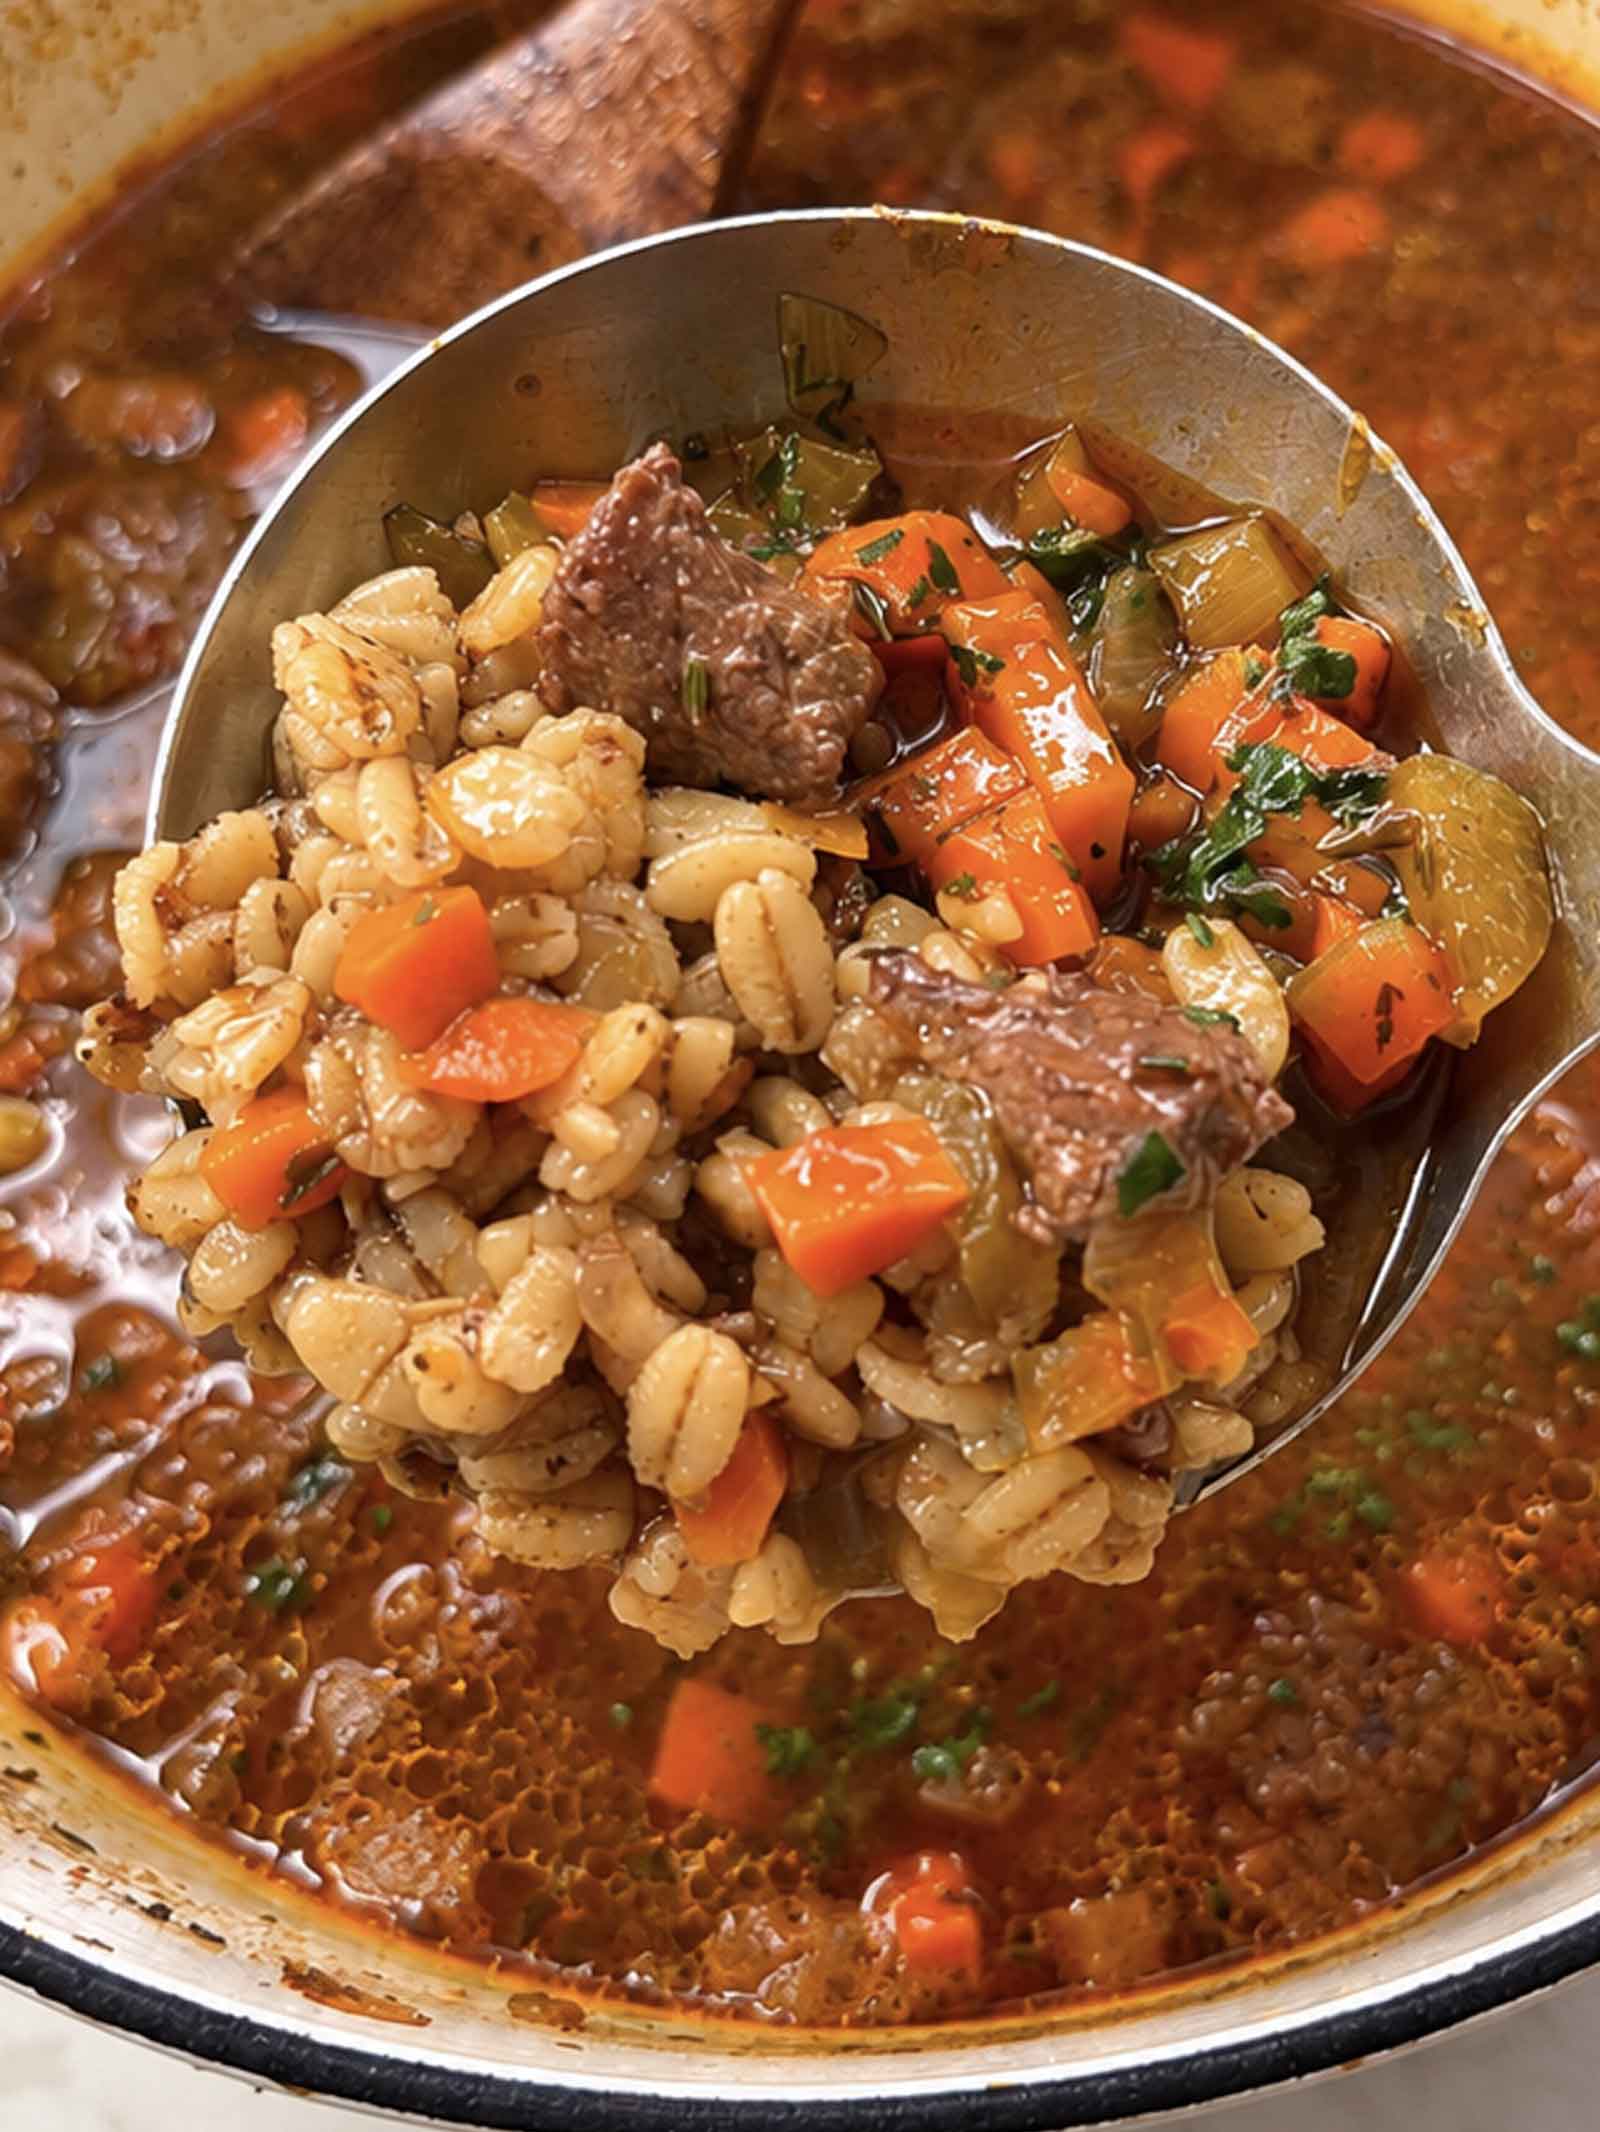
This is a real recipe made in a real kitchen and eaten by real people, and to help you know this is “for real” I like to share a special photo at the end. This is my beef barley soup ladle as I was dishing out our dinner last night:
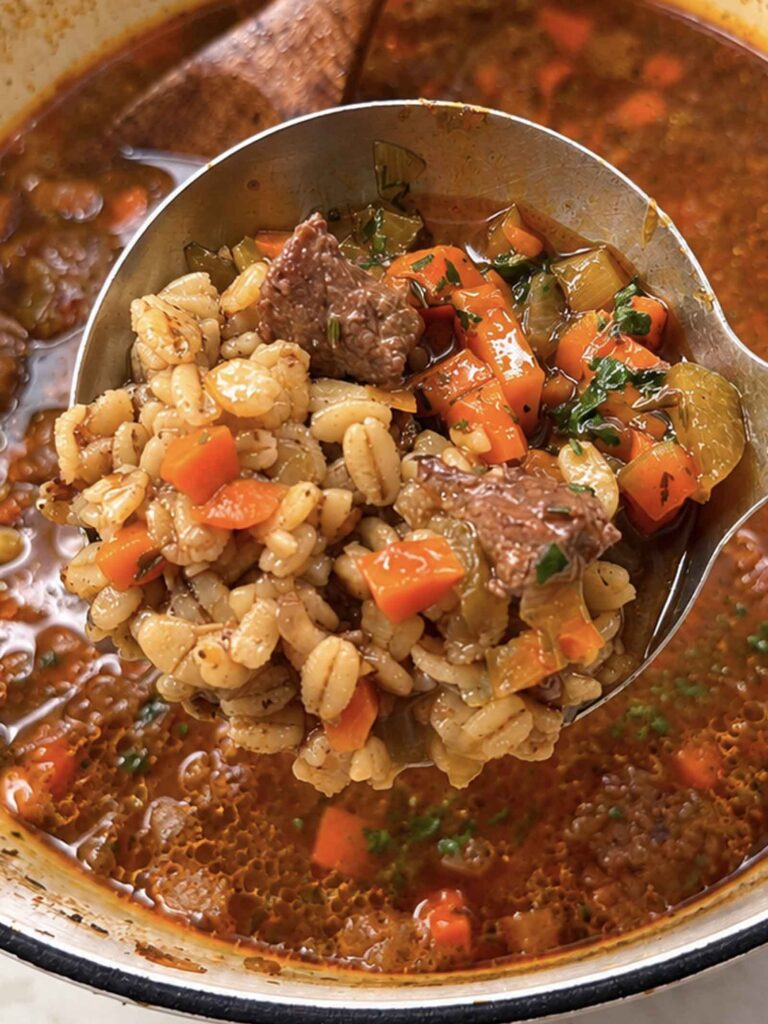
The above photo was taken with ProofMode, which attaches Content Credentials (the C2PA standard) to the image, so anyone can check that it’s a real photo taken by my iPhone on my farm on a particular date and place. You can download the proof files here and learn how to verify them.
If you’ve only ever had beef barley soup from a can or a packet, give the from-scratch way a try. I’d love to hear how yours turns out.
Happy cooking!
Love,
Jennifer
Tried this recipe?
Tap the stars in the recipe card to leave a quick rating. Your rating helps other home cooks know this recipe works in a real kitchen, not just mine.
And as a thank-you for your feedback, you will receive a free printable copy of my Maker Home Companion Cookbook, featuring my most popular recipes, each one formatted on a SINGLE, easy-to-use page, a perfect kitchen companion for easy meal prep. Click here to learn more about this cookbook and how you can get your copy!
More Recipes You’ll Love



Meet Jennifer
Jennifer cooks and experiments in the kitchen at Maker Farm, where she focuses on simple pantry cooking, homemade staples, and practical recipes that make everyday meals easier. Over the years she has tested many ways to make cooking simpler and more dependable, and shares the methods that work best in her own kitchen, occasionally showing them on her Heart to Home at Maker Farm vlog.