

Corn Casserole At A Glance
Prep
10 min
Bake
45 min
Total
1 hour
Serves
8
Pan
2 quart baking dish (7×10)
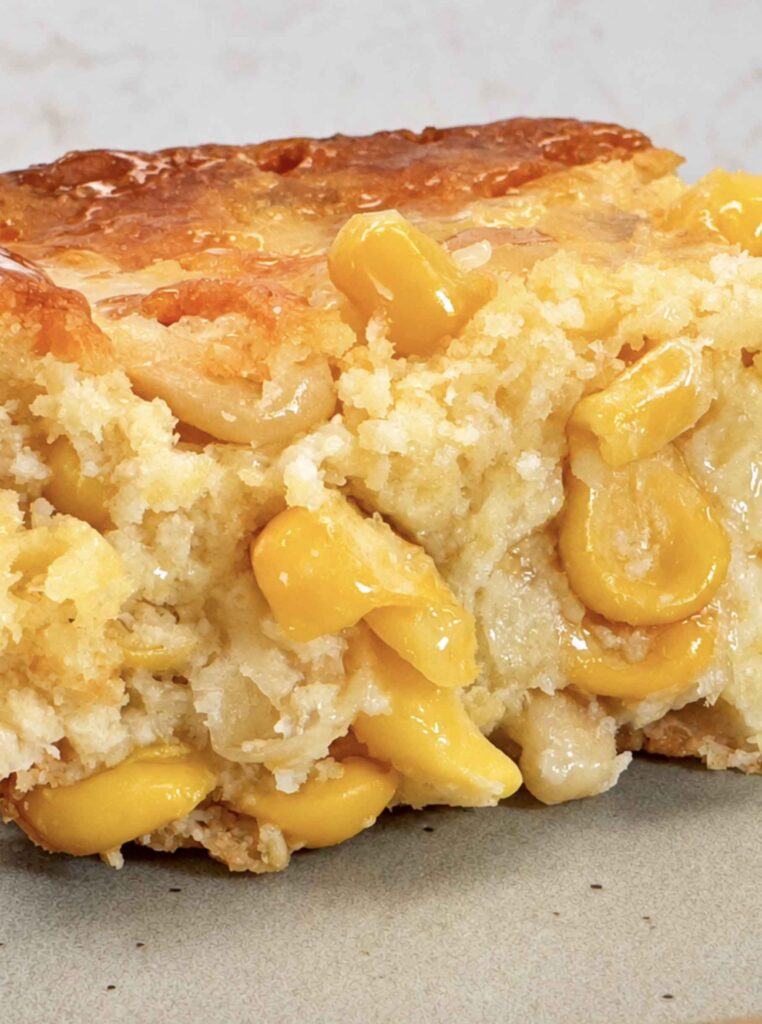
Yes, I Used the Jiffy Box (And Here’s Why)

If you’ve been around Maker Farm for a while, you know I usually make things from scratch. I even wrote a whole post about why I stopped buying pre-packaged mixes and cans. But, I’ll be honest… this recipe uses a mix and two cans.
So why am I using it? Corn casserole made with a box of Jiffy is the version most people grew up with. It’s that simple. In fact, the “JIFFY” Mix plant is only five minutes from the farm (really!). I made this dish for local friends who came to dinner, and this is literally what we all know and love.
Made with Jiffy and canned corn, it’s crazy easy, too. I baked it on Friday afternoon, tucked it in the fridge, and reheated it on Saturday right before our friends arrived. It came out of the oven hot, golden, and SO GOOD, and I didn’t have to think about it once they arrived. It was perfect.
That said, Jiffy has a preservative and lard in it; if that matters to you, the homemade mix below skips both. So I got you either way!
Let’s dig in!

Tips and Notes Before You Start
- Use a two-quart (7×10 or 8×8) dish, not a 9×13. One batch is too thin for a 9×13. Save the big pan for a double batch.
- Drain the whole kernel corn, but not the creamed corn. The creamed corn is part of the batter, so the whole can goes in.
- Add the Jiffy last and stir just until it’s mixed. Overmixing can make it tough.
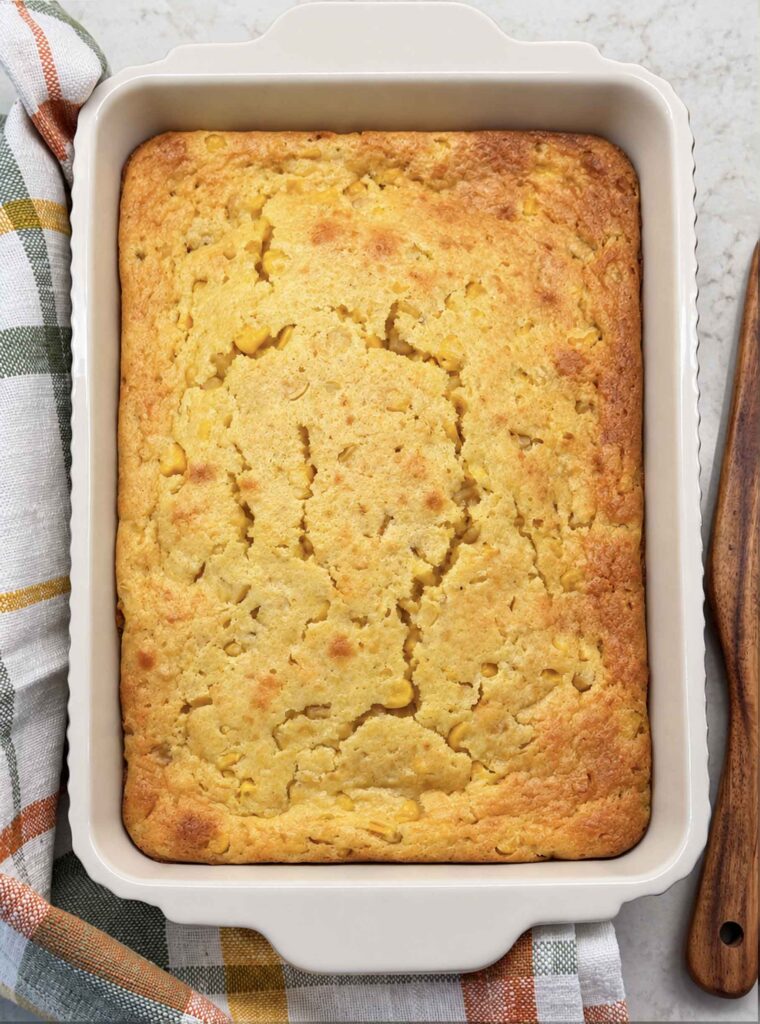
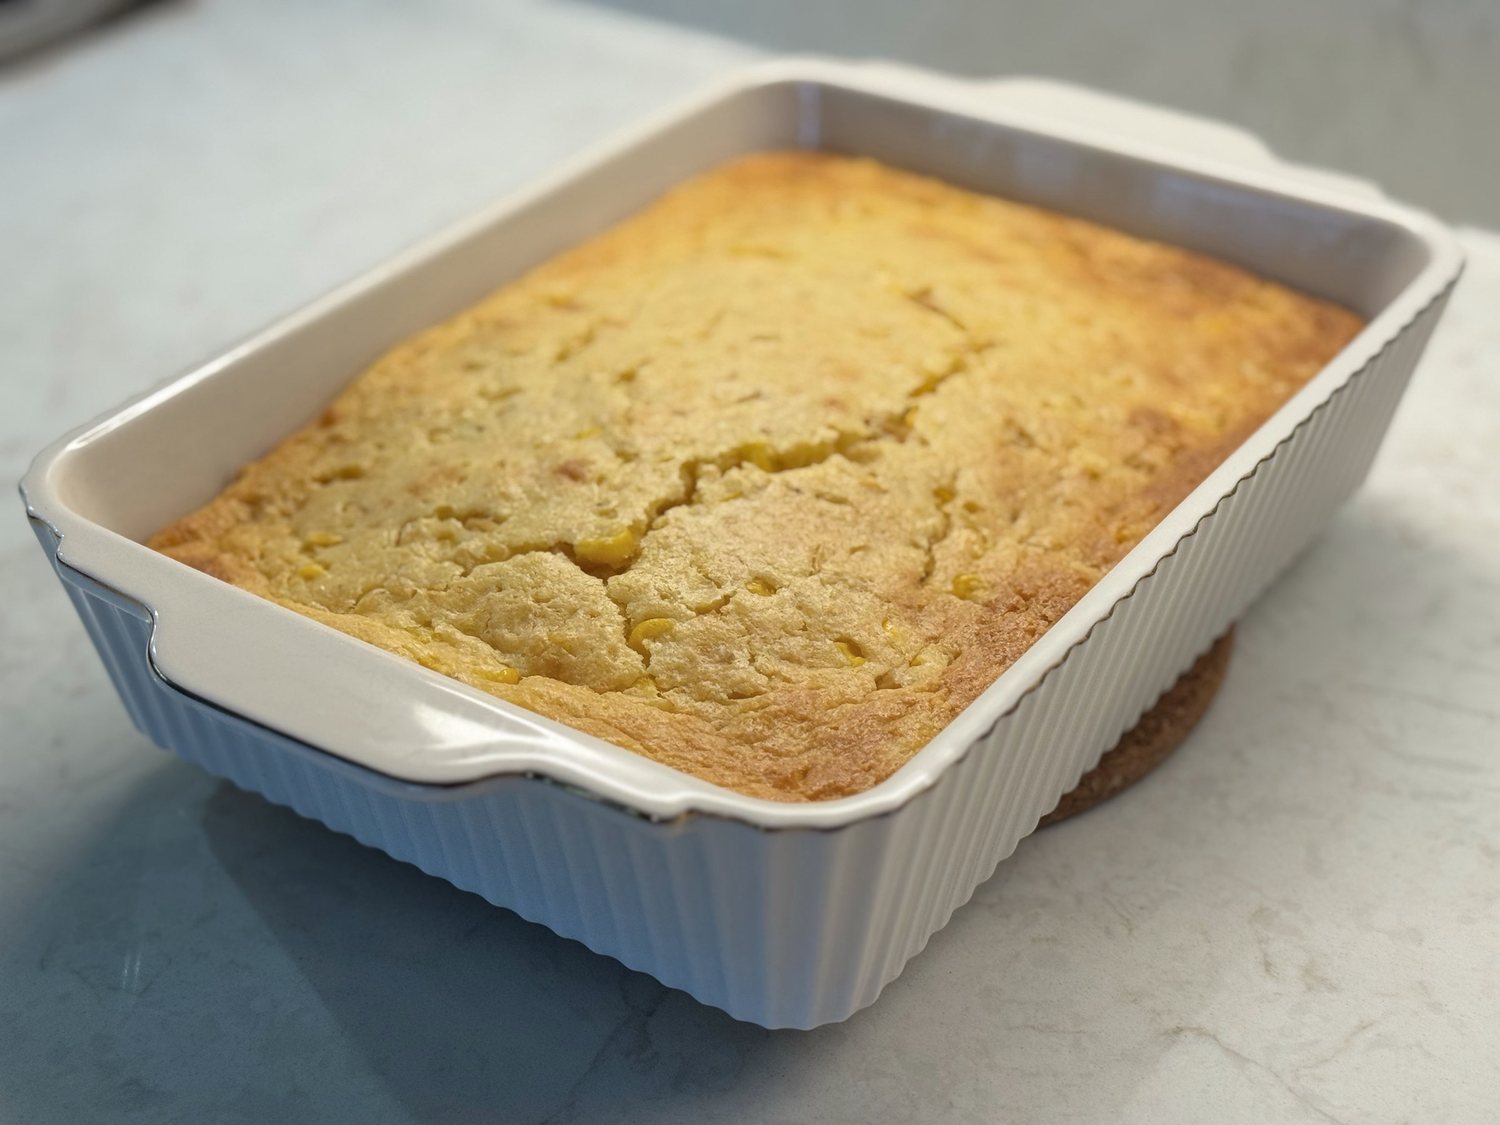
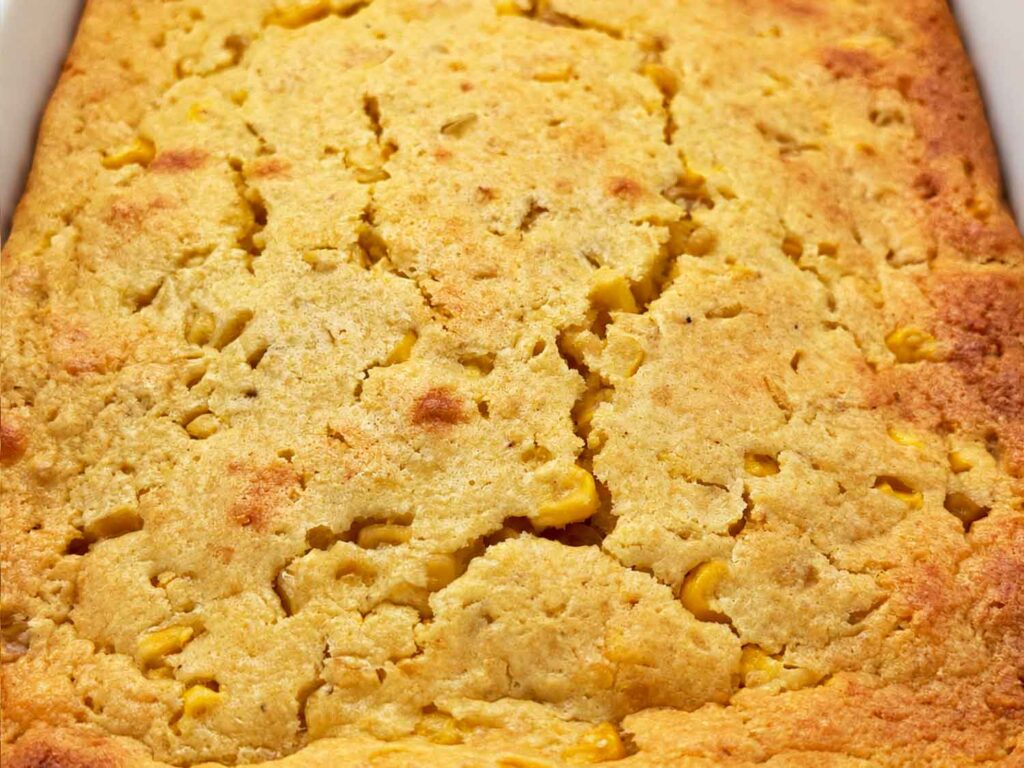
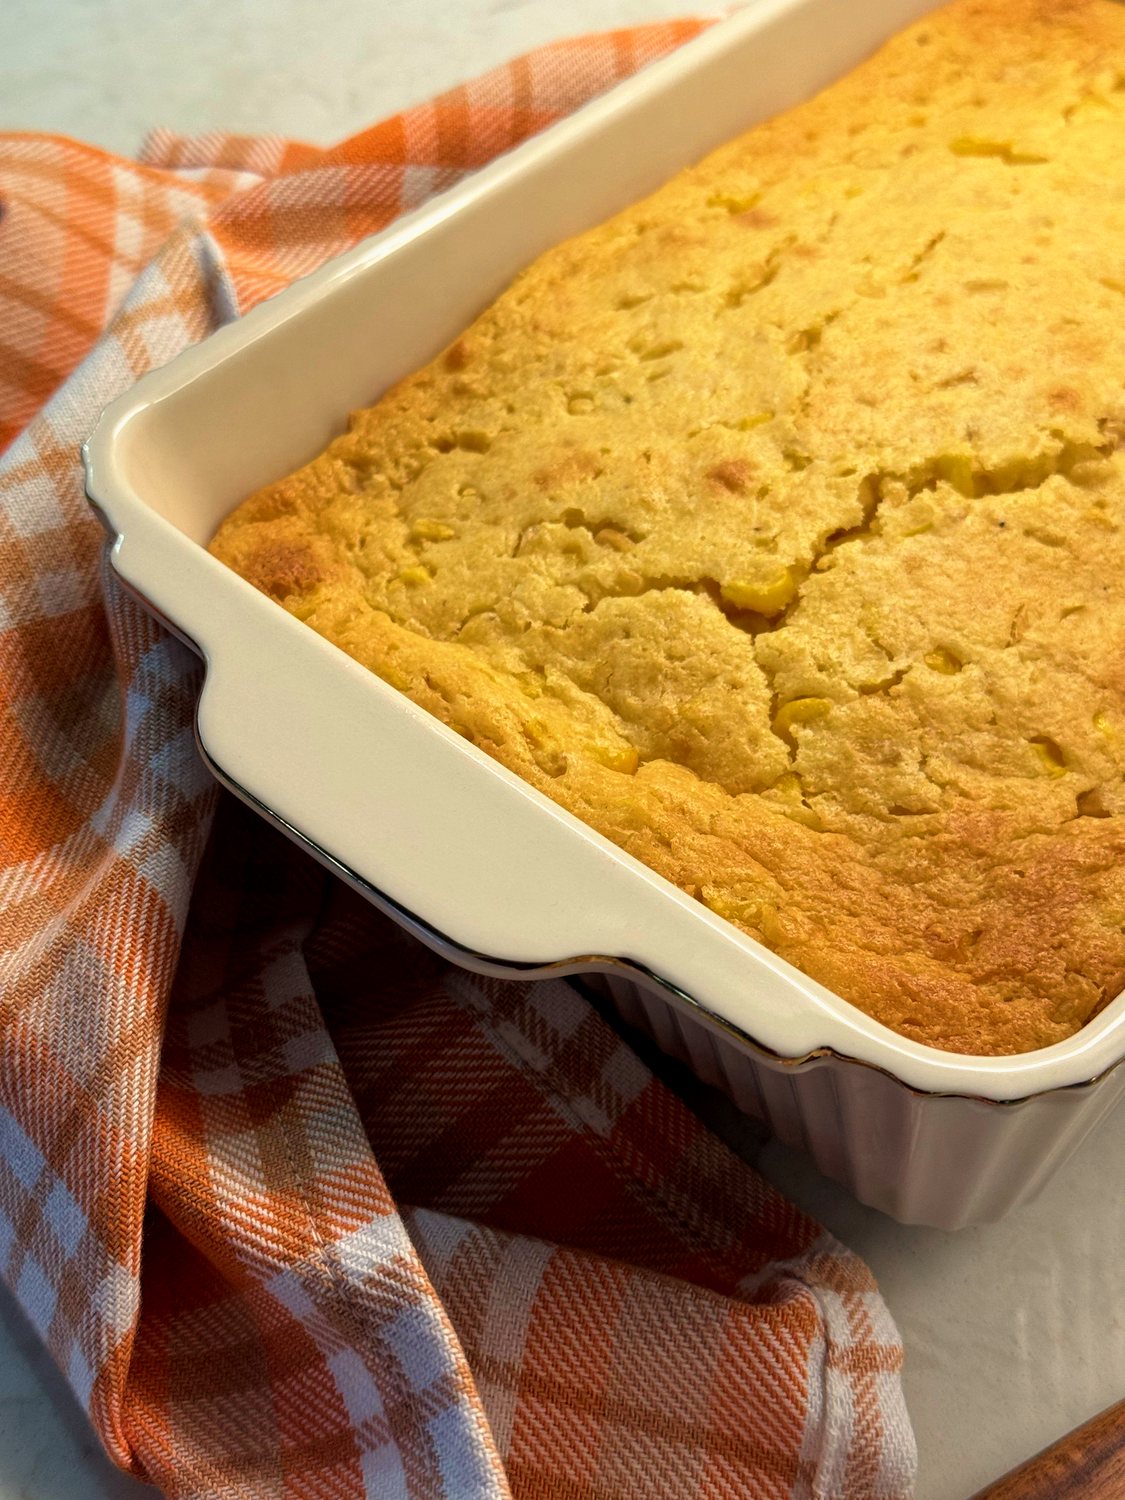
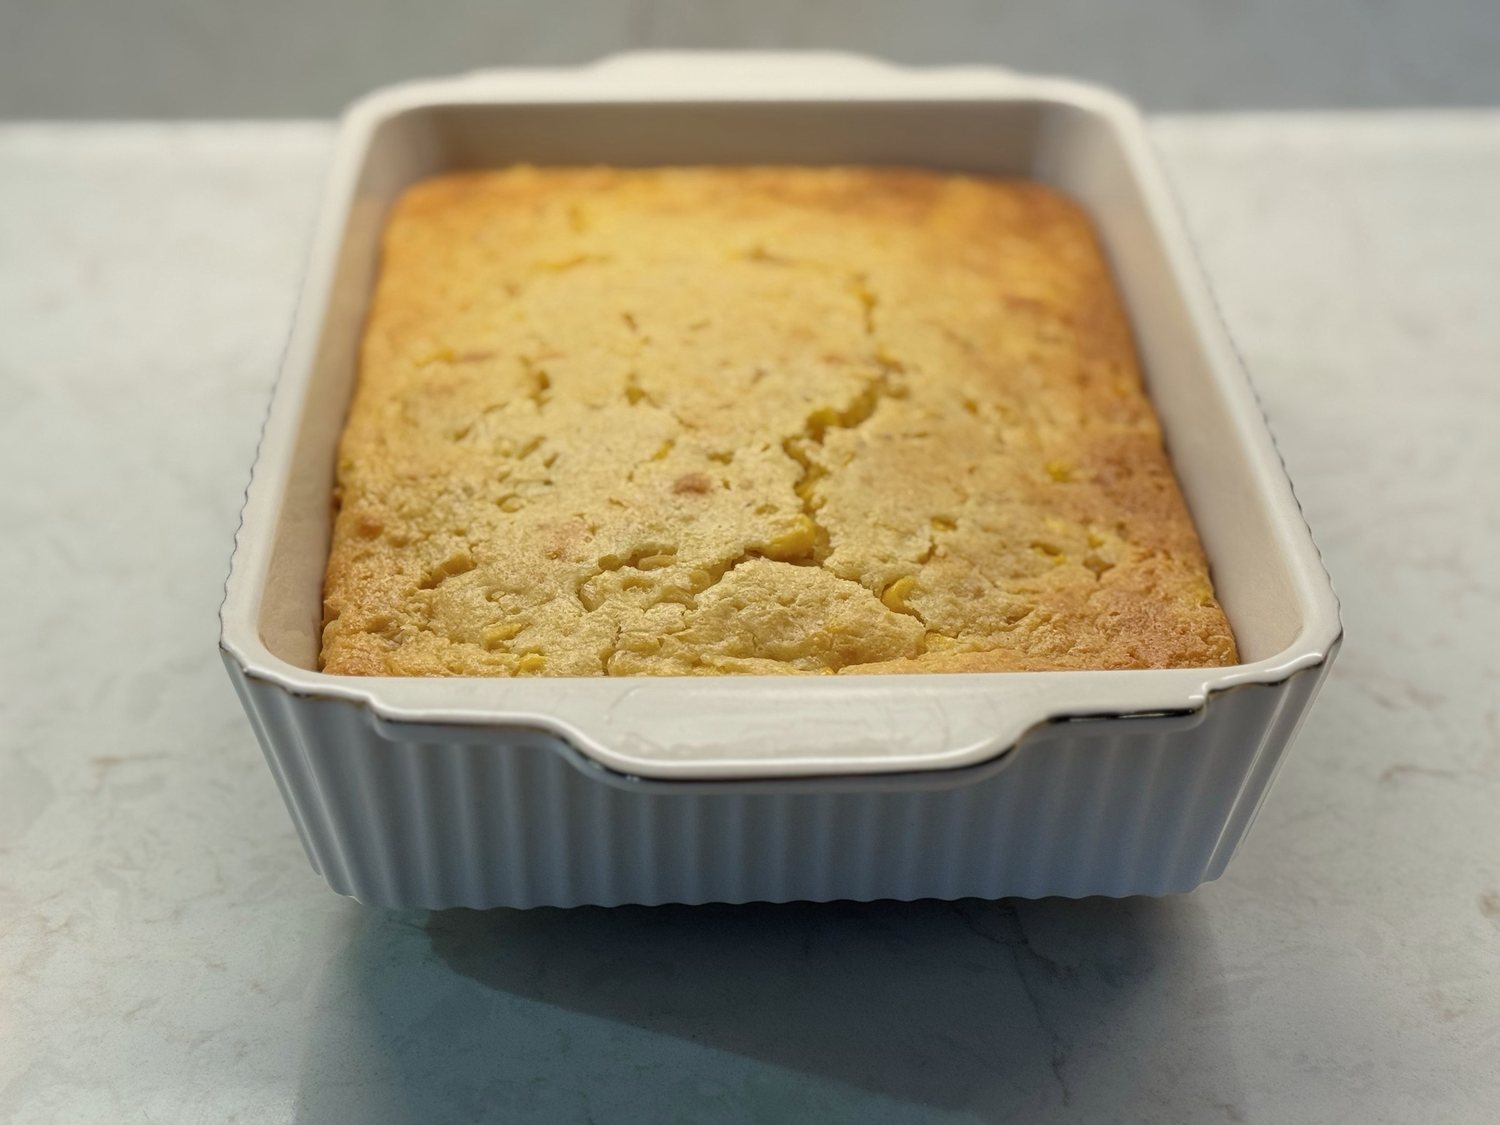
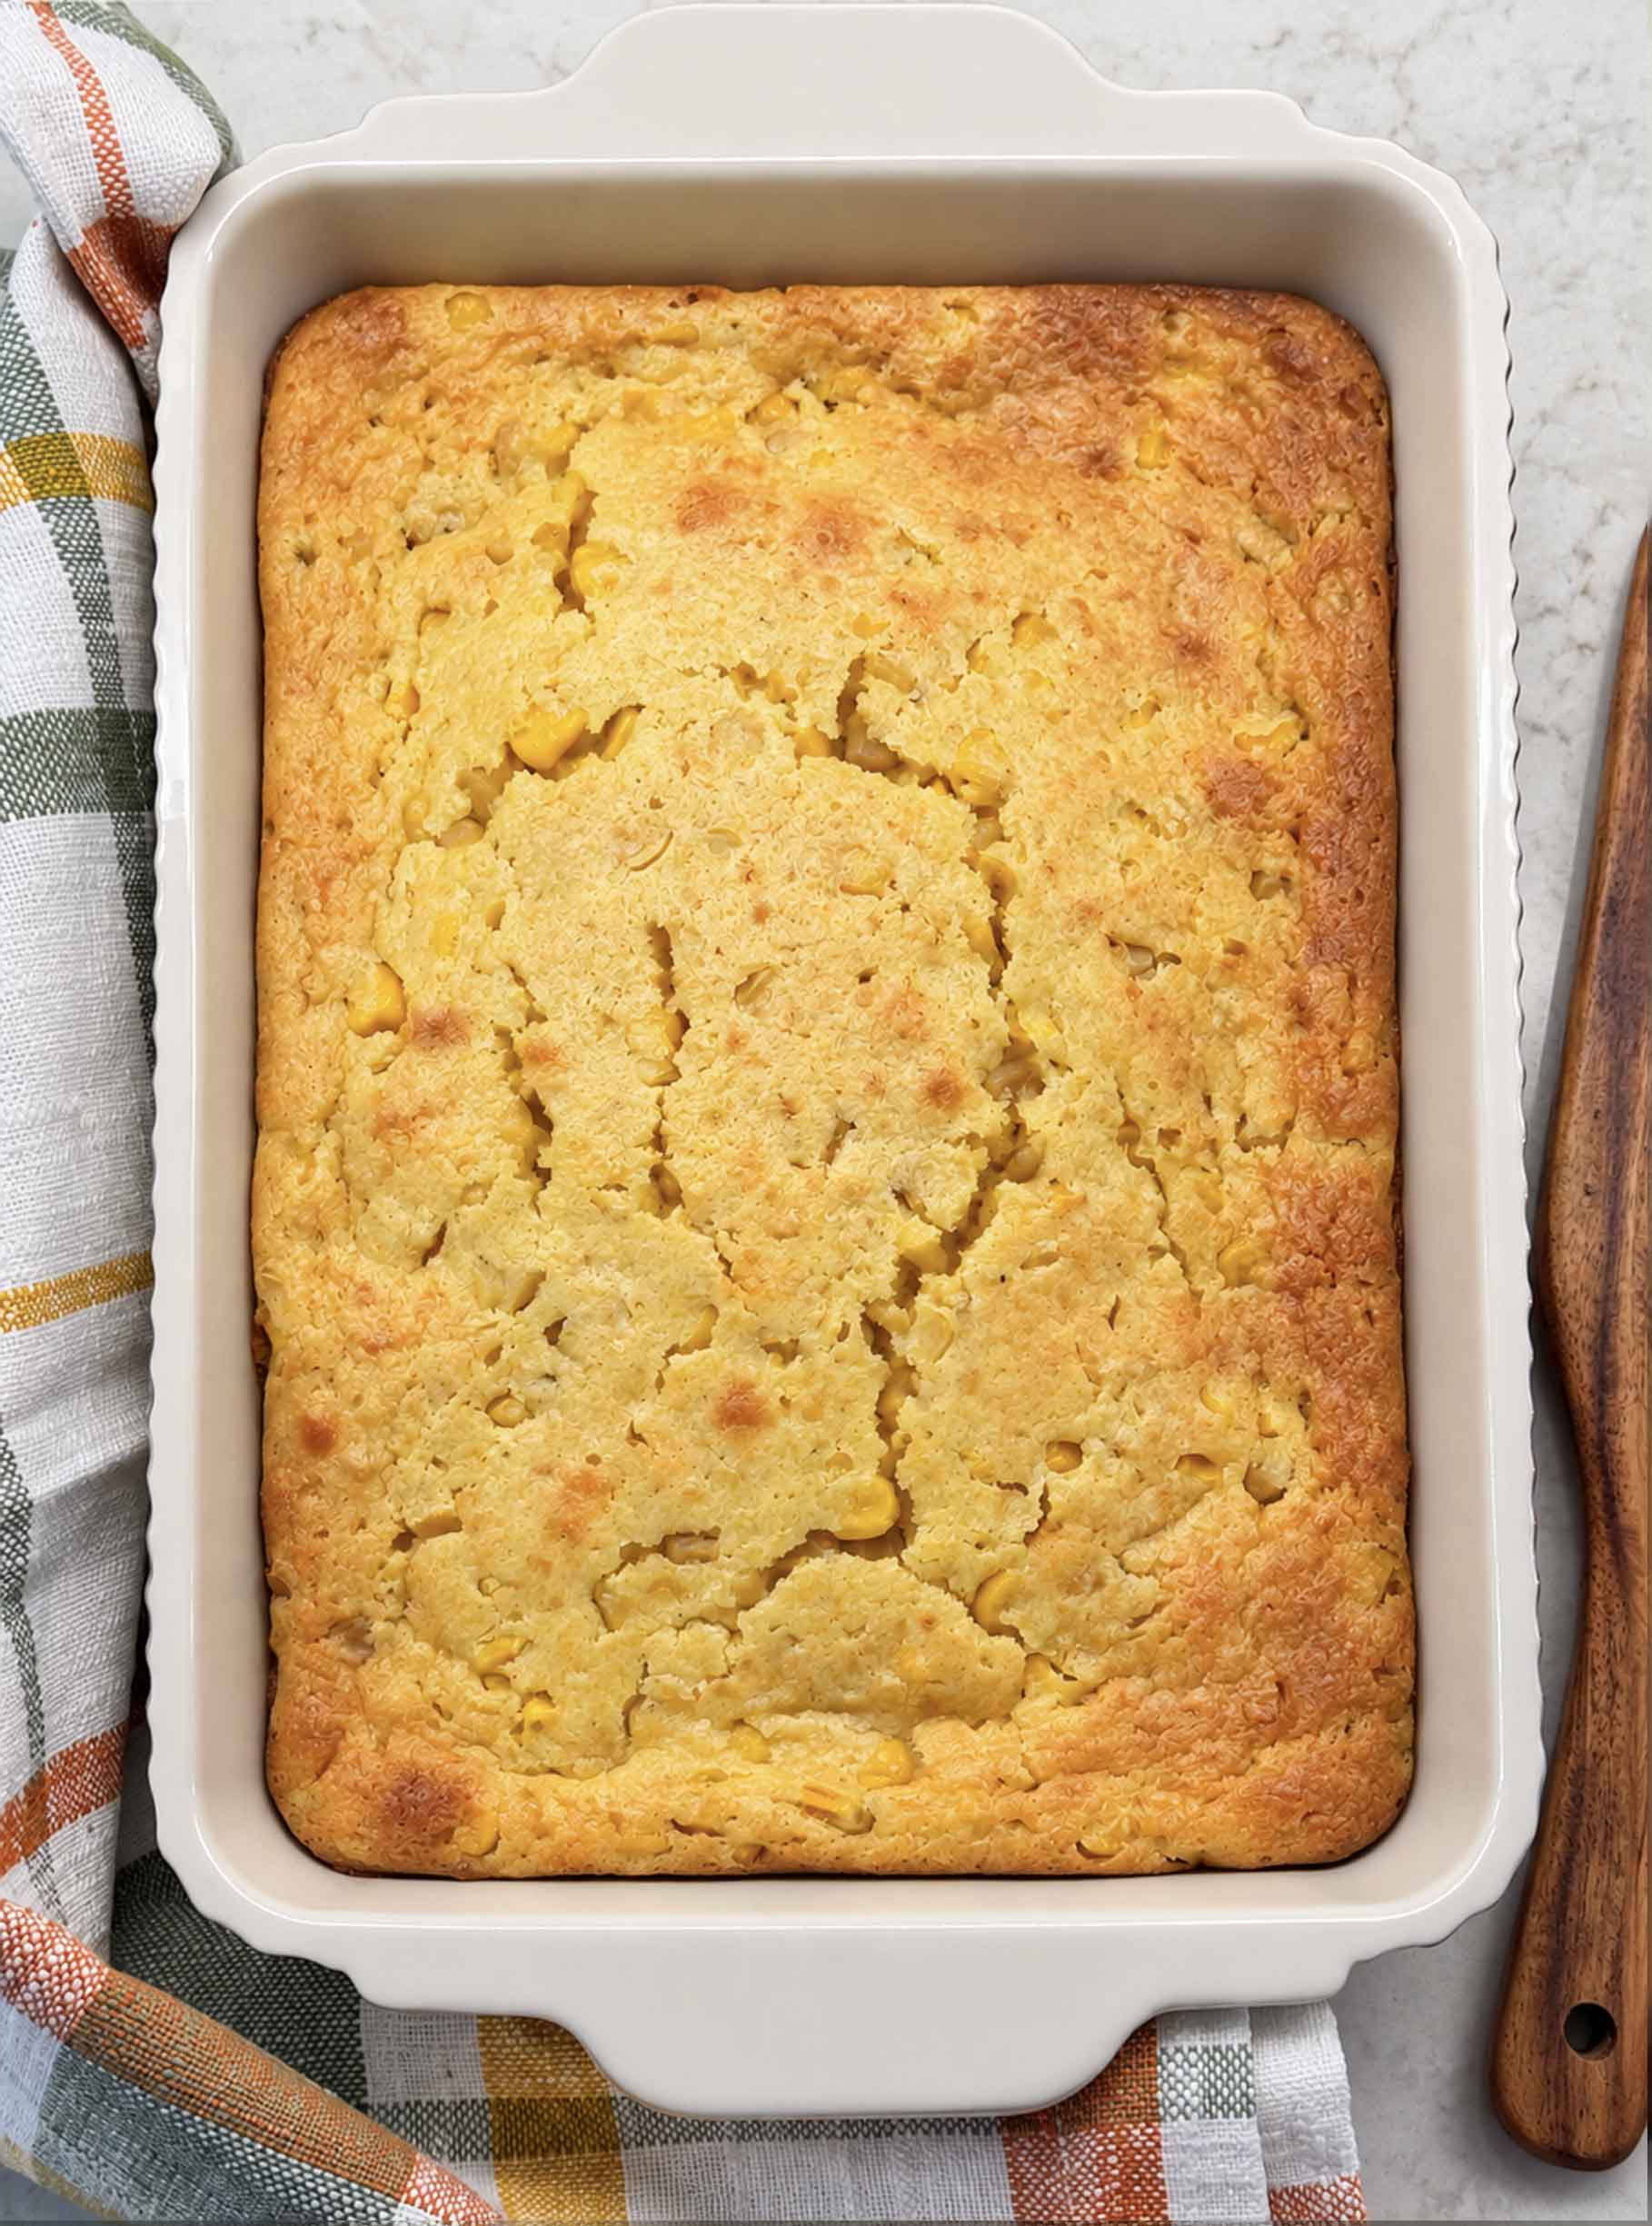
- The top cracks as it bakes. This is totally normal. Mine cracked right down the middle, and it still looked lovely on the table.
- Cheese is optional. I tried it with cheddar on top and honestly couldn’t tell much difference, so add it only if you love it.
- It’s great made ahead. Bake it the day before, refrigerate it, and reheat it covered.

Want to Save This Recipe?
Enter your email below and we’ll send it straight to your inbox! Plus you’ll get new recipes each week!
What You’ll Need for Corn Casserole
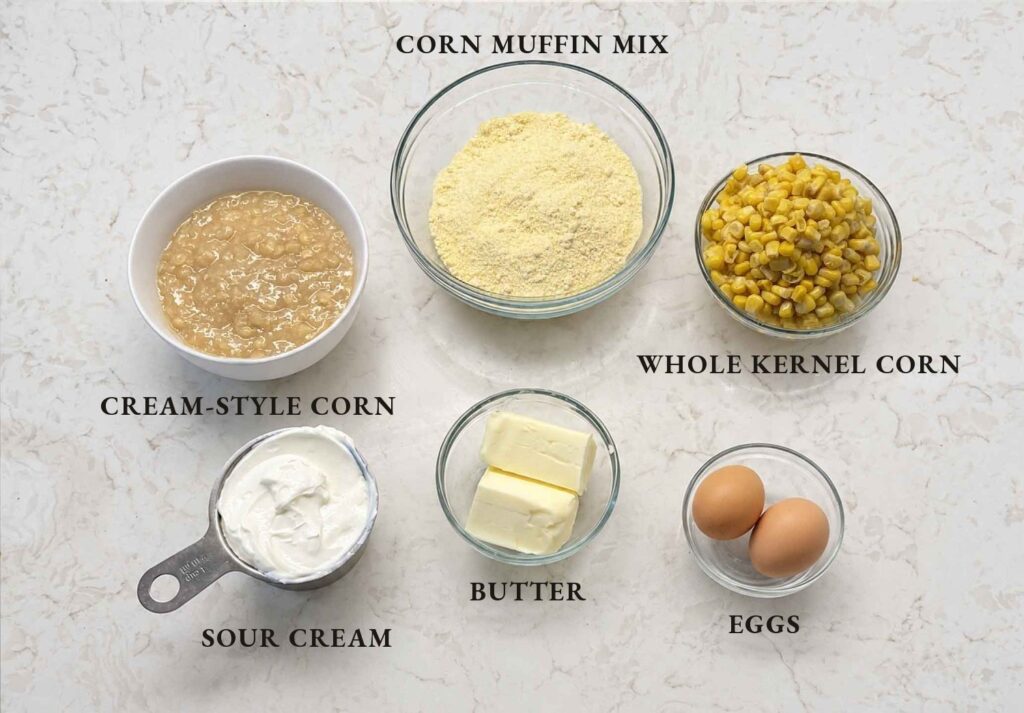
Jiffy corn muffin mix. It already has the cornmeal, flour, sugar, leavening, and salt, which is why this recipe doesn’t need anything else from the pantry. Any brand of corn muffin mix should work, as long as it’s the small 8.5-ounce size.
Whole kernel corn. These are the sweet little pops of corn you get in every bite. A can that’s 15.25 ounces is fine too. If you’d rather use frozen, about 1 1/2 cups, thawed and patted dry, works the same way.
Cream-style corn. Cream-style corn is what makes the inside soft and moist, almost like pudding. Be careful not to drain this one, since that liquid is what keeps the casserole moist.
Sour cream. It adds richness and a little tang, so the casserole doesn’t taste like plain sweet cornbread. Full-fat gives you the creamiest result.
Butter. Melted and cooled for a few minutes, so it doesn’t cook the eggs when you stir it in.
Eggs. Two large eggs. Not every corn casserole uses them, but they help it set up so you can scoop it neatly instead of having it slump on the plate. I used fresh eggs from our hens.
Cheddar cheese (optional). Use it if you’d like a cheesy top. I don’t think it adds much, but some people love it.
Can I Make Corn Casserole Without Jiffy?

Yes, totally! You can mix up your own corn muffin mix in about two minutes. Whisk together 2/3 cup all-purpose flour, 1/2 cup yellow cornmeal, 3 tablespoons sugar, 1 tablespoon baking powder, and 1/2 teaspoon salt, and use it in place of the box. You can cut the sugar to 2 tablespoons if you’d like it a little less sweet. It also skips the lard that’s in the classic Jiffy box, which is good to know if you’re cooking for a vegetarian.
How to Make Corn Casserole
Heat your oven to 350°F and grease a 7×10-inch baking dish. Everything gets stirred together in one big bowl, and we’ll add the dry mix last.
Step 1: Whisk the eggs
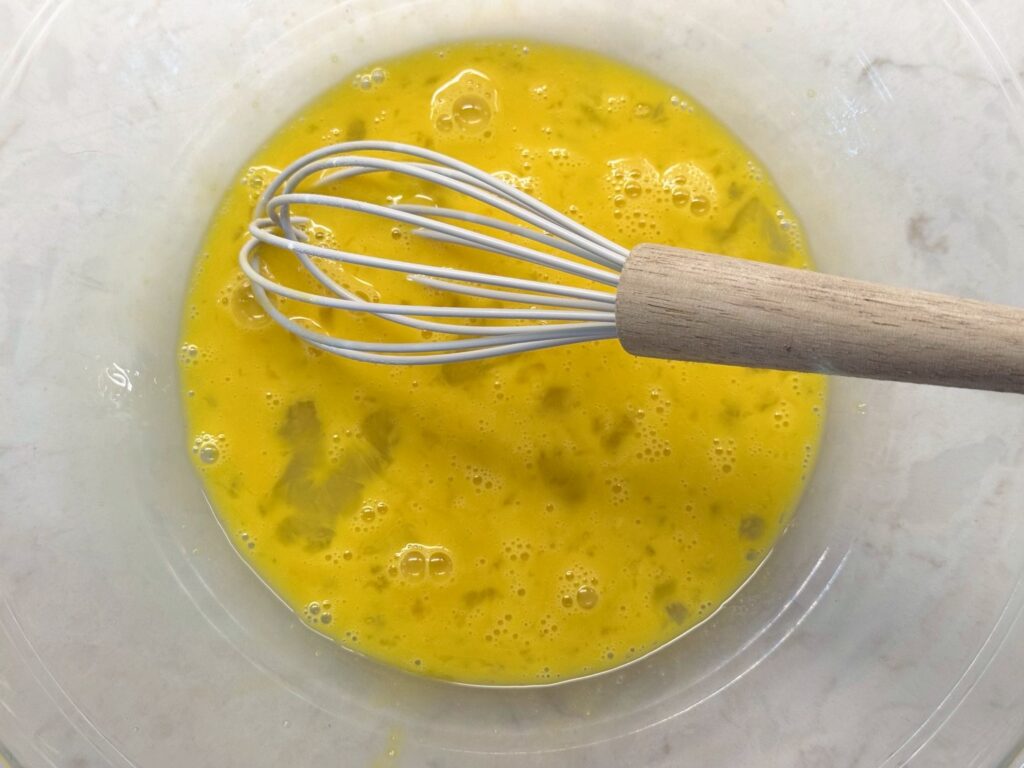
Crack the eggs into a large bowl and whisk them until the yolks and whites are completely blended. This helps because it’s much harder to break up streaks of egg white once everything thick is in the bowl.
Step 2: Whisk in the sour cream and melted butter
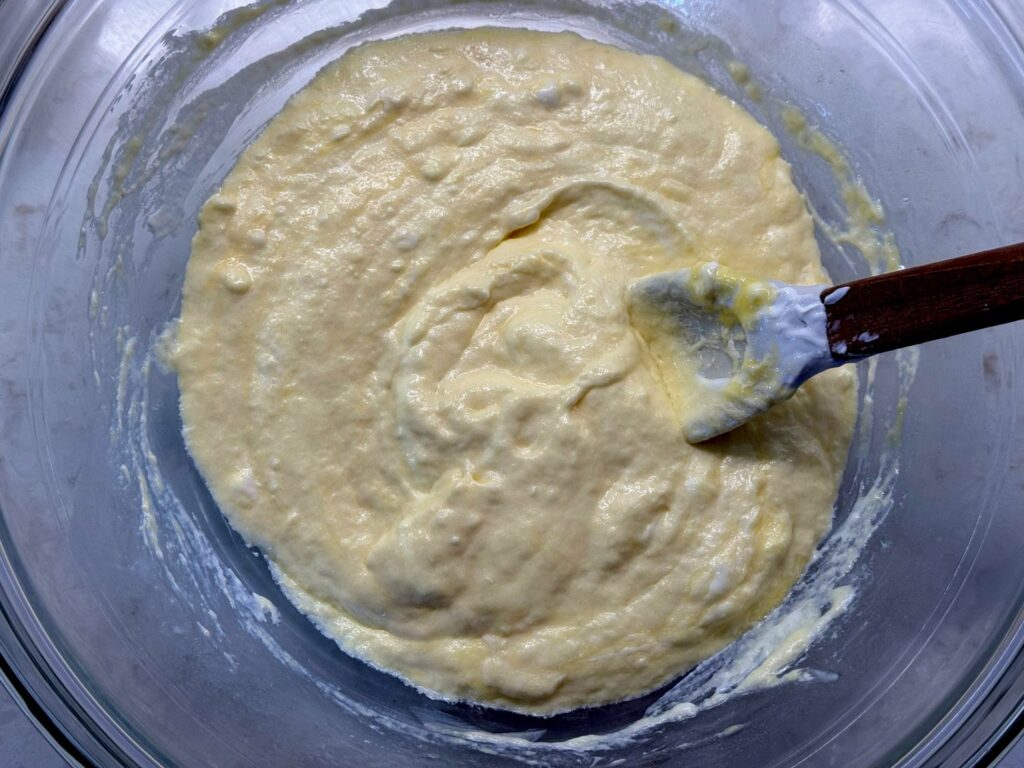
Add the sour cream and the melted butter, and stir until smooth. Make sure the butter has cooled for a few minutes first. Hot butter can scramble the eggs a little. Don’t worry if you see a few small lumps of sour cream… they’ll mix in as you go.
Step 3: Stir in both kinds of corn
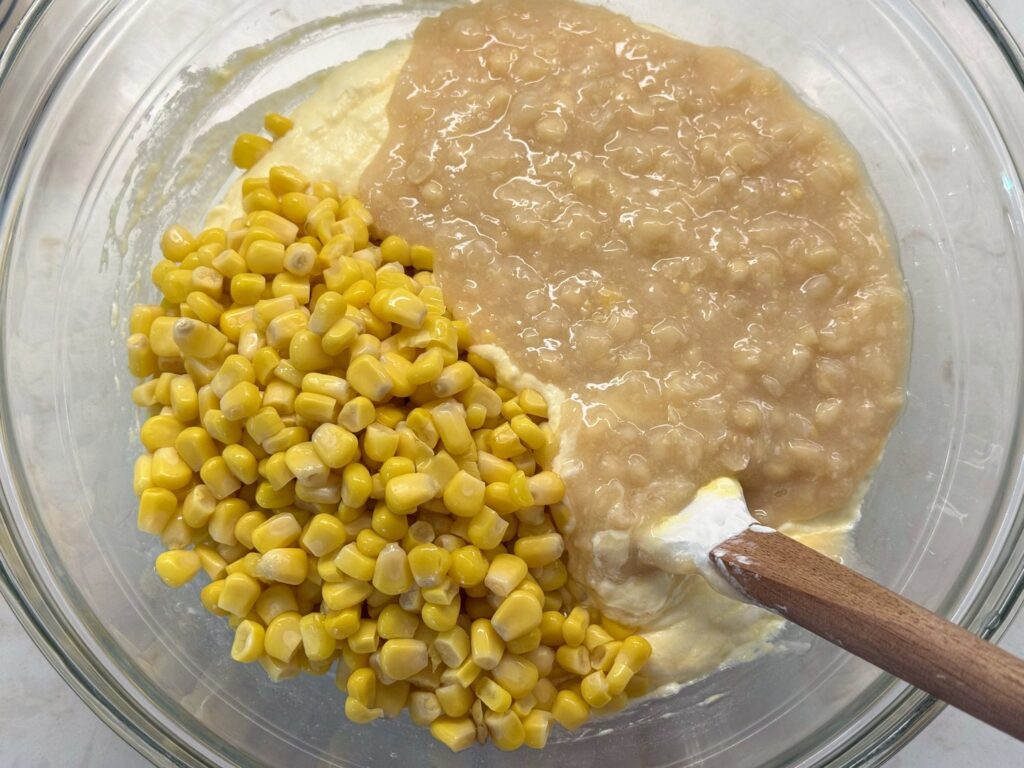
Add the drained whole kernel corn and the cream-style corn, and stir until they’re evenly mixed in.
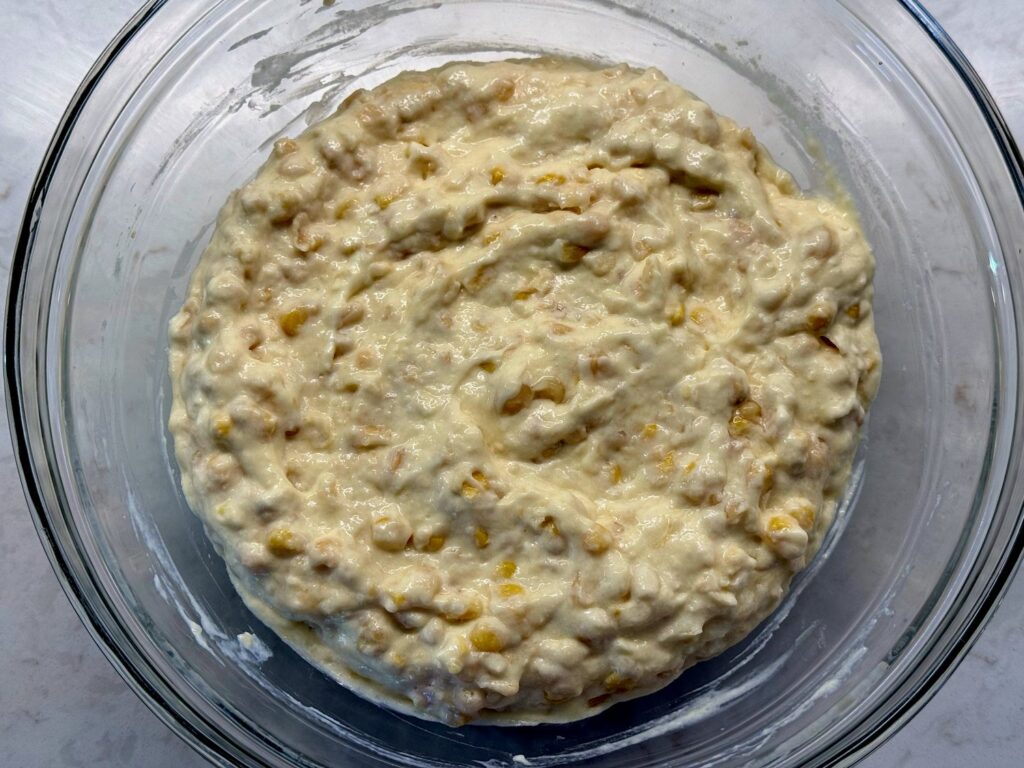
Step 4: Fold in the Jiffy mix
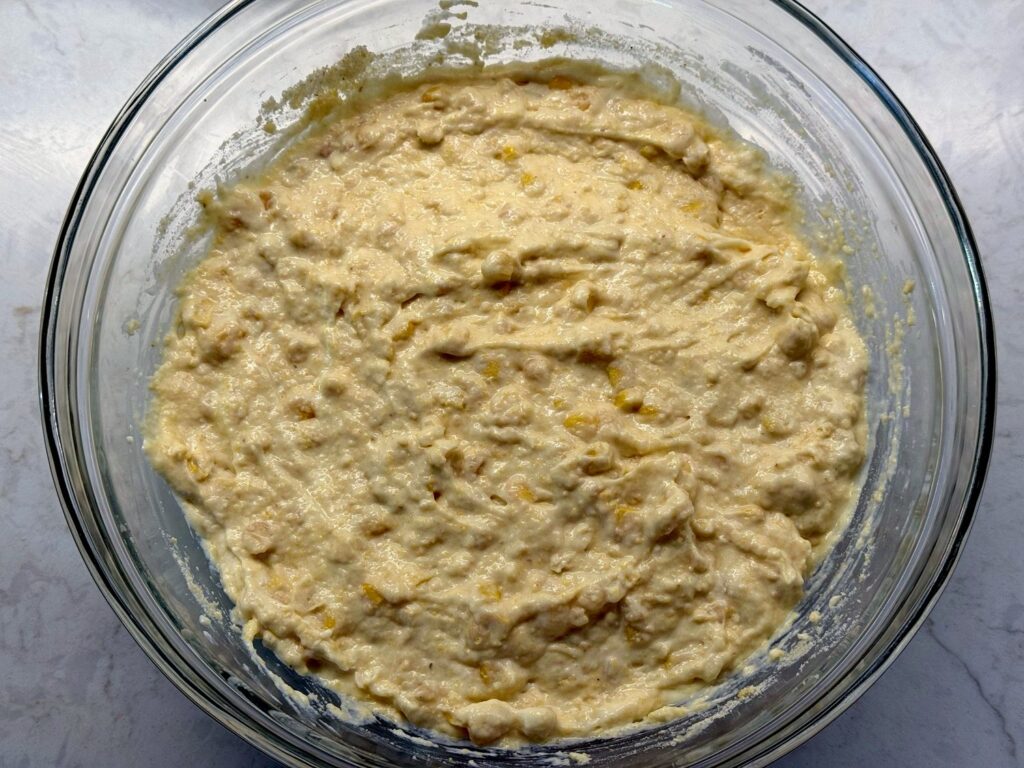
Add the corn muffin mix and stir just until you can’t see any dry streaks. The batter will be thick and a little lumpy, and that’s exactly what you want. One common mistake is stirring it until it’s perfectly smooth. Overmixing works the gluten in the flour and can make the casserole tough instead of tender.
Step 5: Spread it in the dish and bake
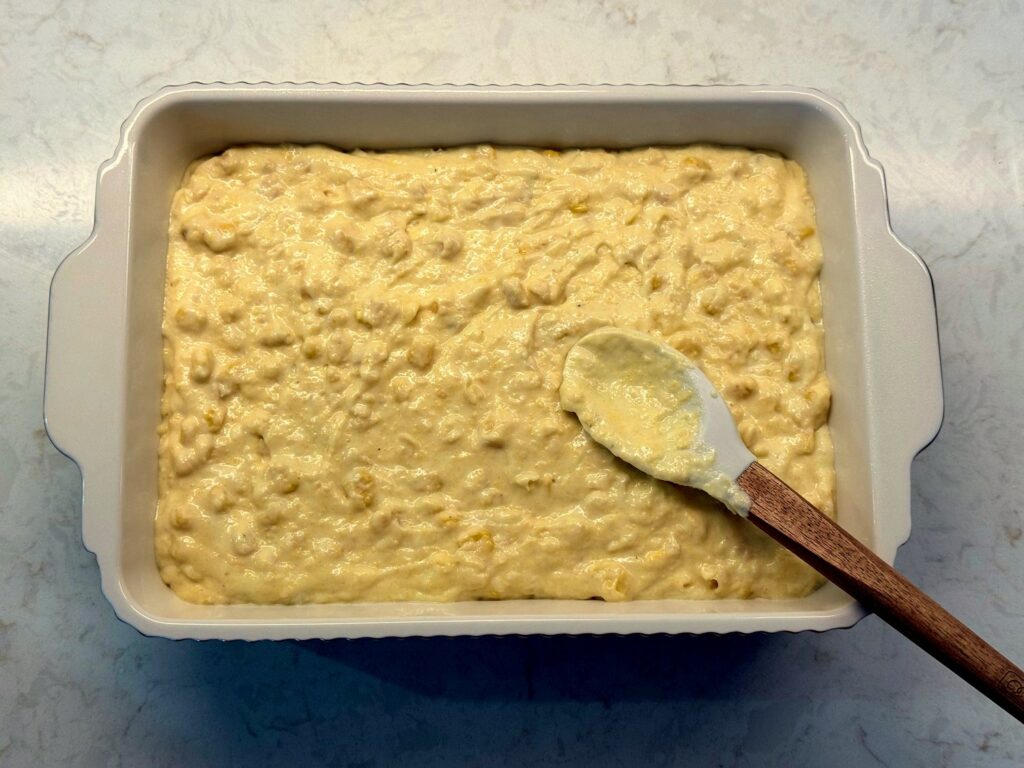
Scrape the batter into your greased dish and smooth the top. Bake for about 45 minutes, until the top is golden, the edges are browned and pulling away from the sides, and the center only jiggles a tiny bit when you nudge the dish. A knife in the center should come out without any wet batter. If you’re adding cheese, sprinkle it on for the last 10 minutes.
Don’t expect it to rise like a cake. It puffs up just a little and stays fairly level, more like a very moist cornbread, and that’s totally normal.
Step 6: Let it rest
Let it rest for about 5-10 minutes before you scoop it. This helps because the middle keeps setting as it cools a little, so you get neat spoonfuls instead of a runny pile.
Can I Make Corn Casserole Ahead of Time?
Yes, and this is exactly how I love to make mine, since this is usually made for a gathering and I don’t want to stress about cooking. Just bake it completely, let it cool until it’s just barely warm, then cover it with aluminum foil, and store it in the refrigerator. The next day, pull it out about 30 minutes beforehand, reheat it at 350°F for about 20 minutes with the foil still on, until it’s hot in the center. If you want a cheesy top, uncover it, add the cheese, and give it another 5 to 10 minutes. If dinner gets delayed, just turn the oven off and leave the dish inside, and it’ll stay warm for a while.
I know some people mix it up and refrigerate it unbaked, then bake it the next day. I haven’t tried it that way. The leavening in the mix can lose some of its lift overnight, so baking it first and reheating is my recommended method.
How to Store and Reheat Corn Casserole
Cover leftovers or move them to an airtight container, and refrigerate them for up to 4 days. Reheat the whole dish in the oven the same way as the make-ahead version, or warm single servings in the microwave for 30 to 60 seconds. You can also freeze it for up to 3 months. Thaw it overnight in the fridge before reheating. I haven’t frozen mine yet, so the texture may be a little softer after freezing.
Corn Casserole FAQs
Can I double corn casserole for a crowd?
Yes. Double everything and bake it in a 9×13 pan, which is the size a double batch fills nicely. It’ll need longer in the oven, about 55 to 65 minutes, so start checking at 55. Go by the golden top and the knife test rather than the clock.
What’s the difference between corn casserole and corn pudding?
They’re very close cousins. Corn pudding is usually softer and more custardy, with more eggs and milk and no mix. Corn casserole made with Jiffy is a little sturdier, more like a very moist spoonbread.
Why is my corn casserole runny in the middle?
It usually just needs more time. Ovens vary, and a deeper dish takes longer. Put it back in for 5 to 10 minutes at a time until the center is set, and let it rest before you scoop it.
Is corn casserole gluten free?
Not with Jiffy, since the mix has wheat flour. You can use a gluten-free cornbread mix instead. Look for one that’s about 8 to 9 ounces, or measure out about 1 1/2 cups of a larger box.
Easy Corn Casserole Recipe
Equipment
- 7×10-inch (2-quart) baking dish (or 8×8-inch)
- large mixing bowl
- Whisk and spatula
Ingredients
Ingredients
- 2 large eggs
- 1 cup sour cream
- 1/2 cup butter 1 stick, melted and slightly cooled
- 1 15-ounce can whole kernel corn drained
- 1 14.75-ounce can cream-style corn not drained
- 1 8.5-ounce box Jiffy corn muffin mix
- 1 cup cheddar cheese shredded (optional)
Instructions
- Heat the oven to 350°F. Grease a 7×10-inch baking dish.
- In a large bowl, whisk the eggs until well blended.
- Whisk in the sour cream and melted butter until smooth.
- Stir in the drained whole kernel corn and the cream-style corn.
- Add the corn muffin mix and stir just until no dry streaks remain. Don’t overmix.
- Spread the batter evenly in the prepared dish.
- Bake about 45 minutes, until the top is golden, the edges pull away from the sides, and a knife in the center comes out without wet batter. If using cheese, sprinkle it over the top for the last 10 minutes.
- Let rest 5-10 minutes before serving.
Nutrition
Notes
- Pan size: One batch is too thin in a 9×13. Use a 7×10 or 8×8 dish. For a double batch, use a 9×13 and bake 55 to 65 minutes.
- Without Jiffy: Replace the box with 2/3 cup all-purpose flour, 1/2 cup yellow cornmeal, 3 tablespoons sugar, 1 tablespoon baking powder, and 1/2 teaspoon salt, whisked together.
- Frozen corn: Use about 1 1/2 cups thawed, patted-dry frozen corn in place of the canned whole kernel corn.
- Lactose free: Use lactose-free sour cream and lactose-free or plant-based butter. Check your mix label.
- Gluten free: Use an 8- to 9-ounce gluten-free cornbread mix.
- Make ahead: Bake, cool until barely warm, cover, and refrigerate up to 1 day. Reheat covered at 350°F for about 20 minutes.
- Storage: Refrigerate covered or in an airtight container for up to 4 days, or freeze for up to 3 months. Thaw overnight in the fridge.
- Reheating: Reheat covered at 350°F for about 20 minutes, or microwave single servings for 30 to 60 seconds.
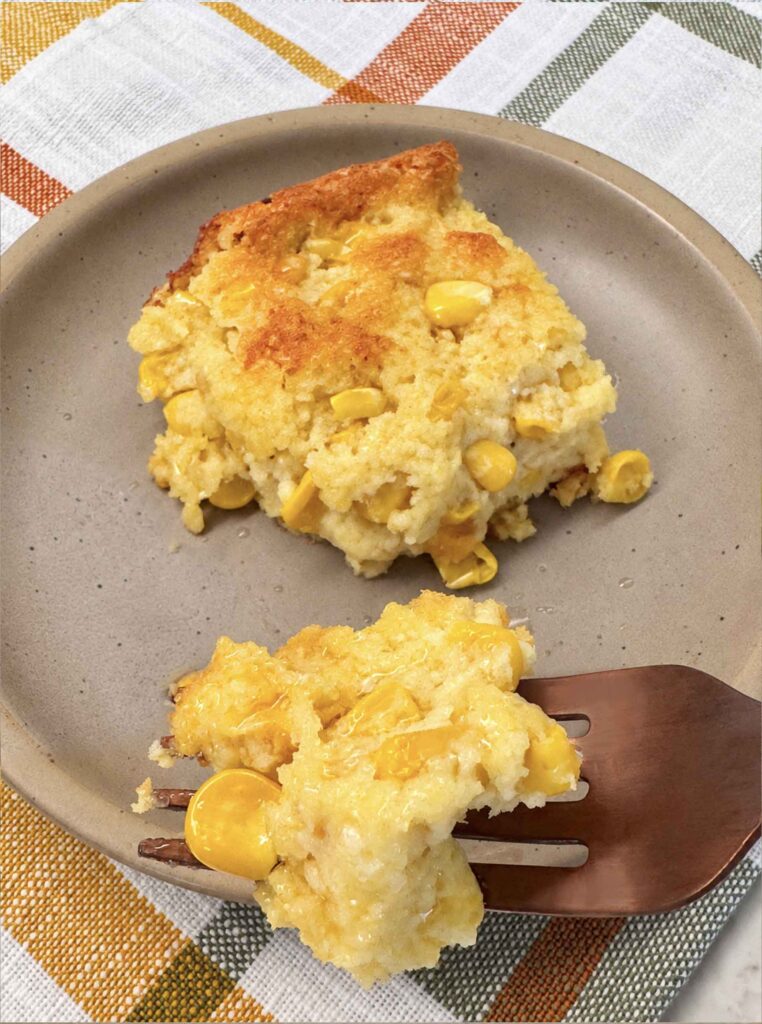
How to Trust This Recipe
I want you to feel confident that this is real food cooked by real people in a real home kitchen, so I like to share a special unfiltered photo. Here is my plate on the counter in my kitchen, where I dished out some leftovers for myself… no special lighting.
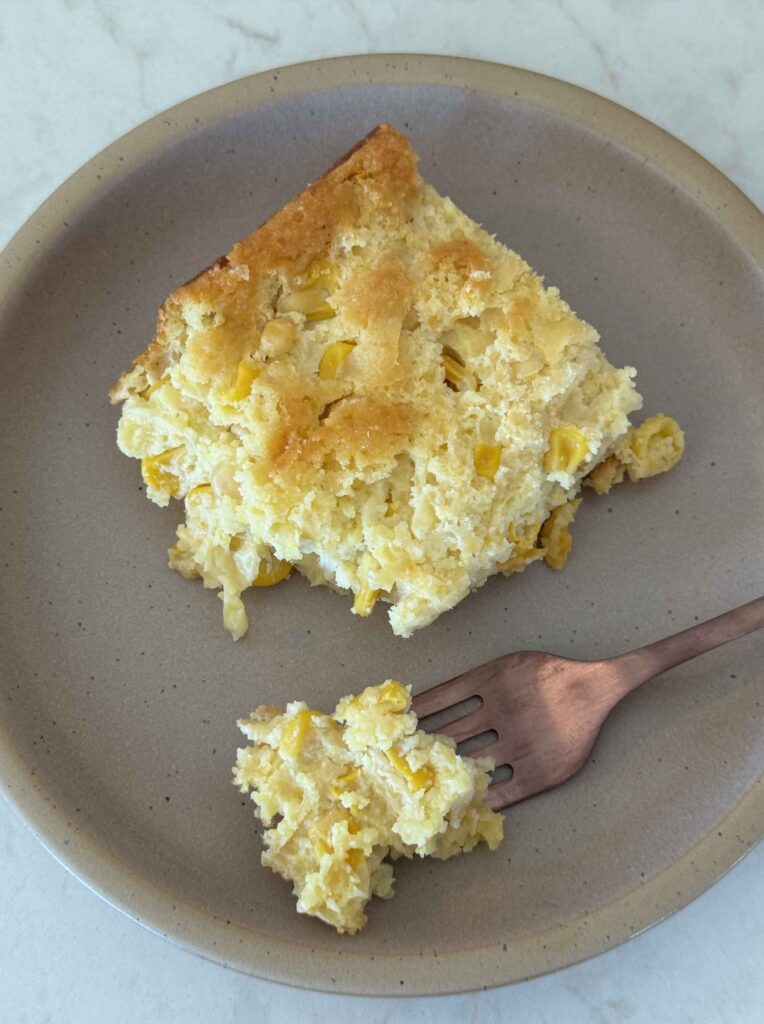
The above photo was taken with ProofMode, which attaches Content Credentials (the C2PA standard) to the image, so anyone can check that it’s a real photo taken by my iPhone on my farm on a particular date and place. You can download the proof files here and learn how to verify them.
If you need a side dish you can make ahead and stop worrying about, this is the one. I’d love to hear how yours turns out.
Happy cooking!
Love,
Jennifer
Tried this recipe?
Tap the stars in the recipe card to leave a quick rating. Your rating helps other home cooks know this recipe works in a real kitchen, not just mine.
And as a thank-you for your feedback, you will receive a free printable copy of my Maker Home Companion Cookbook, featuring my most popular recipes, each one formatted on a SINGLE, easy-to-use page, a perfect kitchen companion for easy meal prep. Click here to learn more about this cookbook and how you can get your copy!
More Recipes You’ll Love



Meet Jennifer
Jennifer cooks and experiments in the kitchen at Maker Farm, where she focuses on simple pantry cooking, homemade staples, and practical recipes that make everyday meals easier. Over the years she has tested many ways to make cooking simpler and more dependable, and shares the methods that work best in her own kitchen, occasionally showing them on her Heart to Home at Maker Farm vlog.