

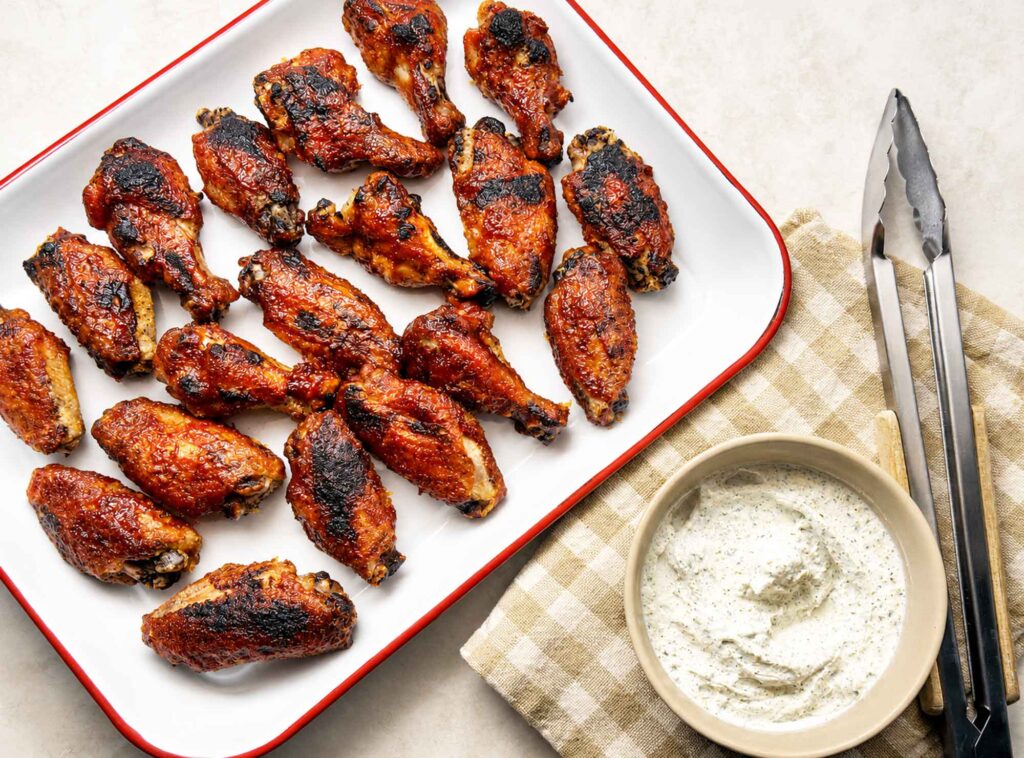
These baked BBQ chicken wings come out crispy on the outside and juicy inside, then get tossed while hot in sweet, tangy homemade BBQ sauce until every piece is sticky and glossy. You just pat the wings dry, toss them with a little baking powder and salt, bake them on a rack at 425°F for about 45 minutes, and coat them in sauce. Prep is about 10 minutes, the oven does the rest, and a bowl of cool ranch dip on the side makes them SO GOOD.
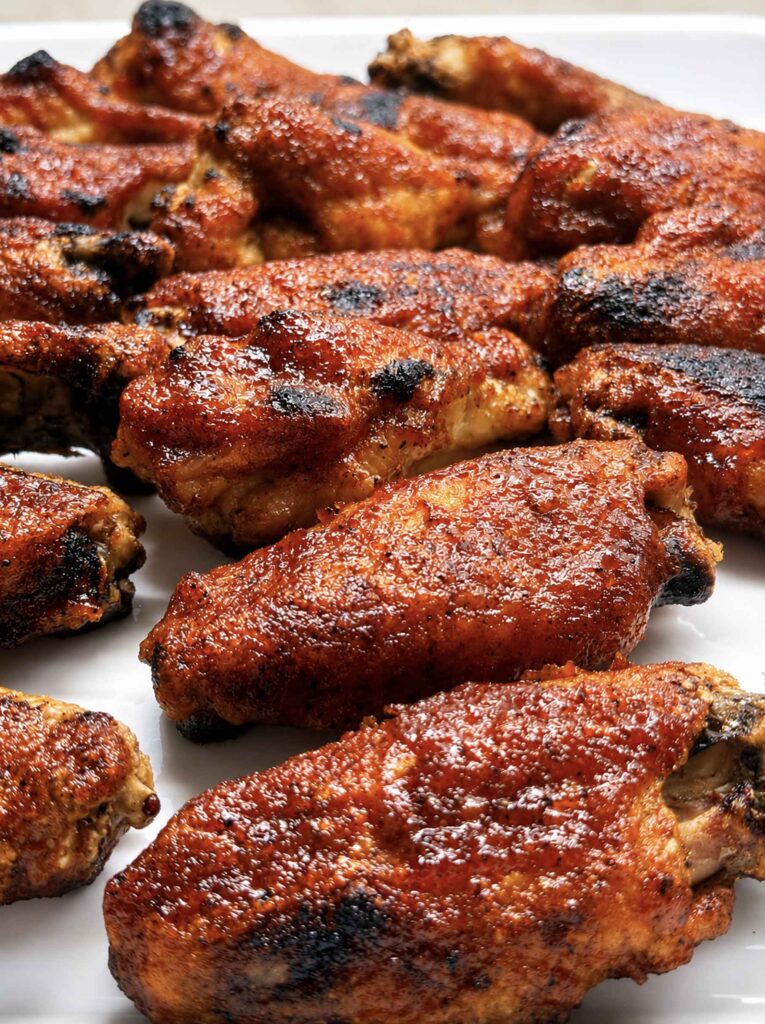
My Trick to Making the Best BBQ Wings

We’ve been doing wings this way for YEARS, long before we had the farm, back when a big plate of them was our whole Friday night. No deep fryer, no splattered stove, and honestly no fuss. My husband Greg particularly loves wings, and these are one of the few things he will happily eat with his hands over a paper towel, which tells you everything.
The real trick is that the oven does double duty here: it crisps the skin first, then sets the sauce into a sticky glaze at the end. They are a lot easier than you might think!
Let’s dig in!

Why Bake Wings Instead of Frying Them?
Frying gets you crispy wings, but it also gets you a pot of hot oil, a smell that lingers for two days, and a mess I never feel like cleaning up. Baking gets you most of the way there with almost none of that. The secret is a wire rack set over the baking sheet so hot air can move all the way around each wing. That lifts the skin up out of its own drippings, which is exactly what keeps it from steaming and going soft.
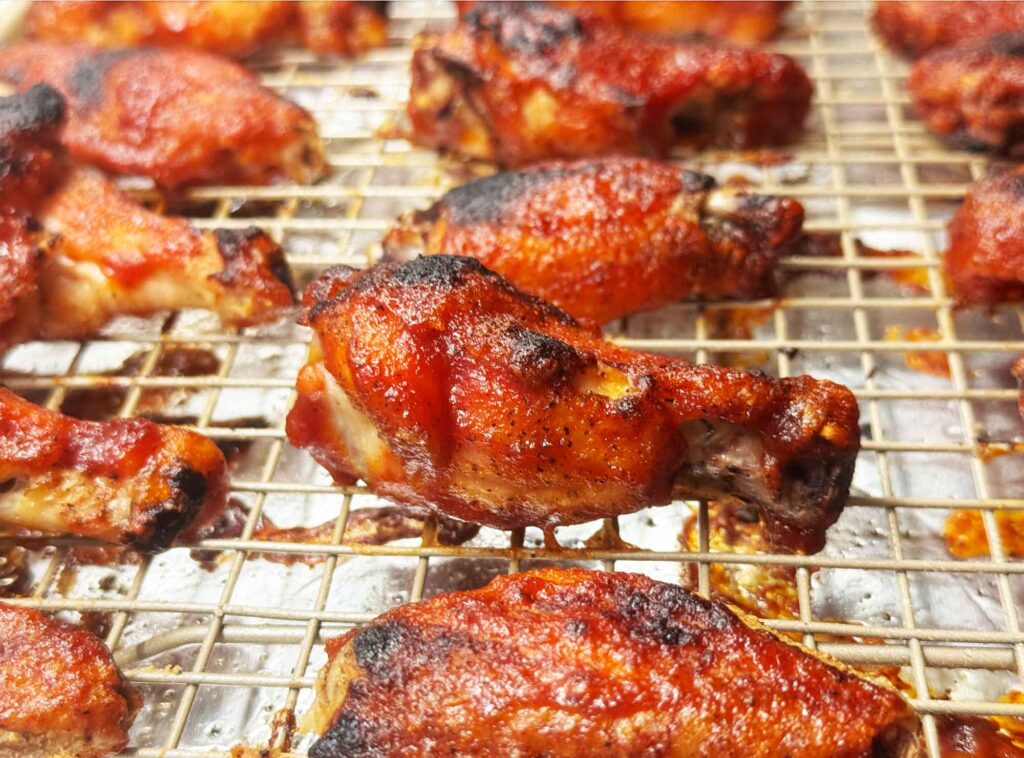
The other little helper is baking powder. Just a light toss of it changes the surface of the skin so it dries out and crisps up as it bakes, giving you that shattery, almost fried texture from the oven. This helps because it raises the pH of the skin and helps it brown. Be sure to reach for baking powder, not baking soda, and use an aluminum-free one if you have it so there is no metallic aftertaste (such as Argo, Rumford, and Bob’s Red Mill).
Ingredients You’ll Need
Wings keep the shopping list short, and most of this is already in your pantry. Here is what each part is doing, with the full amounts in the recipe card below.
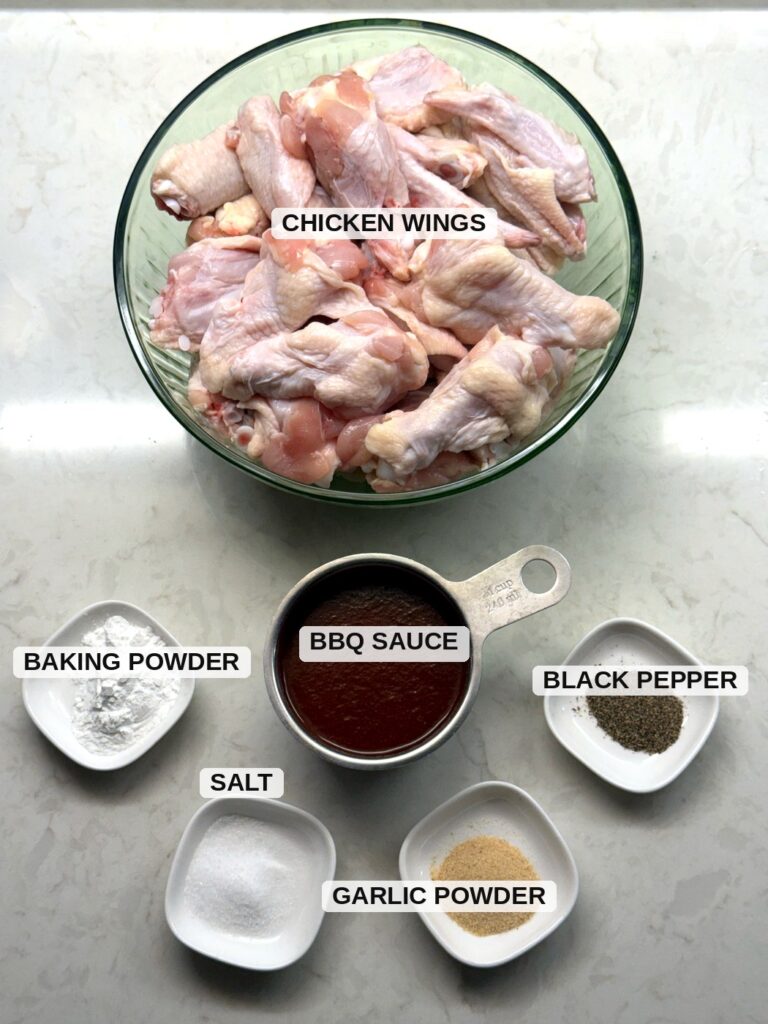
Chicken wings are the star. I usually buy them already split into drumettes and flats (sometimes labeled “party wings”), which saves a step. If yours come whole, you can cut them at the joints yourself. Try to get them roughly the same size so they finish cooking at the same time.
Baking powder is the crisping trick from above. A little goes a long way, so don’t be tempted to dump in extra thinking it will crisp them more. Too much can leave a soapy taste, and we don’t want that.
Salt, pepper, and garlic powder season the wings themselves so they taste like something even before the sauce goes on. I keep the pepper gentle since I am a supertaster and not big on heat, but you can bump it up.
BBQ sauce is where these wings get their whole personality. I use my homemade BBQ sauce because the honey and brown sugar in it are exactly what make wings turn sticky and glossy. It comes together in about 25 minutes on the stove, and it is worth it. That said, a good bottled sauce works just fine here on a busy night, so use whatever you have.
Ranch dip, for serving. A cool, herby dip next to hot sticky wings is the whole point, and I make mine from my homemade ranch seasoning. More on that below.
How to Make Baked BBQ Chicken Wings
We are making these in two stages: first we bake the wings until they are crispy, then we toss them in sauce and let the oven set the glaze. Here is how it goes.
Stage One: Get Them Crispy
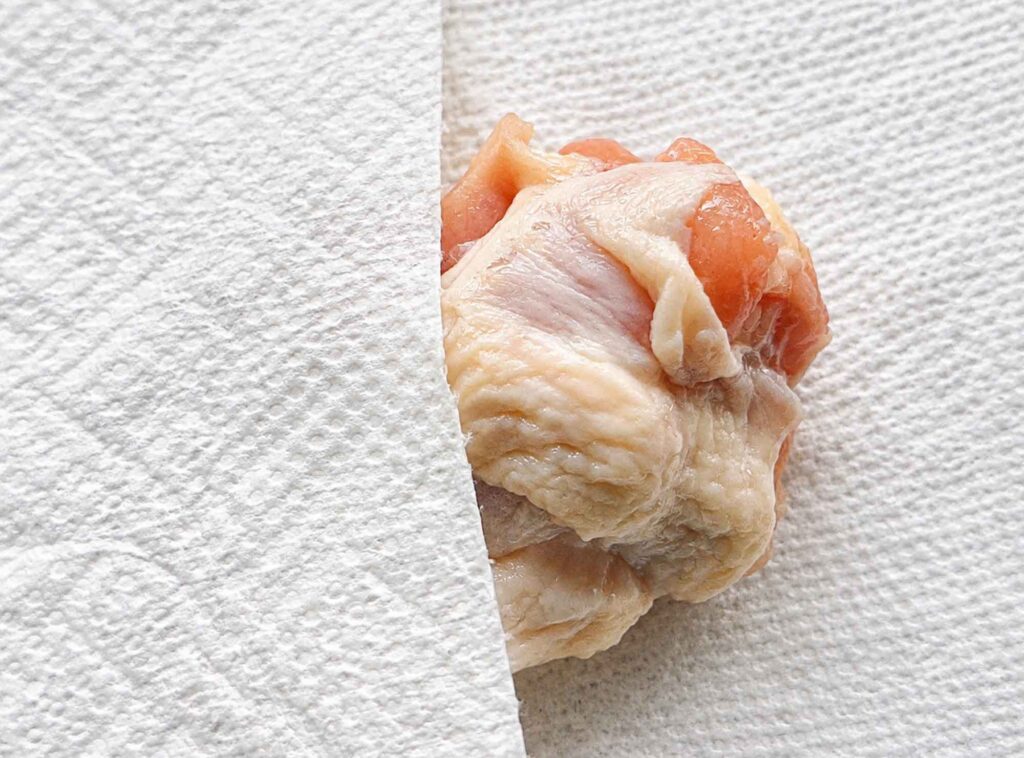
Start by patting the wings really, really dry with paper towels. This is the step people rush, and it matters more than any other. Any surface moisture turns to steam in the oven, and steam is the enemy of crispy skin. Dry wings brown; wet wings sog.
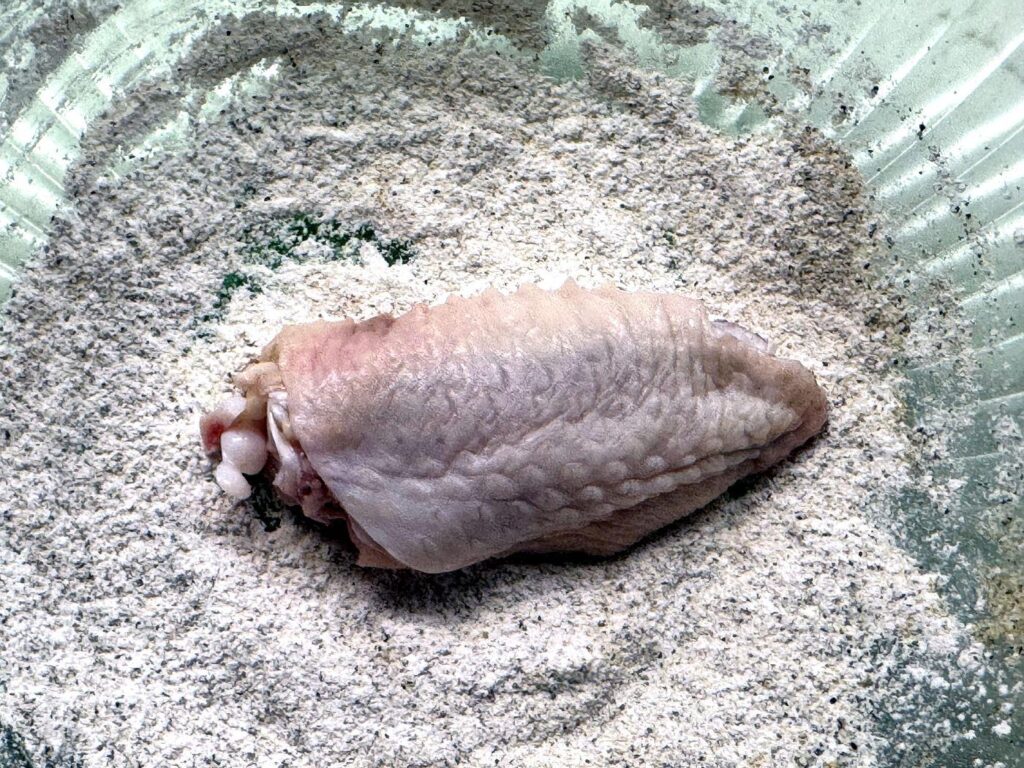
Toss the dry wings with the baking powder, salt, pepper, and garlic powder until every piece is lightly and evenly coated.
Set them skin-side up in a single layer on a wire rack over a foil-lined baking sheet, and give them a little breathing room so they aren’t touching.
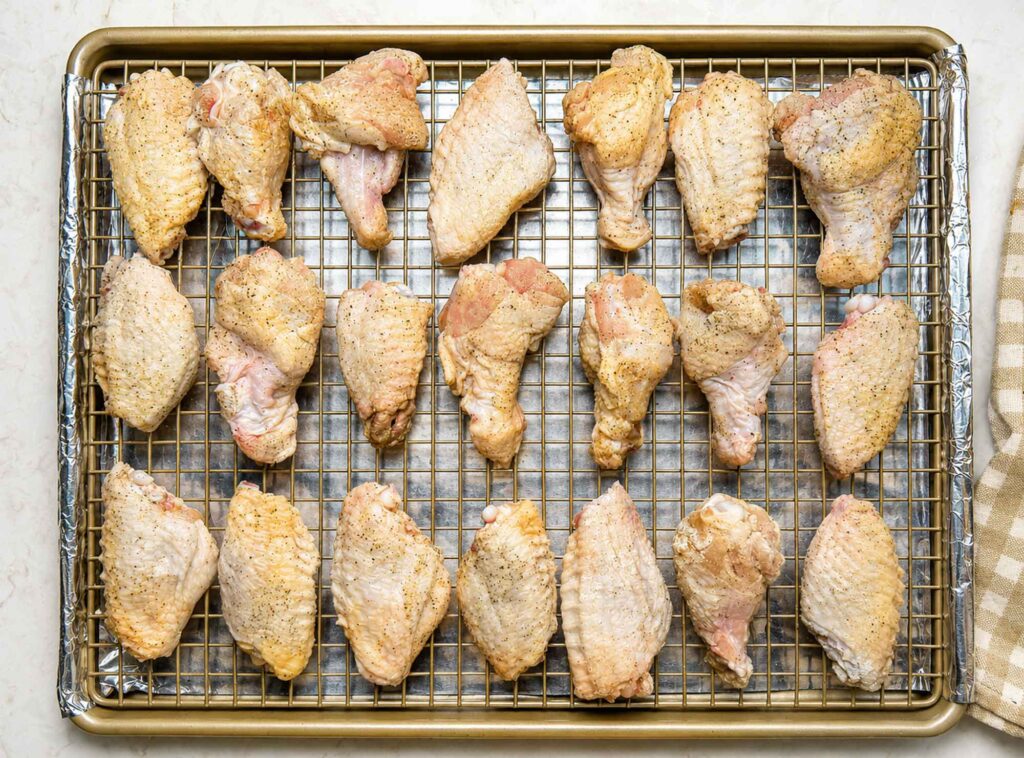
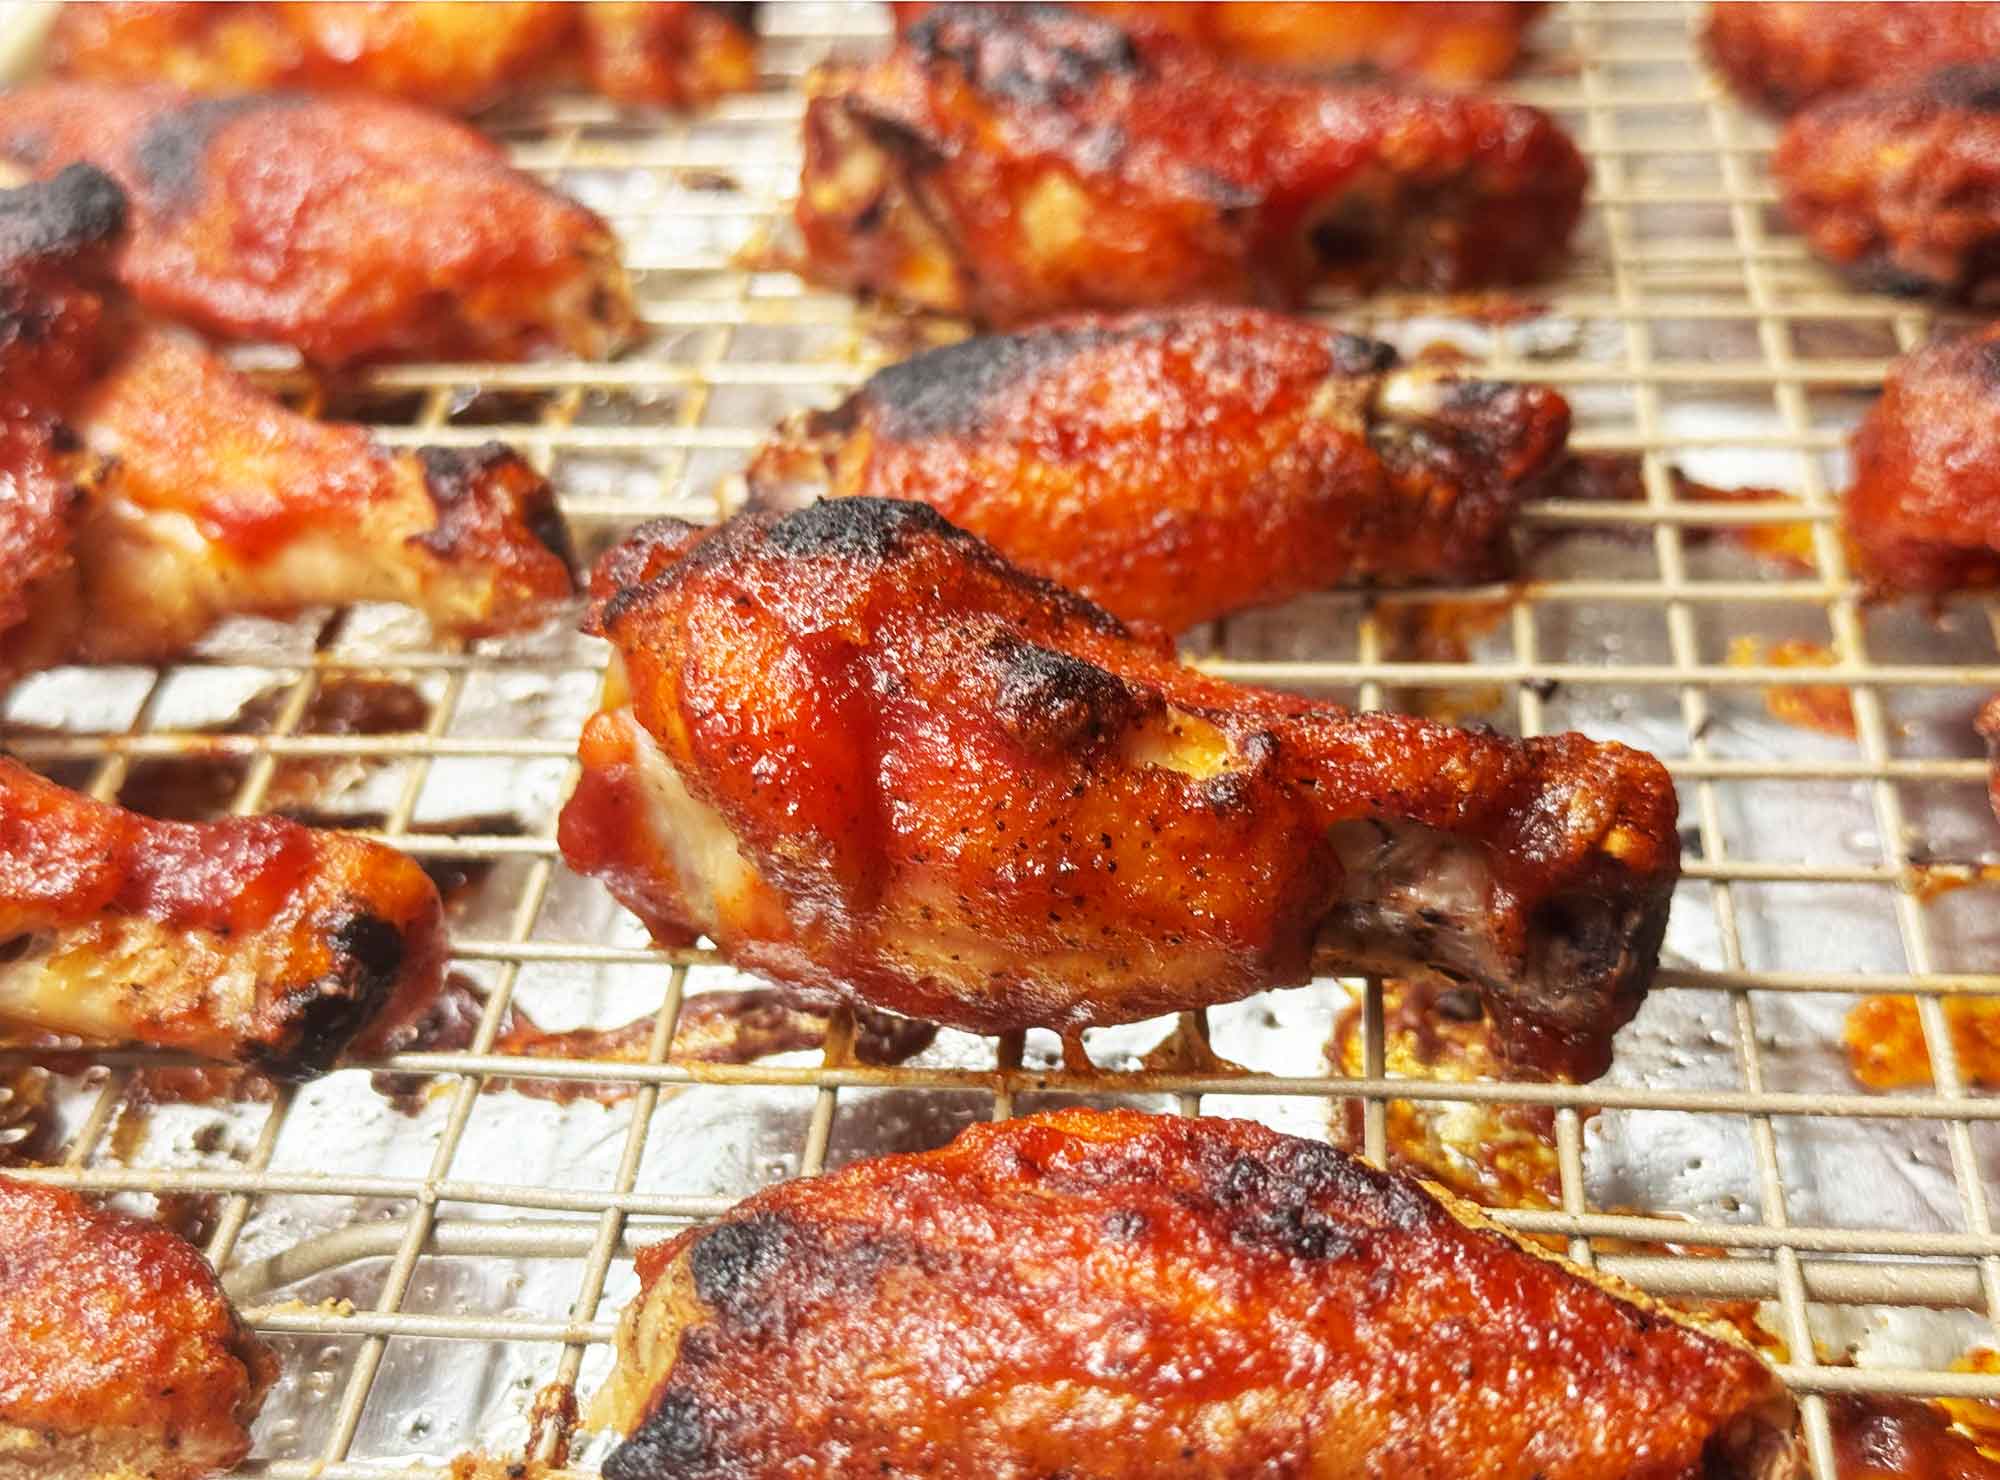
Then into a 425°F oven they go for about 45 to 50 minutes, flipping them once around the halfway mark. Don’t worry if they look pale for the first 20 minutes; the color and crunch really come on at the end. You want them deep golden and crisp before any sauce touches them. If you want to be sure they’re done, the thickest wing should read 165°F on an instant-read thermometer.
One common mistake is crowding the pan. If the wings are jammed together, the edges that touch stay soft, so give them space even if it means using two racks.
For Even Crisper skin

Here is a little trick if you have the time: after you toss the wings with the baking powder and seasoning, spread them out on the rack and let them sit uncovered in the fridge for a few hours, or even overnight. The cold air dries the skin out even more, so they crisp up beautifully. It is totally optional, but you will taste the difference.
Stage Two: Make Them Sticky
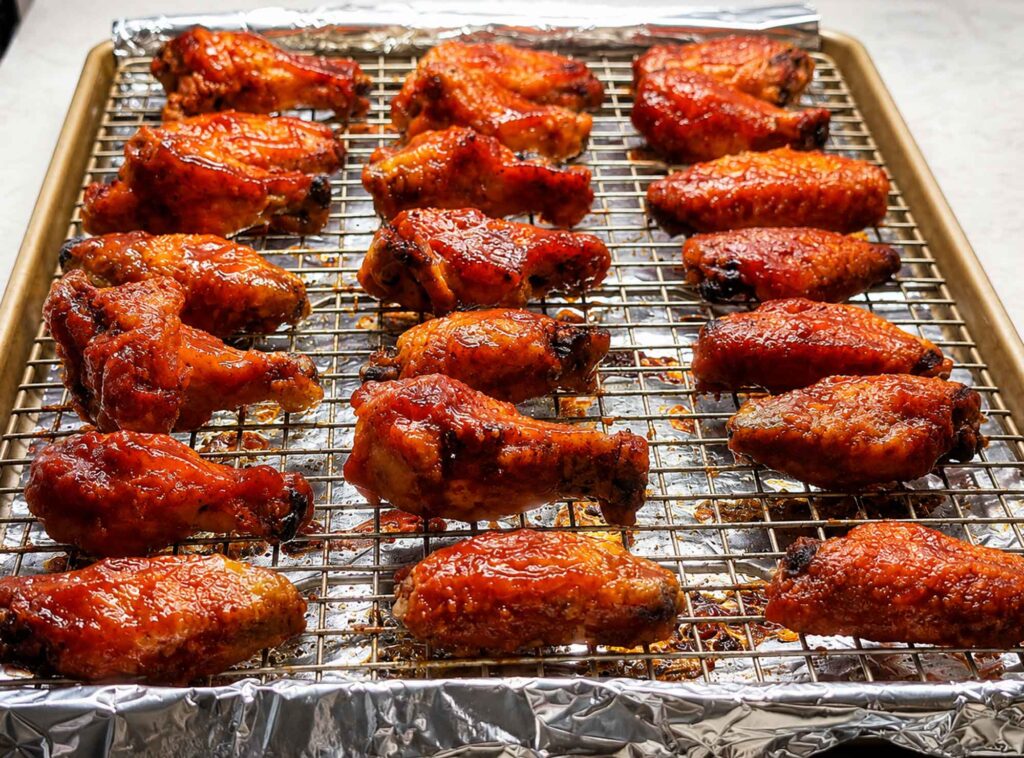
Warm your BBQ sauce slightly so it clings instead of sliding off. Put the hot, crispy wings in a big bowl, pour the sauce over, and toss gently until every wing is coated. If you want that tacky, caramelized glaze, spread the sauced wings back on the rack and pop them under a low broiler or back in the oven for 5 to 7 minutes. Be careful not to walk away here, because the sugars in the sauce can go from glossy to burnt fast. This is the same reason we sauce at the end and not the beginning: sugary sauce brushed on too early just scorches.
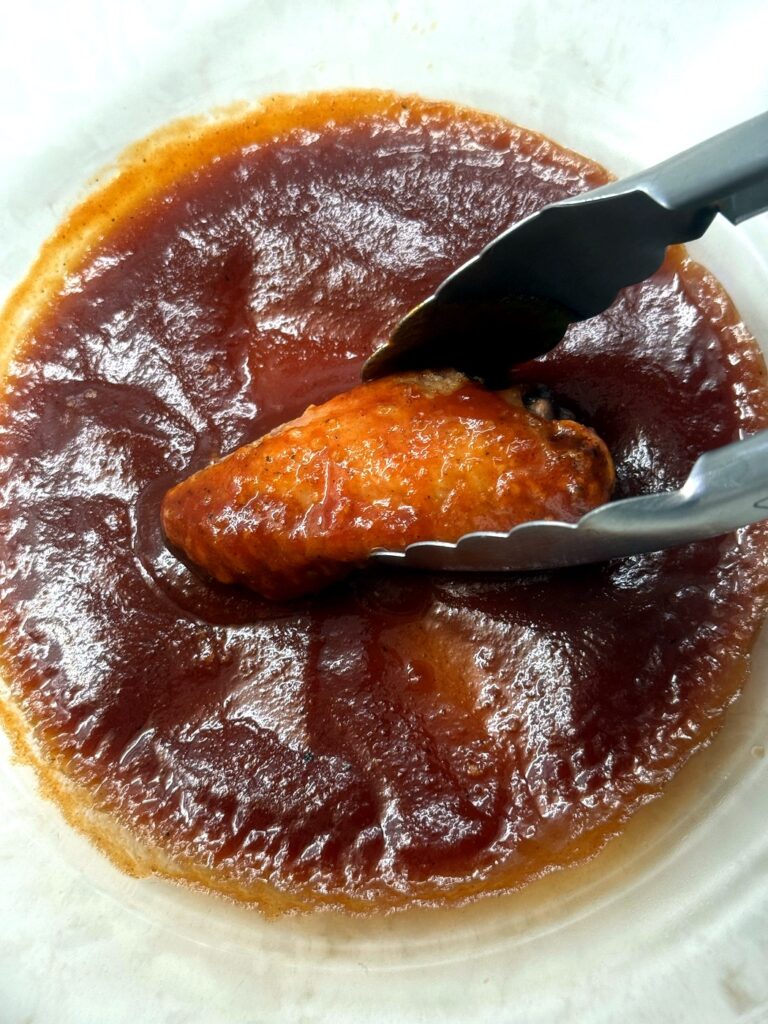
Pull them, let them rest a minute so the glaze sets, and serve them hot with plenty of napkins.
Want Them Spicier?

I keep mine mild, but they take heat really well if that is your thing. The easy way is to add 1/4 teaspoon of cayenne or chili powder to the baking powder and seasoning before you toss the wings. If you would rather keep the heat in the sauce, stir a spoonful of your favorite hot sauce into the warm BBQ sauce right before you coat them. Start small and taste as you go, since you can always add more but you can’t take it back out.
The Ranch Dip That Goes With Them
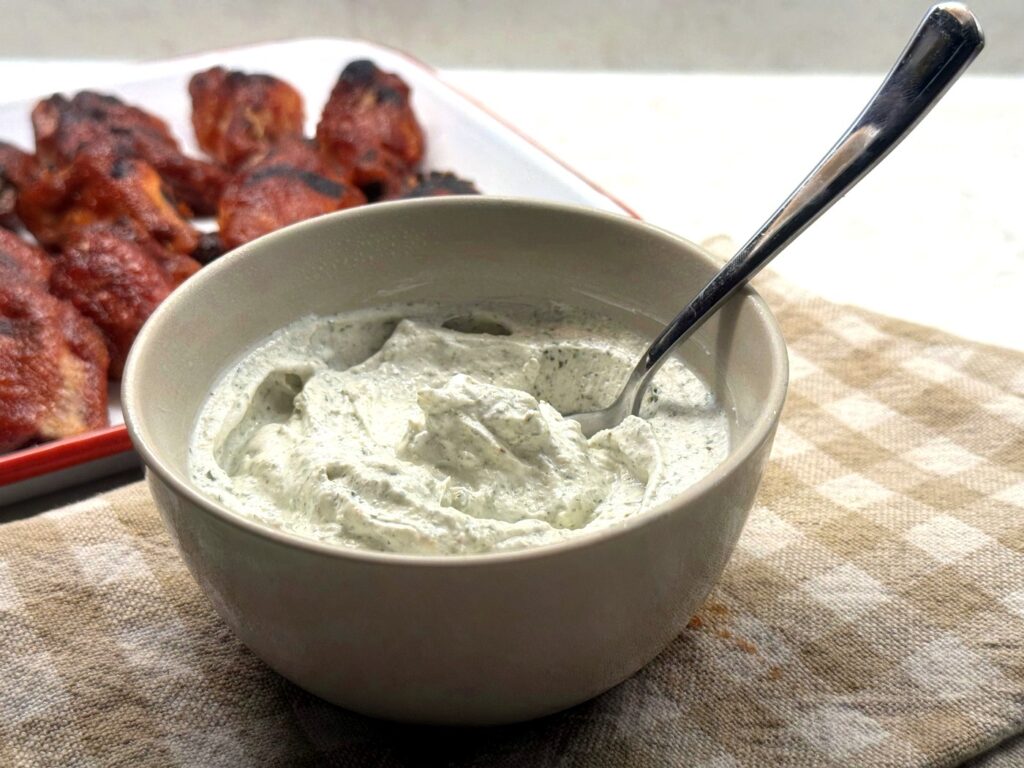
Sticky, sweet wings really want something cool and tangy alongside, and this is where a jar of homemade ranch earns its keep. I stir 2 tablespoons of my ranch seasoning into 1 cup of sour cream or plain Greek yogurt, then cover it and chill it for at least 30 minutes. That resting time is the secret. It lets the dried herbs soften and the flavor bloom, so don’t skip it or the dip tastes a little flat and dusty. You can absolutely use a store-bought dip instead, but if you already keep the seasoning on hand, this takes about two minutes and tastes so much fresher.
What to Serve With BBQ Chicken Wings
These are a meal on their own around here, but if you are feeding a crowd, they play well with celery and carrot sticks, a pile of oven fries, or a simple slaw to cut the richness. For game day I just double the batch and set out two bowls of ranch, because the dip always disappears first.
How to Store and Reheat
Leftover wings keep in an airtight container in the fridge for up to 4 days. To bring back the crisp, skip the microwave (it makes the skin rubbery) and reheat them in a 375°F oven or air fryer for 8 to 10 minutes until hot and sizzling again. They won’t be quite as crackly as day one, but they will still taste great. Keep any extra ranch dip in its own covered container and use it within about 5 days.
Answers to Your Questions
Can I make these wings in the air fryer?
Yes, and they crisp up beautifully. Air fry at 400°F for 22 to 25 minutes, shaking the basket a few times, then toss in warm BBQ sauce just like the oven batch. Just work in batches so they roast instead of steam.
Why aren’t my baked wings crispy?
Almost always it is moisture or crowding. Pat them really dry, keep them up on the rack so they aren’t sitting in their drippings, and give them room to breathe. Do those three things and you’ll get there.
Baked BBQ Chicken Wings Recipe
Equipment
- rimmed baking sheet
- wire rack
- large mixing bowl
Ingredients
For the wings
- 3 to 4 pounds chicken wings split into drumettes and flats
- 1 tablespoon baking powder (aluminum-free), about 1 to 1.5 teaspoons per pound
- 1 teaspoon salt
- 1/2 teaspoon black pepper
- 1 teaspoon garlic powder
- 3/4 to 1 cup BBQ sauce (or your favorite bottled sauce)
For the ranch dip
- 2 tablespoons ranch seasoning
- 1 cup sour cream or plain Greek yogurt
Instructions
- Preheat the oven to 425°F. Line a rimmed baking sheet with foil and set a wire rack on top.
- Pat the wings very dry with paper towels. This is the most important step for crispy skin.
- In a large bowl, toss the dry wings with the baking powder, salt, pepper, and garlic powder until evenly coated.
- Arrange the wings skin-side up in a single layer on the rack, not touching. Bake for 45 to 50 minutes, flipping once at the halfway point, until deep golden and crisp (165°F internal temperature).
- Warm the BBQ sauce slightly. Put the hot wings in a large bowl, pour the sauce over, and toss to coat.
- For a sticky glaze, return the sauced wings to the rack and broil or bake at 425°F for 5 to 7 minutes, watching closely so the sauce doesn’t burn. Let rest 1 minute before serving.
- Make the dip: stir the ranch seasoning into the sour cream or Greek yogurt, cover, and chill at least 30 minutes. Serve alongside the wings.
Nutrition
Notes
Once you make wings this way, I don’t think you’ll go back to the fryer either. They’re crispy, sticky, and just plain fun to eat, and that bowl of ranch on the side makes them feel like a little party. If you give them a try, come back and leave a comment and a star rating to let me know how they turned out.
Happy cooking!
Love,
Jennifer

Tried this recipe?
Tap the stars in the recipe card to leave a quick rating. Your rating helps other home cooks know this recipe works in a real kitchen, not just mine.
And as a thank-you for your feedback, you will receive a free printable copy of my Maker Home Companion Cookbook, featuring my most popular recipes, each one formatted on a SINGLE, easy-to-use page, a perfect kitchen companion for easy meal prep. Click here to learn more about this cookbook and how you can get your copy!


Meet Jennifer
Jennifer cooks and experiments in the kitchen at Maker Farm, where she focuses on simple pantry cooking, homemade staples, and practical recipes that make everyday meals easier. Over the years she has tested many ways to make cooking simpler and more dependable, and shares the methods that work best in her own kitchen, occasionally showing them on her Heart to Home at Maker Farm vlog.