

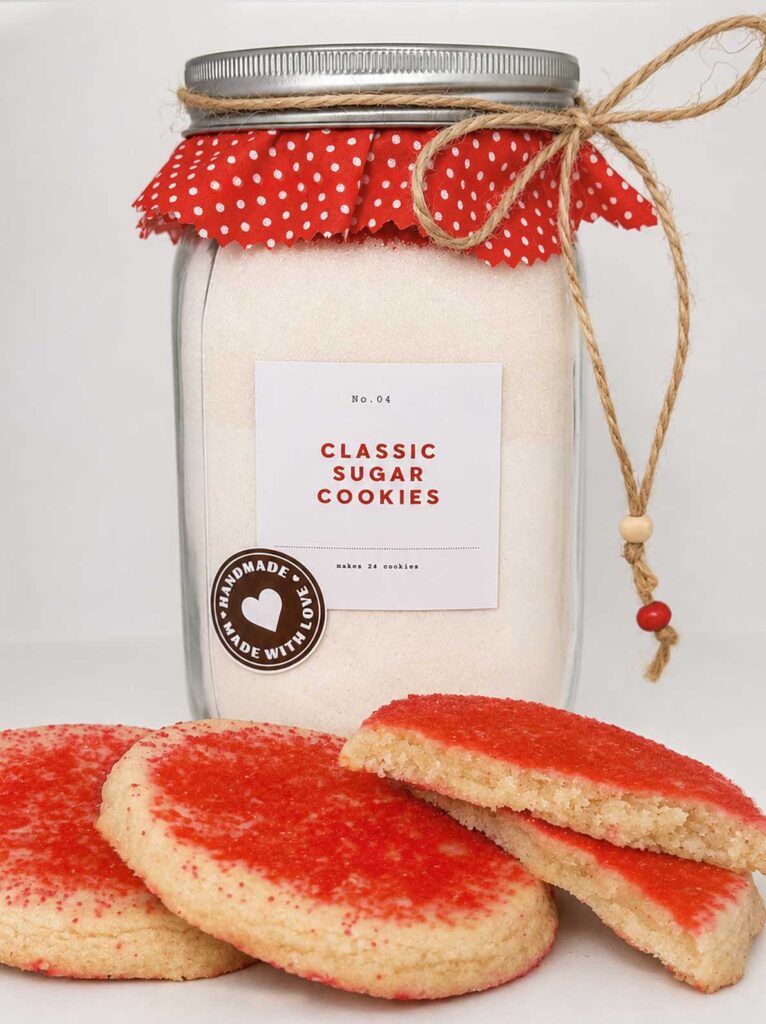
These buttery sugar cookies with a sparkly sanding sugar top are so easy to make. You don’t need a mixer, a rolling pin, or a cookie cutter either. Bake a batch tonight, or layer the mix in a quart jar to save for later or give as a gift!
Easy Sugar Cookies At A Glance
Prep
20 min
Bake
10 min
Total
50 min
Makes
About 2 dozen
Pan
Parchment-lined baking sheet
Main ingredients: All-purpose flour, granulated sugar, butter, red sanding sugar, egg
My Easier Sugar Cookie Recipe is Flexible!

This is the next jar in my little family of cookie mixes, and like the others, you can make it as a regular batch of cookies from scratch with basic ingredients, or fill a jar to make later or share with someone else.
As always, I thoroughly tested this recipe! I filled my jars, then baked from those exact jars with only what’s written on the labels. My first batch was… fine. They tasted good, but honestly, they were not very cute. Ha ha! But I wanted to keep this easy, so I didn’t want to pull out cookie cutters that people who may receive my cookie jars probably don’t have. So I tried rolling the dough flat by using the side of the jar itself and then cutting out perfect circles with the jar’s mouth. That worked!
This simple cookie recipe gives you round cookies, with even sugar all the way to the edges, and the only “special” tool needed is the jar the mix goes in. If you’re making these from scratch and don’t have a jar, you can simply use a drinking glass to cut out your circles.
Let’s dig in!

Tips and Notes Before You Start
- You don’t need a mixer. A spatula and your hands do all the work, and there’s no chilling.
- Soften the butter, but don’t melt it. Cut it into tablespoon-size pieces and it’ll be soft in about 15 minutes. Melted butter makes a greasy dough that won’t hold a clean cut.
- Buy sanding sugar, not round sprinkles. Look for coarse, sparkly sugar crystals.
- Expect the dough to look sandy at first. Keep mixing and knead it with your hands until it’s smooth. You don’t need to add liquid.
- Be sure to let them cool 5 minutes on the pan. They tear if you move them sooner.

Want to Save This Recipe?
Enter your email below and we’ll send it straight to your inbox! Plus you’ll get new recipes each week!
What You’ll Need for Easy Sugar Cookies
This is about as simple as baking gets. Below I’ve listed every dry ingredient in the order it goes in.
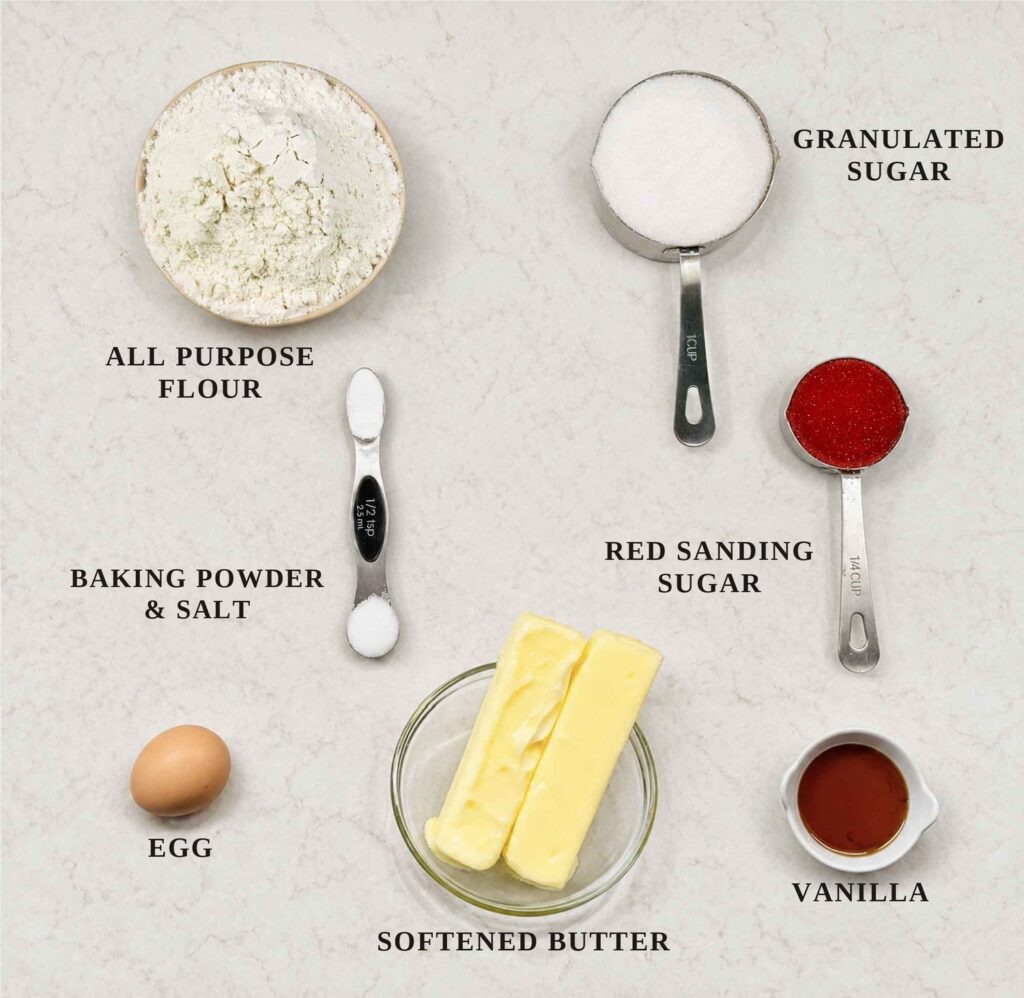
All-purpose flour. Spoon it into the measuring cup and level it off with a knife instead of scooping straight from the bag. This helps because scooping packs the flour down, and extra flour is the fastest way to a dry, crumbly sugar cookie.
Baking powder and salt. Whisk them right into the flour. Baking powder gives these a little lift without making them puffy, so they keep their flat, round shape. I use regular table salt.
Granulated sugar. Gotta have that sugar for sugar cookies!
Red sanding sugar. Sanding sugar has big, coarse crystals that hold their shape and sparkle in the oven. You want sanding sugar, not round sprinkles or nonpareils. Any color works if you want to match a different holiday.
Butter. Any regular butter works here, including homemade butter. It’s soft enough when a finger leaves a dent. If it looks shiny or greasy, it’s too warm, so pop it back in the fridge for a few minutes.
Egg and vanilla. The usuals!
For tools, you’ll want a large mixing bowl, a spoon or spatula, and a baking sheet lined with parchment paper. If you’re going to put the dry ingredients in a jar, you’ll want a wide-mouth quart-size Mason jar, too.
How to Make Sugar Cookies
The method is the same whether your dry ingredients come out of a jar or you’re measuring them fresh. We’ll get the dry ingredients ready first, then mix the butter, egg, and vanilla, and stir everything together.
Heat the oven to 350°F and line a baking sheet with parchment paper.
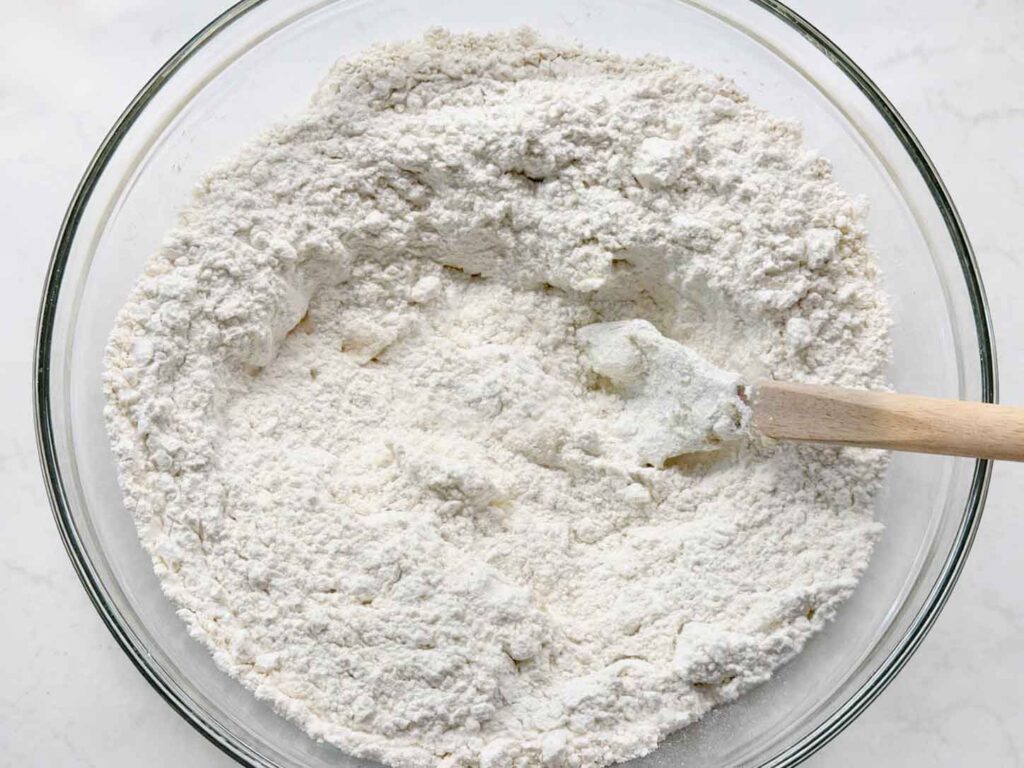
If you’re baking from scratch, whisk the flour, baking powder, and salt together in a medium bowl, then stir in the granulated sugar. This helps because it spreads the baking powder and salt evenly through the flour before the butter goes in, so you don’t get a salty bite in one cookie and flat spots in another. Pour the red sanding sugar onto a small plate and set it aside for later.
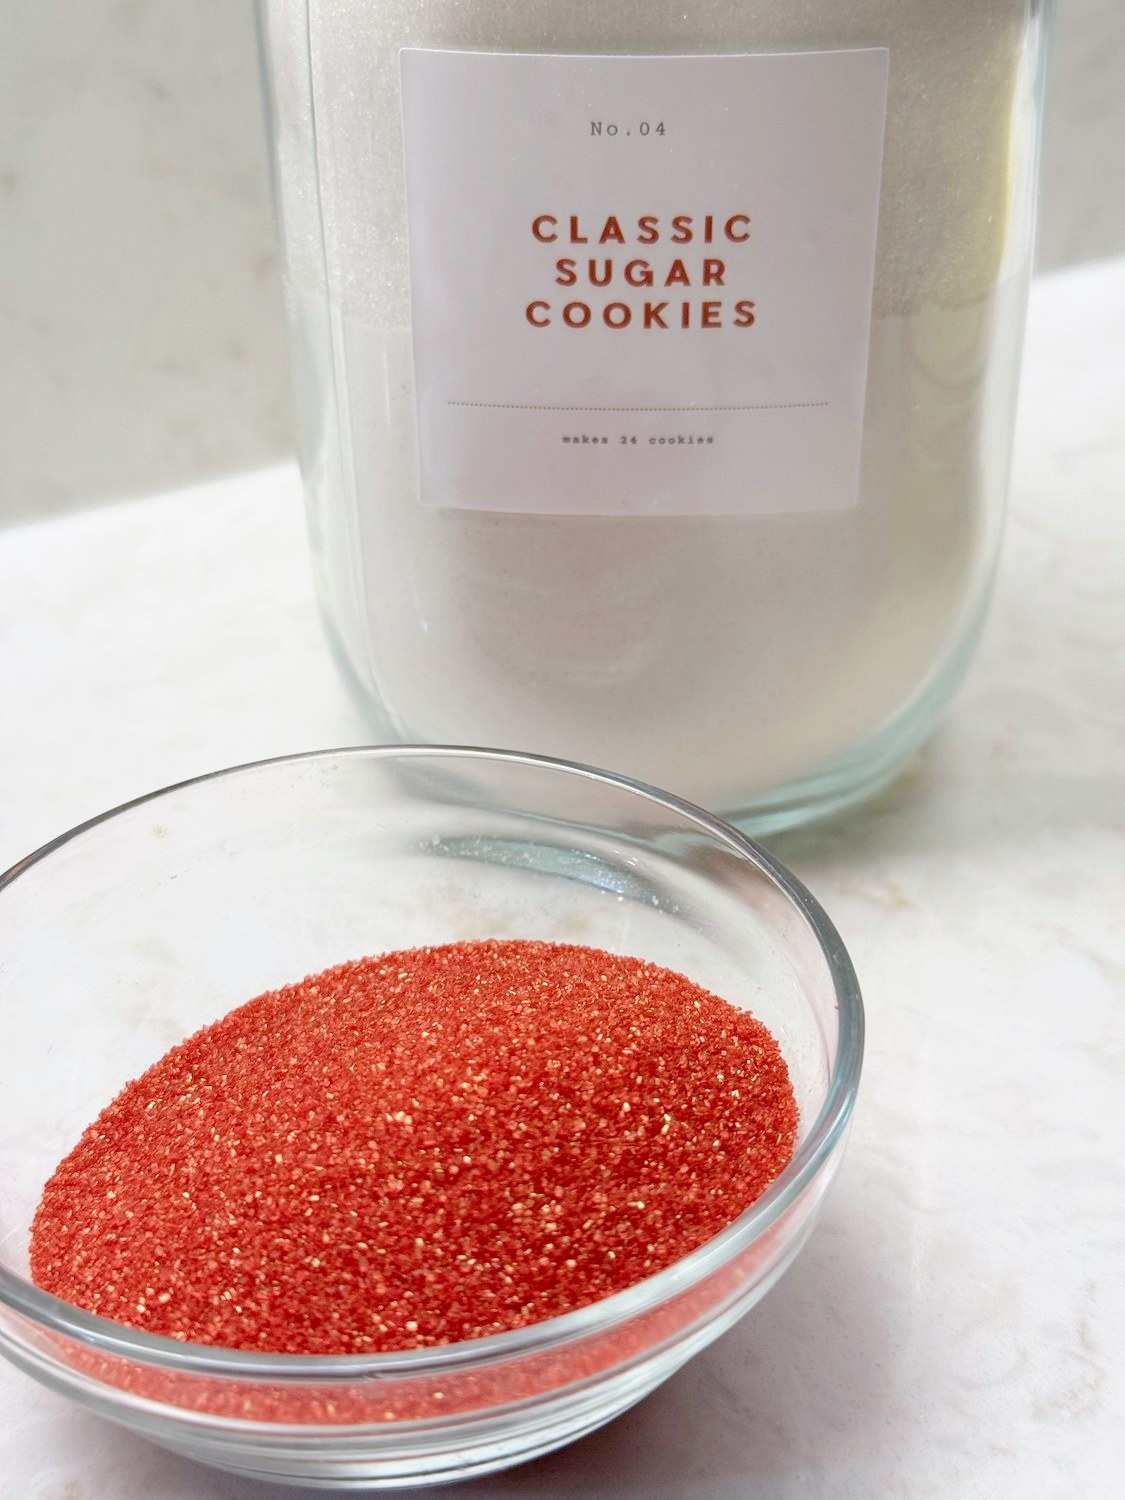
If you’re baking from a jar, spoon the red sanding sugar off the top onto a small plate and set it aside. Don’t worry if a little white sugar comes along with it. It all ends up on the cookies anyway. Everything else in the jar is already mixed and ready to go.
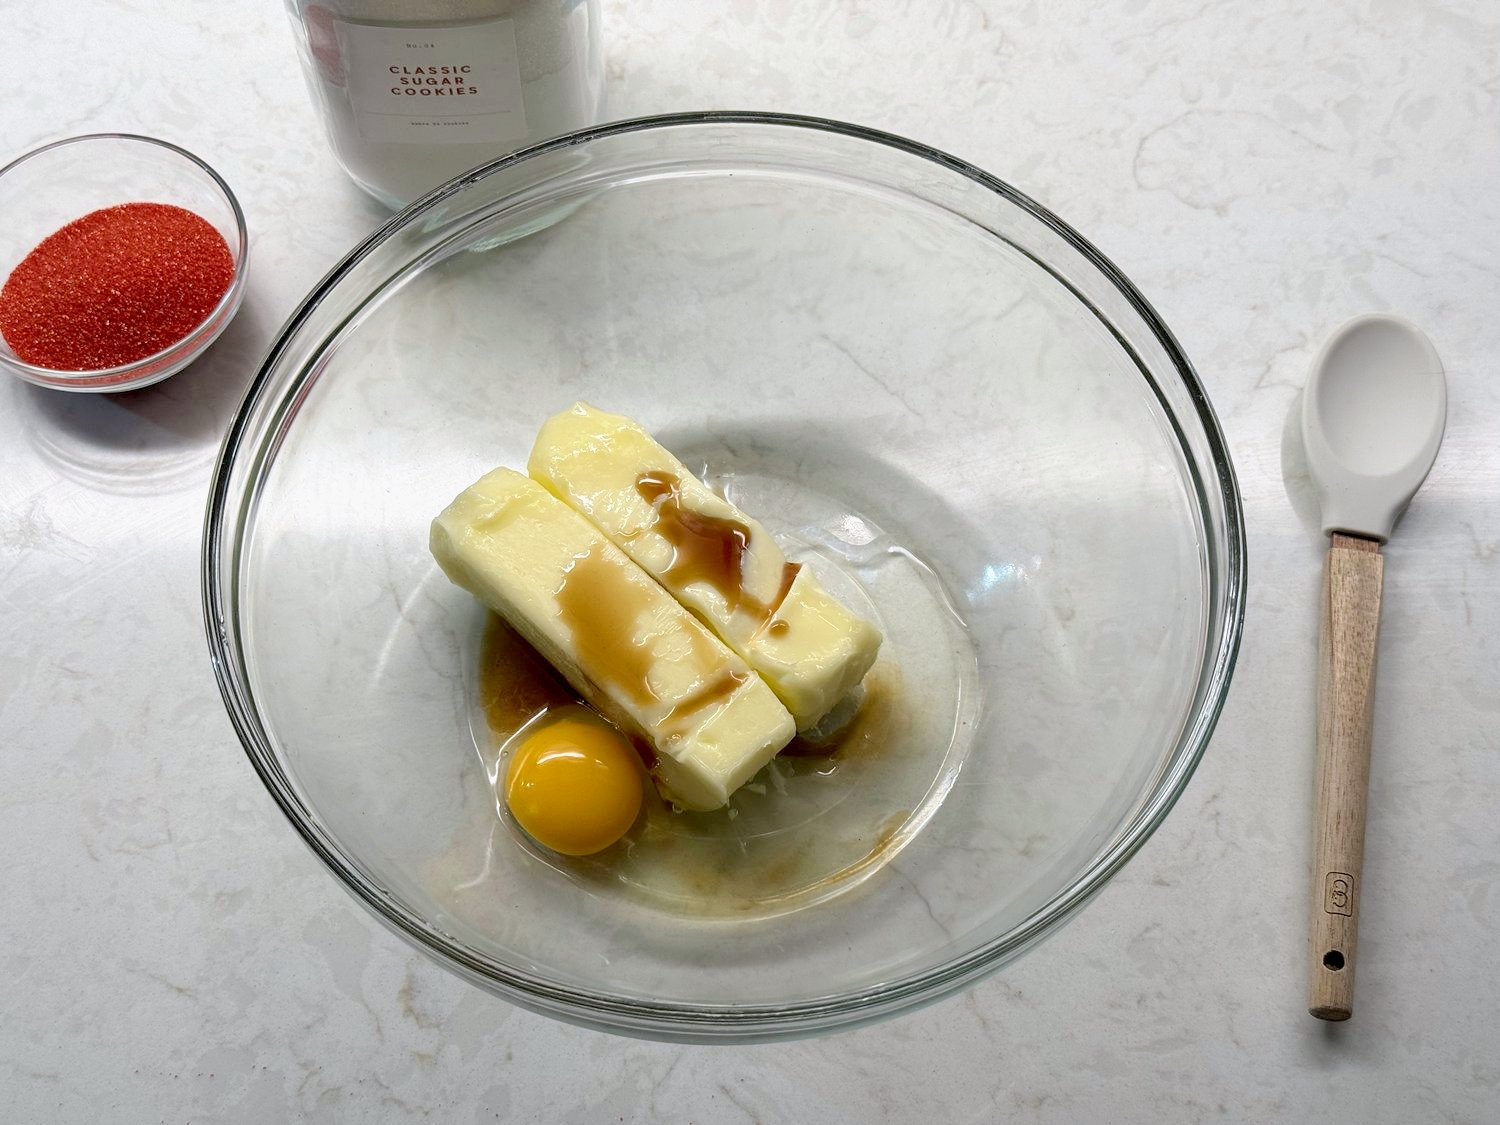
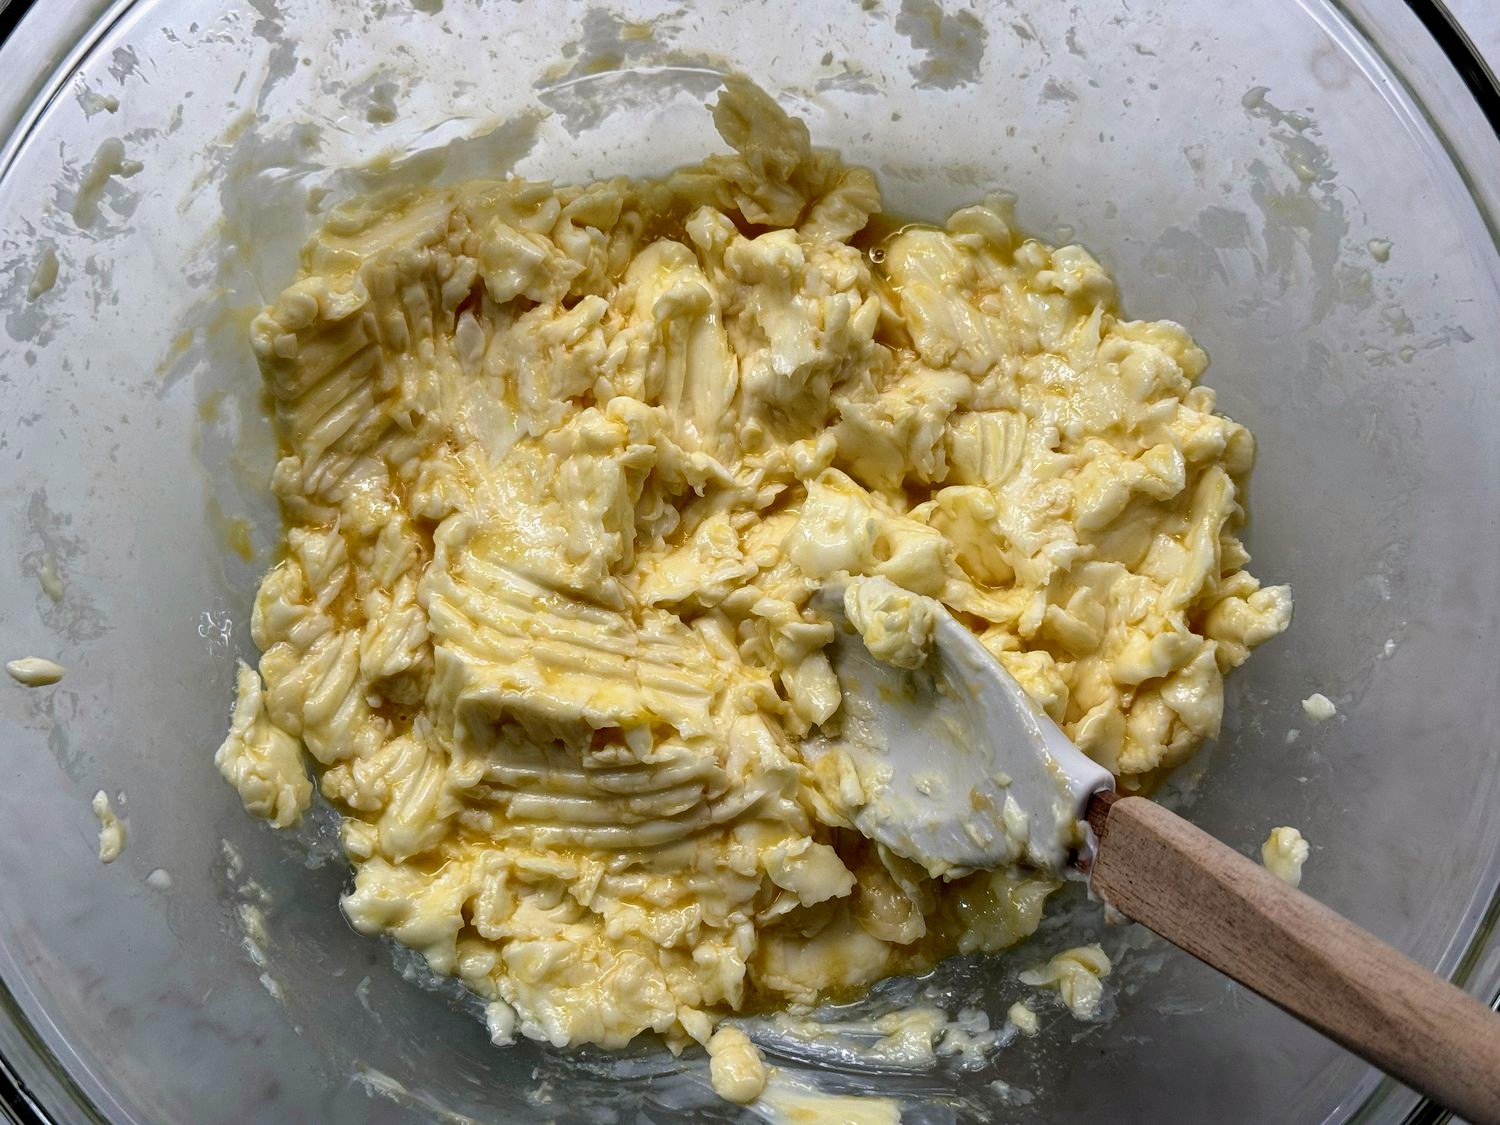
Put the softened butter, egg, and vanilla in a large bowl and beat them together with a spatula. It will look lumpy and a little curdled. This is totally normal, because butter and egg don’t fully come together until the dry ingredients go in.
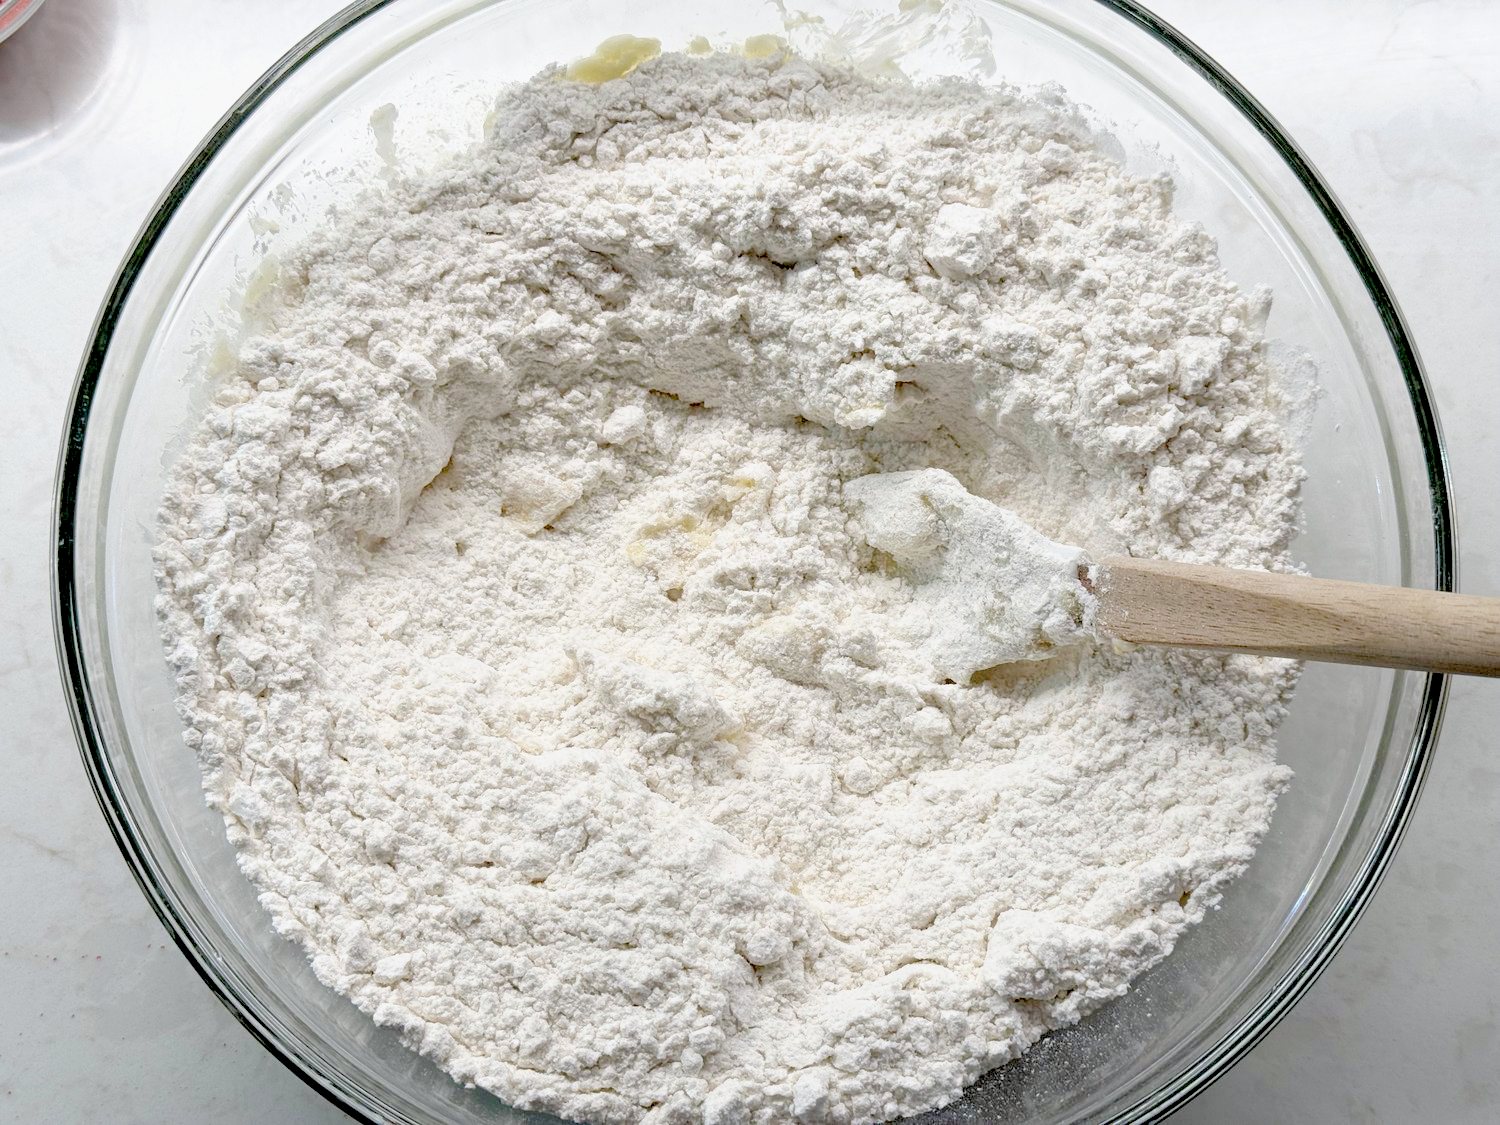
Now add the dry ingredients (the bowl of flour and sugar, or the rest of the jar) and stir. At first it looks like WAY too much flour for that little bit of butter. Keep going.
Why Is My Sugar Cookie Dough So Crumbly?
After stirring, my dough looked sandy, with dry spots that hadn’t mixed in yet. It held together when I squeezed it, but it crumbled apart when I tried to roll a ball. If yours looks like this, don’t worry. Nothing is wrong with it.
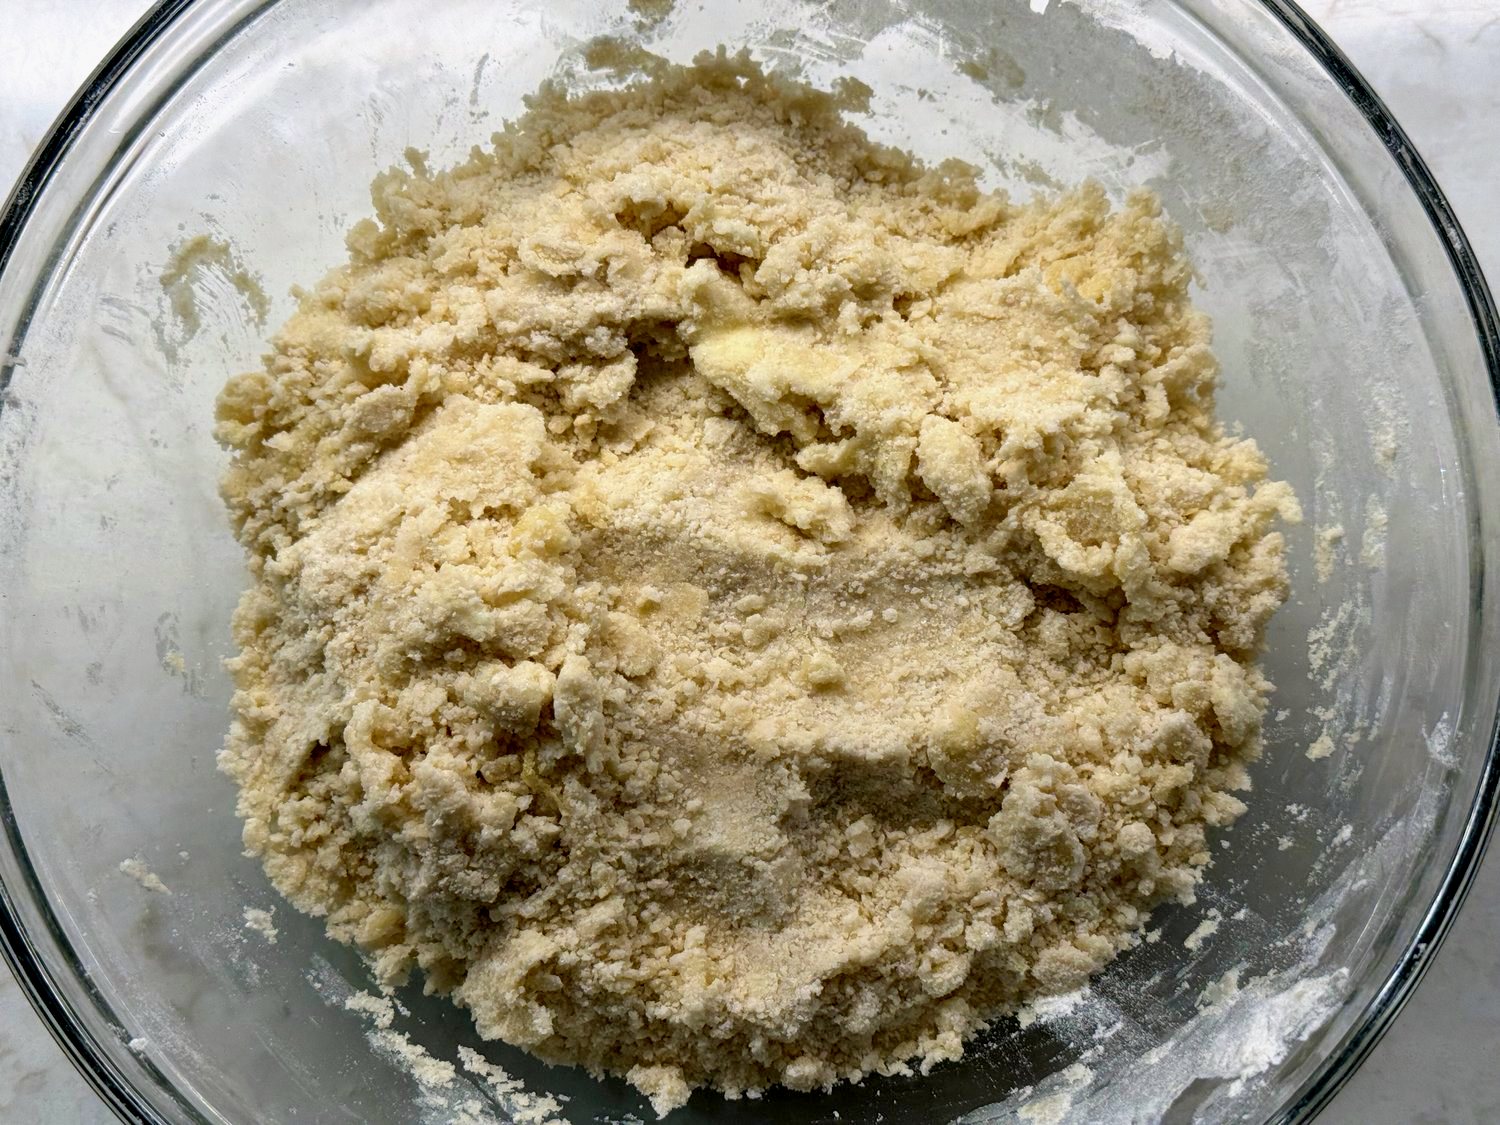
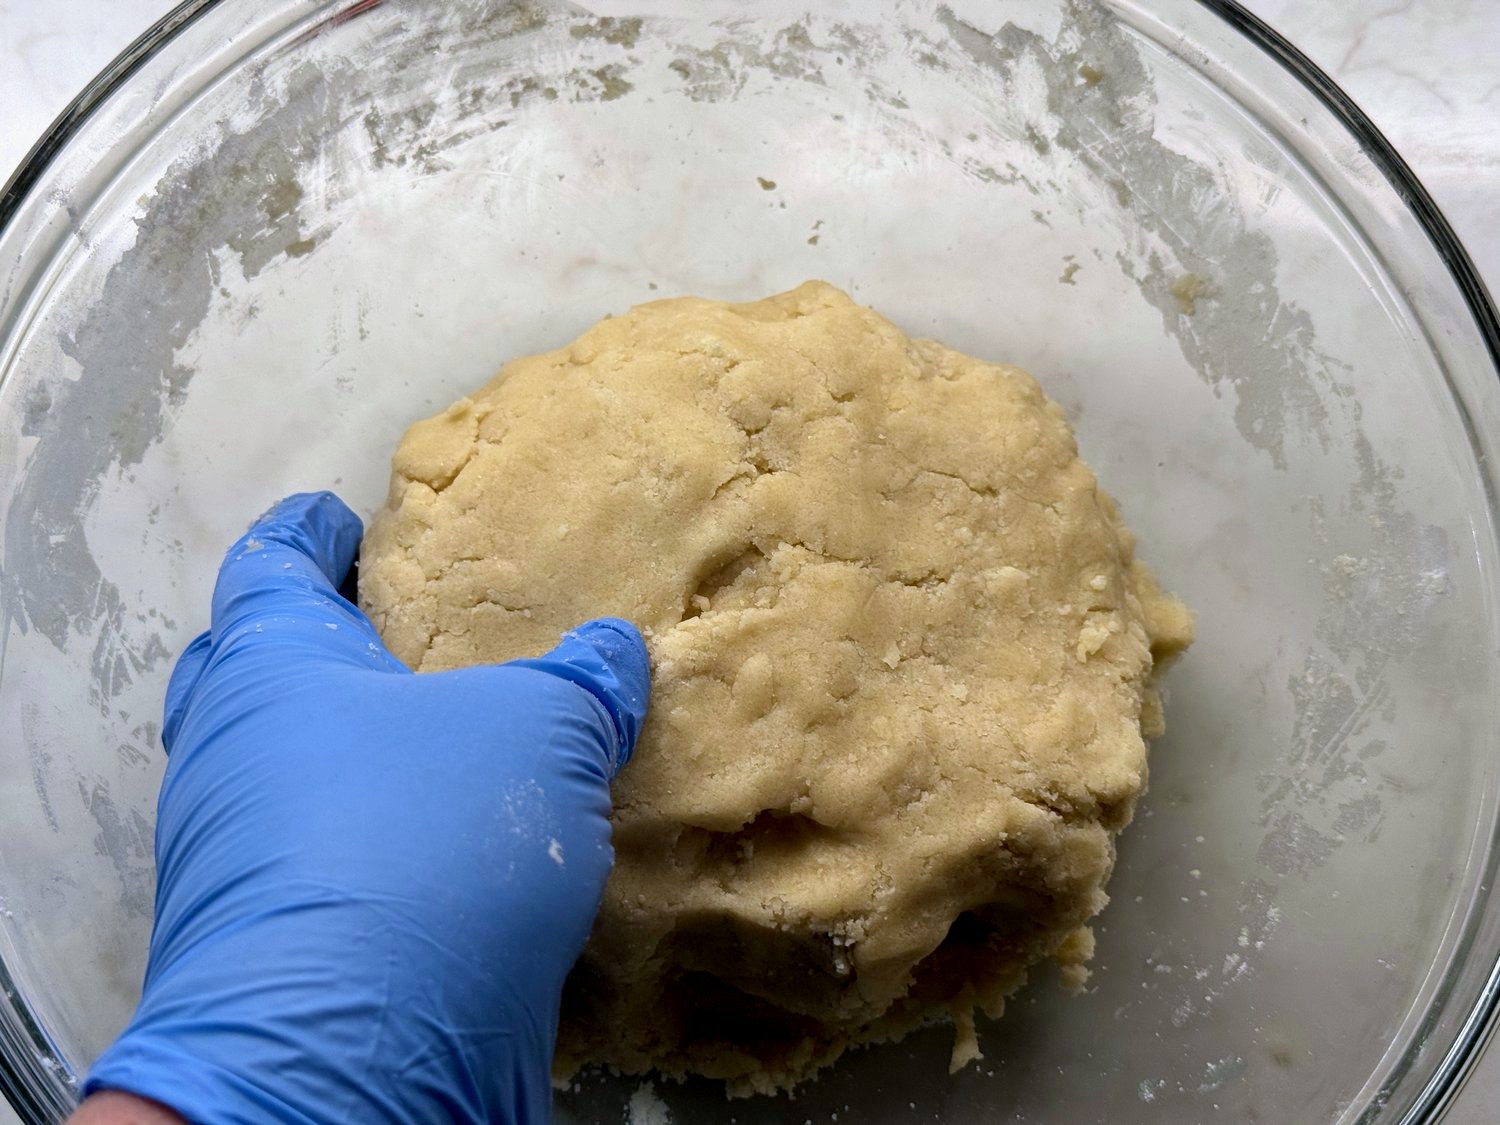
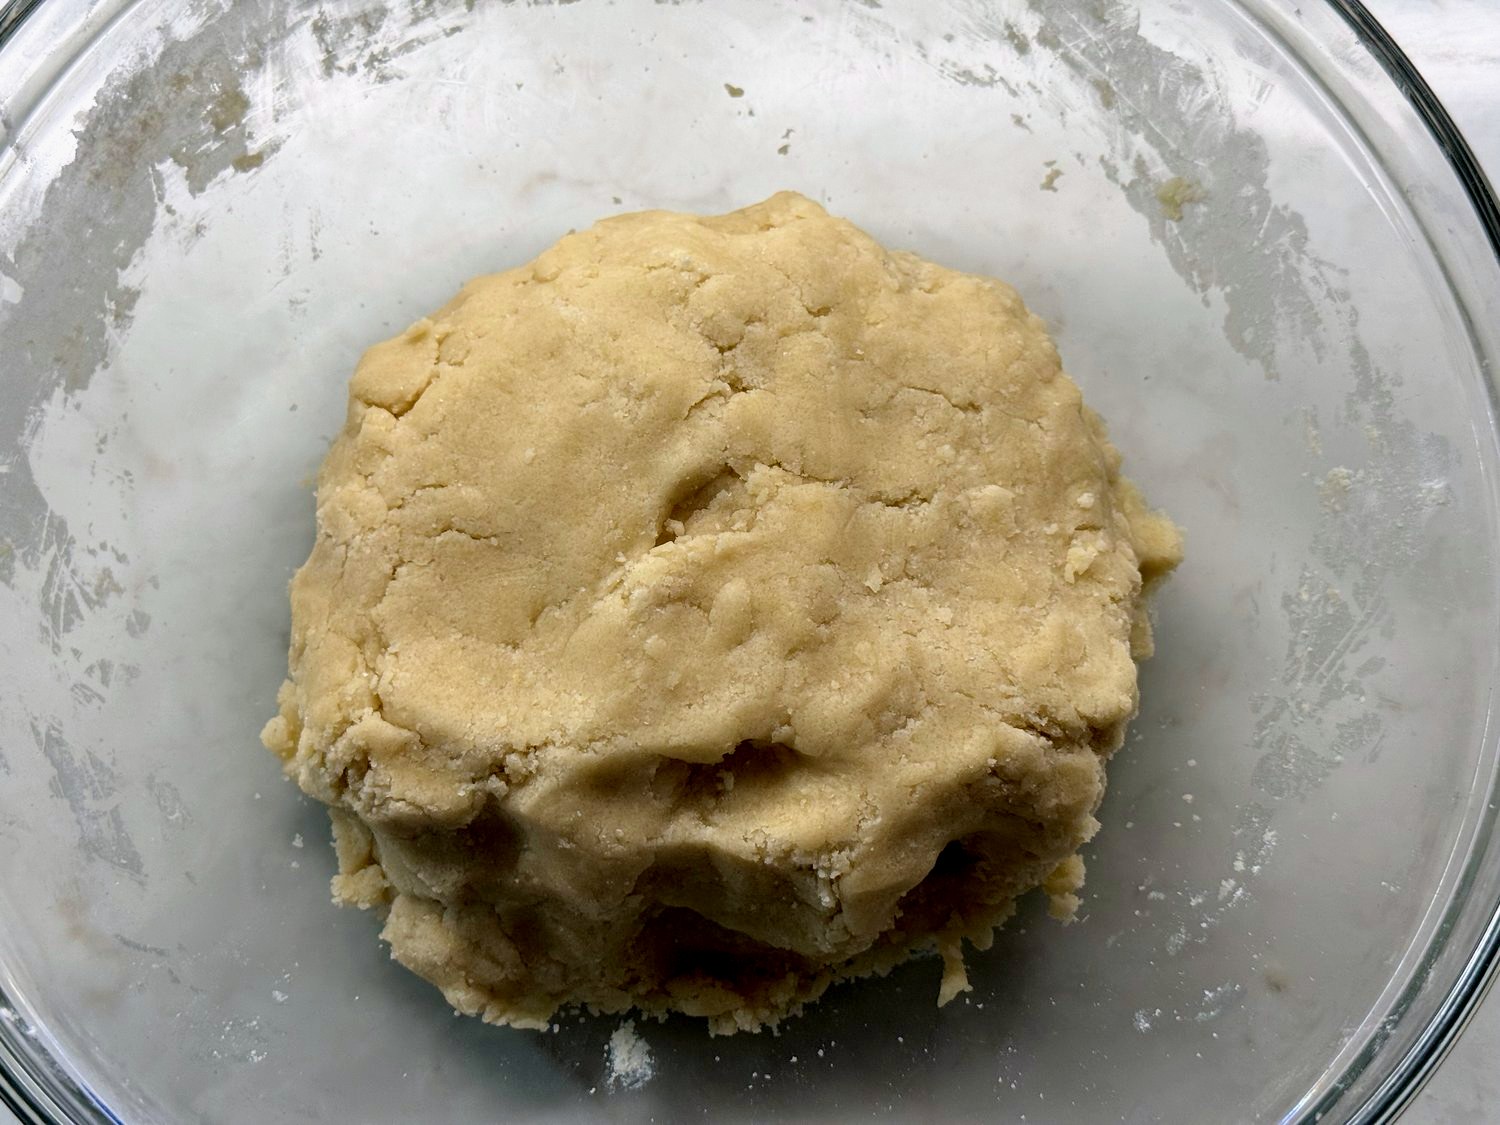
The reason is the sugar. In most sugar cookie recipes, you cream the sugar into the butter first. With this easy and flexible recipe, more than a cup of sugar goes in dry along with the flour, so it takes extra mixing to work it all in. The fix is just more mixing. Set down the spatula and knead the dough with your hands right in the bowl until it’s smooth and holds together in a ball. Don’t reach for liquid to bring it together, though … you don’t need it, and extra liquid makes the dough sticky to roll.
Why Roll and Cut These?
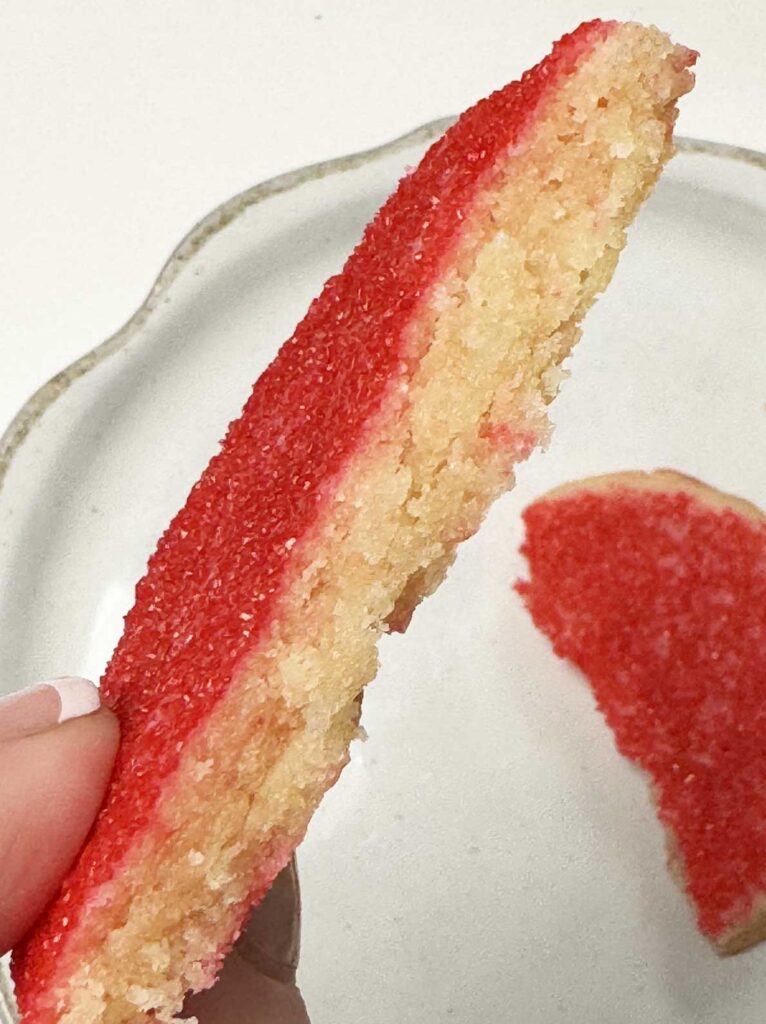
Because it works better, and I learned that the hard way. On my first try, I rolled the dough into balls, dipped them in the sanding sugar, and flattened them with a glass. When you flatten a sugared ball, the sugar on top stretches apart into blotchy patches, and the edges end up bare. They tasted fine. They just didn’t look as festive as I’d like.
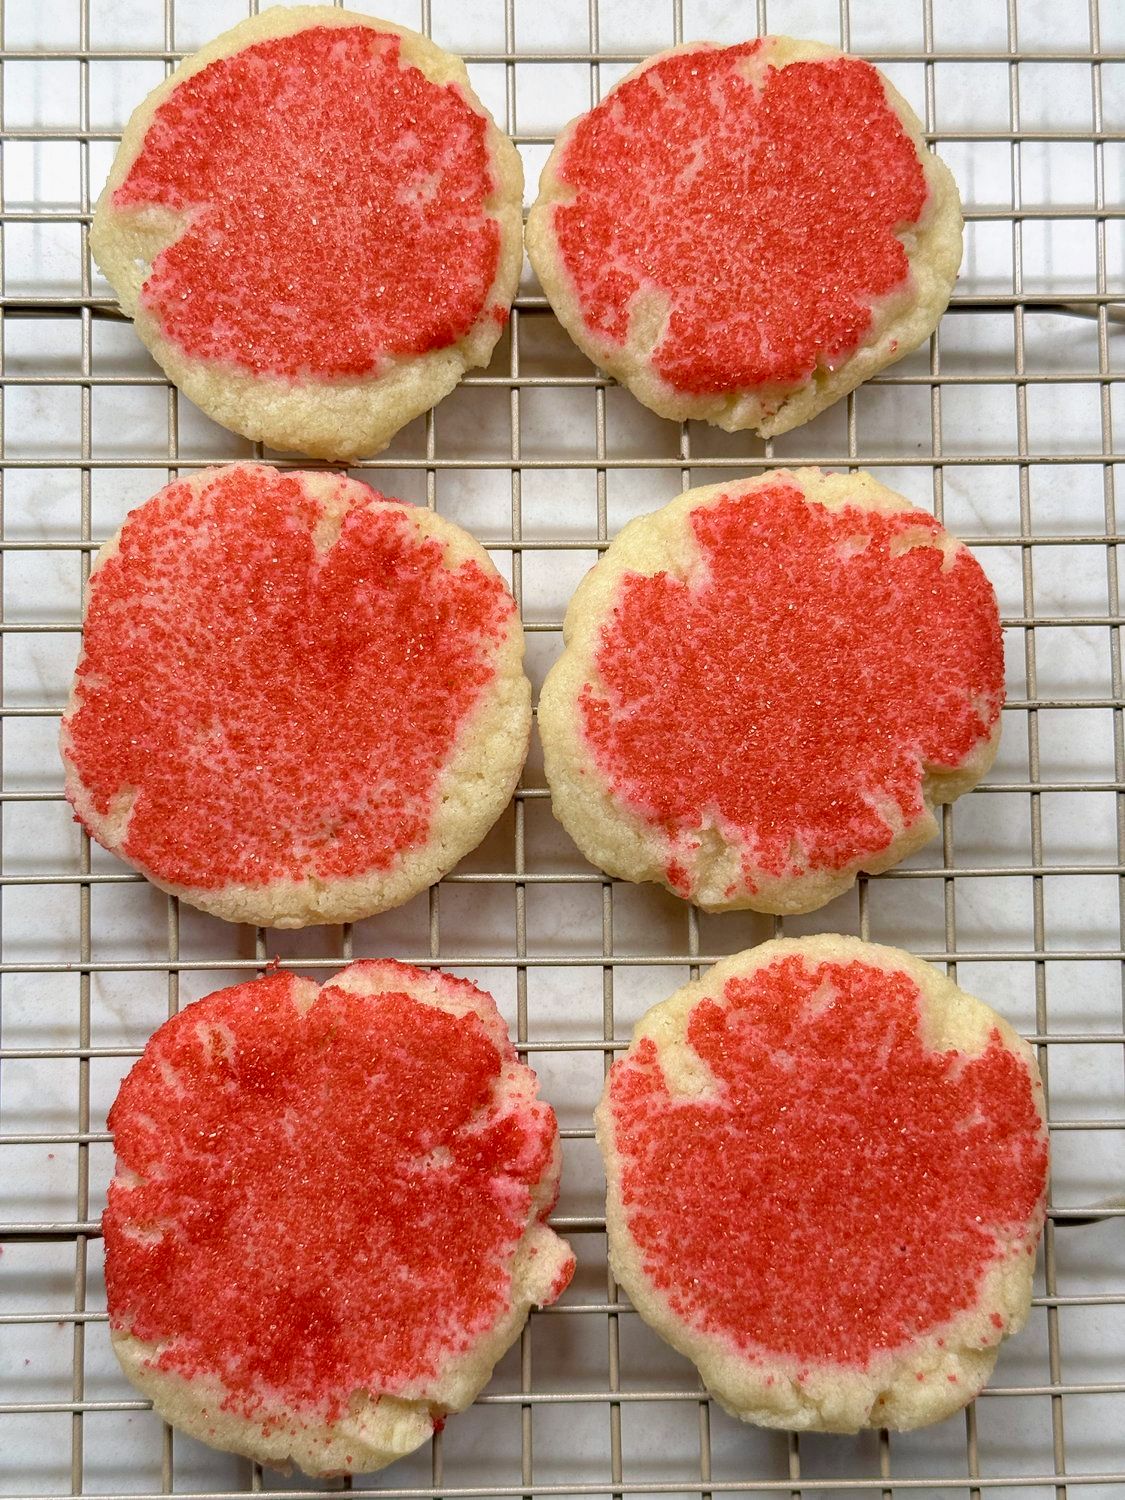
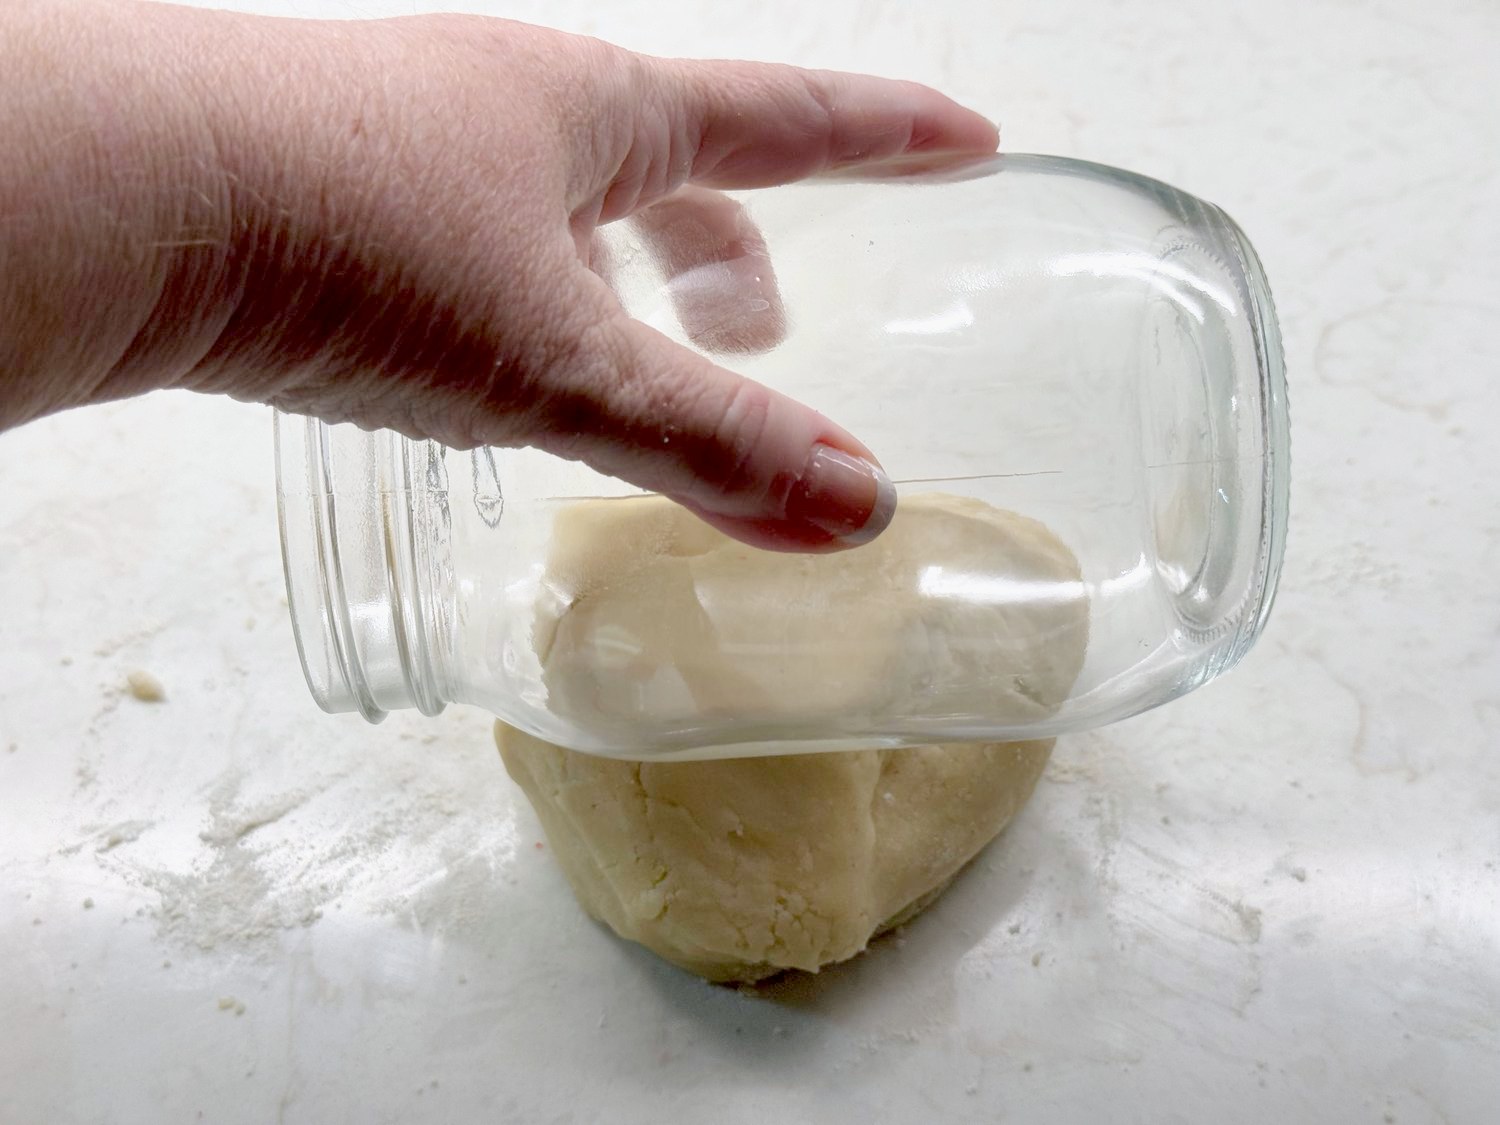
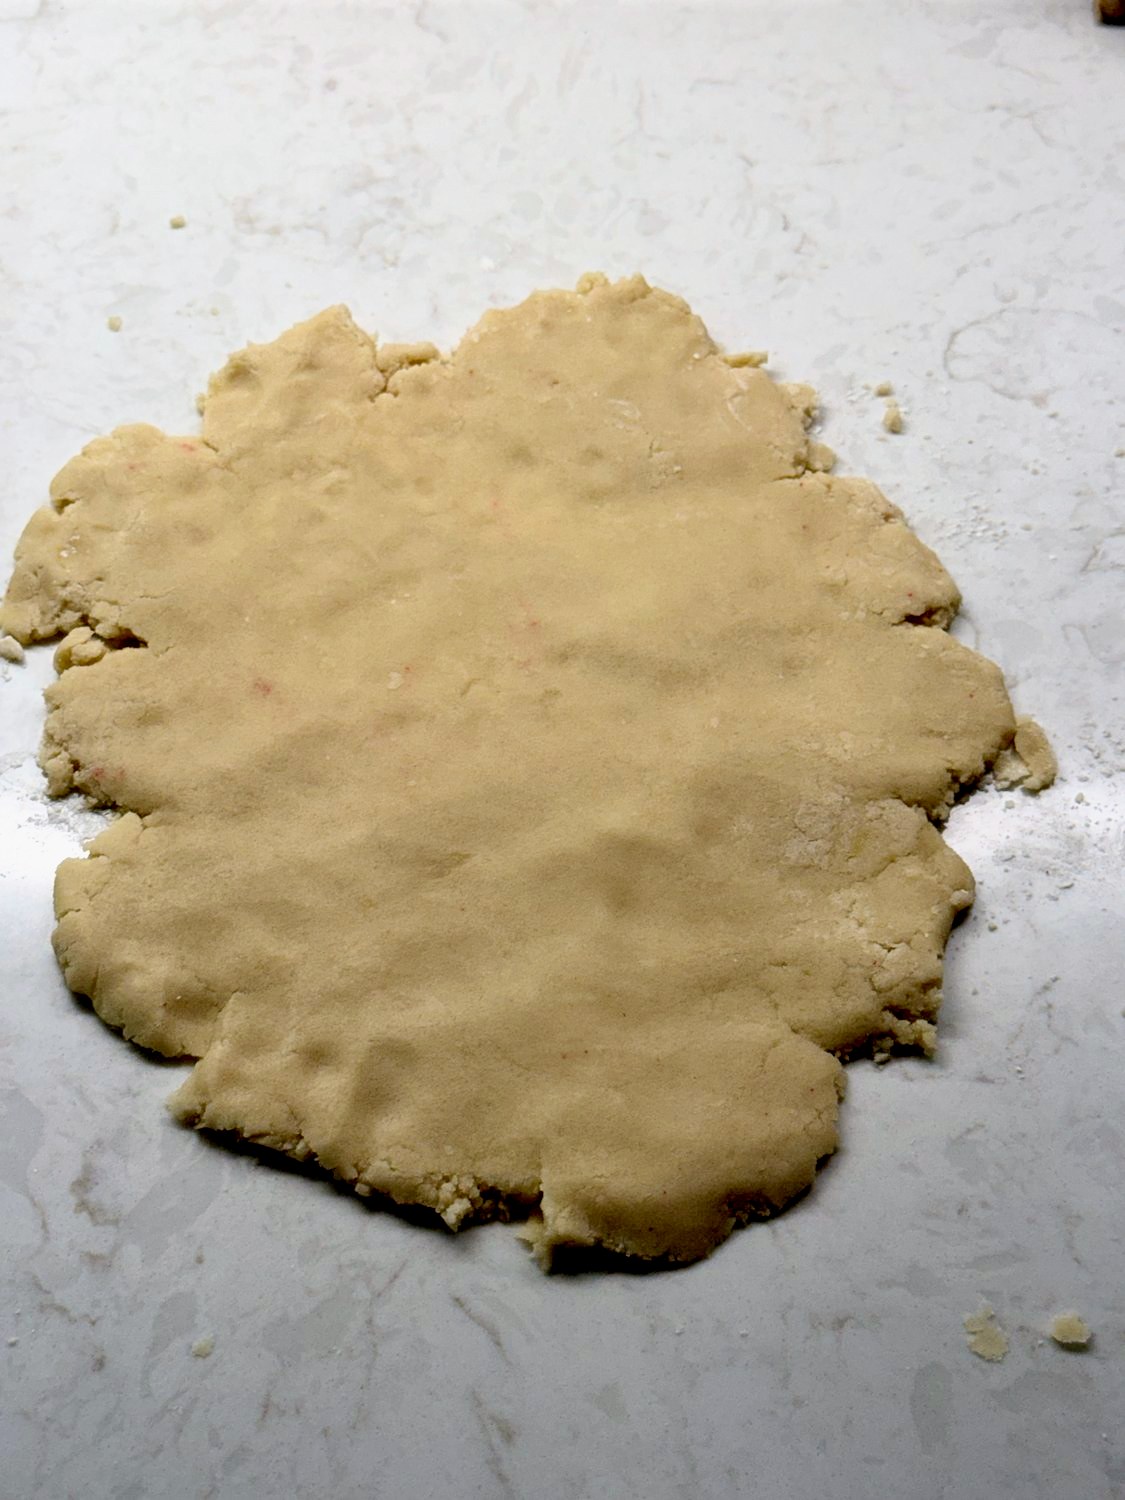
Rolling the dough flat first and then pressing the sugar on fixes that completely. If you’re using the mix in a jar, just empty the jar, give it a quick wipe so it’s dry (and remove any labels or stickers on it), and lay it on its side on a lightly floured counter. Roll it back and forth over the dough just like a rolling pin until the dough is 1/4 inch thick. It’s okay if the edges look ragged. Mine did, and you’ll reroll the scraps anyway.
If you’re not baking these from a jar, just find something cylindrical like this (or use a rolling pin if you have one).
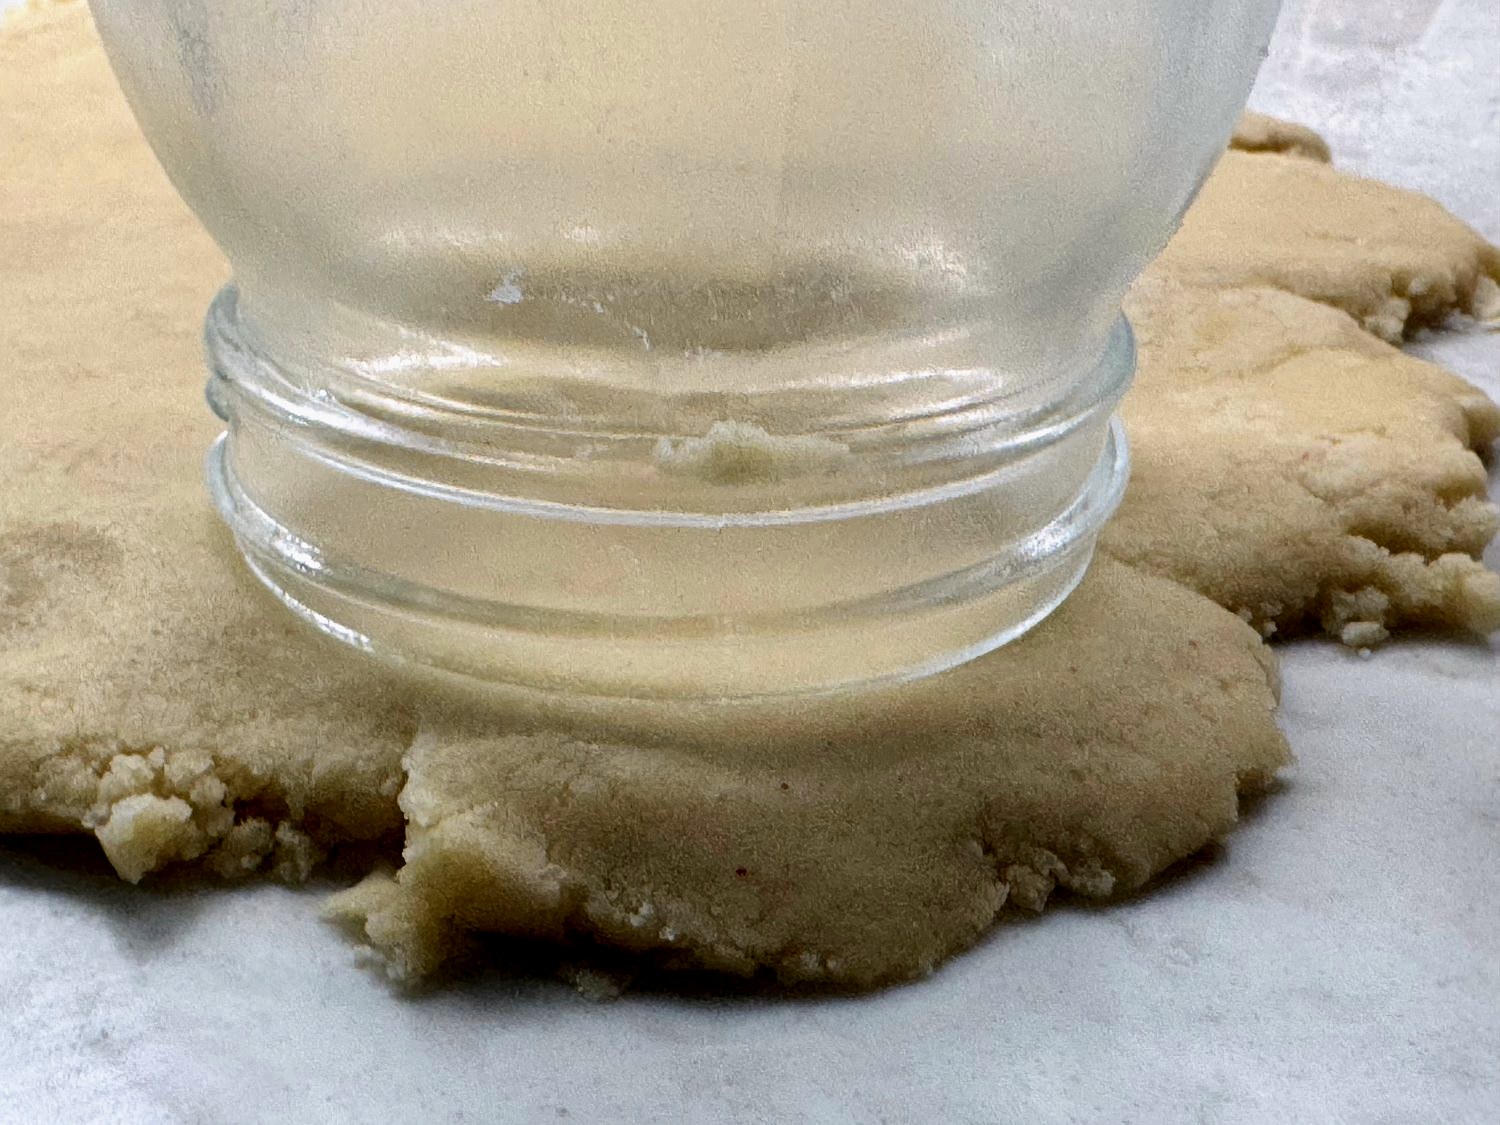
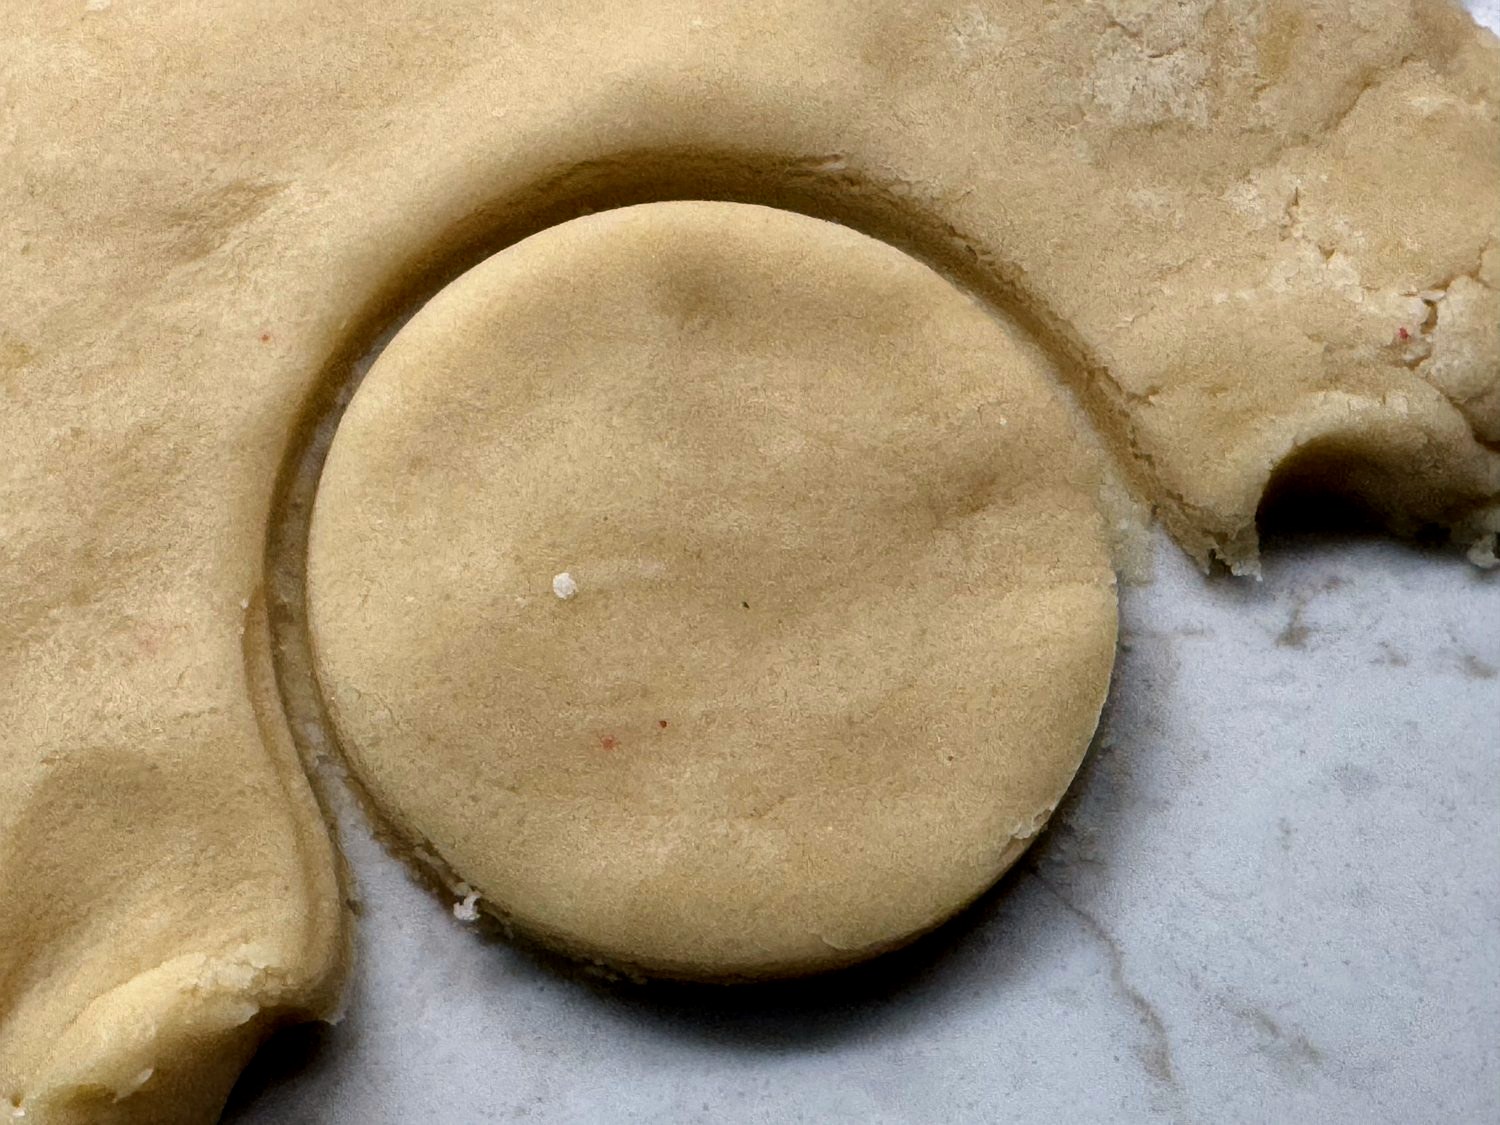
Then turn the jar upside down and press the mouth straight down into the dough to cut a circle. A wide-mouth jar makes cookies about 3 inches across. If the dough starts to stick inside the rim, dip the rim in a little flour between cuts.
No jar? Use the rim of a drinking glass instead!
How Do I Get the Sanding Sugar All the Way to the Edges?
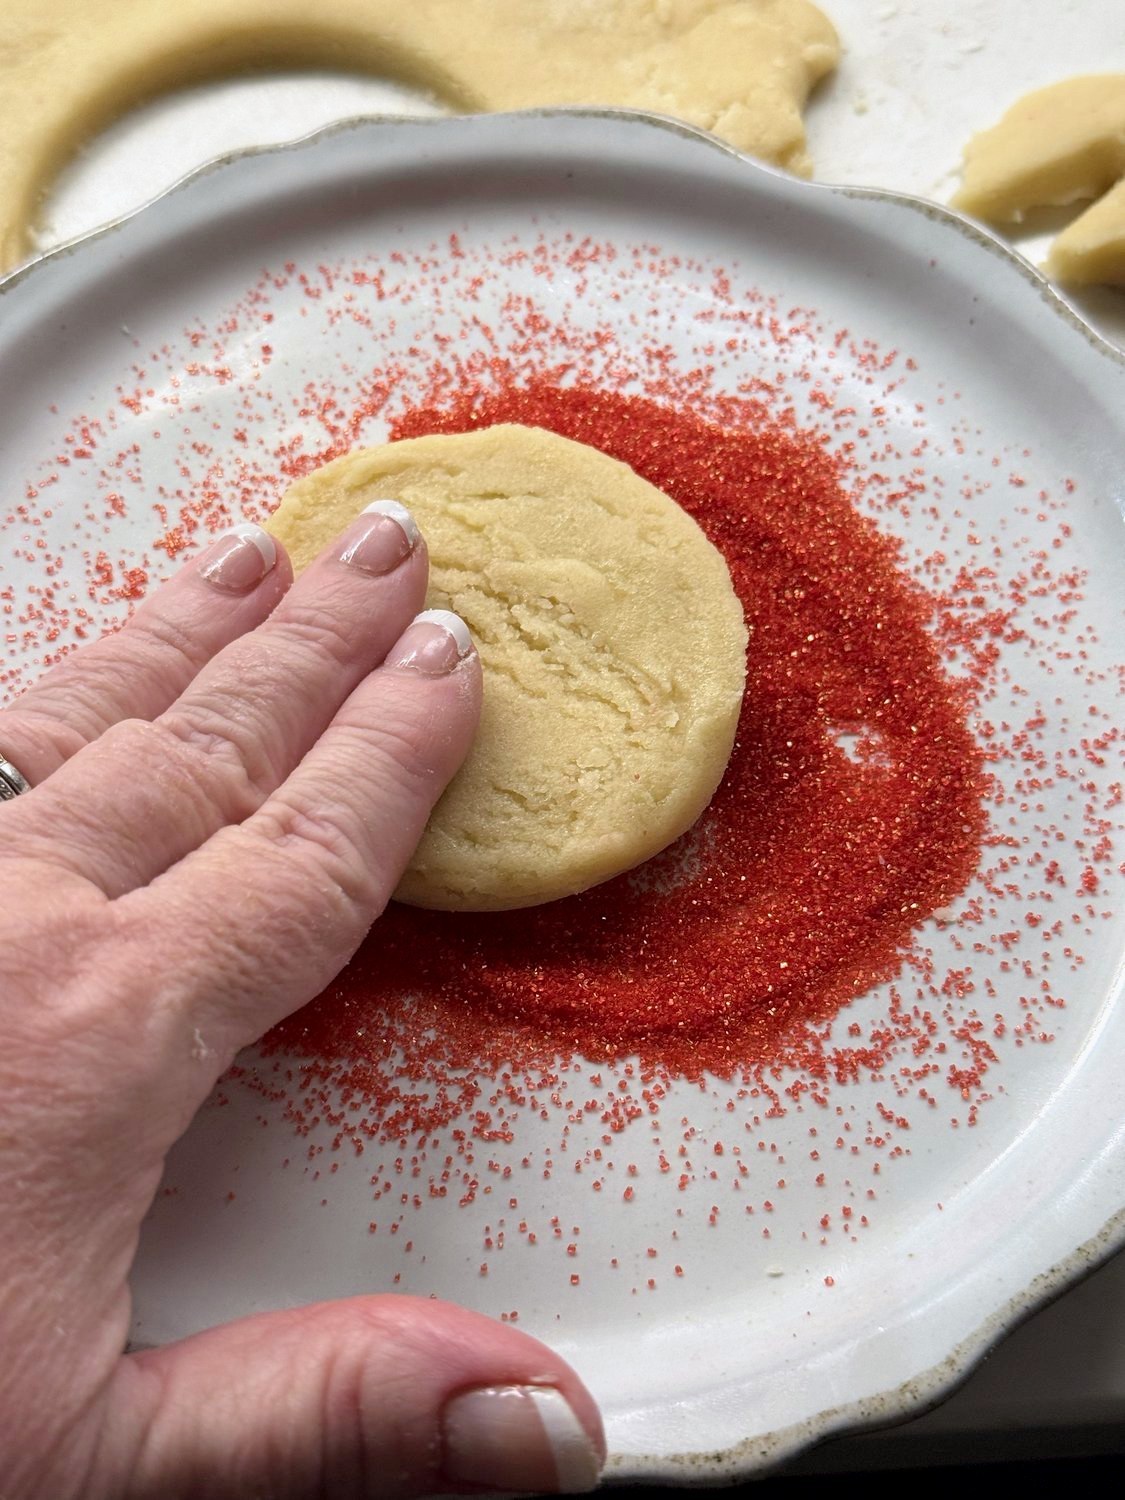
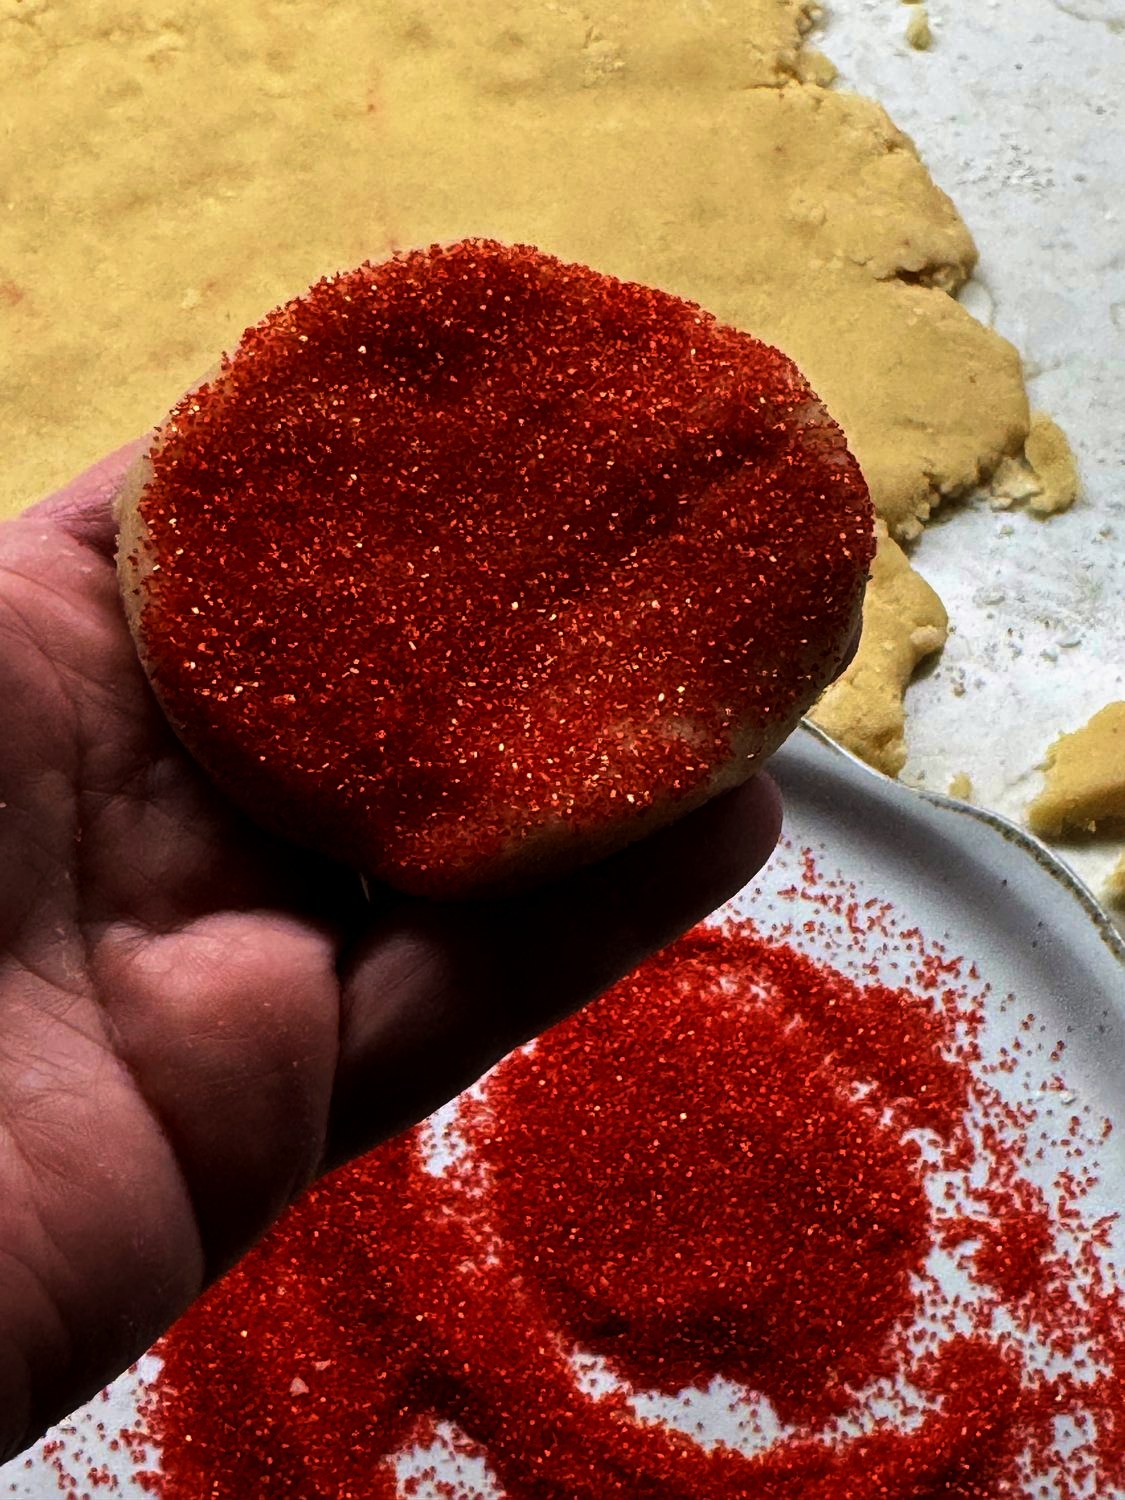
Spread the sanding sugar on a small plate. A plate works better than a bowl here, because a 3-inch circle needs room to lie flat. Lift each circle and press the top gently into the sugar so it’s coated edge to edge, then set it on the baking sheet sugar side up.
Want Less Sugar?

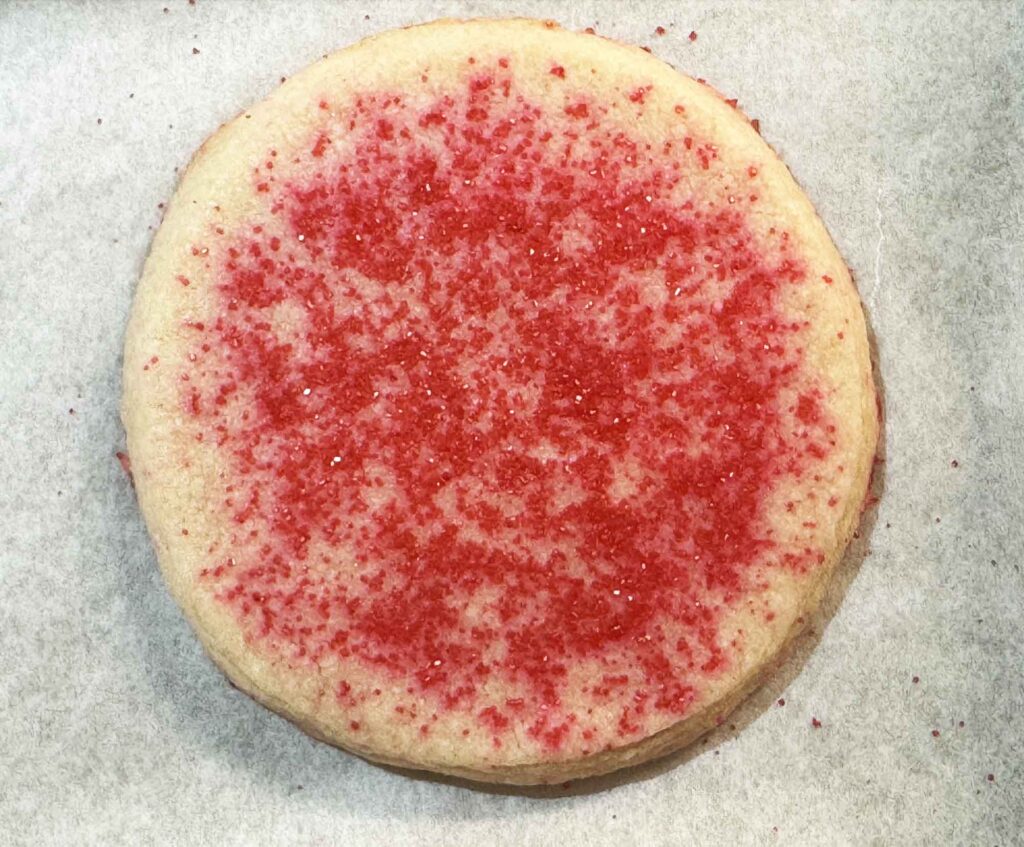
You can also just sprinkle your sanding sugar on top of your cookie for a sparser, less sugar-coated cookie. Just take a pinch of sanding sugar between your thumb and forefinger, and rub them together over the raw cookie to lightly sand your cookies! I think they look quite nice that way, too (see below).
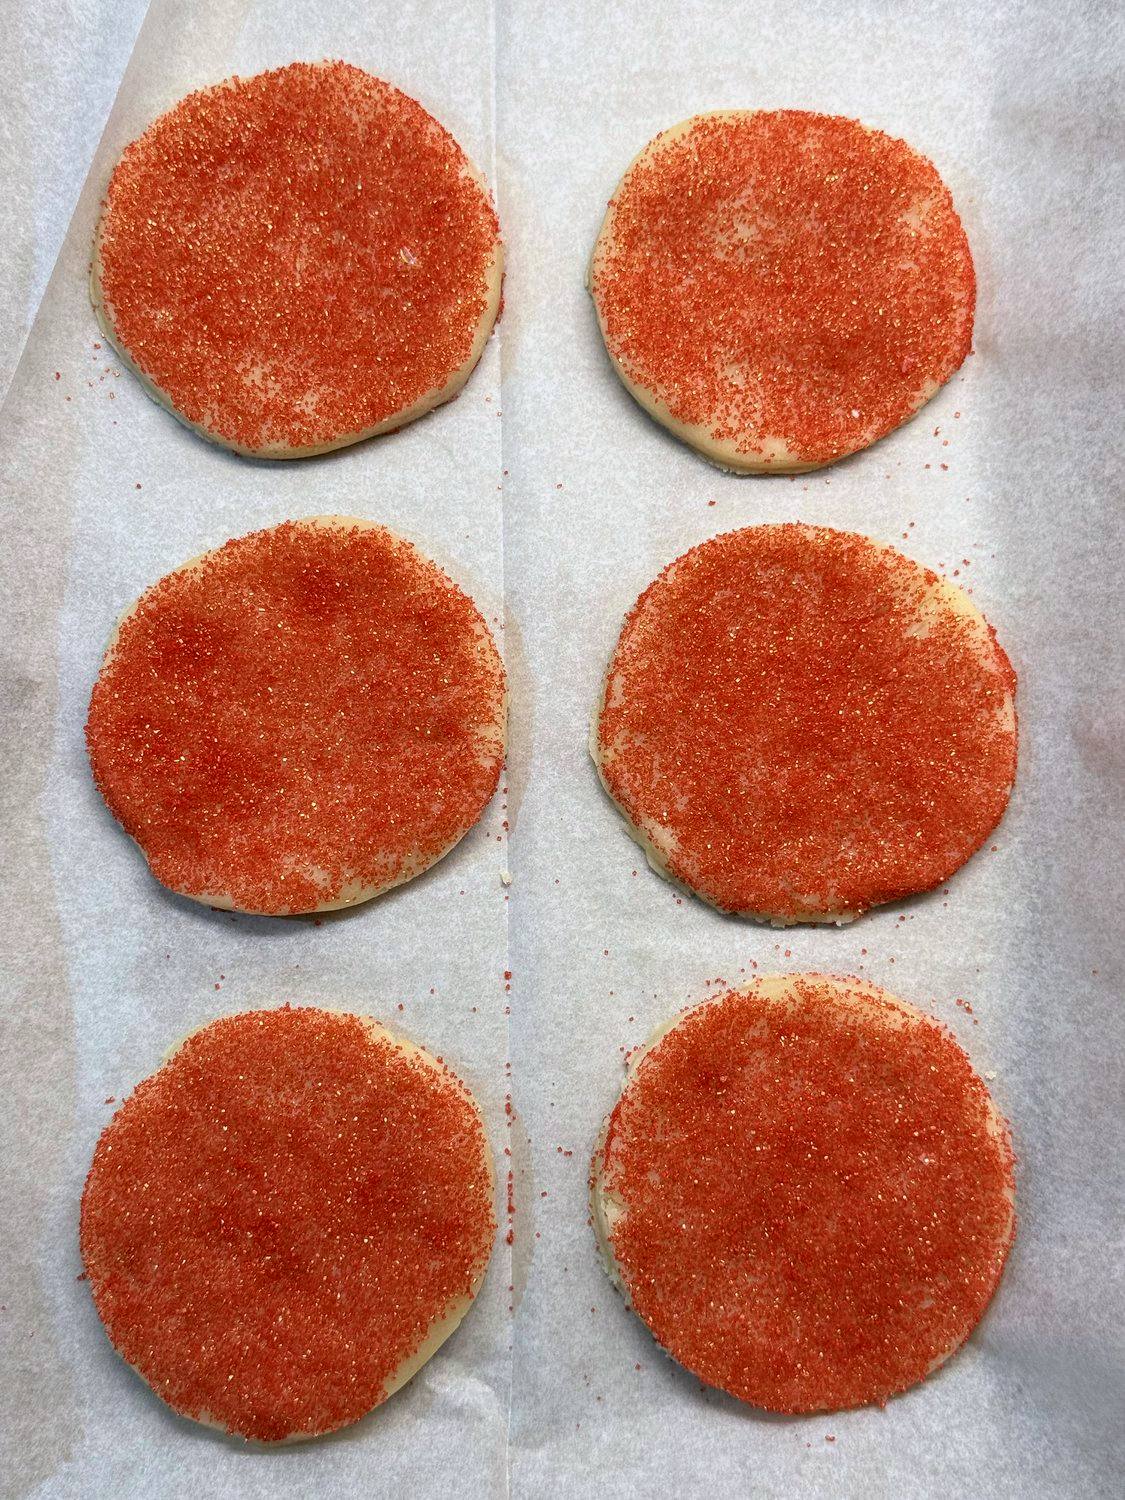
Space them 3 inches apart, as they will spread a bit in the oven. Six fit on my baking sheet. Gather up the scraps, press them back together, and roll and cut again until you’ve used all the dough. Be careful not to pile on extra flour each time you reroll, since that dries out the last few cookies.
How Do I Know When Sugar Cookies Are Done?
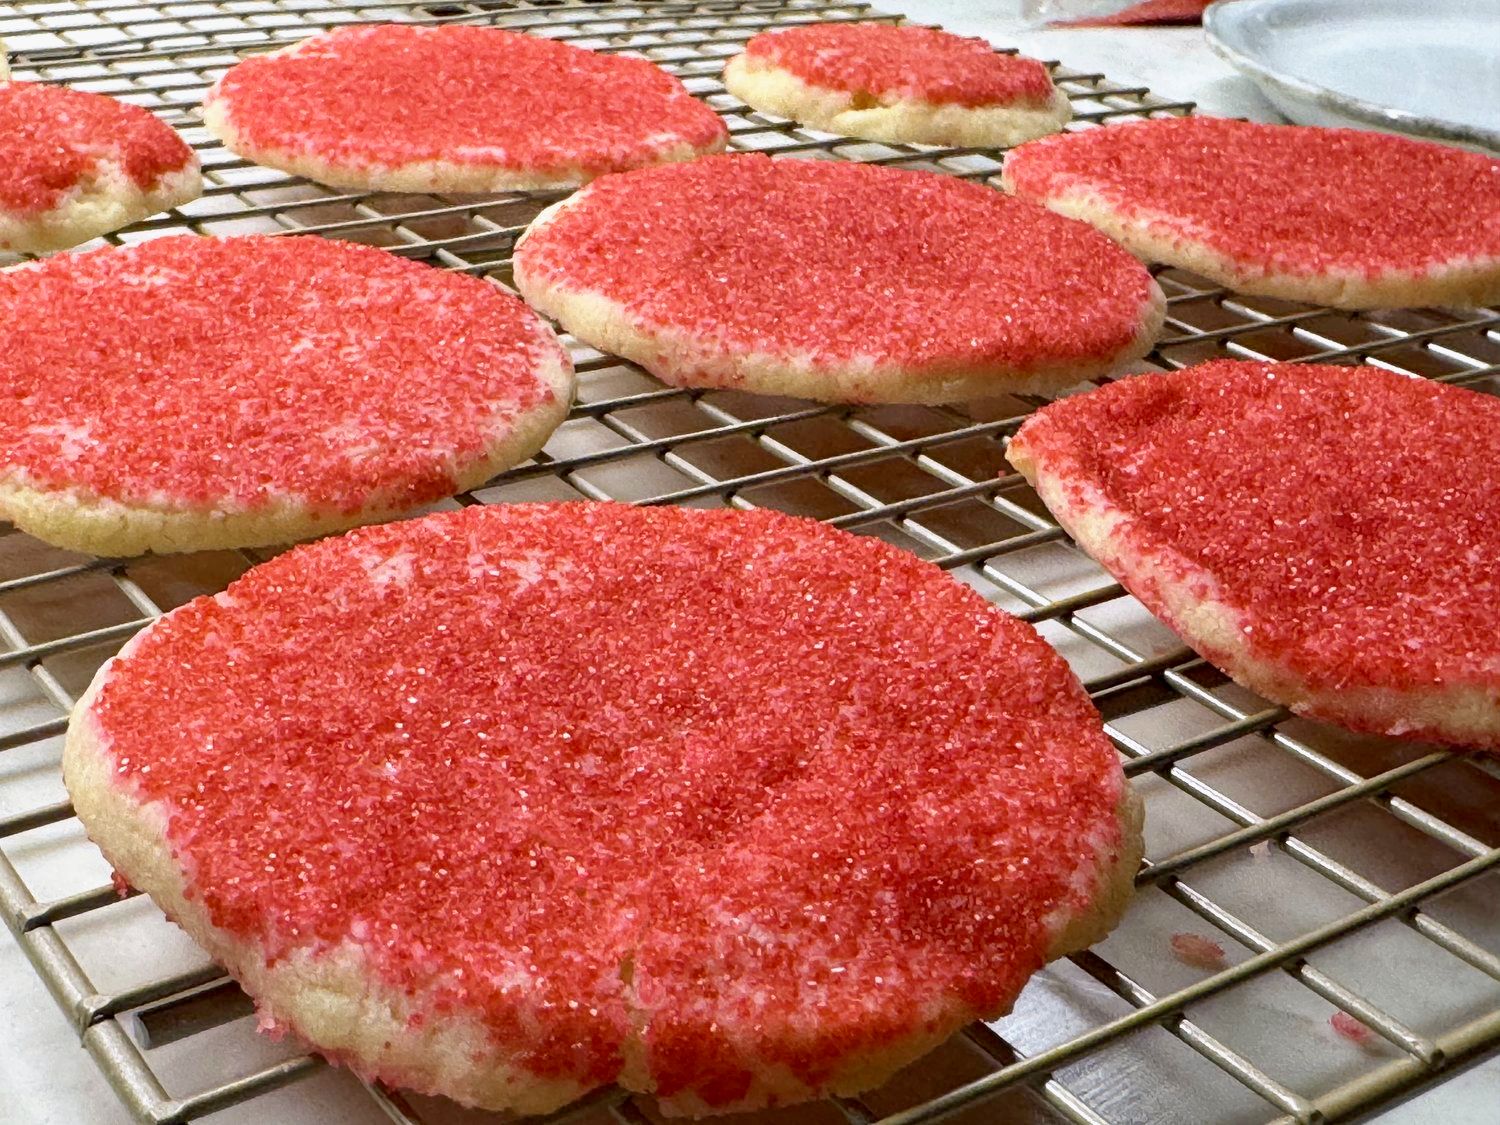
Bake them for about 10 minutes, until the edges are just set. The tops will still look pale, and that’s exactly what you want. Classic sugar cookies don’t turn golden on top like a chocolate chip cookie does, so if you wait for color, you’ll overbake them.
Why Let Them Cool 5 Minutes on the Pan?
Right out of the oven, these are soft and fragile. If you try to lift one too soon, it bends and tears. I had one tear on me because I got impatient and moved it early (ask me how I know). Leave them alone on the hot pan for 5 minutes so the bottoms finish baking and the cookies firm up.
Then slide a spatula under each one and move it to a wire rack to cool the rest of the way. Make sure they’re completely cool before you stack them or put them in a container, or the steam will soften the sugar on top.
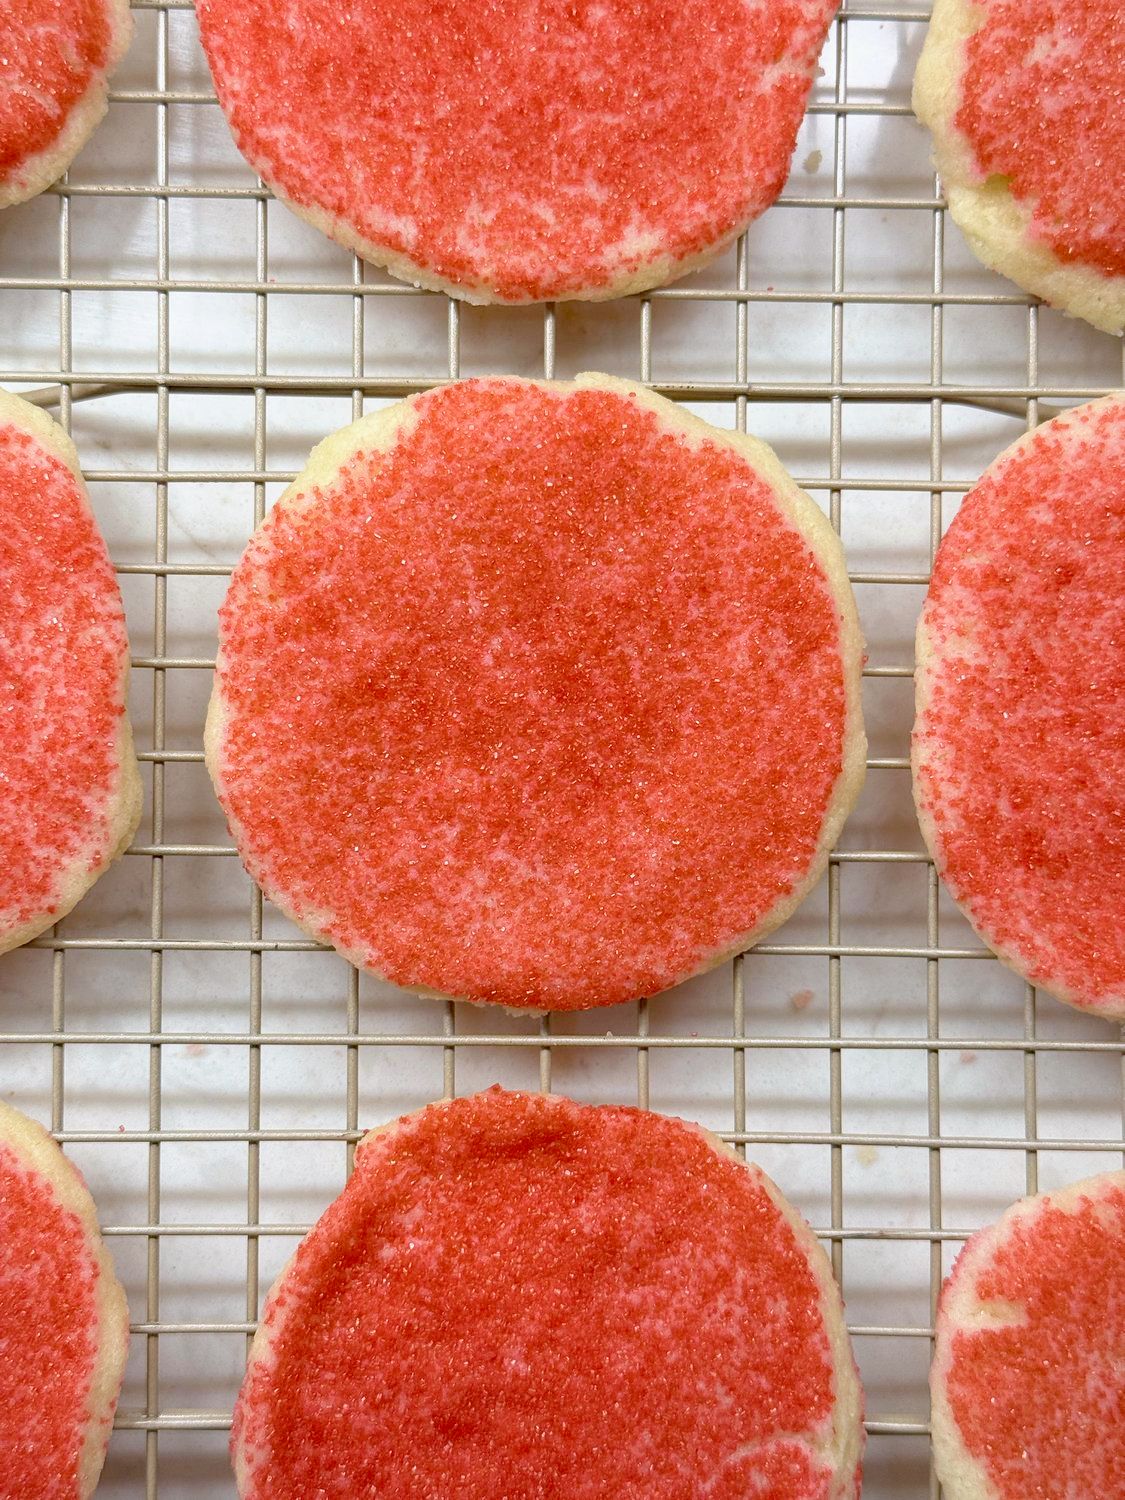
These taste soft and sweet, like the sugar cookies you remember.
Can I Make the Dough Ahead?
Yes. I baked part of my batch and kept the rest of the dough in the refrigerator overnight, and it was fine the next day. Wrap it tightly so it doesn’t dry out. Cold dough is stiff, so let it sit on the counter for about 10 minutes before you roll it, and it’ll roll out without cracking.
How to Make Sugar Cookie Mix in a Jar
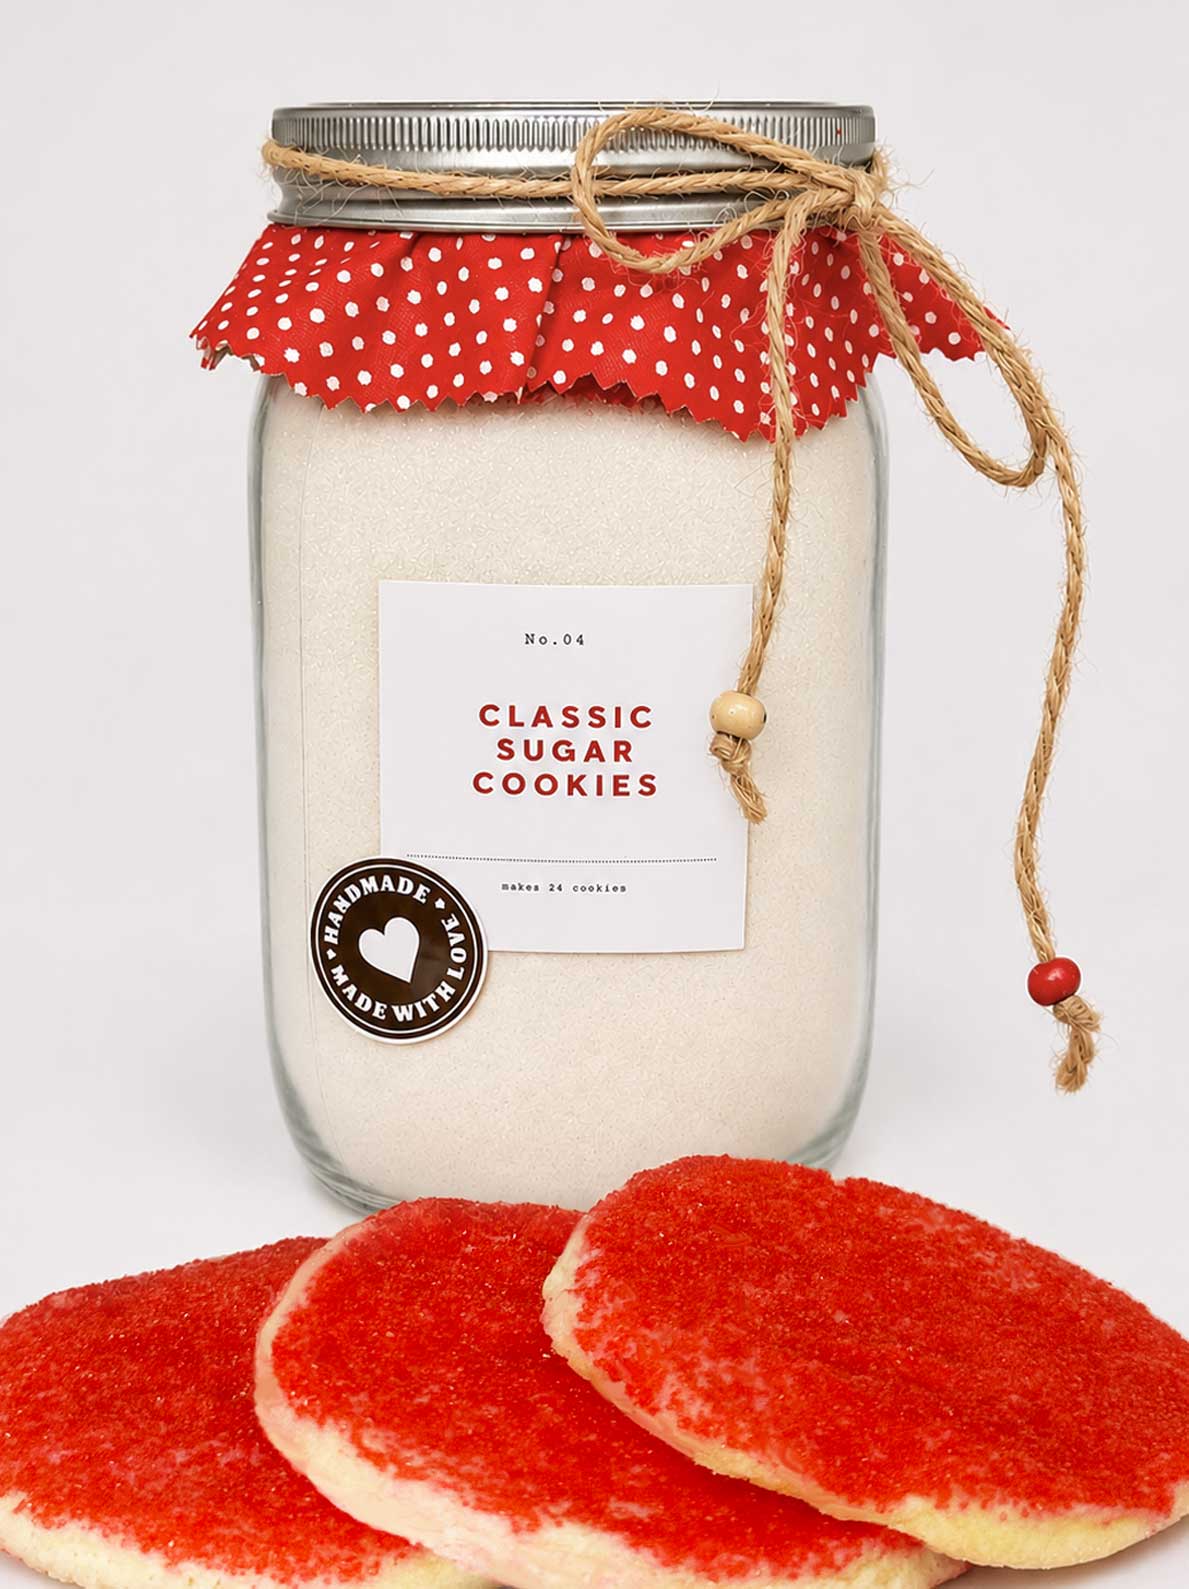
This is where the recipe does double duty. The jar holds all the dry ingredients, and whoever gets it just adds butter, an egg, and vanilla. Then the empty jar becomes their rolling pin and cookie cutter. You’ll want a 1 quart wide-mouth mason jar, both because the wide mouth makes layering easier and because it’s what cuts the 3-inch circles. A canning funnel helps keep the glass clean as you go.
We’ll layer from the bottom up in this order, packing each layer down before adding the next:
| Layer | Ingredient |
|---|---|
| 1 (bottom) | 2 1/4 cups all-purpose flour, 1/2 tsp baking powder, and 1/2 tsp salt, mixed together right in the jar, then packed down well |
| 2 | 1 1/4 cups granulated sugar |
| 3 (top) | 1/4 cup red sanding sugar |
The reason we whisk the flour mixture right in the jar is that nobody will whisk it later. It all gets dumped into the bowl together, so this is the only chance to spread the baking powder and salt evenly. Packing each layer matters too. Loose layers settle on the way to wherever the jar is going, and the stripes slump together. Don’t worry if your lines aren’t perfectly level… a slightly wavy line looks homemade in the best way.
The sanding sugar goes on top so it’s easy to spoon off before baking, and it’s the first bit of color anyone sees through the glass. If putting the sanding sugar on top of the granulated sugar bugs you, you can also put the sanding sugar into a little zip-top bag or a folded piece of parchment paper.
What to Write on the Gift Tag
I put a simple label on the front of the jar, and the directions can go on a round lid label or a tag tied on with twine. Here’s what it says:
CLASSIC SUGAR COOKIE MIX
Best by: (3 months from the day you fill the jar)
Add: 1 cup (2 sticks) softened butter, 1 egg, 1 tsp vanilla
Make: Heat the oven to 350°F. Spoon off the sanding sugar. Beat the butter, egg, and vanilla; stir in the jar, then knead by hand until smooth. Roll 1/4 inch thick with the side of the jar; cut circles with the jar mouth. Press tops in sanding sugar. Bake about 10 minutes. Cool 5 minutes on the pan.
How Long Does Sugar Cookie Mix in a Jar Last?
The mix keeps for about 3 months in a cool, dark pantry with the lid on tight. Fill in the best-by date before the jar leaves your house so whoever gets it doesn’t have to guess.
If you’re giving these away or selling them, please list the allergens on the tag. The mix itself contains wheat, and the finished cookies also have milk and egg from the butter and egg. Many states also have cottage food rules for labels, so look up yours before you sell.
How to Store Sugar Cookies
Once they’re completely cool, keep the cookies in an airtight container at room temperature for up to 5 days, or freeze them for up to 3 months. They don’t need reheating, though a few seconds in the microwave makes one taste just-baked. For more on keeping food fresh, here’s my guide to storing leftovers for the best results.
Easy Sugar Cookie FAQs
Do I need to chill sugar cookie dough before rolling it?
Not for this recipe. I rolled and cut mine right after mixing, and they held their round shape in the oven.
Can I use a regular-mouth jar?
Yes. A regular-mouth jar cuts smaller circles, so you’ll get more cookies, and they may be done a minute or two sooner.
Can I use a different color of sanding sugar?
Absolutely. Green works for Christmas, and you can switch colors for any holiday. Just use sanding sugar so you get the same even, sparkly coat.
Can I bake these without the jar?
Yes. Use a rolling pin and any cookie cutter or the rim of a drinking glass (2-3″ in diameter).
Can I use cookie cutters with this recipe?
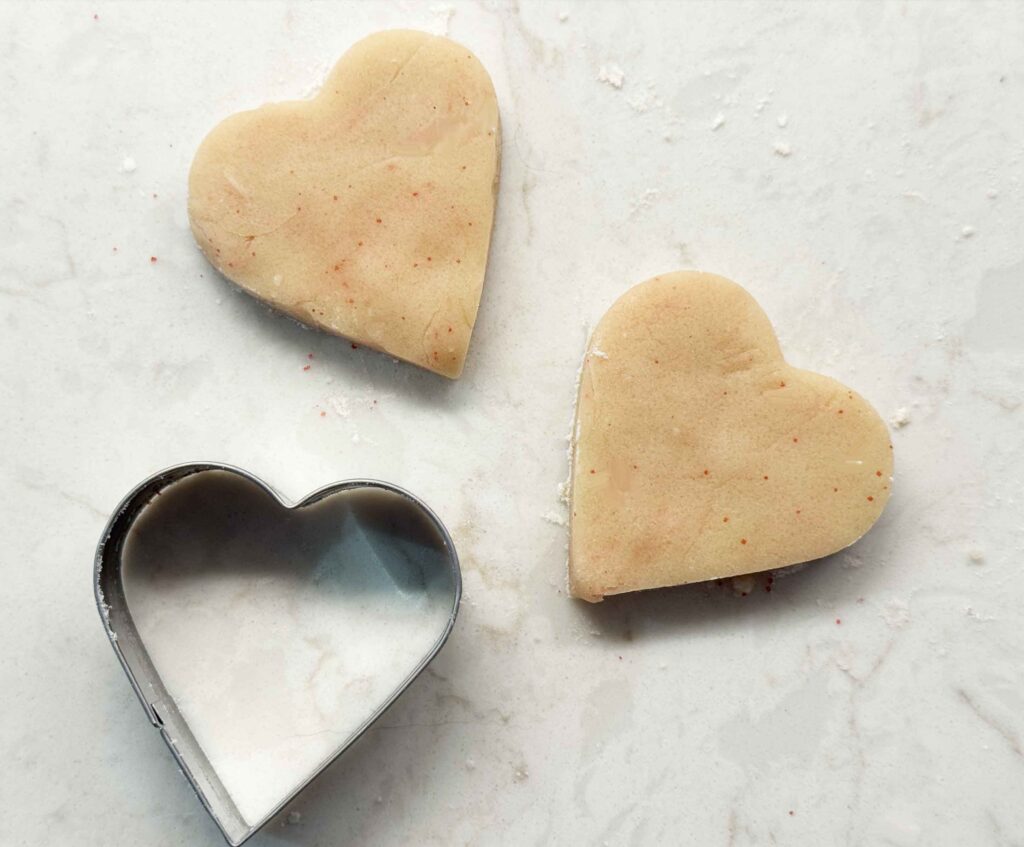
Yes! It works great. Roll your dough out to 1/4″ and use your cookie cutters to create shapes, then bake.
Easy Sugar Cookie Recipe
Equipment
- large mixing bowl
- Spatula or spoon
- small plate
- baking sheet
- parchment paper
- wire rack
- 1 quart wide-mouth mason jar for the jar mix
- canning funnel for the jar mix
Ingredients
Dry mix (these go in the jar)
- 2 1/4 cups all-purpose flour
- 1/2 tsp baking powder
- 1/2 tsp salt
- 1 1/4 cups granulated sugar
- 1/4 cup red sanding sugar
To bake
- 1 cup butter , softened
- 1 large egg
- 1 tsp vanilla extract
Instructions
- Heat the oven to 350°F. Line a baking sheet with parchment paper. If you are using a jar, spoon the sanding sugar off the top of the jar onto a small plate and set it aside.
- If you aren’t using a jar, whisk the flour, baking powder, and salt together in a medium bowl, then stir in the granulated sugar.
- In a large bowl, beat the butter, egg, and vanilla together with a spoon or spatula. It will look lumpy, and that's fine.
- Add the dry ingredients (if you're using a jar, add everything from the jar) to the wet ingredients and stir. When the dough looks sandy, knead it with your hands right in the bowl until it's smooth and holds together in a ball. Don't add liquid.
- On a lightly floured counter, roll the dough 1/4 inch thick using the side of the empty jar as a rolling pin. Cut circles with the mouth of the jar or a cookie cutter.
- Press the top of each circle into the sanding sugar and place it sugar side up on the baking sheet, 3 inches apart. Reroll the scraps and cut more cookies.
- Bake about 10 minutes, until the edges are just set. The tops stay pale.
- Cool 5 minutes on the pan, then move the cookies to a wire rack to cool completely. Repeat with the remaining dough.
Nutrition
Notes
If you make these cookies or any of my mix-in-a-jars this year, I’d love to hear who’s getting one. And if you want more mixes to line up next to it on the pantry shelf, my Christmas M&M Cookies, Cranberry Chocolate Chip Oatmeal Cookies, and Peanut Butter Chocolate Chip Cookies all fill a quart jar the same way. Or if you’d rather have a thick, soft cookie with no jar involved, try my Sourdough Chocolate Chip Cookies.
Happy baking!
Love,
Jennifer
Tried this recipe?
Tap the stars in the recipe card to leave a quick rating. Your rating helps other home cooks know this recipe works in a real kitchen, not just mine.
And as a thank-you for your feedback, you will receive a free printable copy of my Maker Home Companion Cookbook, featuring my most popular recipes, each one formatted on a SINGLE, easy-to-use page, a perfect kitchen companion for easy meal prep. Click here to learn more about this cookbook and how you can get your copy!




Meet Jennifer
Jennifer cooks and experiments in the kitchen at Maker Farm, where she focuses on simple pantry cooking, homemade staples, and practical recipes that make everyday meals easier. Over the years she has tested many ways to make cooking simpler and more dependable, and shares the methods that work best in her own kitchen, occasionally showing them on her Heart to Home at Maker Farm vlog.
I am going to try making these. If they turn out, I’m going to make the cookie in a jar mix to gift for Christmas. The cookie mix will go well with the homemade vanilla extract I made for gifts.
Thank you.
These are so easy and good! I love the recipe. I am definitely going to make up some jars and give these as gifts for Christmas.